
Hello knitters! If you’re looking for a different and original way to decorate your gifts that also uses up your leftover WAK cotton, then we´ve got the solution! In today’s post, we’re bringing you a couple of little projects that will brighten up any Christmas preparations. If you’re ready to surprise someone special while sharpening your DIY skills, it’s time to follow our instructions to make a card or box with your leftover knitting scraps.
EMBROIDERED CARD

MATERIALS
To make your own embroidered cards you will need:
– Cardboard or heavy weight decorative paper
– Leftover WAK cotton, we used natural
– Tapestry needle
– Pencil and ruler
– Paper hole punch (you can use the tapestry needle instead if needed, but they will come out better with a hole punch)

STEP-BY-STEP
Start by cutting out a card in the desired size from the cardboard or heavy weight decorative paper. Then, using the ruler make your design and draw whatever you like. We chose some decorative borders and two snow-covered trees 🙂
Draw a design that can later be stitched using the paper punch and cotton, it’s better if you make a simple line drawing. Make dots along the lines where you will punch the holes.
On a padded surface very carefully punch holes into each dot marked in the previous step. That’s where the yarn will go later! Be careful not to bend the card in this step.
Cut a length of cotton, not too long, thread the tapestry needle, and tie a knot in the end of the thread. Now comes the fun part: embroider your drawing with your favorite stitch!
You can see in our example that we used a combination of a raised stitch and a simple stitch. You can use embroidery stitches on the paper: French knots, blanket stitch…

Keep stitching over all of the perforated designs (you can draw the cards, punch the holes, and then let the kids in the house do the stitching part! It’s really easy).
When you’re done, make a knot on the back and seal the starting knot and finishing knot with a drop of glue. This will secure the thread in place. There you have it 😀

You make lots of the same or different designs, and then send them to friends instead of buying ready-made Christmas cards.
GIFT BOX

This box in itself is a gift, you can customize it with different colors and designs to make it really special. It’s more than just the wrapping!
MATERIALS
– Heavy cardboard box, preferably with a lid
– Leftover WAK cotton, we used terracotta.
– Compass, ruler, and a protractor (if you want to make the same design as ours).
– Pencil
– Paper punch
– Tapestry needle
STEP-BY-STEP
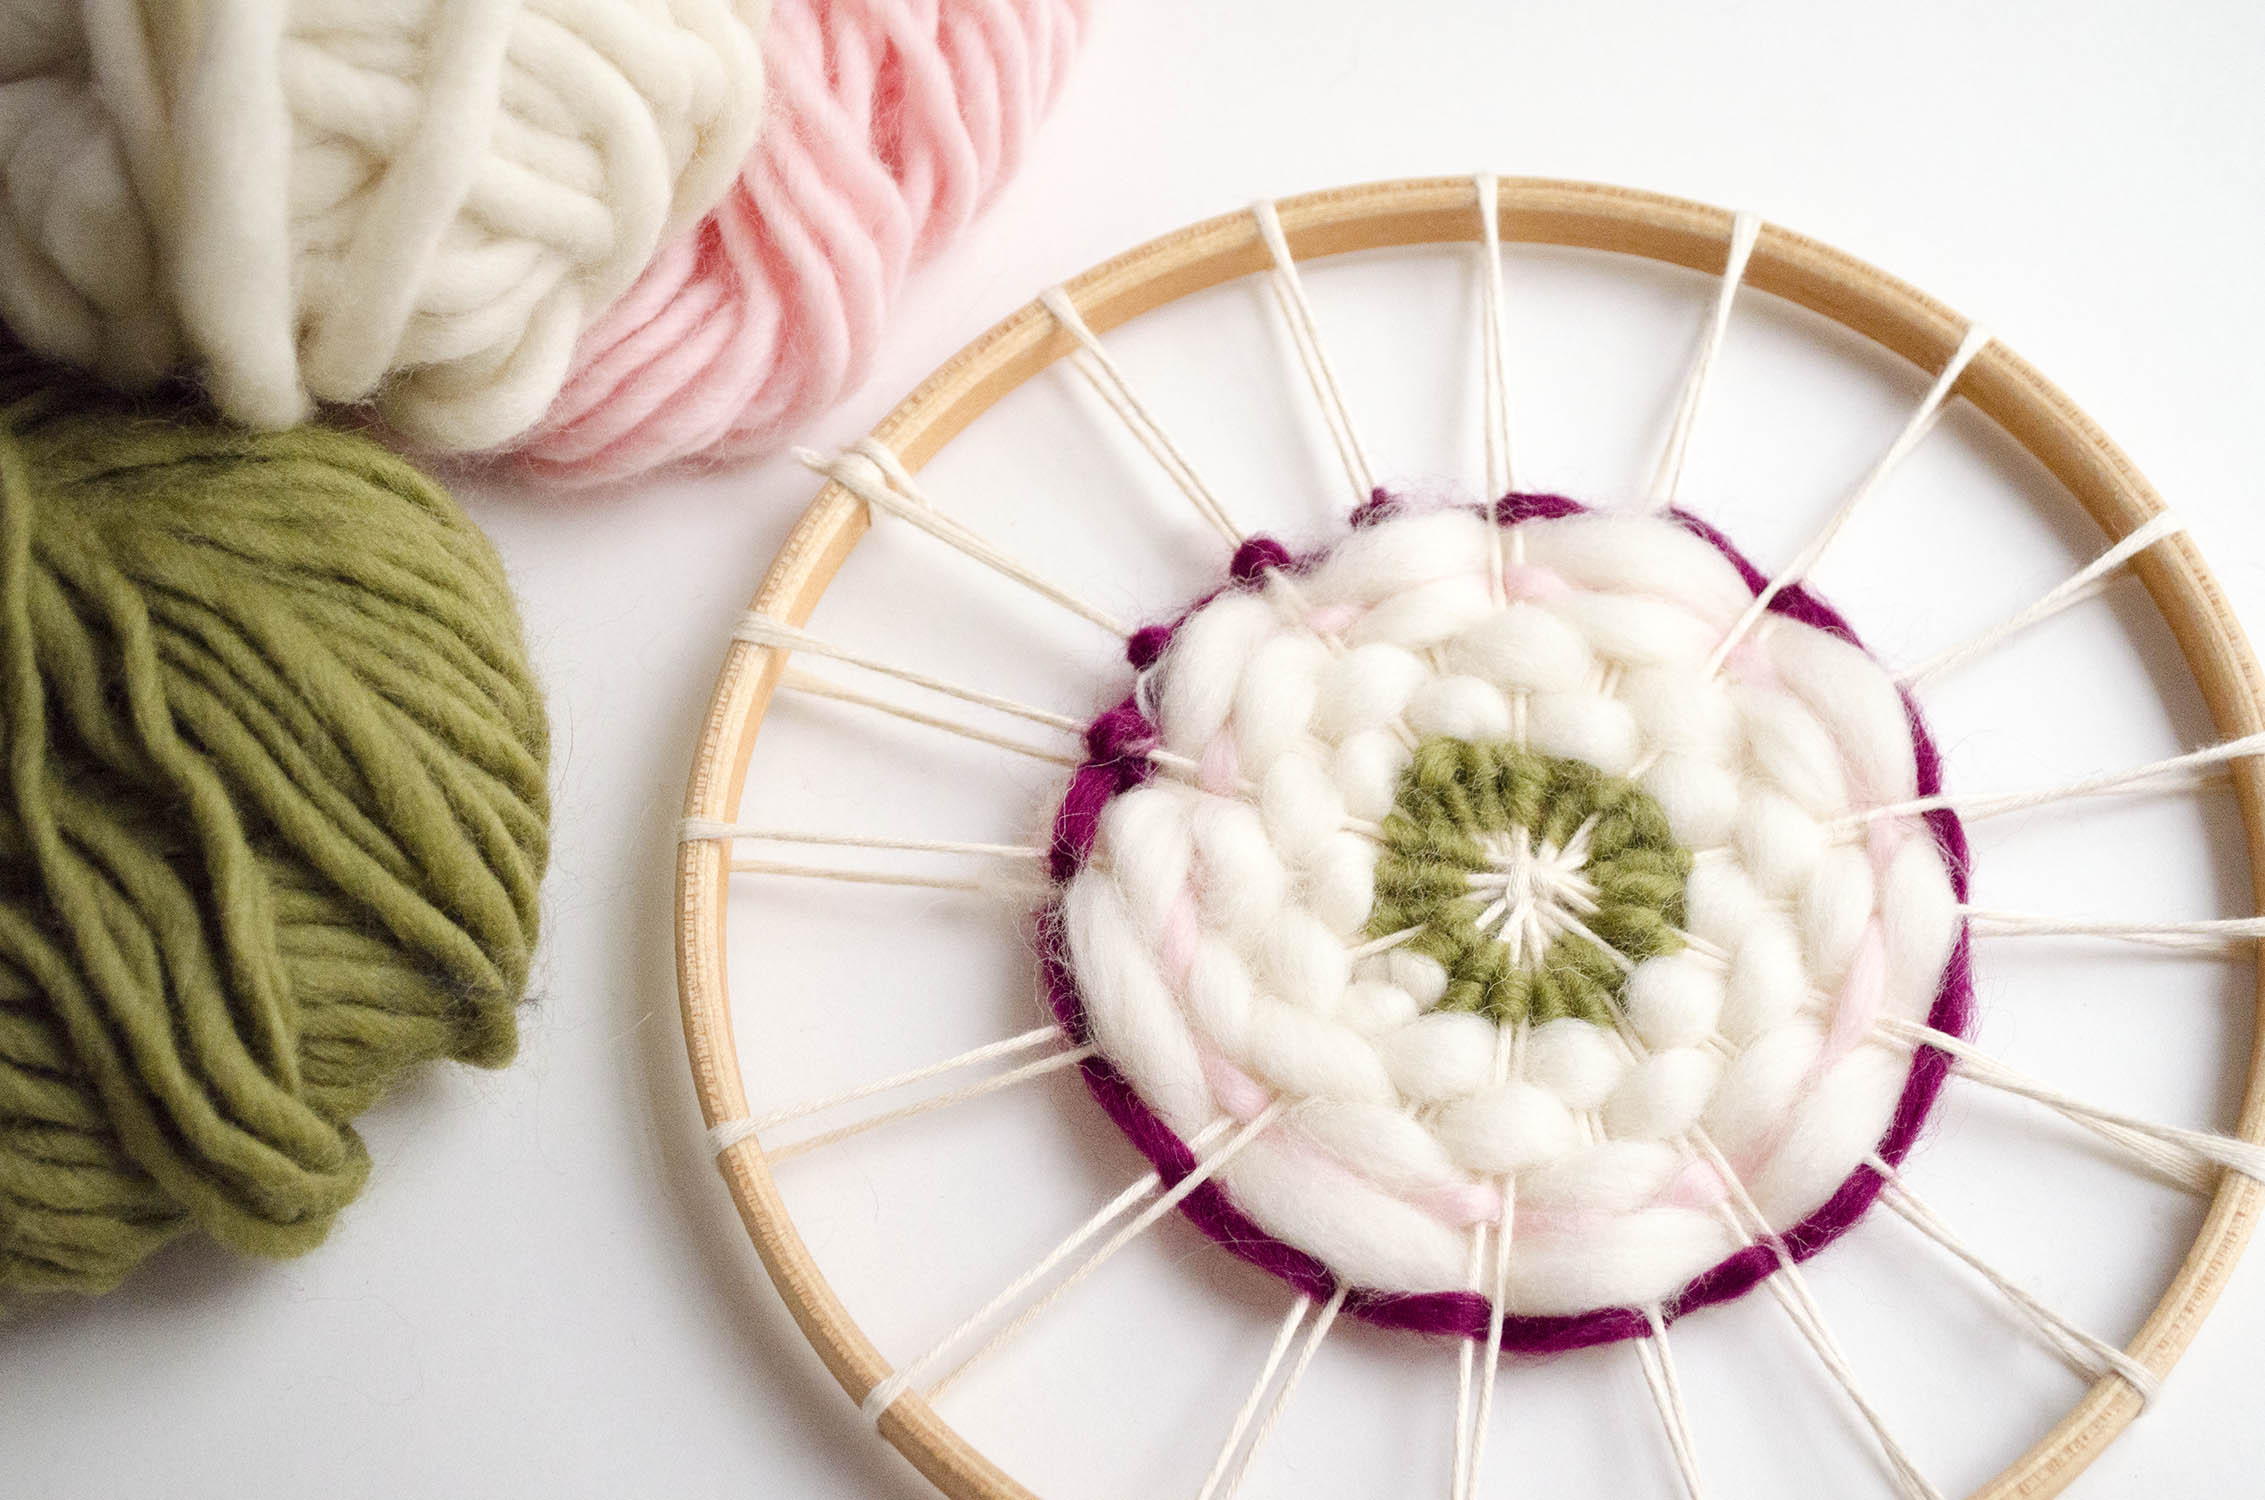
To make a design similar to our example, start by drawing several circles with a compass on the lid of the box. Draw circles in different sizes to have contrast in your finished project.

Make a mark at different points around the circumference of each circle using a protractor. You don’t have to mark every point; you can vary the distance between each mark. For example, in the big circle we made a mark every inch and in the small circles every half inch.
Once you have marked all of the points, make lines to each one using the ruler, and then mark each “spoke” every half inch.

All of the “spokes” should have at least three marks on them so you can embroider with chain stitch later. Look at the images to get an idea.
Punch a hole into each mark, this will take some time! Make sure to stay on the line and in the marked point so your stitches are straight when you start to embroider.
Cut a long length of cotton and thread the tapestry needle. Make a knot in the end and start stitching your box. We’ll be using the chain stitch, to do it, follow the instructions below:
– Starting at the spot closest to the circle bring the needle up from back to front, and then reinsert the needle into the same spot, but leave a little loop, like this:

– Now bring the needle up through the next stitch and pass it through the loop from the last stitch:

– Reinsert the needle into the same stitch leaving another loop:
– Repeat these steps to embroider all of the stitches along the “spokes”, and when you get to the next to last stitch, just make a plain stitch. The “spokes” should end with a straight stitch:
Keep stitching through all of the holes to finish the box, when you run out of thread, just make a knot on the back of the lid and weave the end into the stitches on the back with the needle.

Watch how your box turns into a something special as you embroider along your design! Now you just have to place a gift inside 😉
What about you? Do you think you’ll decorate your gifts this way this year? Do you have any other ideas to use up leftover WAK cotton or wool to make Christmas projects? Make sure to show us your cards and gift boxes on social networks using the hashtag #weareknitters, make something different this holiday!


2 comments
Une très belle idée de décor de boite. Merci.
De rien!