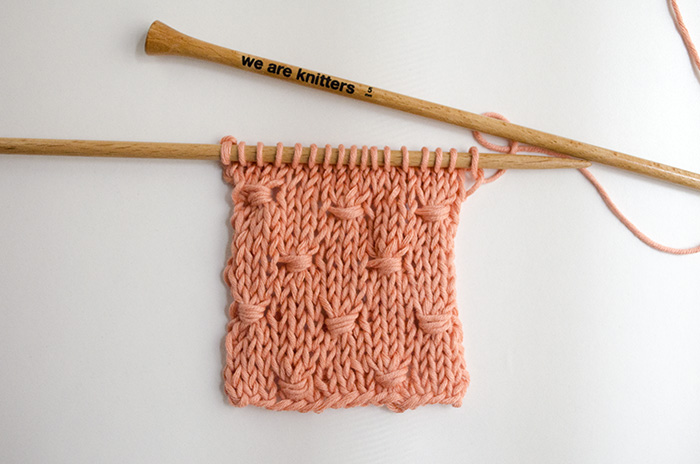
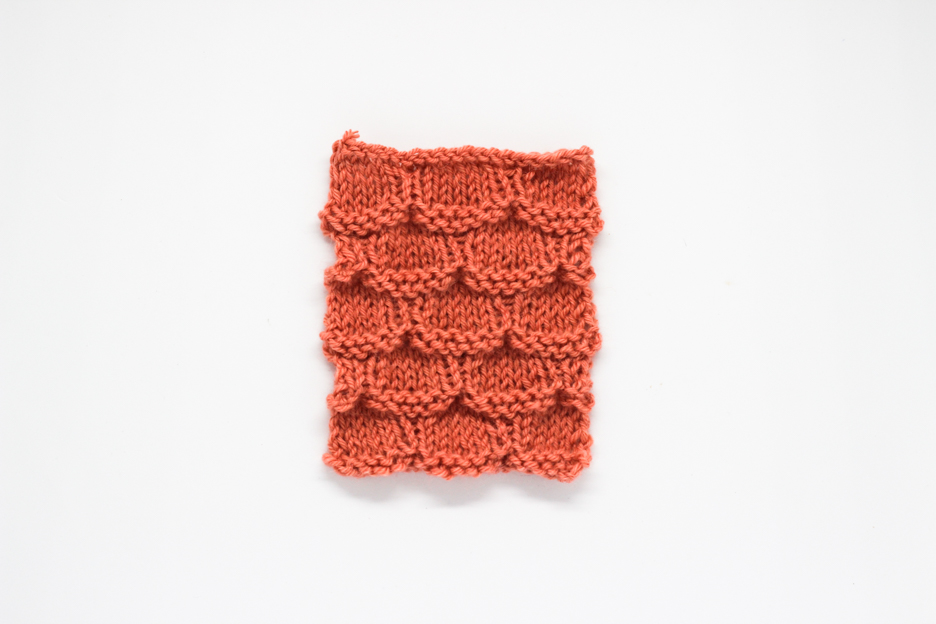
The stitch that we are going to show you today is another example of the versatility you gain just by knowing how to knit and purl stitches. The variety of stitches you can use knowing just that is almost infinite! The grater stitch forms small rhombus shapes and it’s really very easy to learn.

Follow the video to watch how it is done:
[youtube http://www.youtube.com/watch?v=4TFb9FgVmPg]The number of stitches has to be a multiple of 4. It is not reversible.
Row 1: *knit 1 stitch, purl 1 stitch*, repeat from * to * until you have completed the row.
Row 2 and all even rows: purl all stitches.
Row 3: *purl 1 stitch. Knit 3 stitches*, repeat from * to * until you have completed the row.
Row 5: like row 1.
Row 7: *knit 2 stitches, purl 1 stitch, knit 1 stitch*, repeat from * to * until you have completed the row.
Repeat these 8 rows until you have reached the desired length.
Now you see how easy it is to knit this stitch! Remember that depending on the material you use to knit, the texture will be more or less visible. It will be rather subtle when you use thick wool and a lot more clear when you use fine wool. Just try it out and experiment a little.
Get creative! How will you use this stitch, and what colors will you choose? We picked the cotton in grey and 5mm wooden knitting needles. We can’t wait to see your projects, share them with the hashtag #weareknitters!


1 comment
Interesting pattern. I’ll try it some time, maybe on the next pair of socks.
Incidentally, you do know you can knit ‘English style’ by wrapping the yarn once around your forefinger and just moving that to put the yarn round the needles? The ‘tail’ of the yarn back to the ball goes down through your other fingers. Balance the right needle on the web of skin between your thumb and forefinger. The knitting goes a lot quicker this way