Knowledge takes no space and with knitting, knowledge is infinite. Each stitch, each
technique, each pattern is a chance to learn something new. Luckily, in the We are knitters
blog (https://blog.weareknitters.com) you can find a bunch of tricks and new stitches to
learn to knit, or rather to perfect your technique.
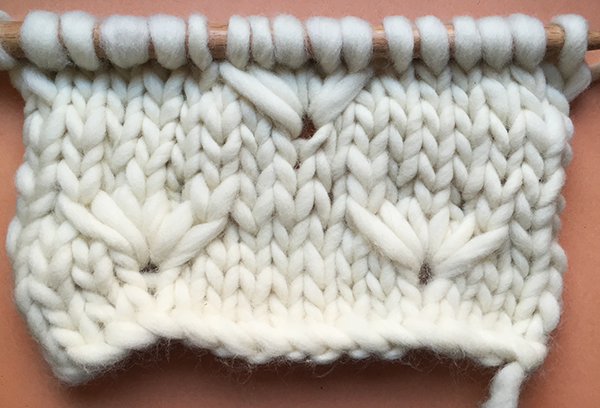
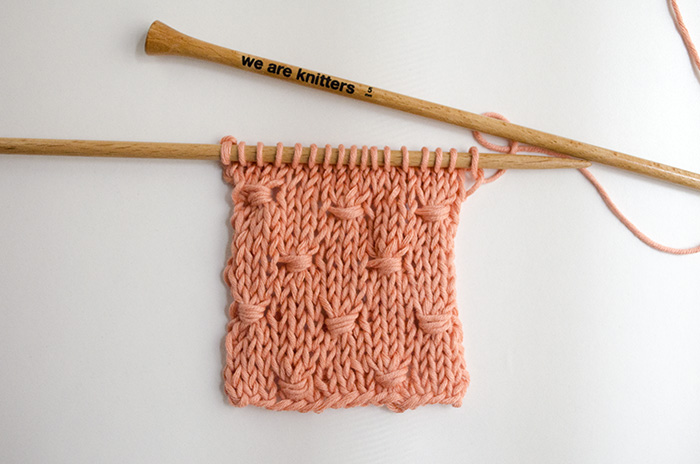
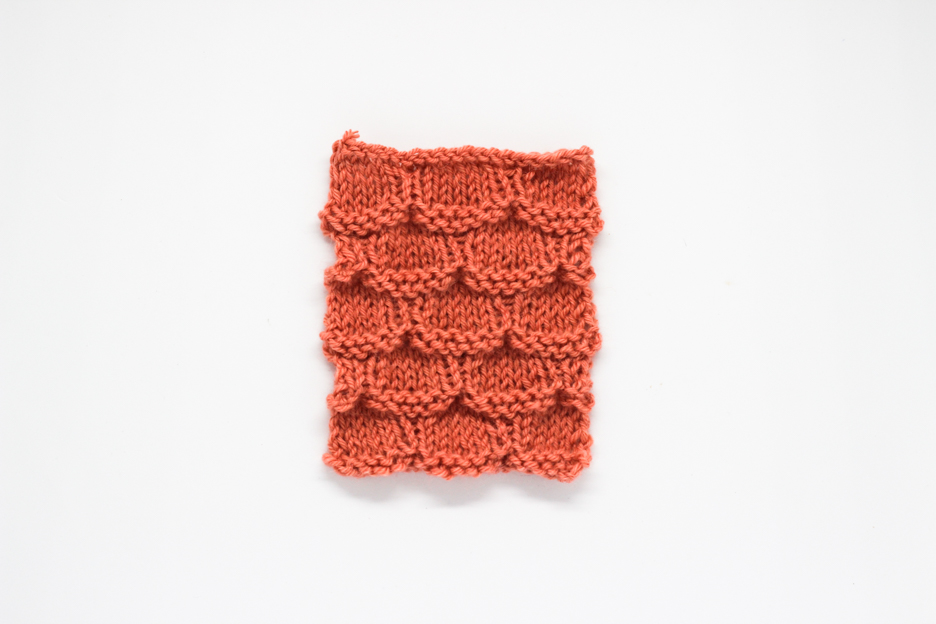
In this post we want to teach you how to purl 2 stitches together through the back loop.
This is a stitch used for lace and netted stitches, giving a different texture, and very easy to
learn if you follow these instructions.
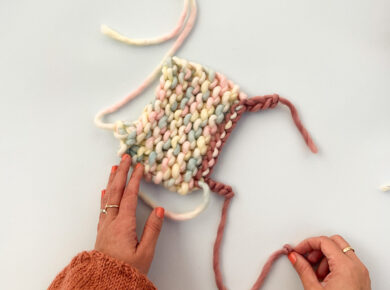
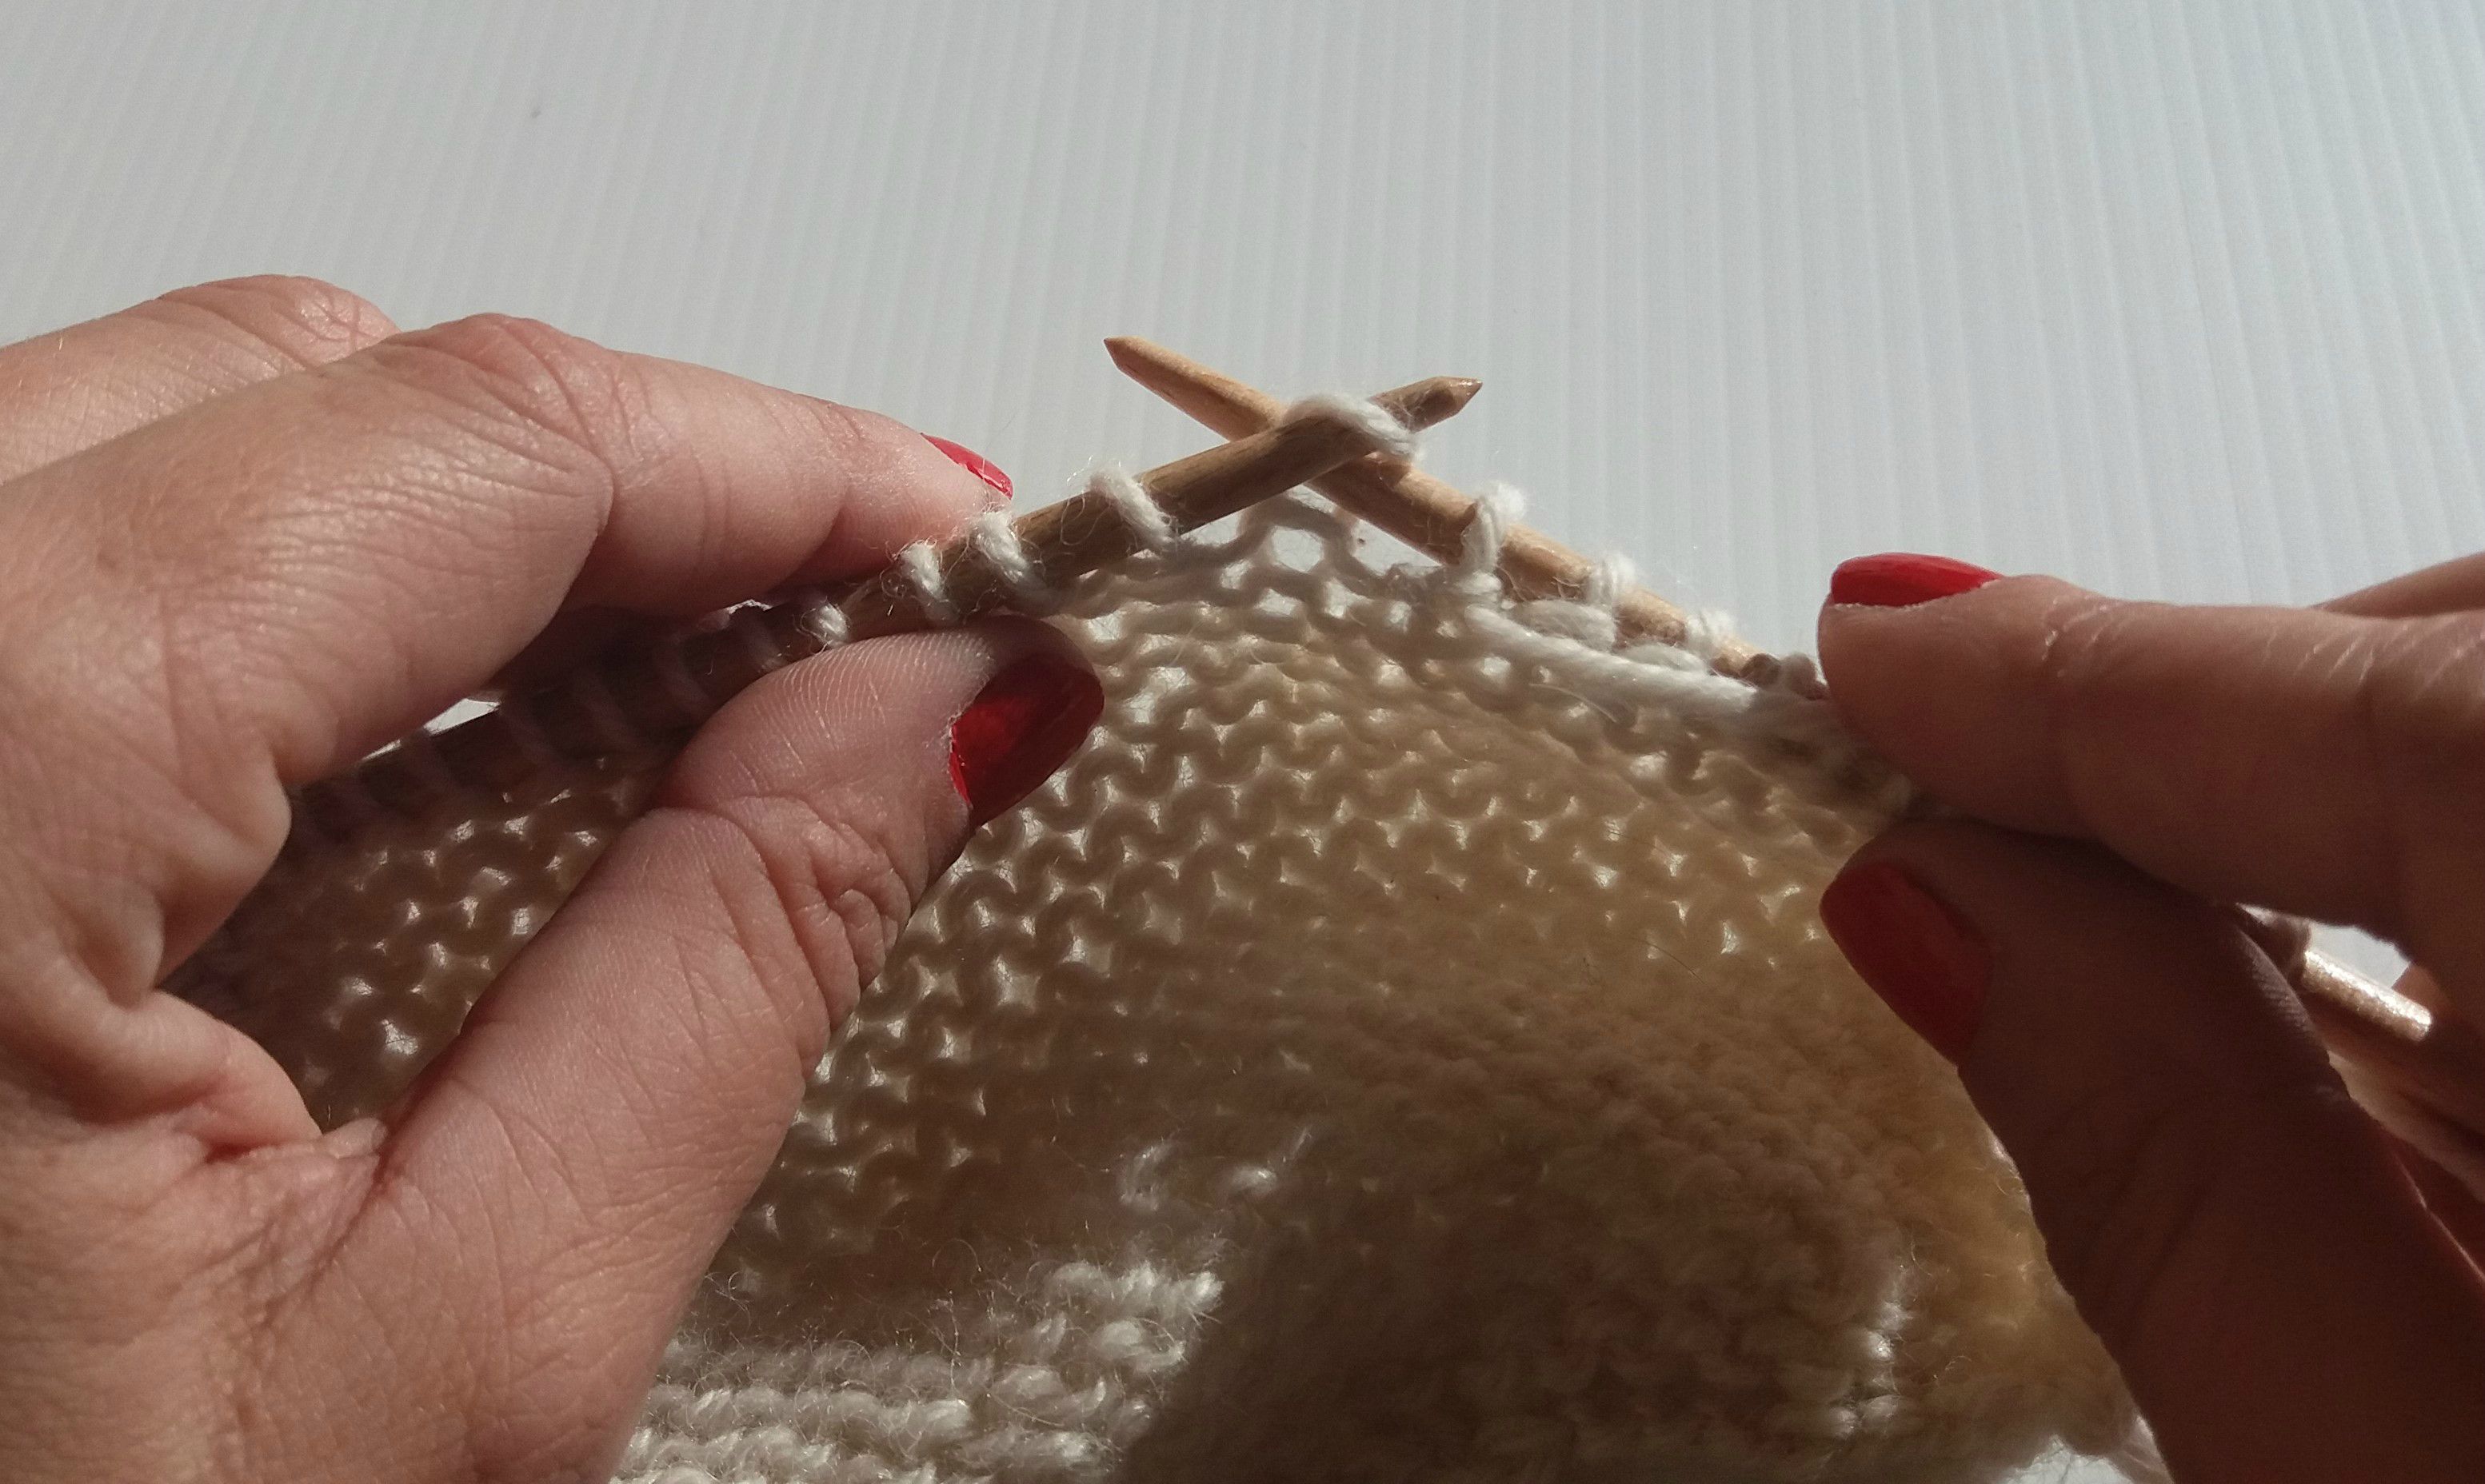
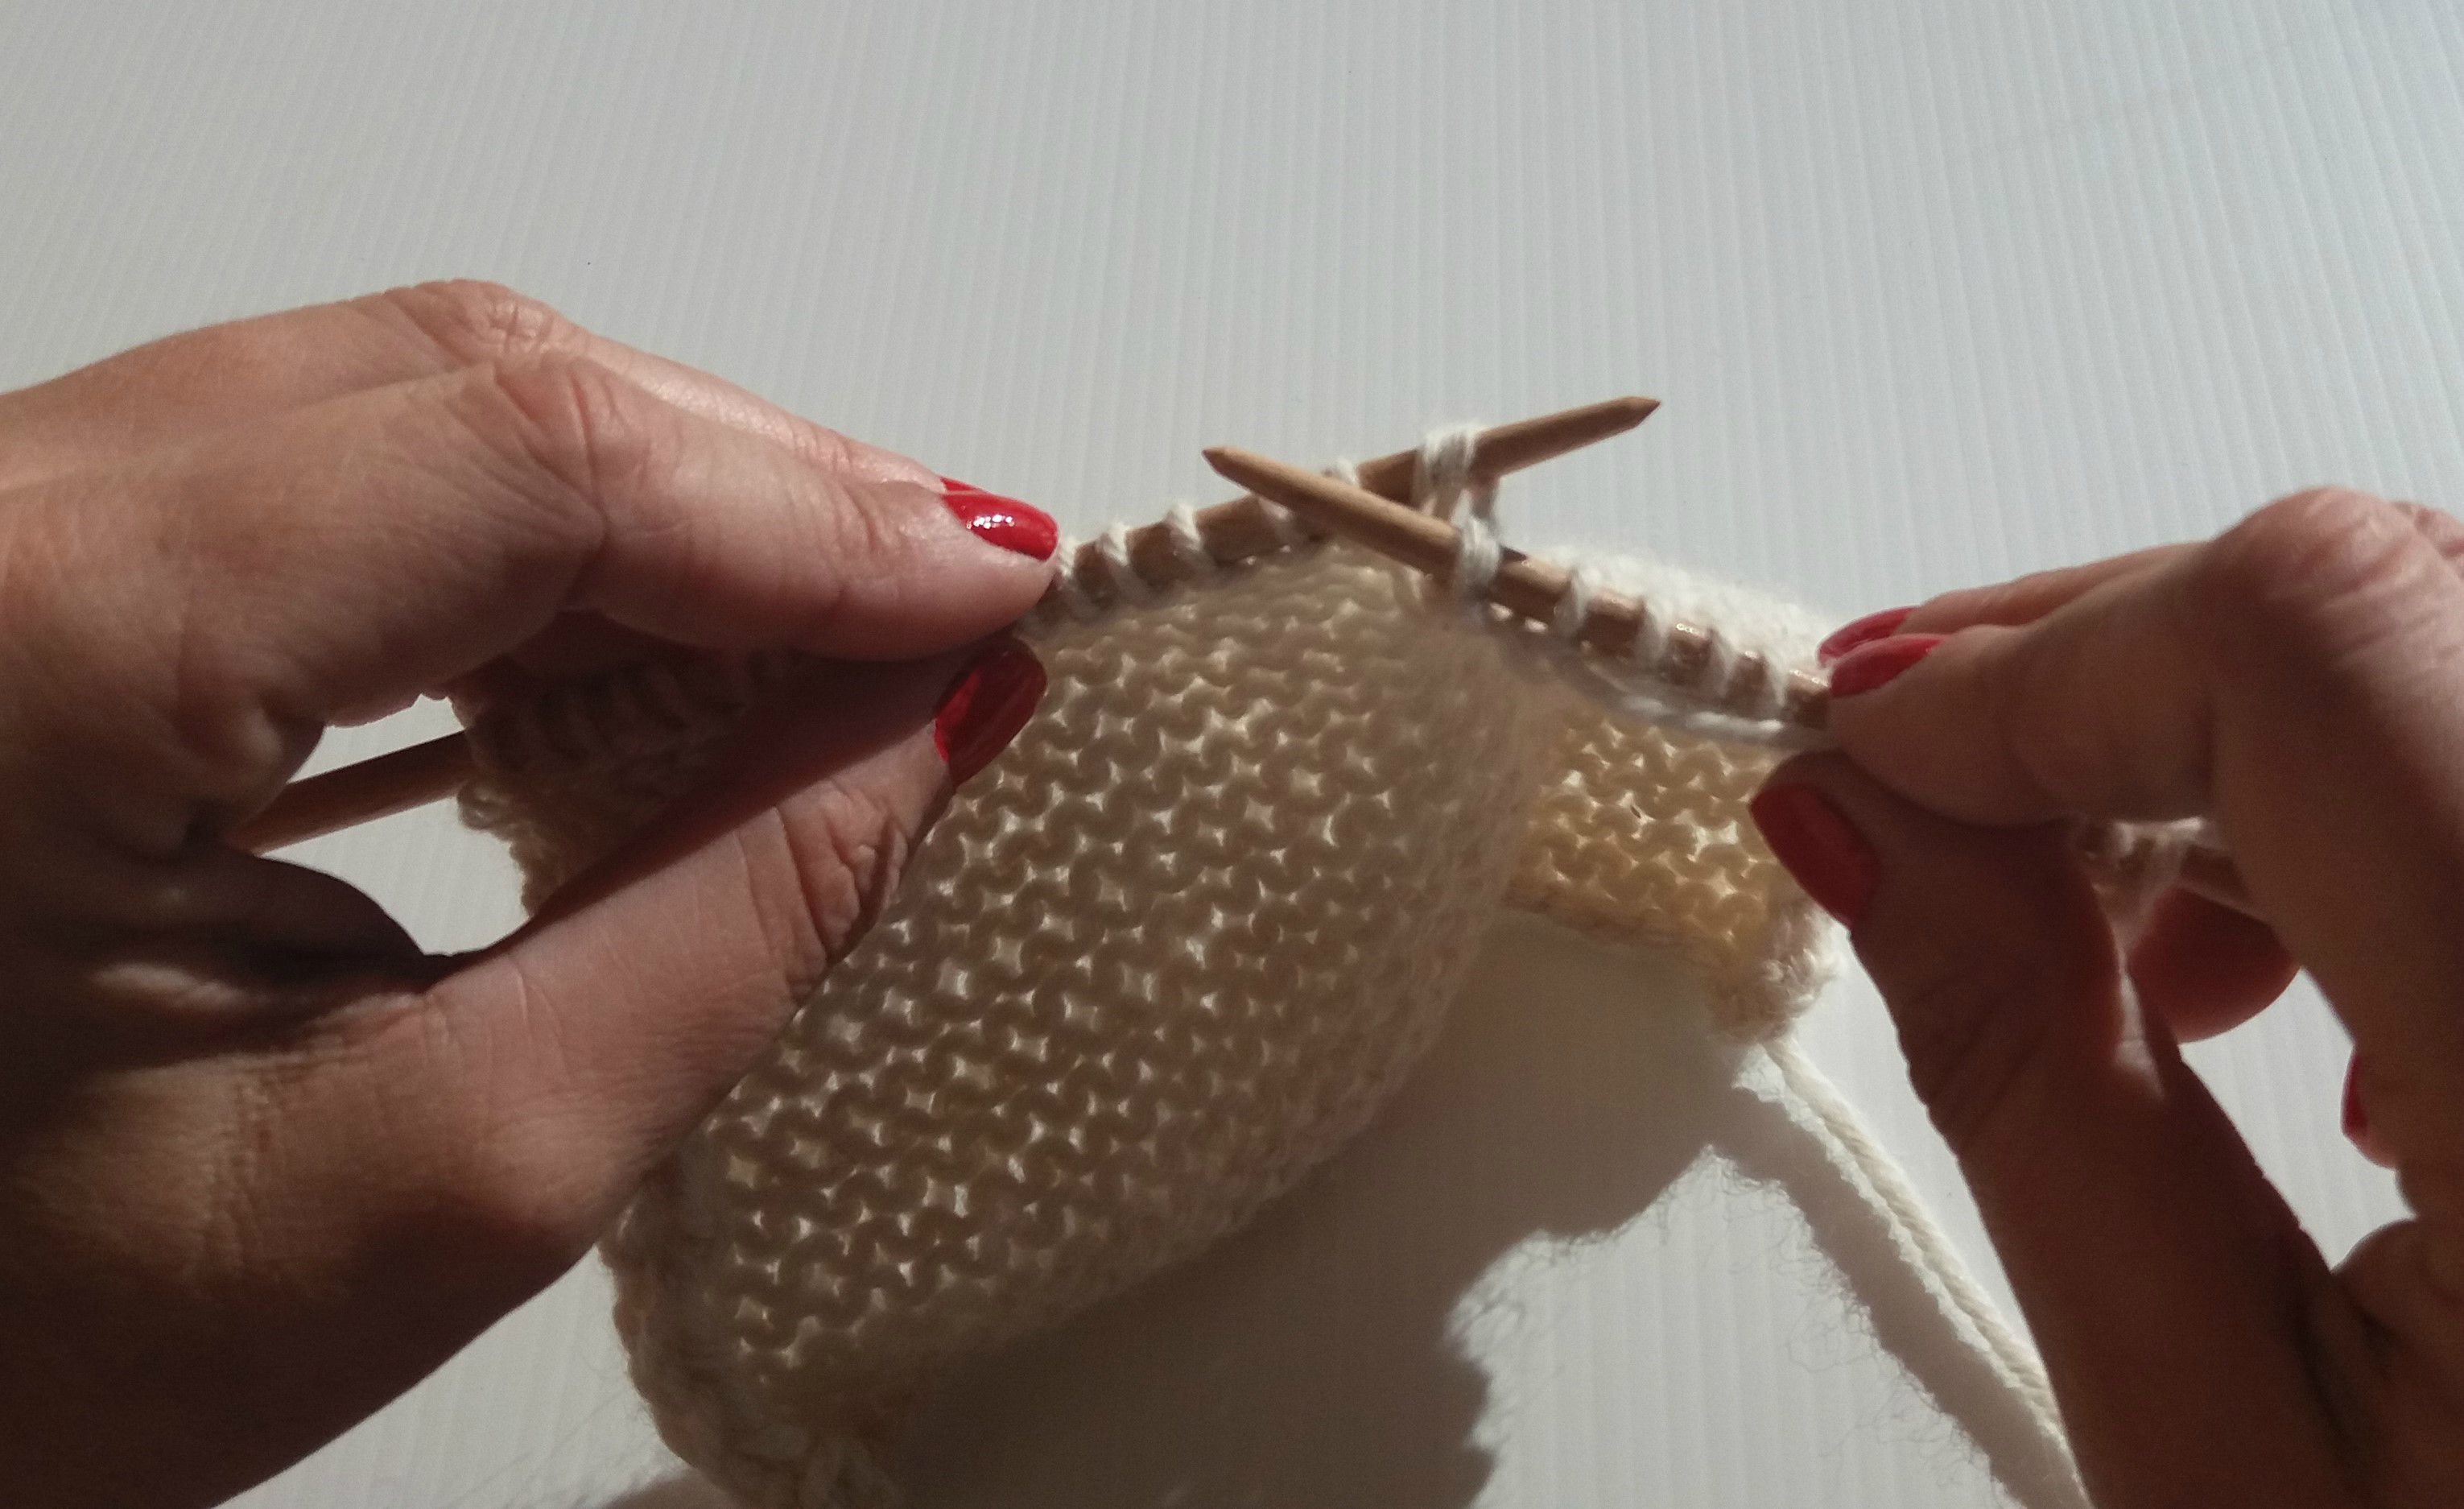
To start, when you are purling in your project and it’s time to purl 2 stitches together
through the back loop, introduce the right hand needle on the next stitch as if to knit it and
slip it to the needle without knitting it. Repeat for the next stitch. This way, you have turned
the stitches and they won’t be twisted. Introduce the left hand needle on the 2 stitches you
slipped, and slip them back to the left hand needle.
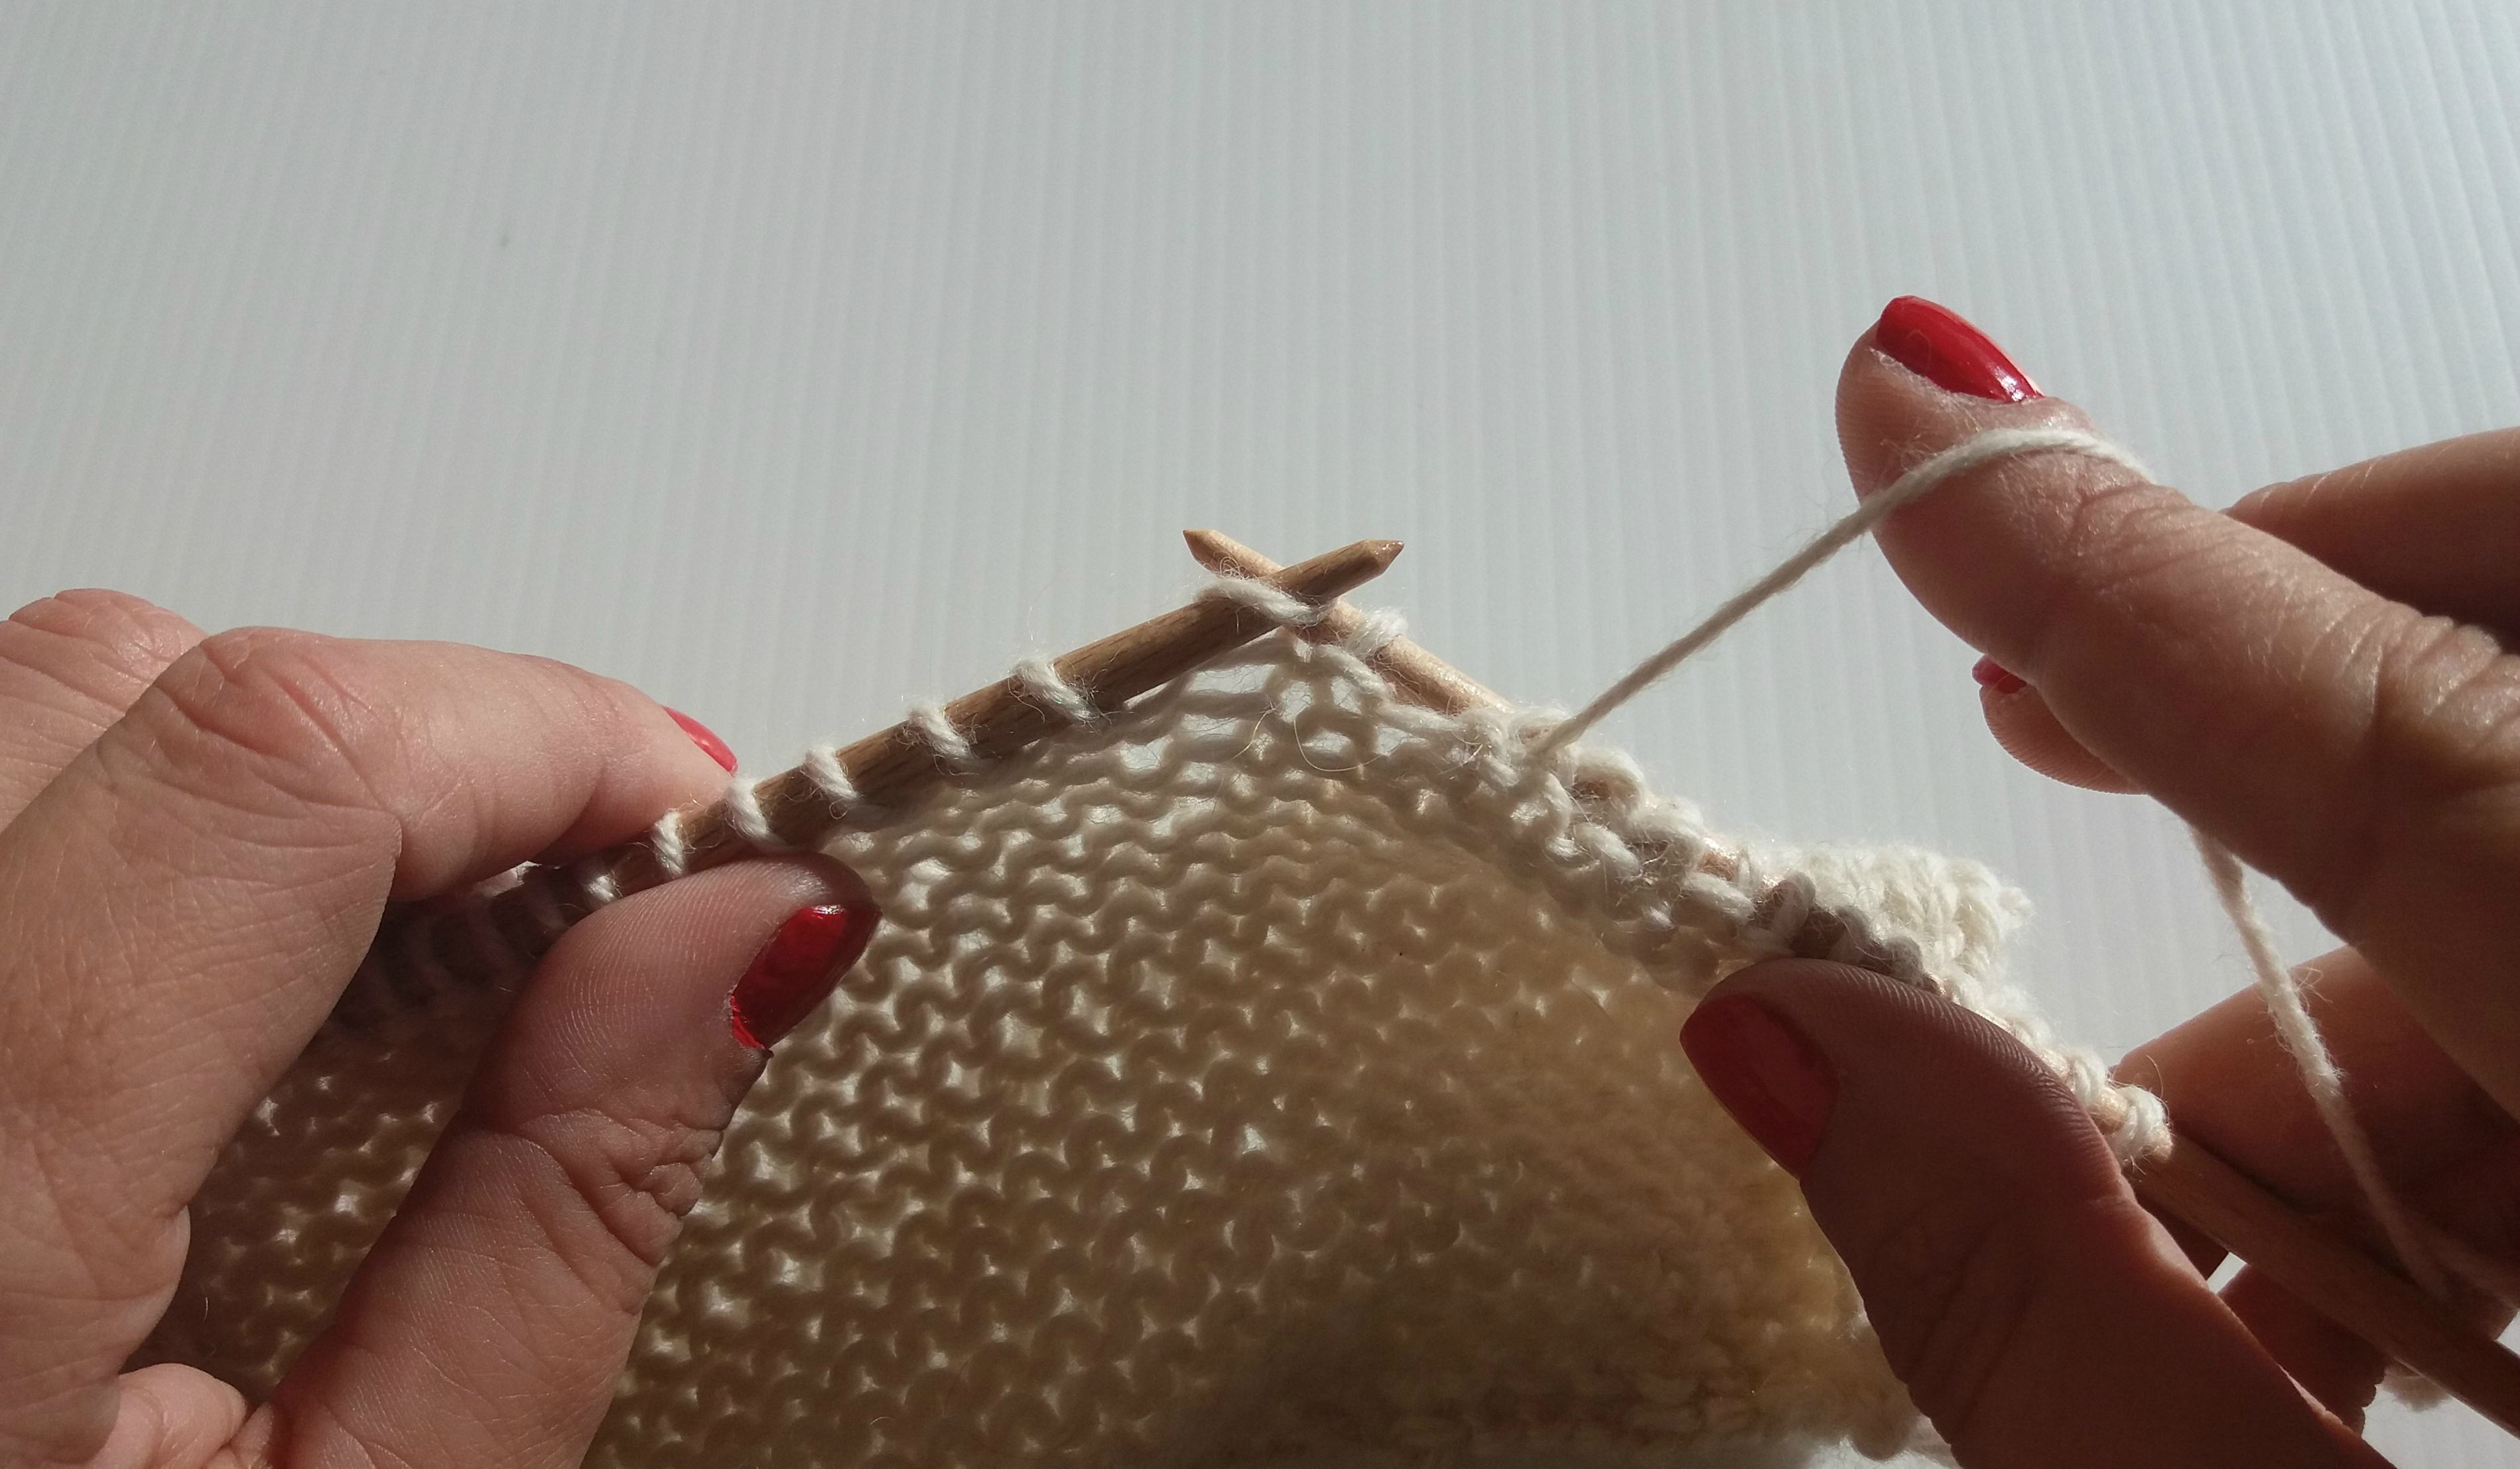
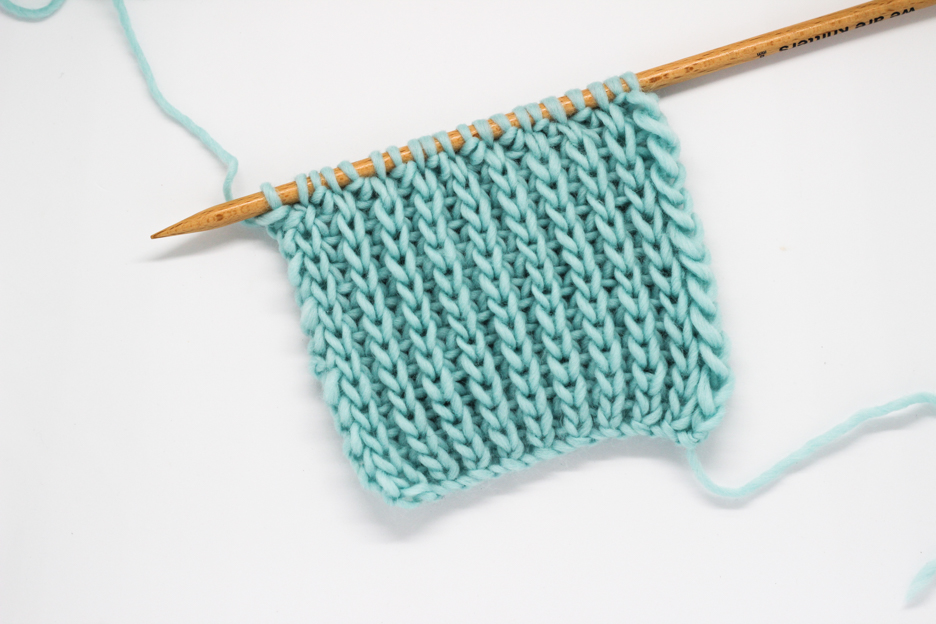
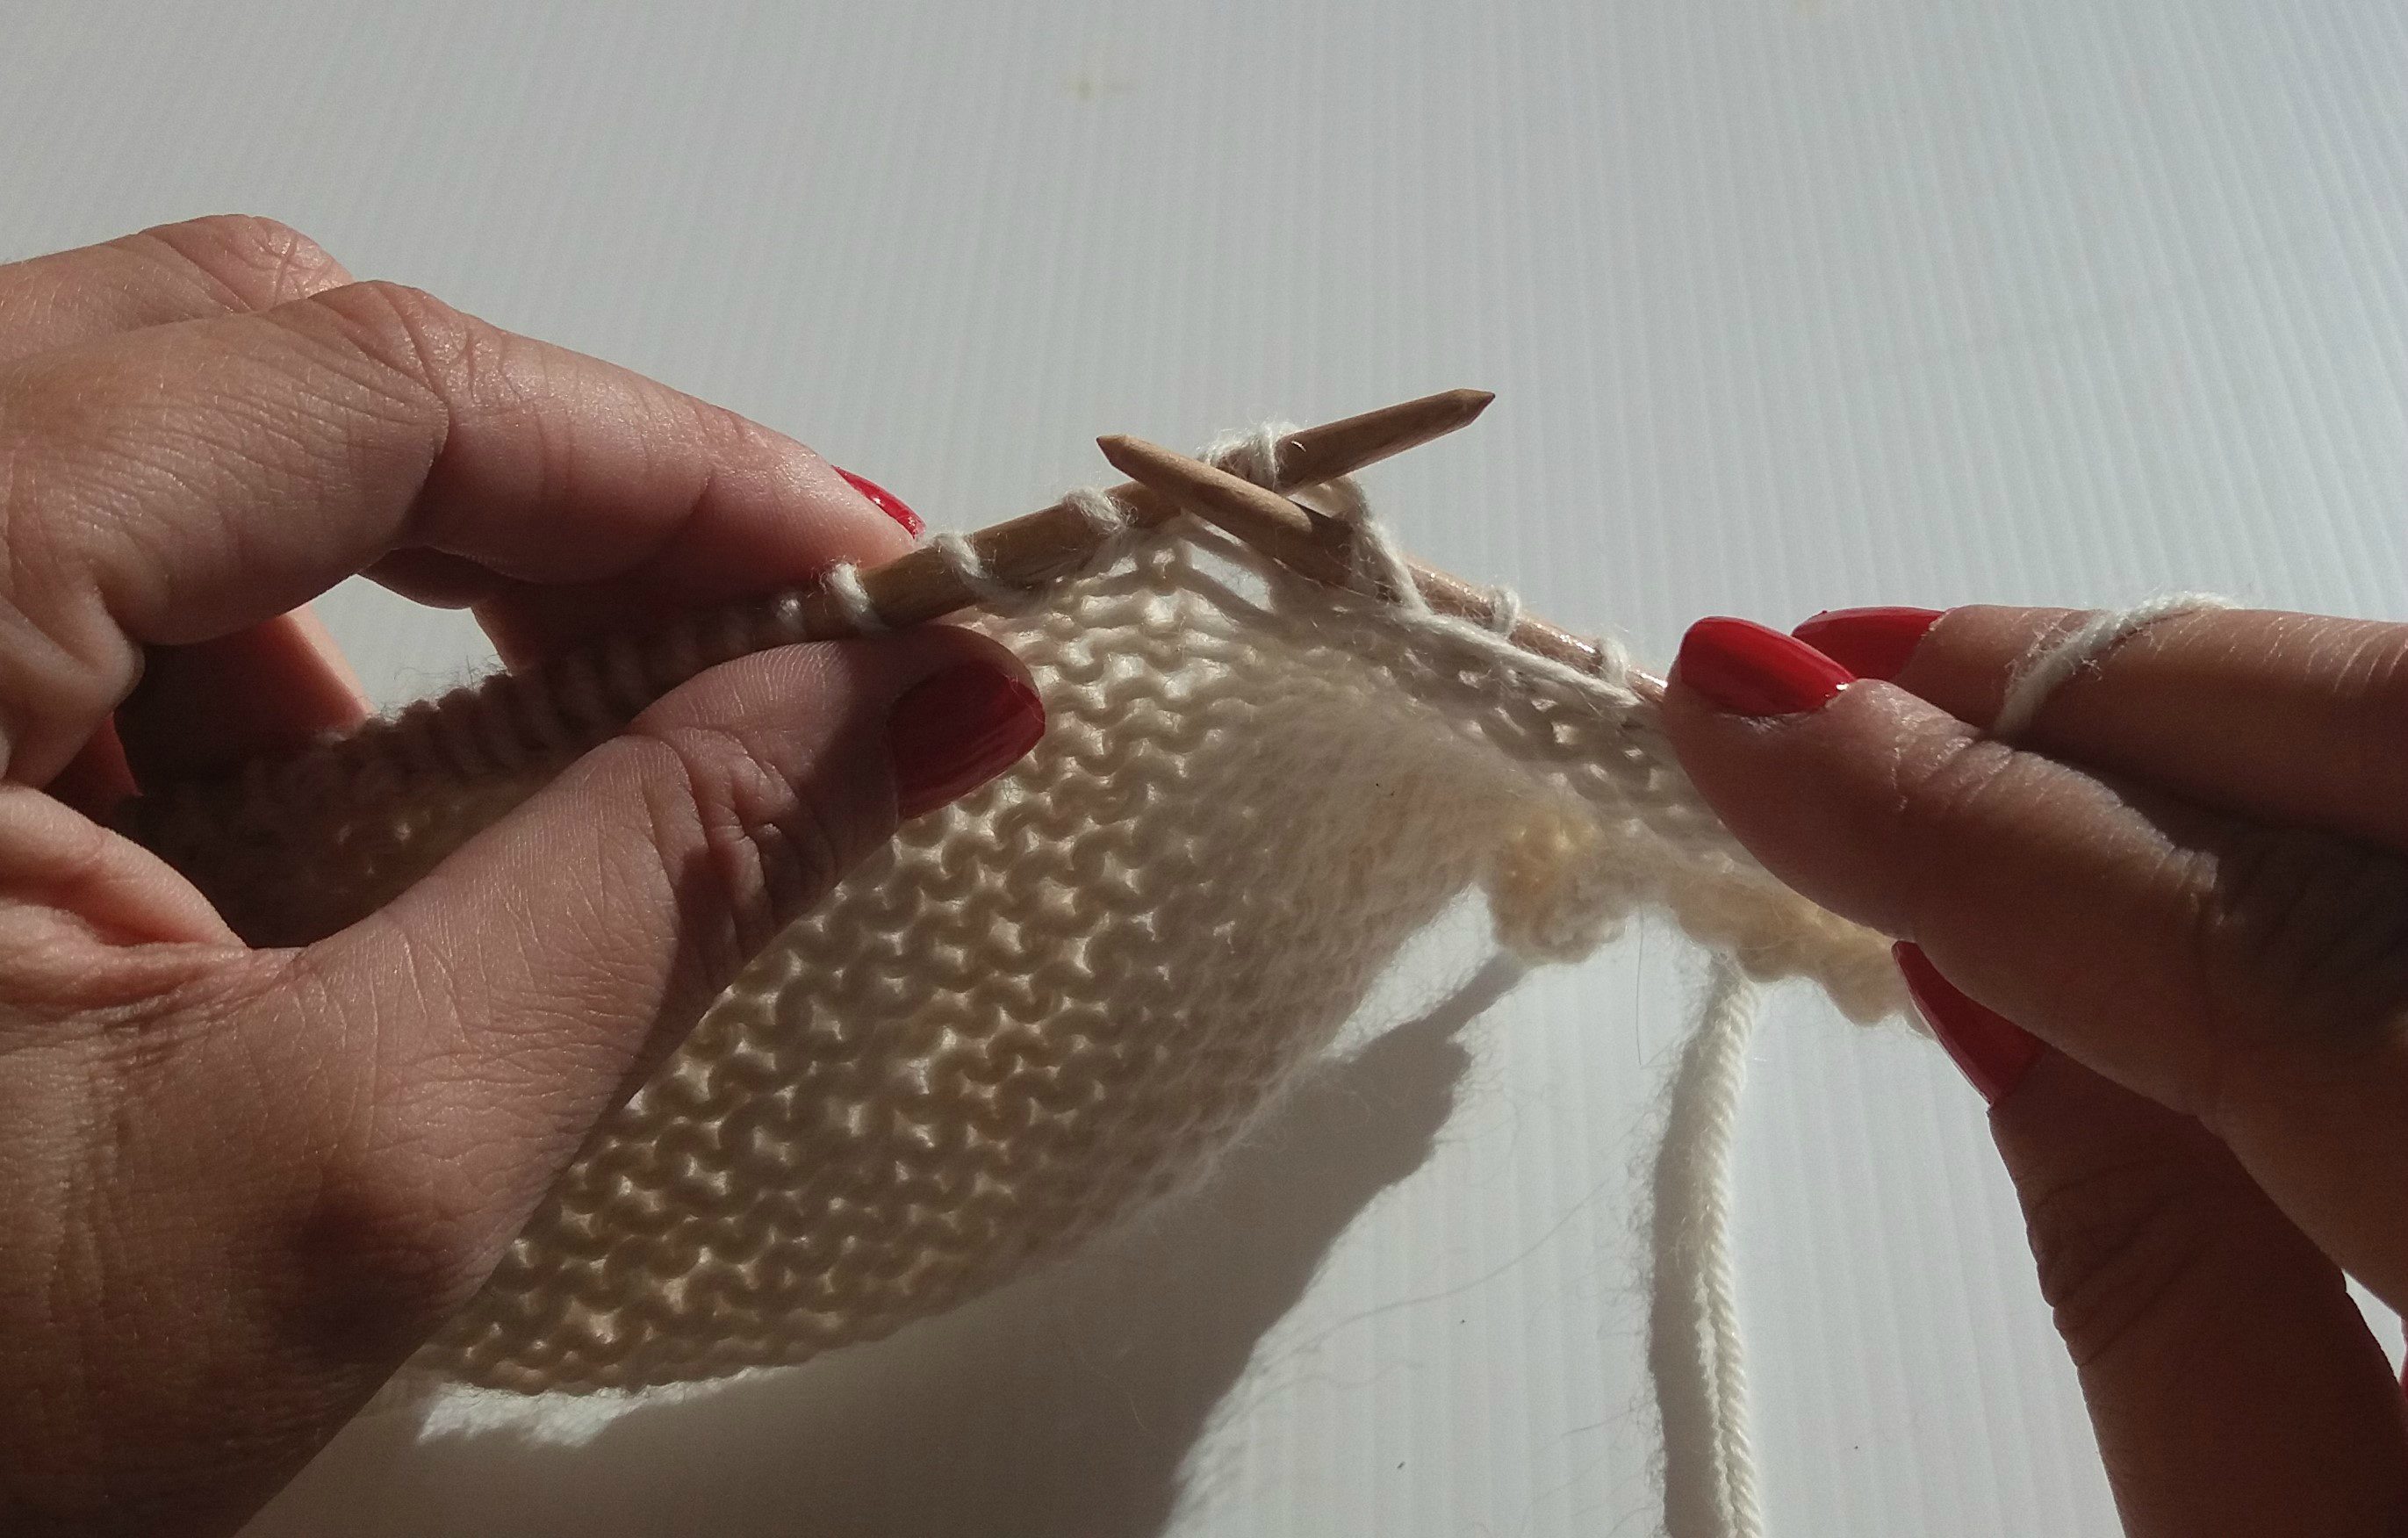
Once both stitches are turned around, you knit to work them through the back loop. With
the strand in front of your project since we are purling, introduce the needle from left to
right, and from bottom to top. As you can see on the picture, it’s like joining both needles on
the same direction.

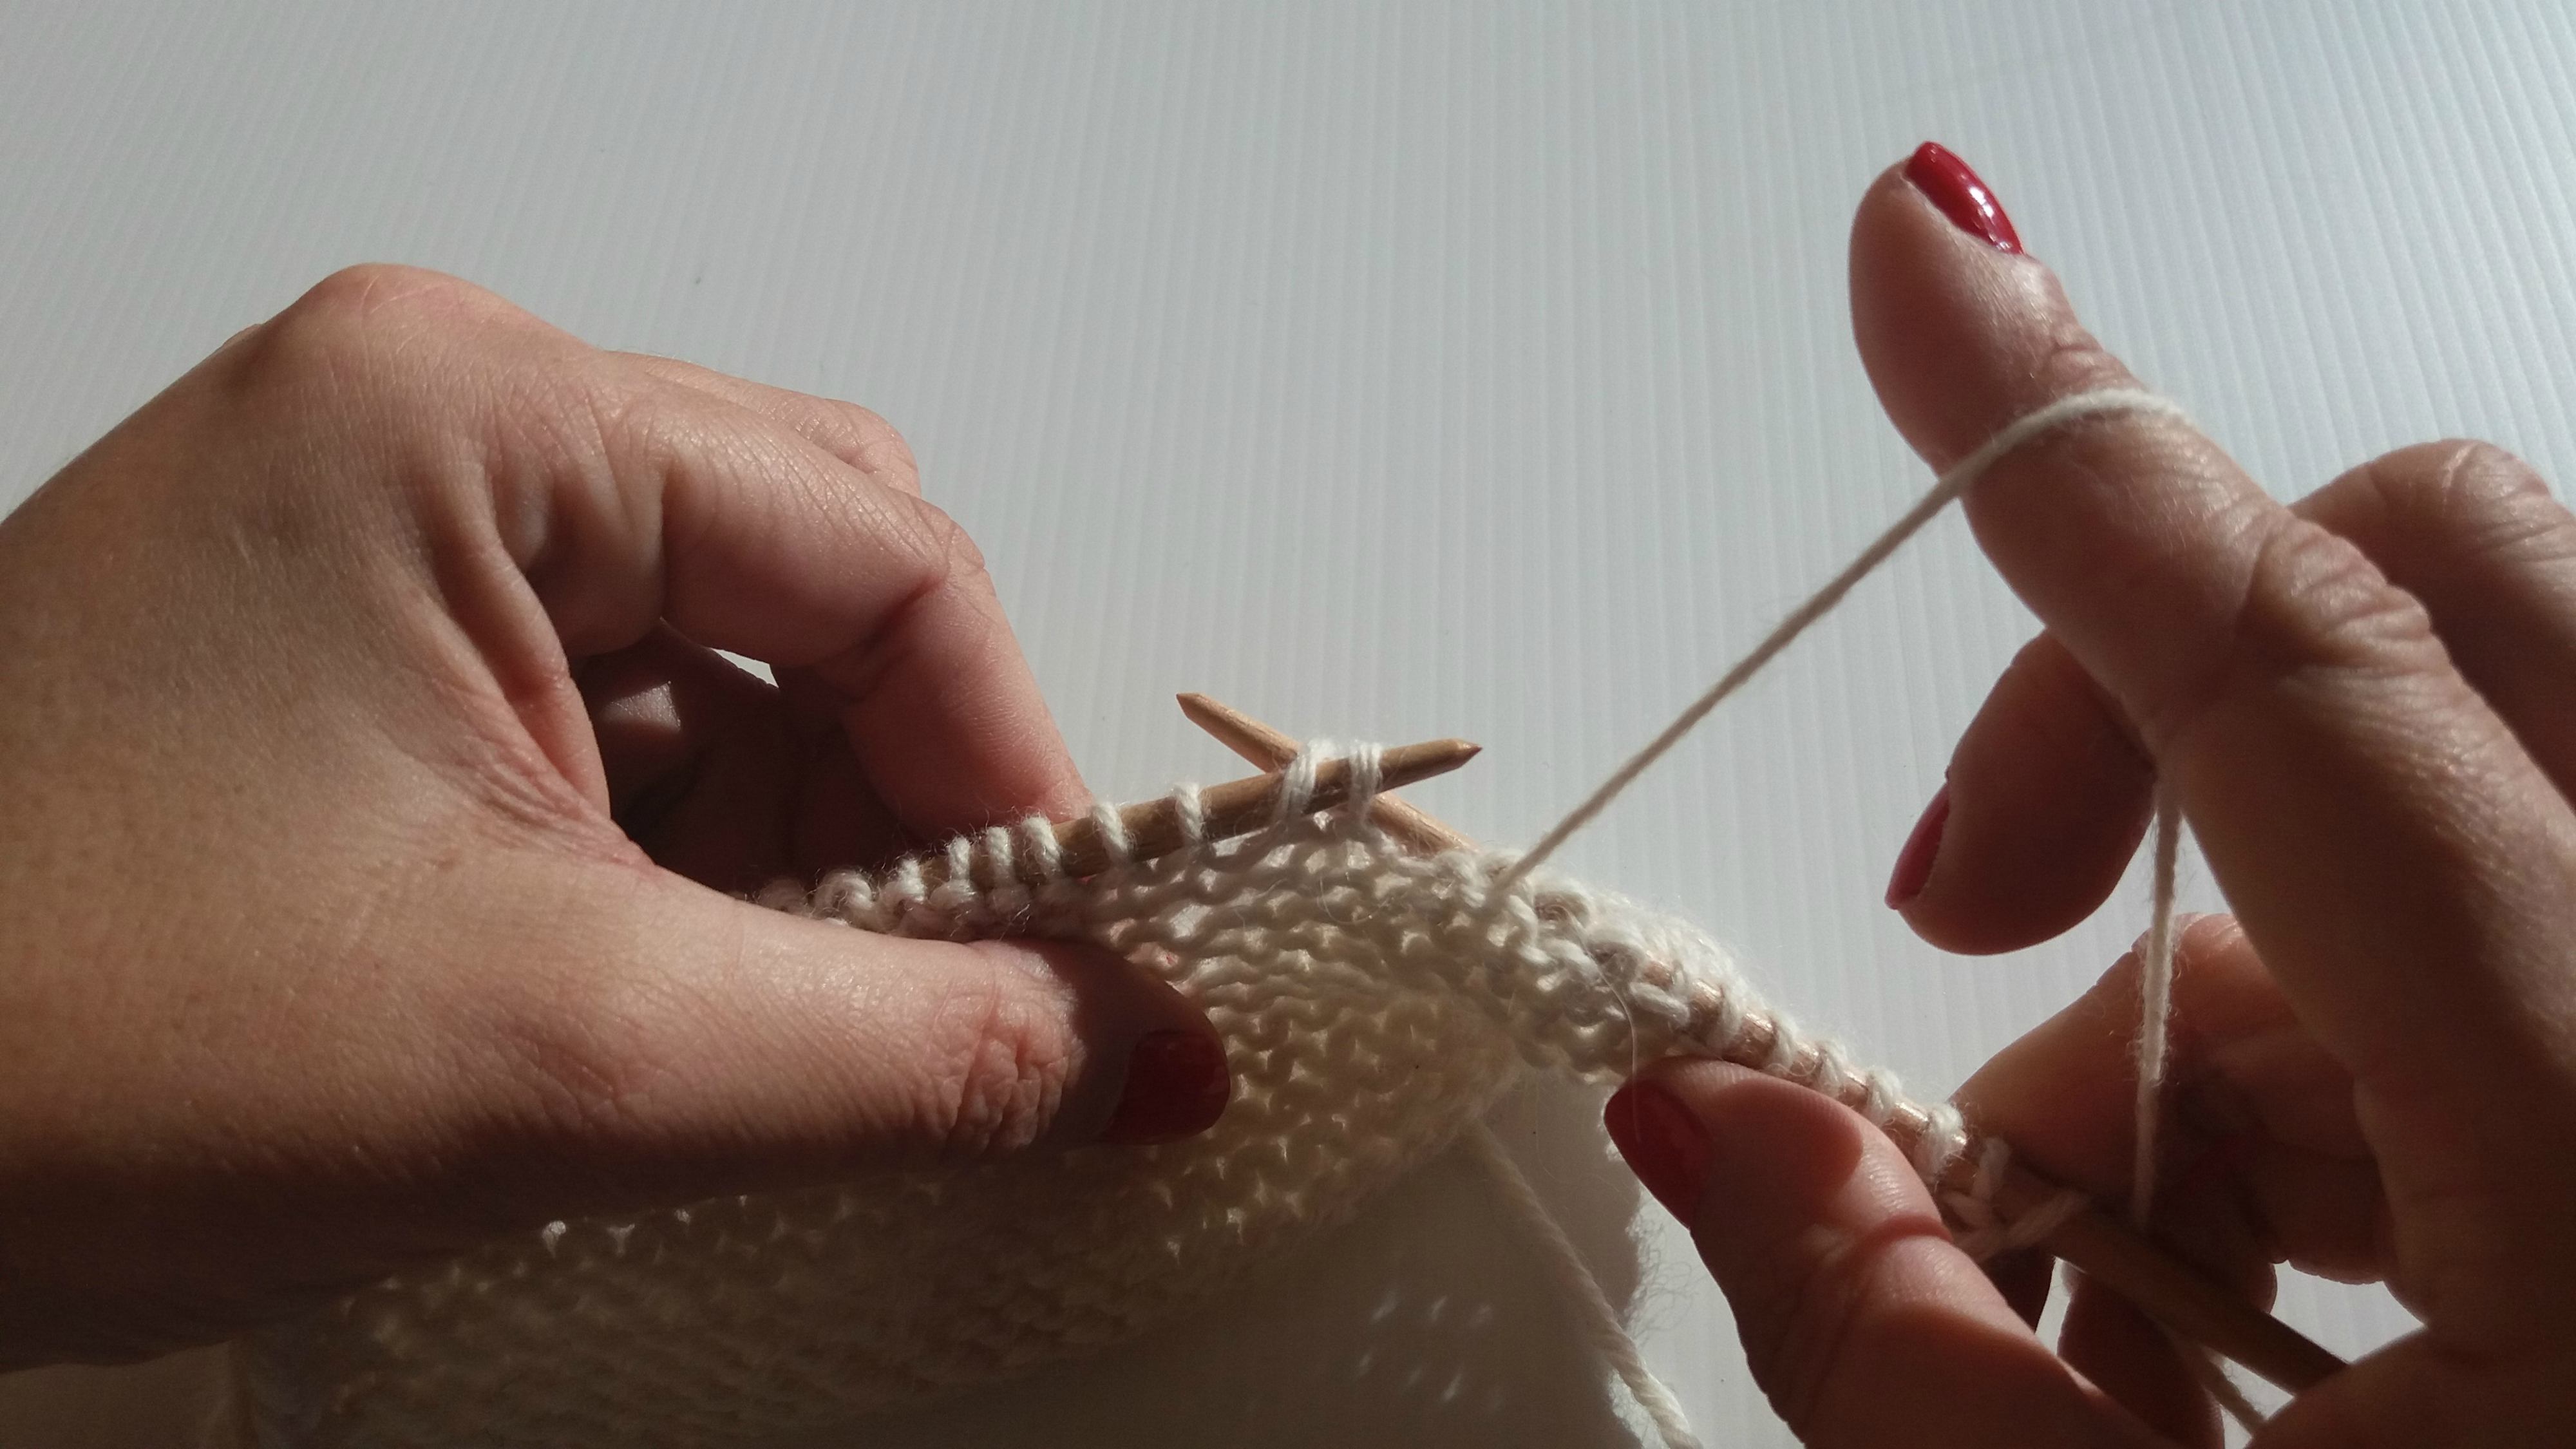
Now you have to purl both stitches together, this is, pass the strand and purl the 2 stitches
together. There you go!
Although it may seem complicated, and has a long name, you see: it’s very simple and easy
to do. With this, your lace and netted stitches will look spectacular! On a last note, the
initials for this stitch are ptbl (purl through the back loop).