In this easy tutorial we are going to show you 7 different stitches to get started in knitting. With these 7 stitches you will be able to create a lot of different projects like scarfs, blankets, beanies, snoods, even sweaters.
You will be amazed how with the combination of knitted and purl stitches you can obtain such different results.
To show you this 7 stitches we are going to use:
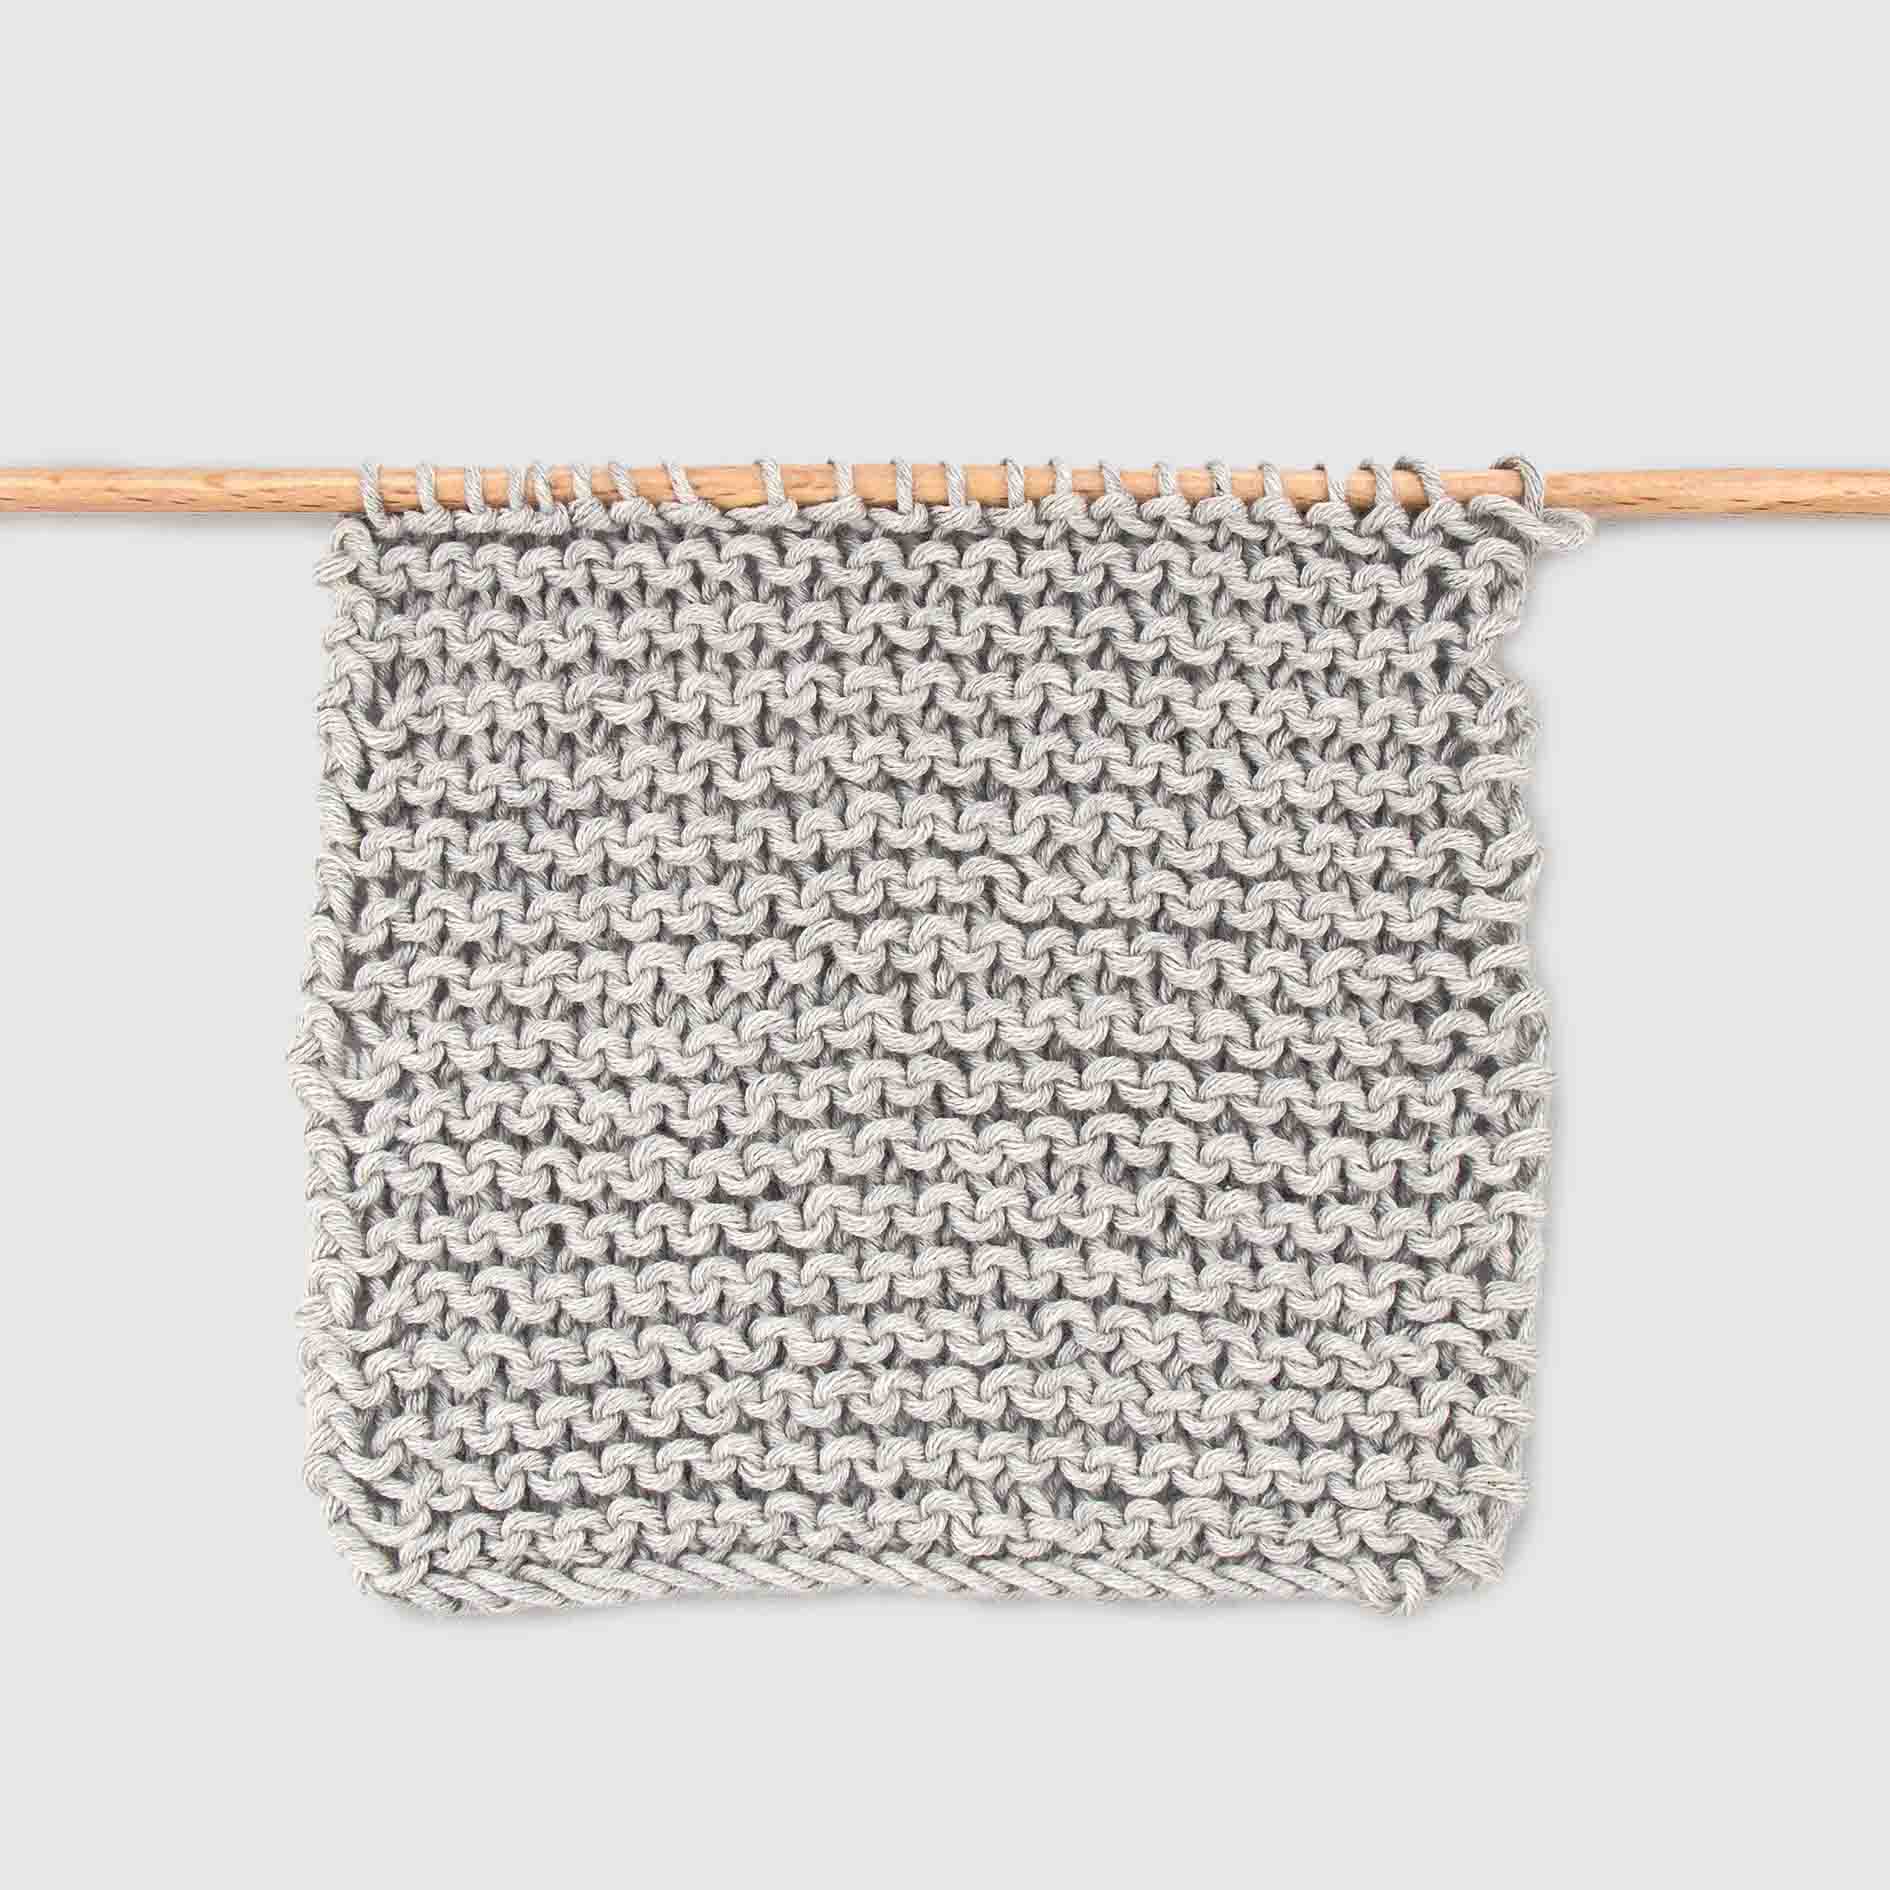
1. Garter stitch
Garter stitch is the most basic you need to know in knitting, this is the main stitch. By practicing this stitch you will master knitting. To work this stitch. Cast on the number of stitches you need or your project calls for and knit every stitch and every row. When you finish the row just turn your project and start again.
We have a few examples of knitting kits for beginners that garter stitch is the only stitch you need to know. These are a few examples: Morse scarf, Brera cardigan, Babe snood.
2. Stockinette stitch
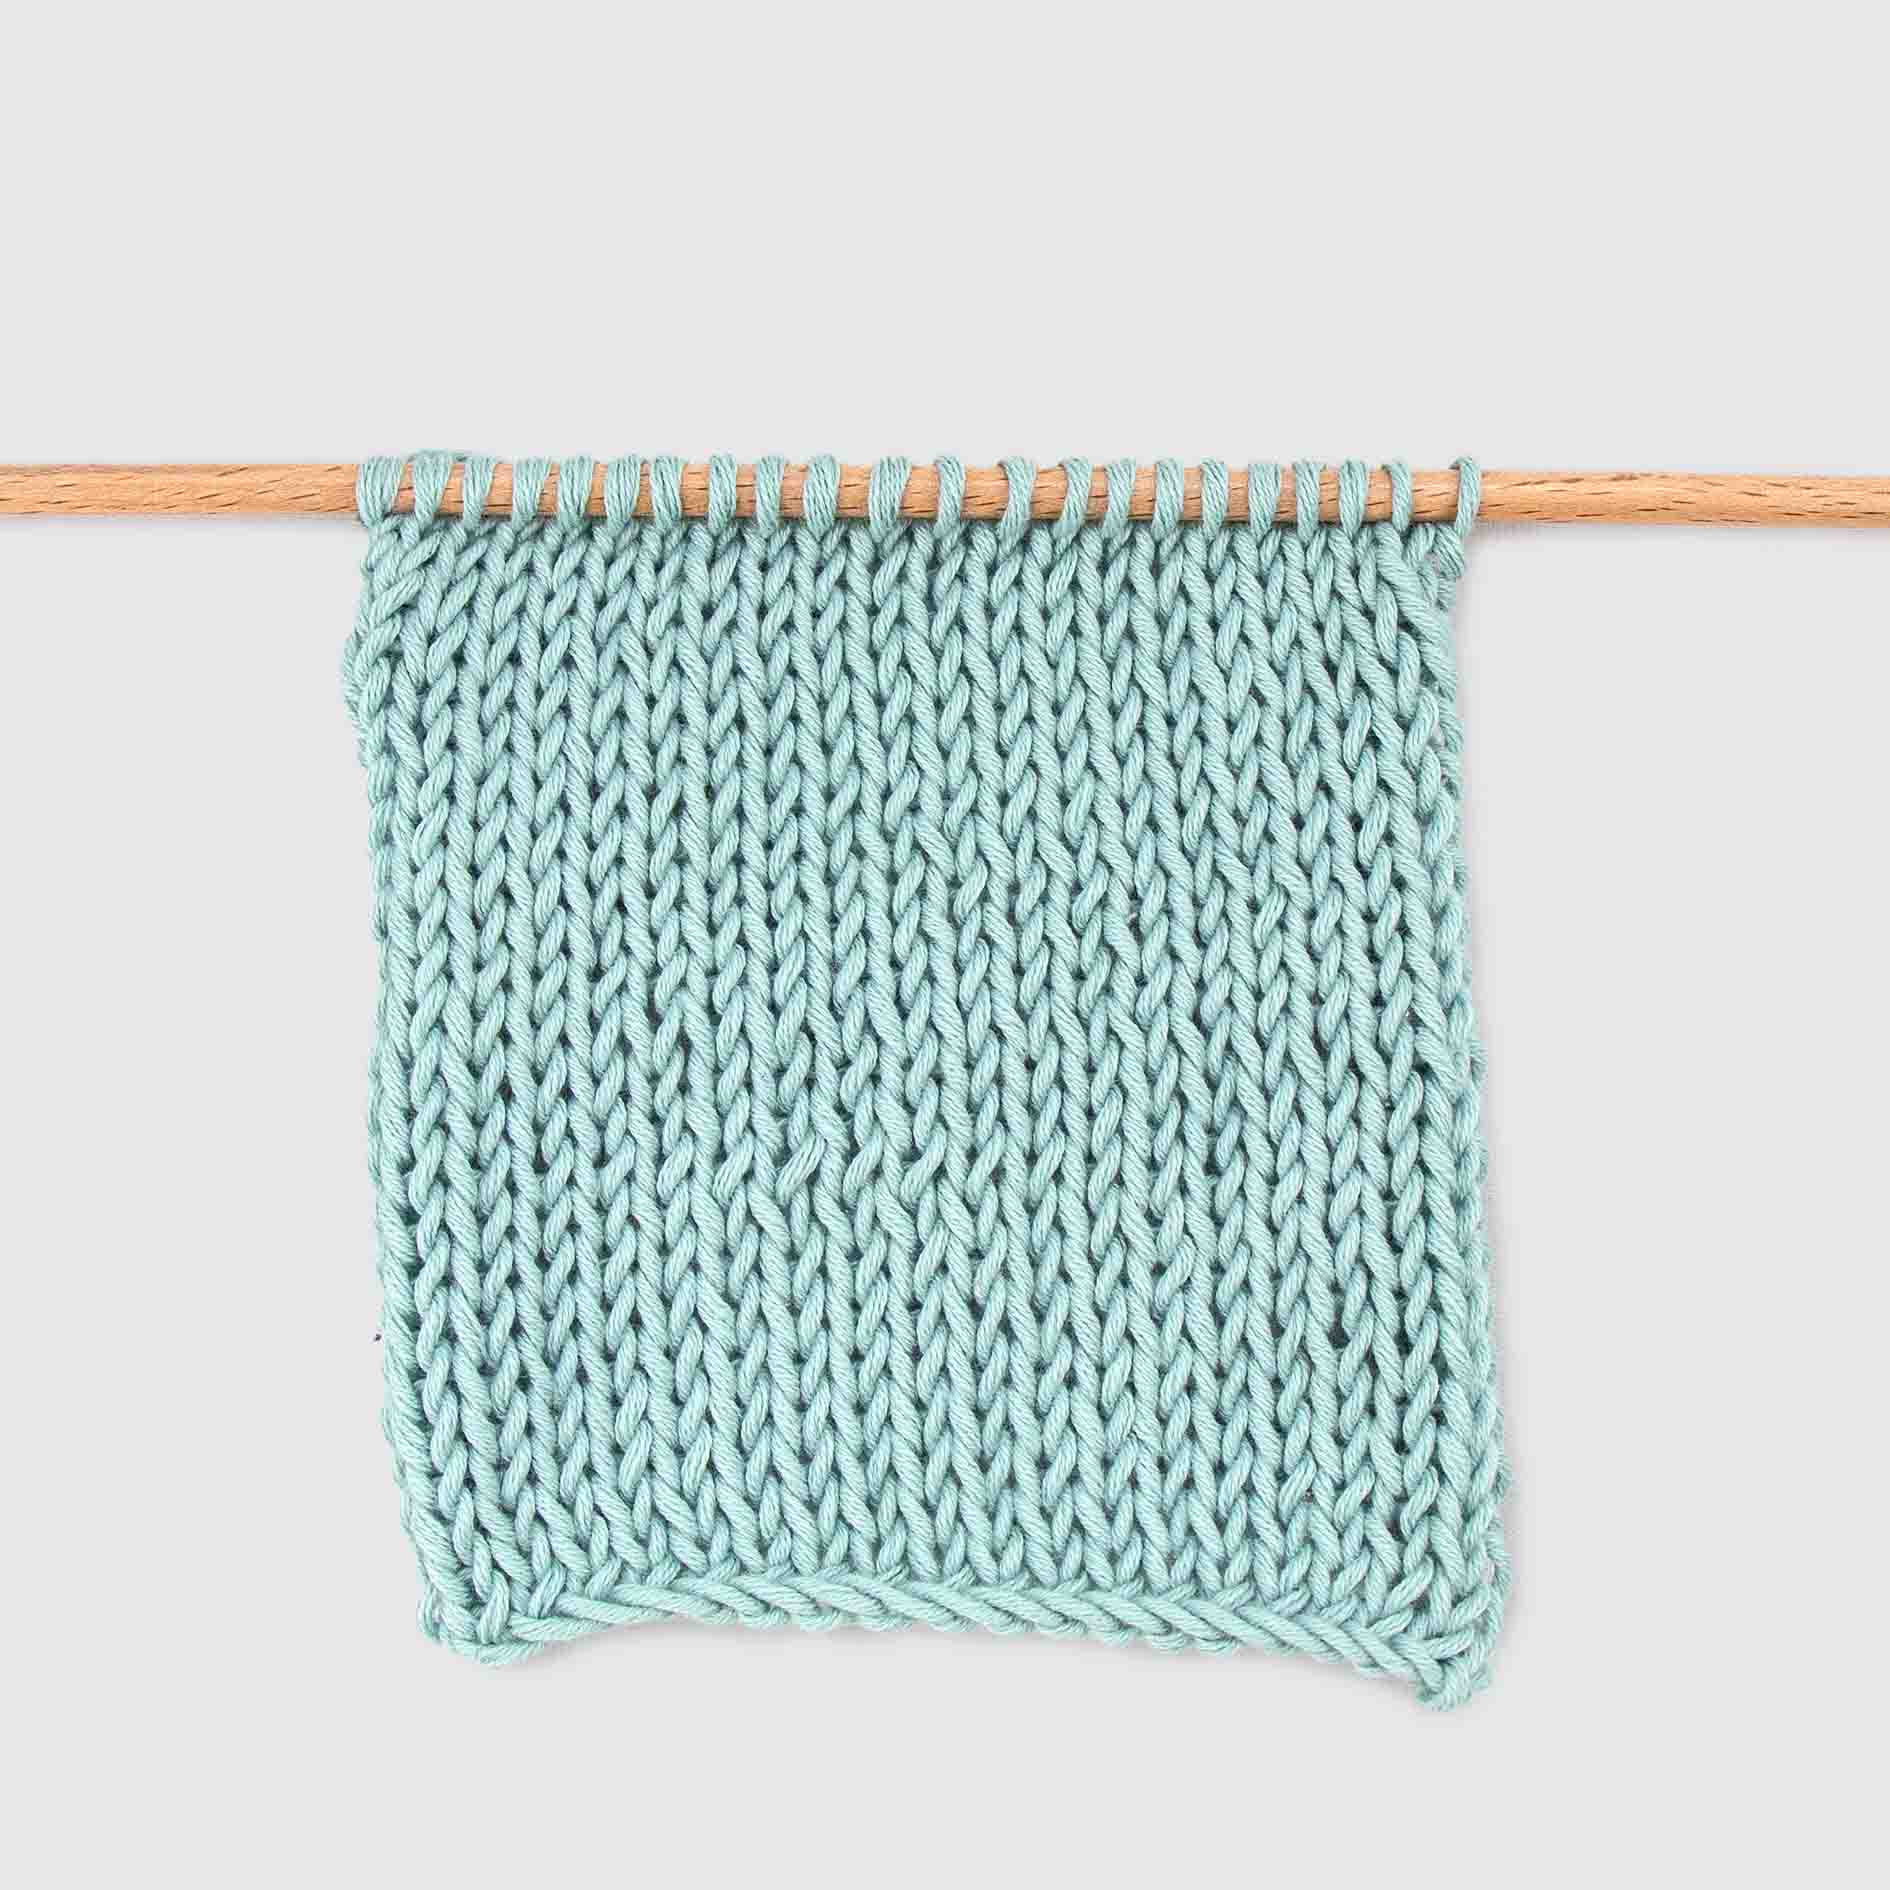
This stitch is a combination of 2 different stitches: the knit stitch and the purl stitch, this stitch will give you a smoother finishing. To work this stitch follow this 2 simple rows:
Odd rows: knit all the stitches.
Even rows: purl all the stitches.
Repeat these two rows until you reach the desired length. The thing about this stitch is that the borders curl so you want to make sure you have a border stitch or a project you don’t mind borders to curl. If for example you want to prevent scarf curling you can always add a garter stitch border.
Our Lulling sweater that is constructed with stockinette stitch stitch only.

3. Lined stockinette stitch
Now we are going to start combining knitted rows with purl rows in different ways to get different results and the lined stockinette stitch in one example. To work this stitch follow this 4 rows:
Row 1: Knit all.
Row 2: Purl all.
Row 3: Knit all.
Row 4: Knit all.
Repeat these 4 rows until you reach the desired length. If you add this knitted row to your even rows one in a while you will prevent the borders from rolling up. You can make a 4, 6 or even an 8 row combination by knitting 5 rows in stockinette stitch and adding this a knitted row in the 6th row.
4. Rib stitch
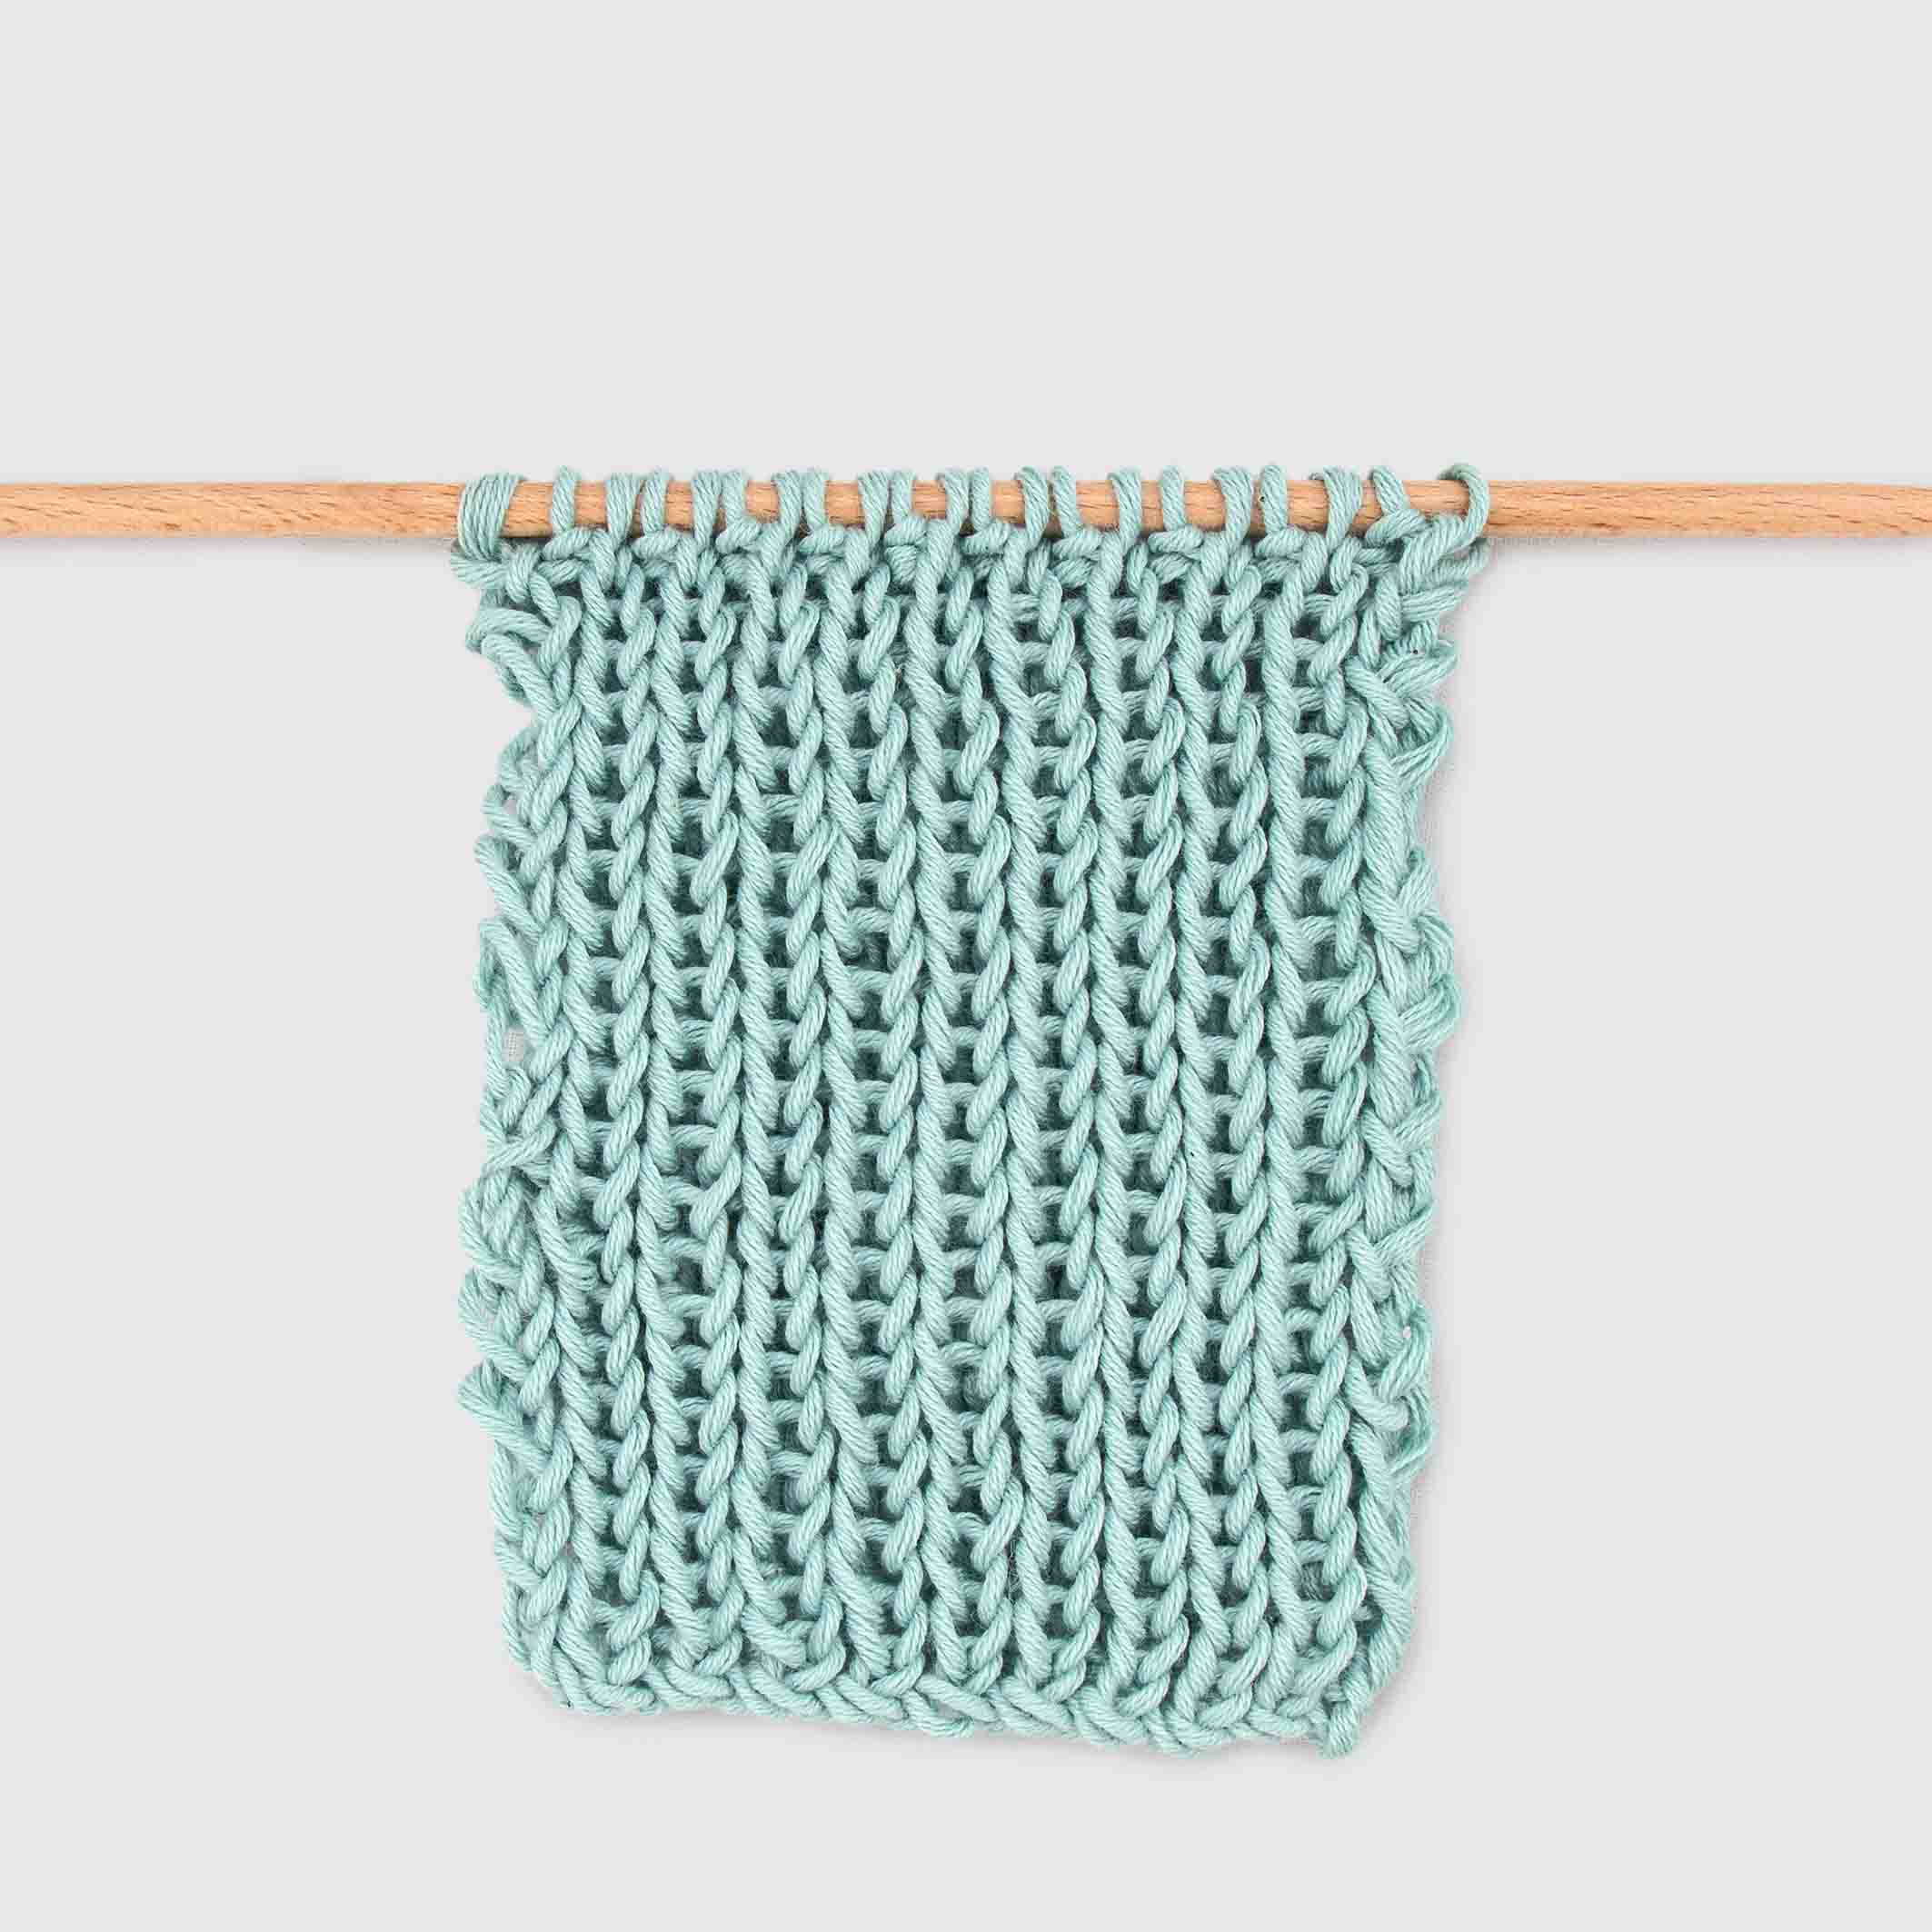
The rib stitch is one of the most used stitches in knitting, almost every sweater, cardigan, beanie has it. Ribbing will add elasticity to your project and it is the best stitch that prevents the borders from rolling up. There are many types of rib stitch but we are going to explain the most common one, the 1×1 rib stitch and this is:
I you have an even number of stitches:
All rows: *Knit 1, purl 1*. Repeat from * to * until the end of the row.
I you have an odd number of stitches:
Odd rows: *Knit 1, purl 1*. Repeat from * to * until the end of the row.
Even rows: *Purl 1, knit 1*. Repeat from * to * until the end of the row.
This combination of stitches will create a vertical stripes effect. To make sure you are making the correct repetition you have to knit the stitches as they appear, this means, knit the knit stitches and purl the purl stitches. Also you can make different combos in rib stitch. You can combine 1 knit stitch with 2 purl stitches (1×2 rib stitch) or 2 knitted stitches with 2 purl stitches (2×2 rib stitch) and this will give you different adaptability.
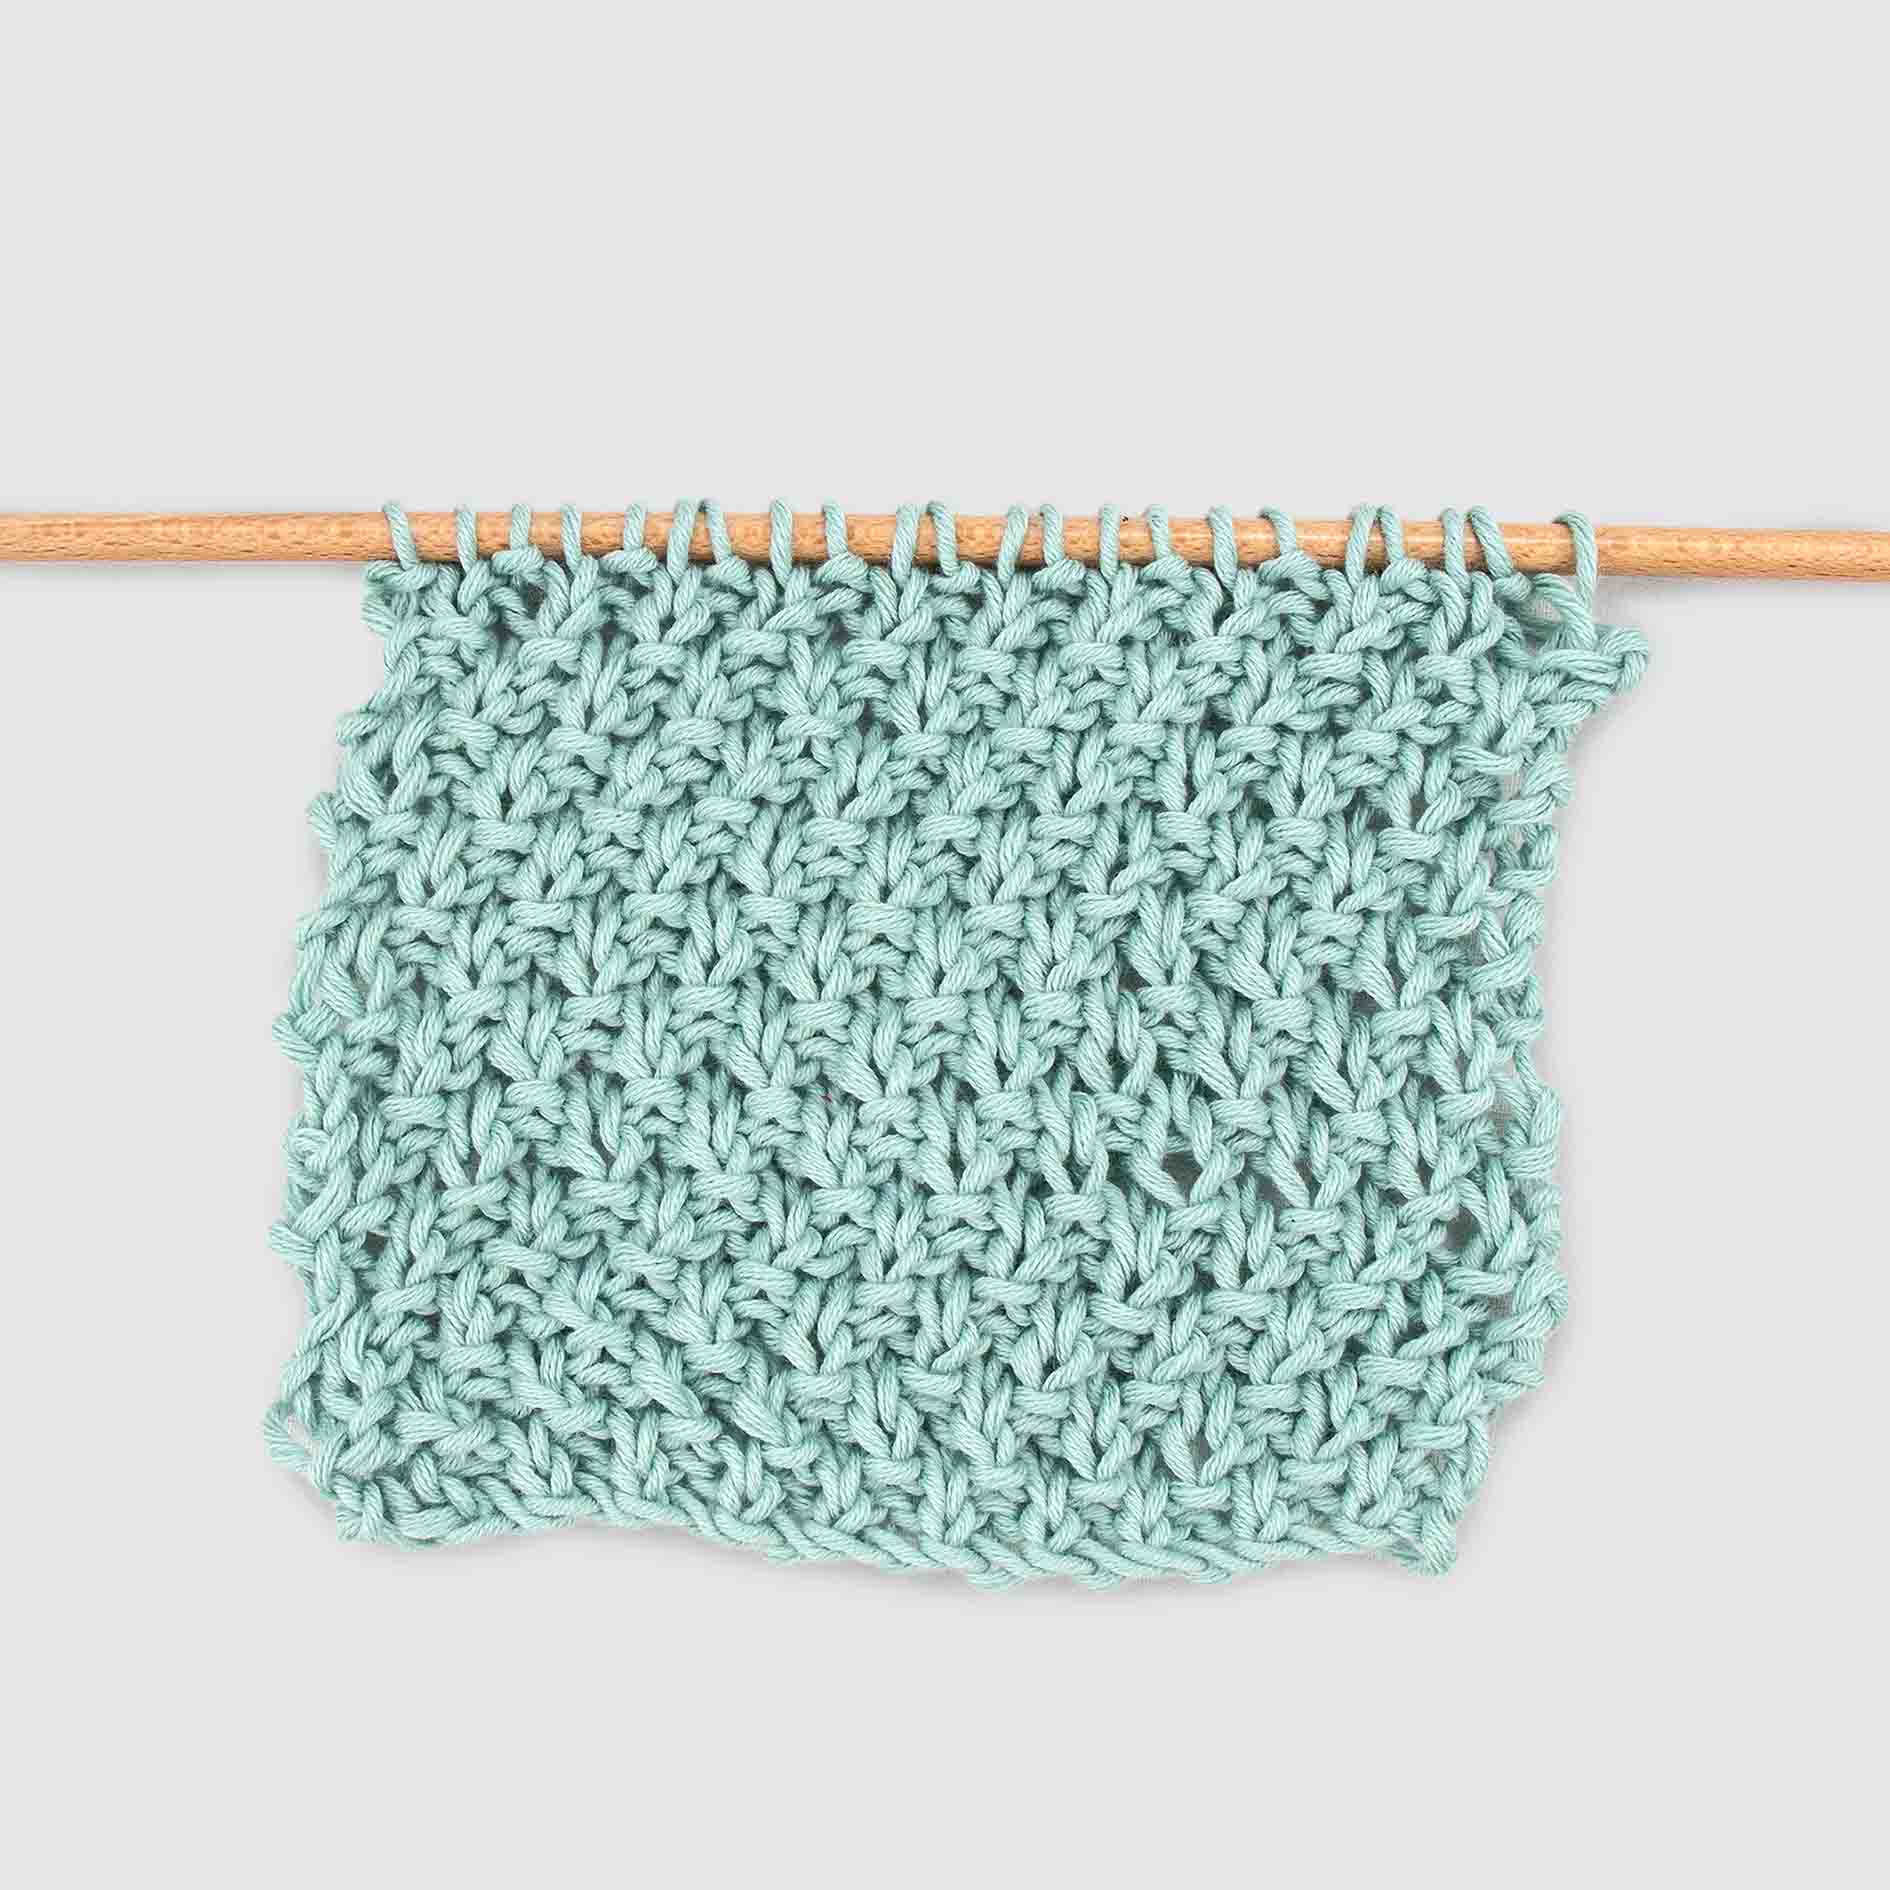
5. Seed Stitch
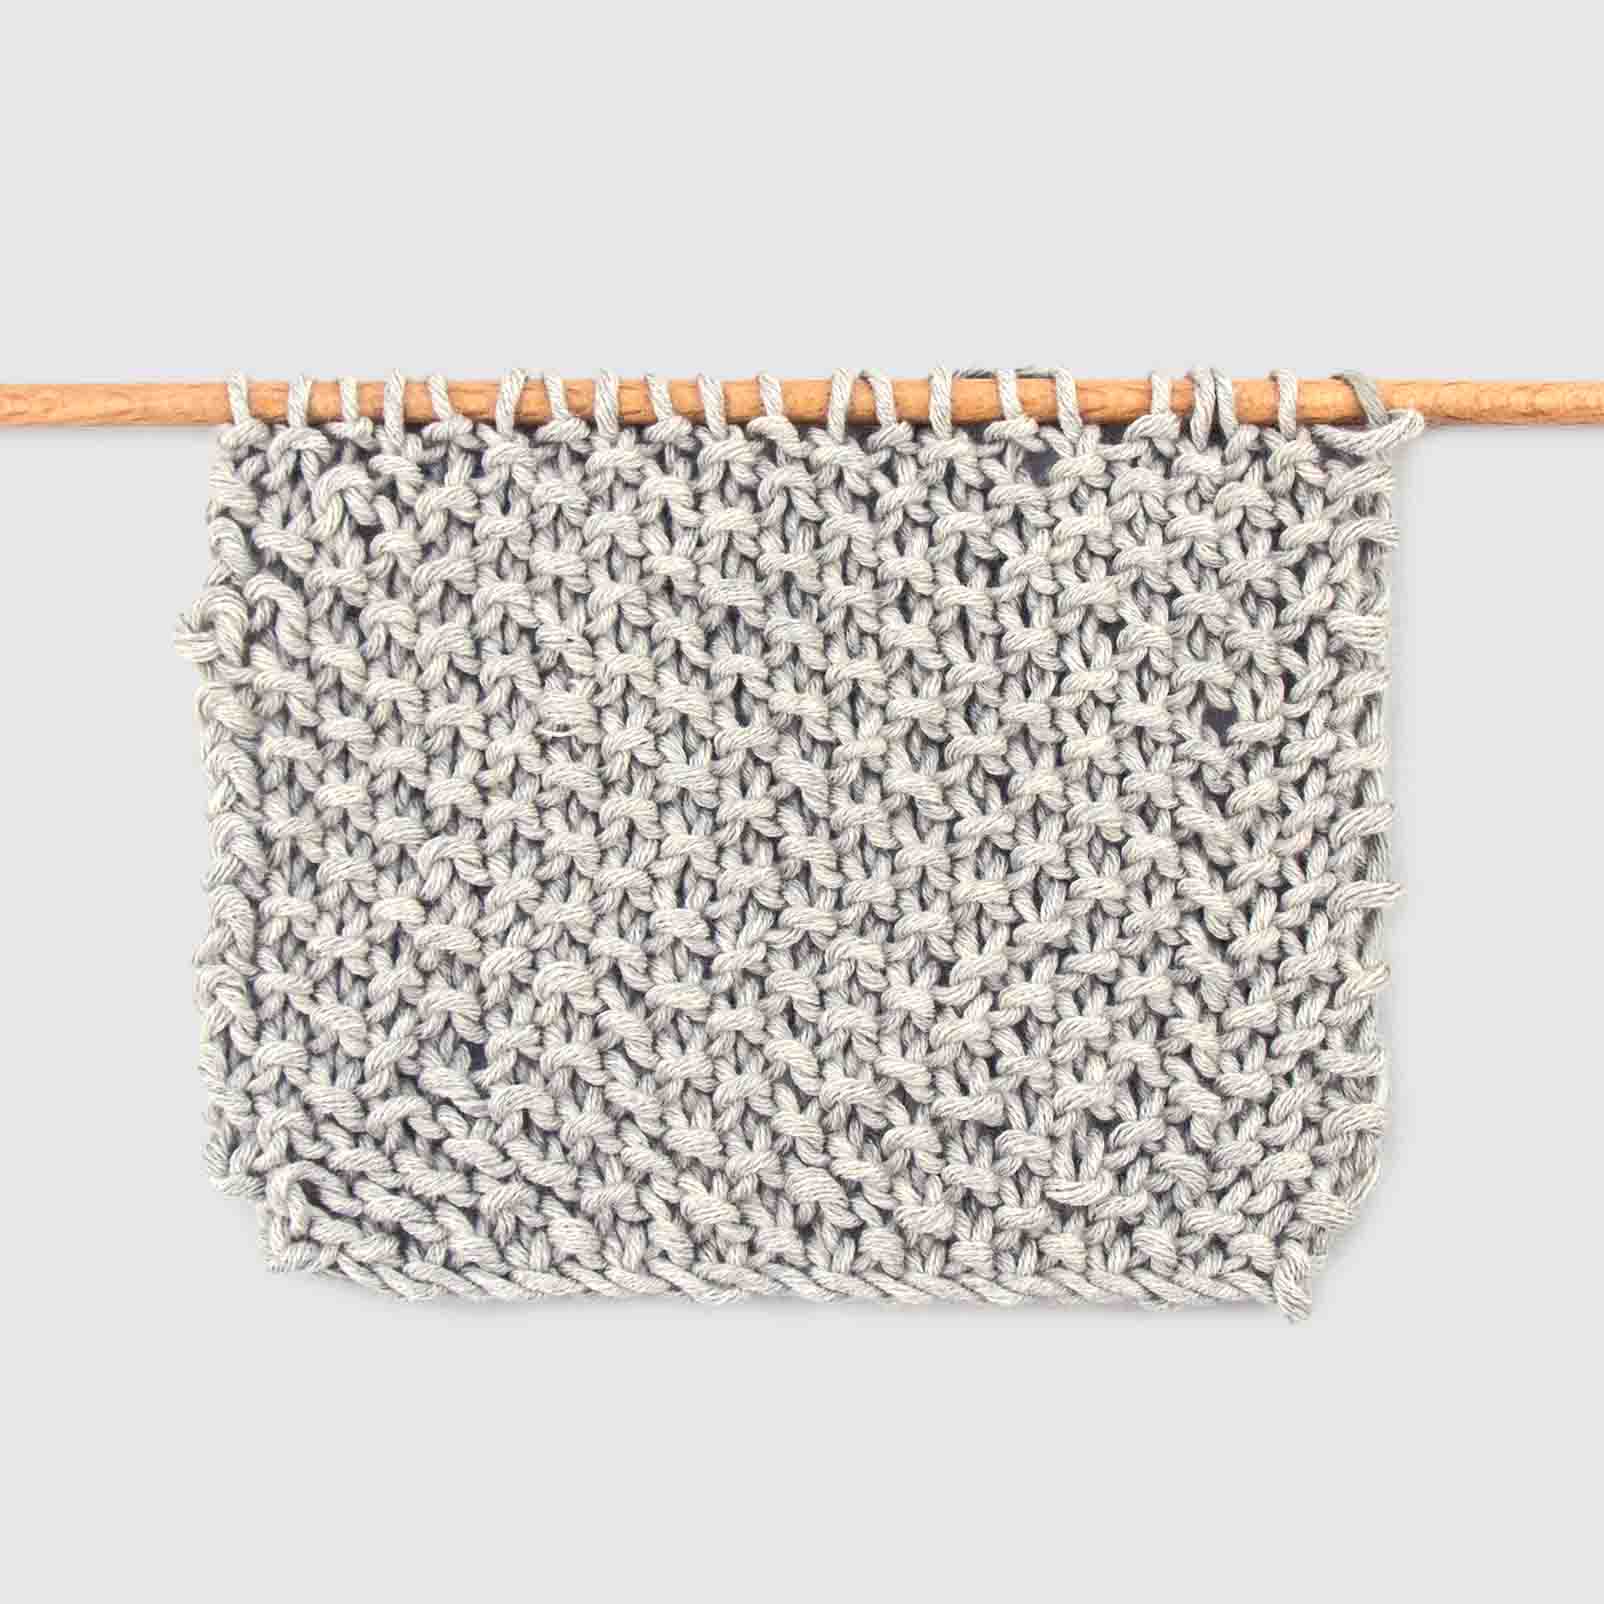
The seed stitch in knitting is the most fun, it will give you texture, clean borders and if you combine colors, fun color effects. This stitch is quite easy you have to combine knit and purl stitches in the same row as follows:
I you have an odd number of stitches:
All rows: *Knit 1, purl 1*. Repeat from * to * until the end of the row.
I you have an even number of stitches:
Odd rows: *Knit 1, purl 1*. Repeat from * to * until the end of the row.
Even rows: *Purl 1, knit 1*. Repeat from * to * until the end of the row.
Repeat these 2 rows until you reach the desired length.
The texture this stitch offers is quite rich, perfect for blankets, one of our favorite knitting blankets kit has it: The Udon Blanket.
6. Moss stitch
This stitch is the variation of the seed stitch, this stitch gives you a little broken rib stitch effect. To work it:
Cast on an even number of stitches:
Rows 1 and 2: *Knit 1, purl 1*. Repeat from * to * until the end of the row.
Rows 3 and 4: *Purl 1, knit 1*. Repeat from * to * until the end of the row.
Repeat these 4 rows until you reach the desired length.
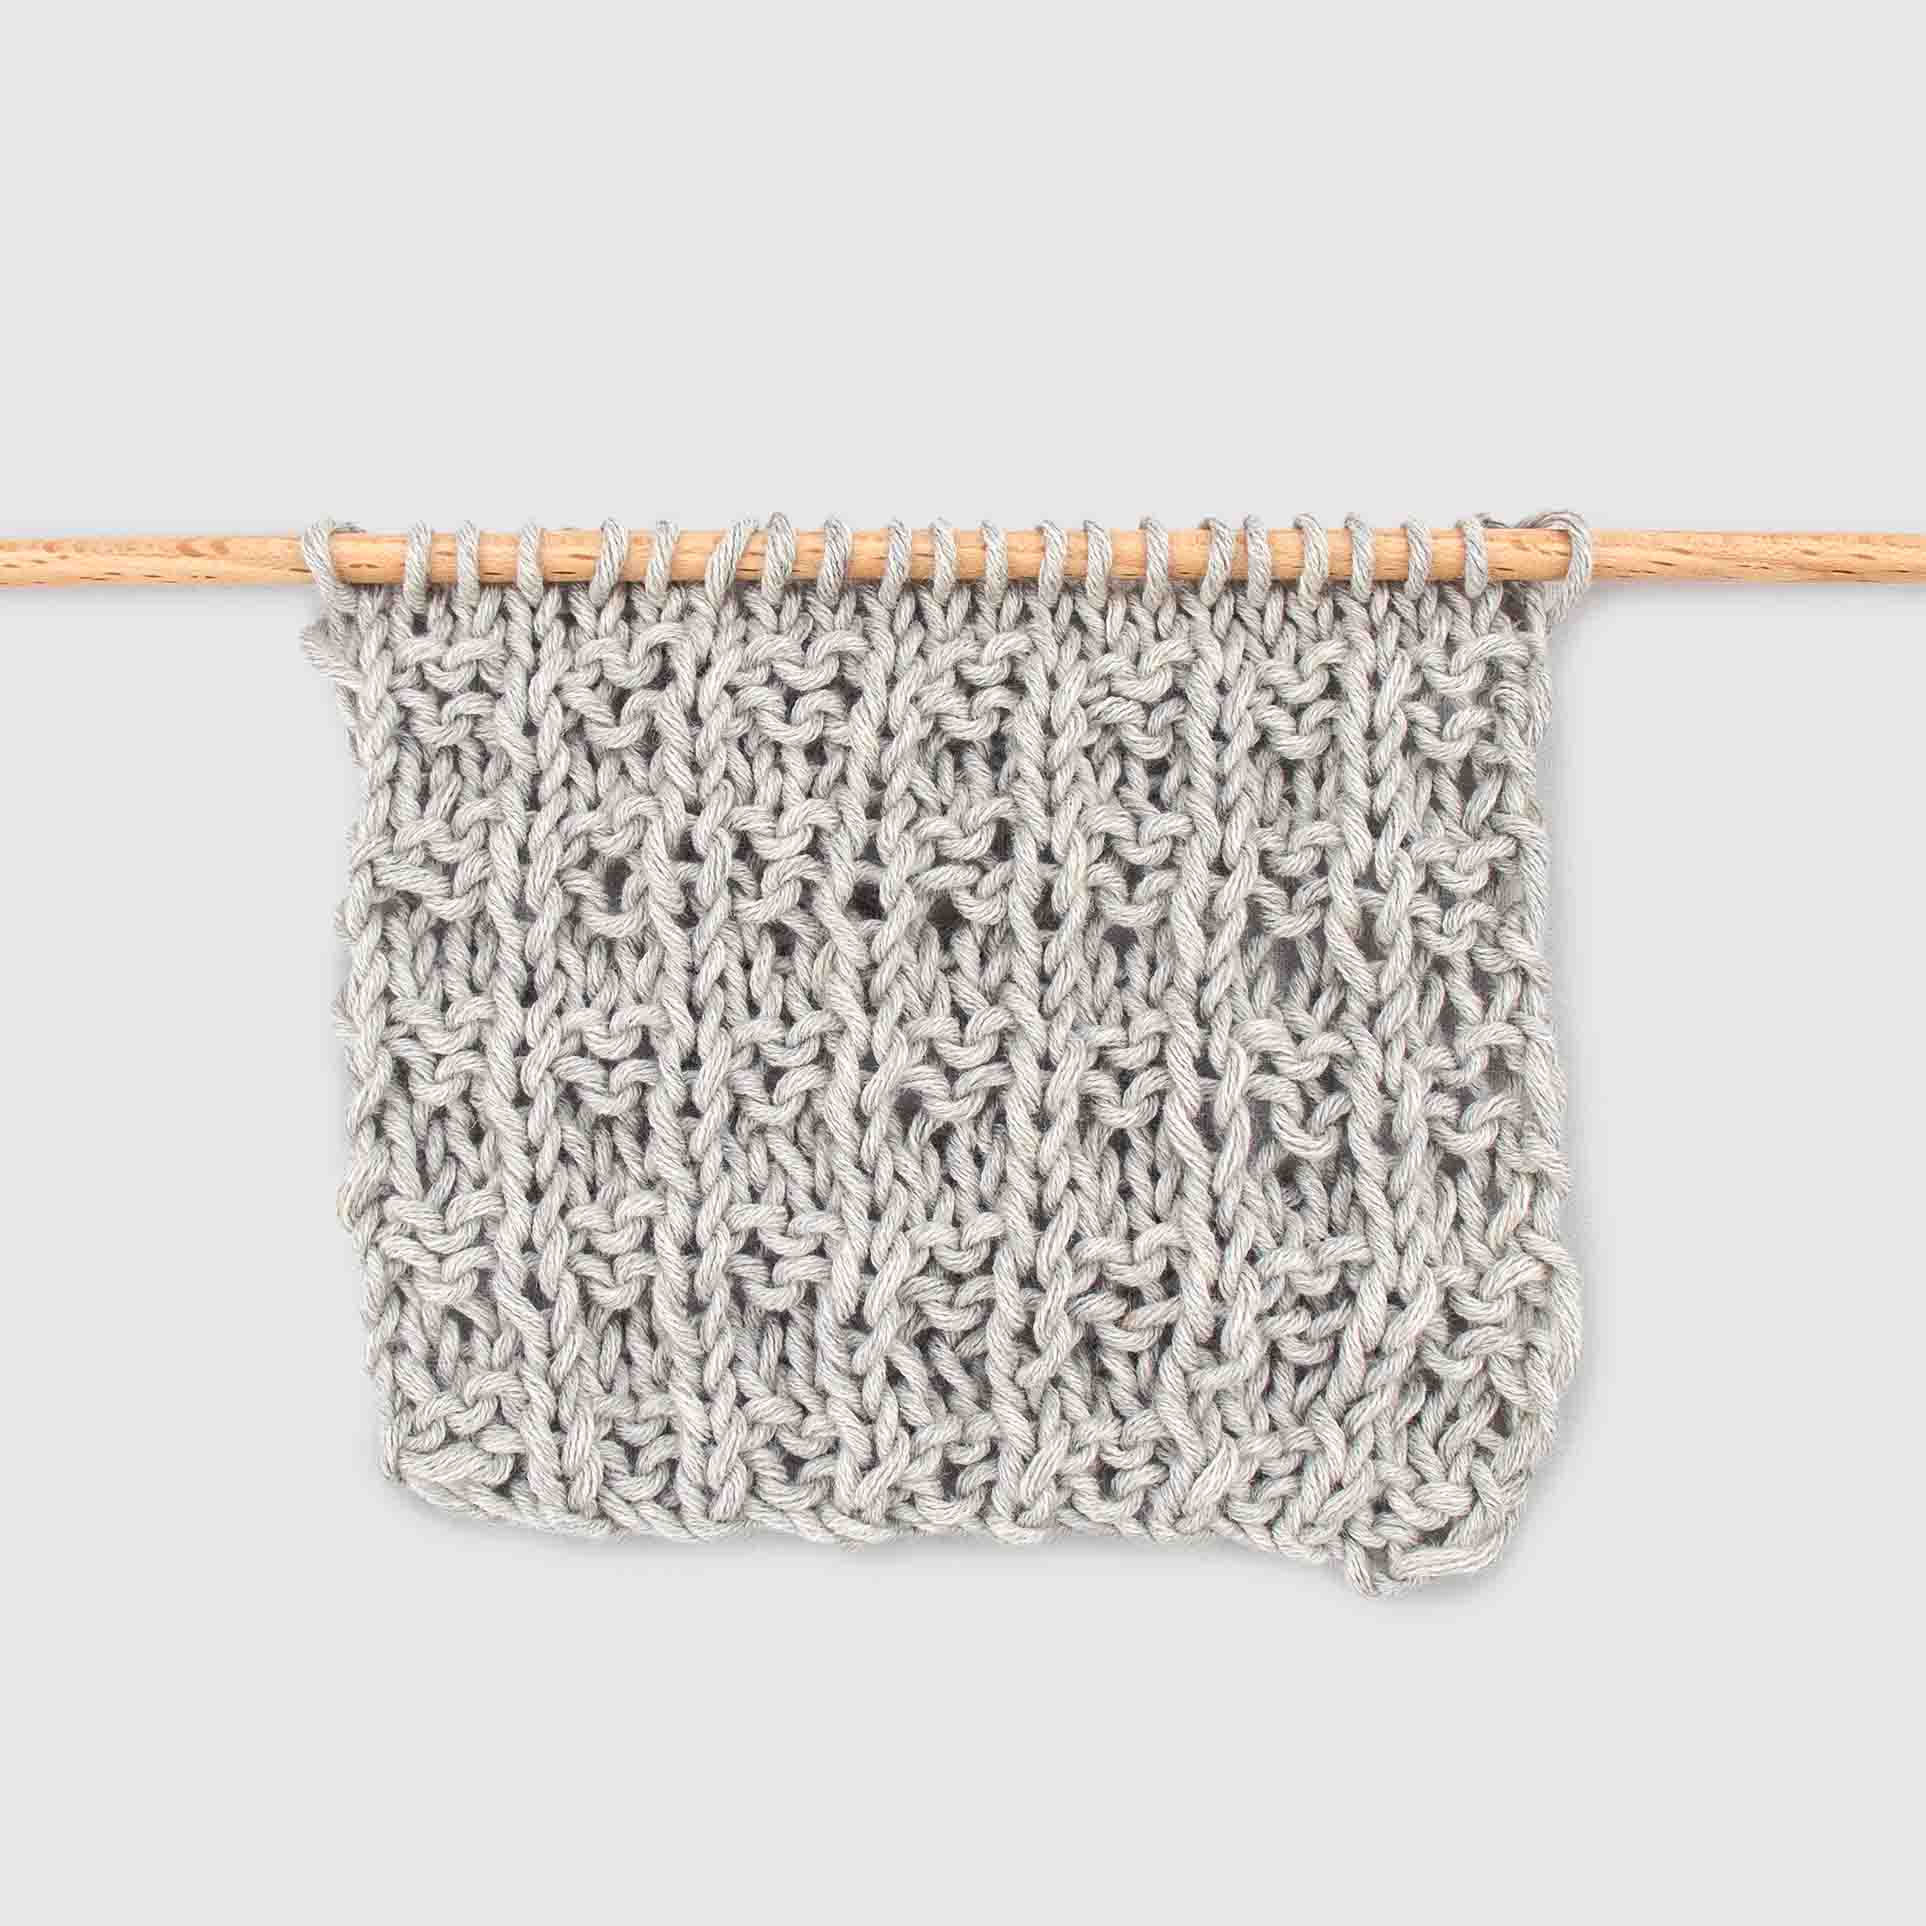
7. Waffle stitch
This is a very decorative stitch. To work it:
Cast on a multiple of 3 number of stitches and add 1 more stitch.
Row 1: *Knit 1, purl 2*. Repeat from * to * until you have 1 stitch and knit it.
Row 2: Purl 1. *Knit 2, purl 1*. Repeat from * to * until the end of the row.
Row 3: Knit all.
Row 4: Purl all
Repeat these 4 rows until you reach the desired length.
Knitting and purling can give you endless possibilities, different textures, drawings, knitting colorwork techniques, etc. Just by using these two knitting techniques you can make all types of different projects. Practice and make your own stitch variations. Or you can also go to our beginner kit section on our website where you can find the best projects.
We hope you like this 7 stitches and that soon you share your projects with it on social media with the hashtag #weareknitters 🙂 Until next time!


