If you want to learn how to start crocheting amigurumi? You’re in the right place!
Amigurumi patterns are getting popular these days, this is because in just a few hours you can crochet almost every shape, from simple shapes such as balls to your favorite TV show character.
Normally they use them as toys do its soft and secure shape but I have seen them used as deco pieces, key chains, door stoppers, bags, napkin holders, puffs, etc.
Crochet patterns for amigurumi beginners can be fun and easy with just a few steps to get you started.
With six simple steps you will master crocheting amigurumi. First, you’ll learn what is the magic circle in crochet, then we’ll show you the basic stitch (single crochet), working in spiral, increasing, decreasing and finishing.
To show you how to crochet, we will use one of our easiest free amigurumi pattern: Hear my heart beat amigurumi that you can find in our free pattern section. If you finish this pattern you will be able to complete lots of different amigurumi shapes.
These are the materials you will need to get started:
- 3mm crochet hook
- Pima cotton Terracota
- Scissors
- Stuffing
- Tapestry needle

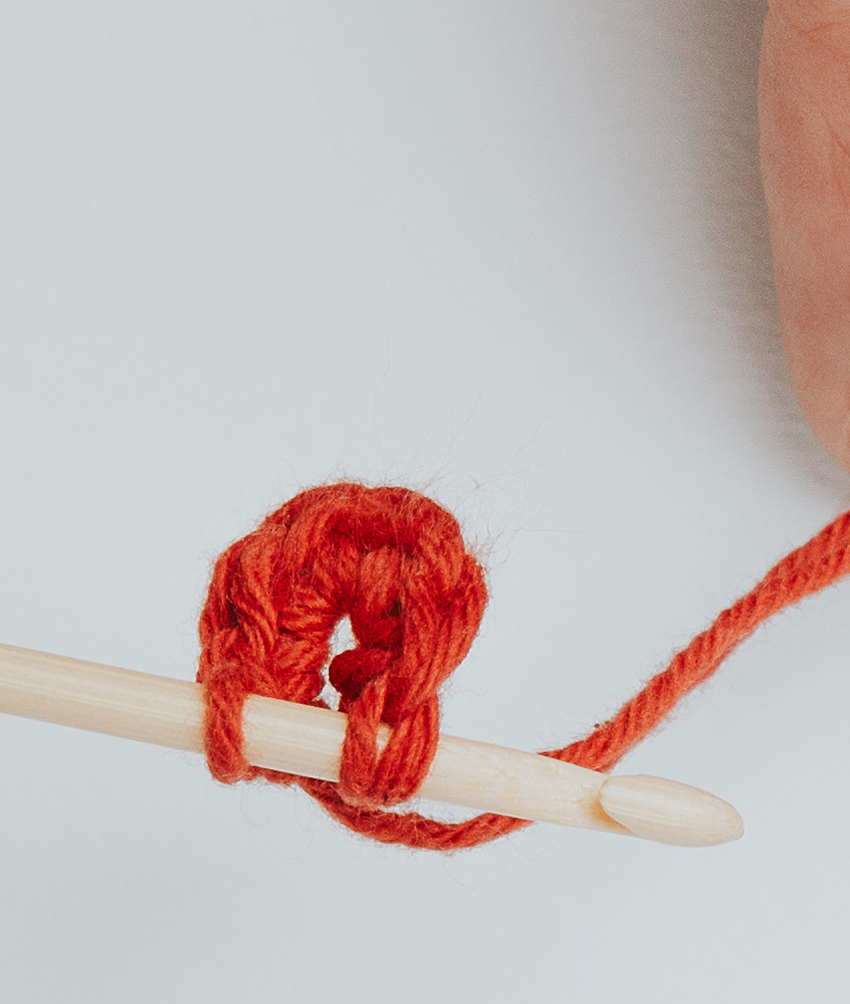
Magic circle
Amigurumi comes in lots of shapes and forms, but the fun part of crocheting amigurumi is that you crochet in a 3d way, this can sound weir, but let me explain. Instead of working pieces and sewing it to shape them in amigurumi you crochet the shape already to do so you need to crochet in the round, without turning your work, so the way to accomplish this is learning the magic circle and working on spiral.
To learn crocheting magic circle, wrap your index finger and thumb with the tail of the yarn to create a loop. Insert the crochet hook into the center of this loop, yarn over the hook with the strand coming from the skein and draw it through the loop. You will have one loop on your hook. Next, yarn over the hook again with the strand coming from the skein and draw it through the loop on your hook to close the ring. The magic ring is formed. Work the stitches as indicated in the pattern into the magic ring.
Working in spiral
Amigurumis normally are worked in spiral. This means that when you begin a new row, you will not turn the work, nor will you chain stitches. Instead, you will work directly into the first stitch of the previous row. When working in spiral, it is not necessary to make turning chains to begin the row.
Single crochet
Almost every amigurumi is worked in single crochet, single crochet makes the work tighter, so the shape is more defined. Some times are used other types of stitches like double or even triple crochet, this way you can add textures and curves. But as long as you know how to single crochet you are going to know how to do several shapes.
Insert the crochet hook into the stitch of the previous row as indicated in the pattern, yarn over. Draw yarn through chain and up onto the working area of the crochet hook. You now have two loops on the hook. Again, yarn over and draw yarn through both loops on the crochet hook. To start a row in single crochet, you need to chain one.
Increasing
To increase one stitch, work the same stitch twice. This means work two stitches into one stitch.
Decreasing
To decrease crocheting amigurumi, you have to close two stitches together as if they were one. And you only have to work the front leg of the stitch. This means insert the hook into the first stitch (only front leg), yarn over and draw yarn through. You will have two loops on the hook. Insert your hook into the next stitch (only front leg), yarn over and draw yarn through. You will have three loops on the hook. Yarn over and draw yarn through the remaining loops on the hook.
When decreasing remember to pull the yarn a little bit tighter than you use to, this is to pull the stitches together.

Finishing an amigurumi
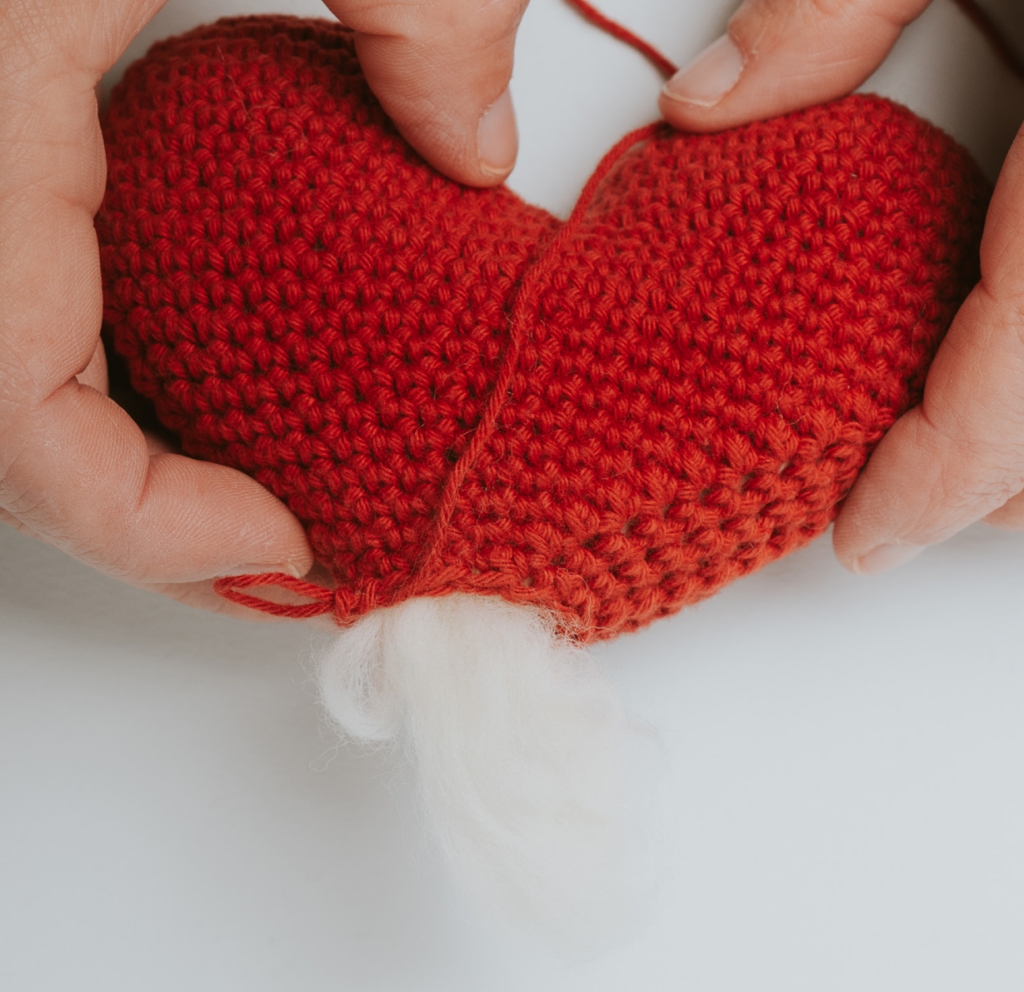
When you only have a few rows left, normally the pattern will call for it, stuff the amigurumi, you can use batting or yarn scraps. Both will give you similar results. Try to shape the amigurumi as you are stuffing it to avoid unwanted bumps.
When you finish to crochet the amigurumi, cut the yarn leaving a few inches, 10 for example, thread the tapestry needle, pass the needle through the front loop of every stitch of the last row and pull it tight. Pass the tapestry needle through the stitches to hide the end.
We hope you like this crochet amigurumi basics and that soon you share your projects with it on social media with the hashtag #weareknitters 🙂 Until next time!