Hi knitters!!
Today we are going to talk about the measure or sample of a design which determines the strain of the fabric.
It is very common to feel that after having finished a design, you did not get the same measures as the ones on the pattern. Each knitter is different and their technique can vary depending on the way they knit and the chosen pattern.
This fact is of course not negative and should keep different for everyone. So don’t worry at all…because today we would like to explain you, why knitting samples have different measures.
The sample calculates the strain or tension of a stitch and always varies. Why can’t we have exact the same measures as other knitters? First of all, the position of the thread is always different depending on the knitter’s technique and experience. Secondly, each knitter also has a different strength during his knitting time.
If you really want to control your strength while doing your samples, here is a good trick that you only need to check before starting a new design.
Just check the pattern:
If we read on our pattern that for example 6 stitches are equal to 10 cm and 9 rows equal to 10 cm too, then we calculate our measures counting 10cmX10cm and also our stitches and rows for that exact measure/size.
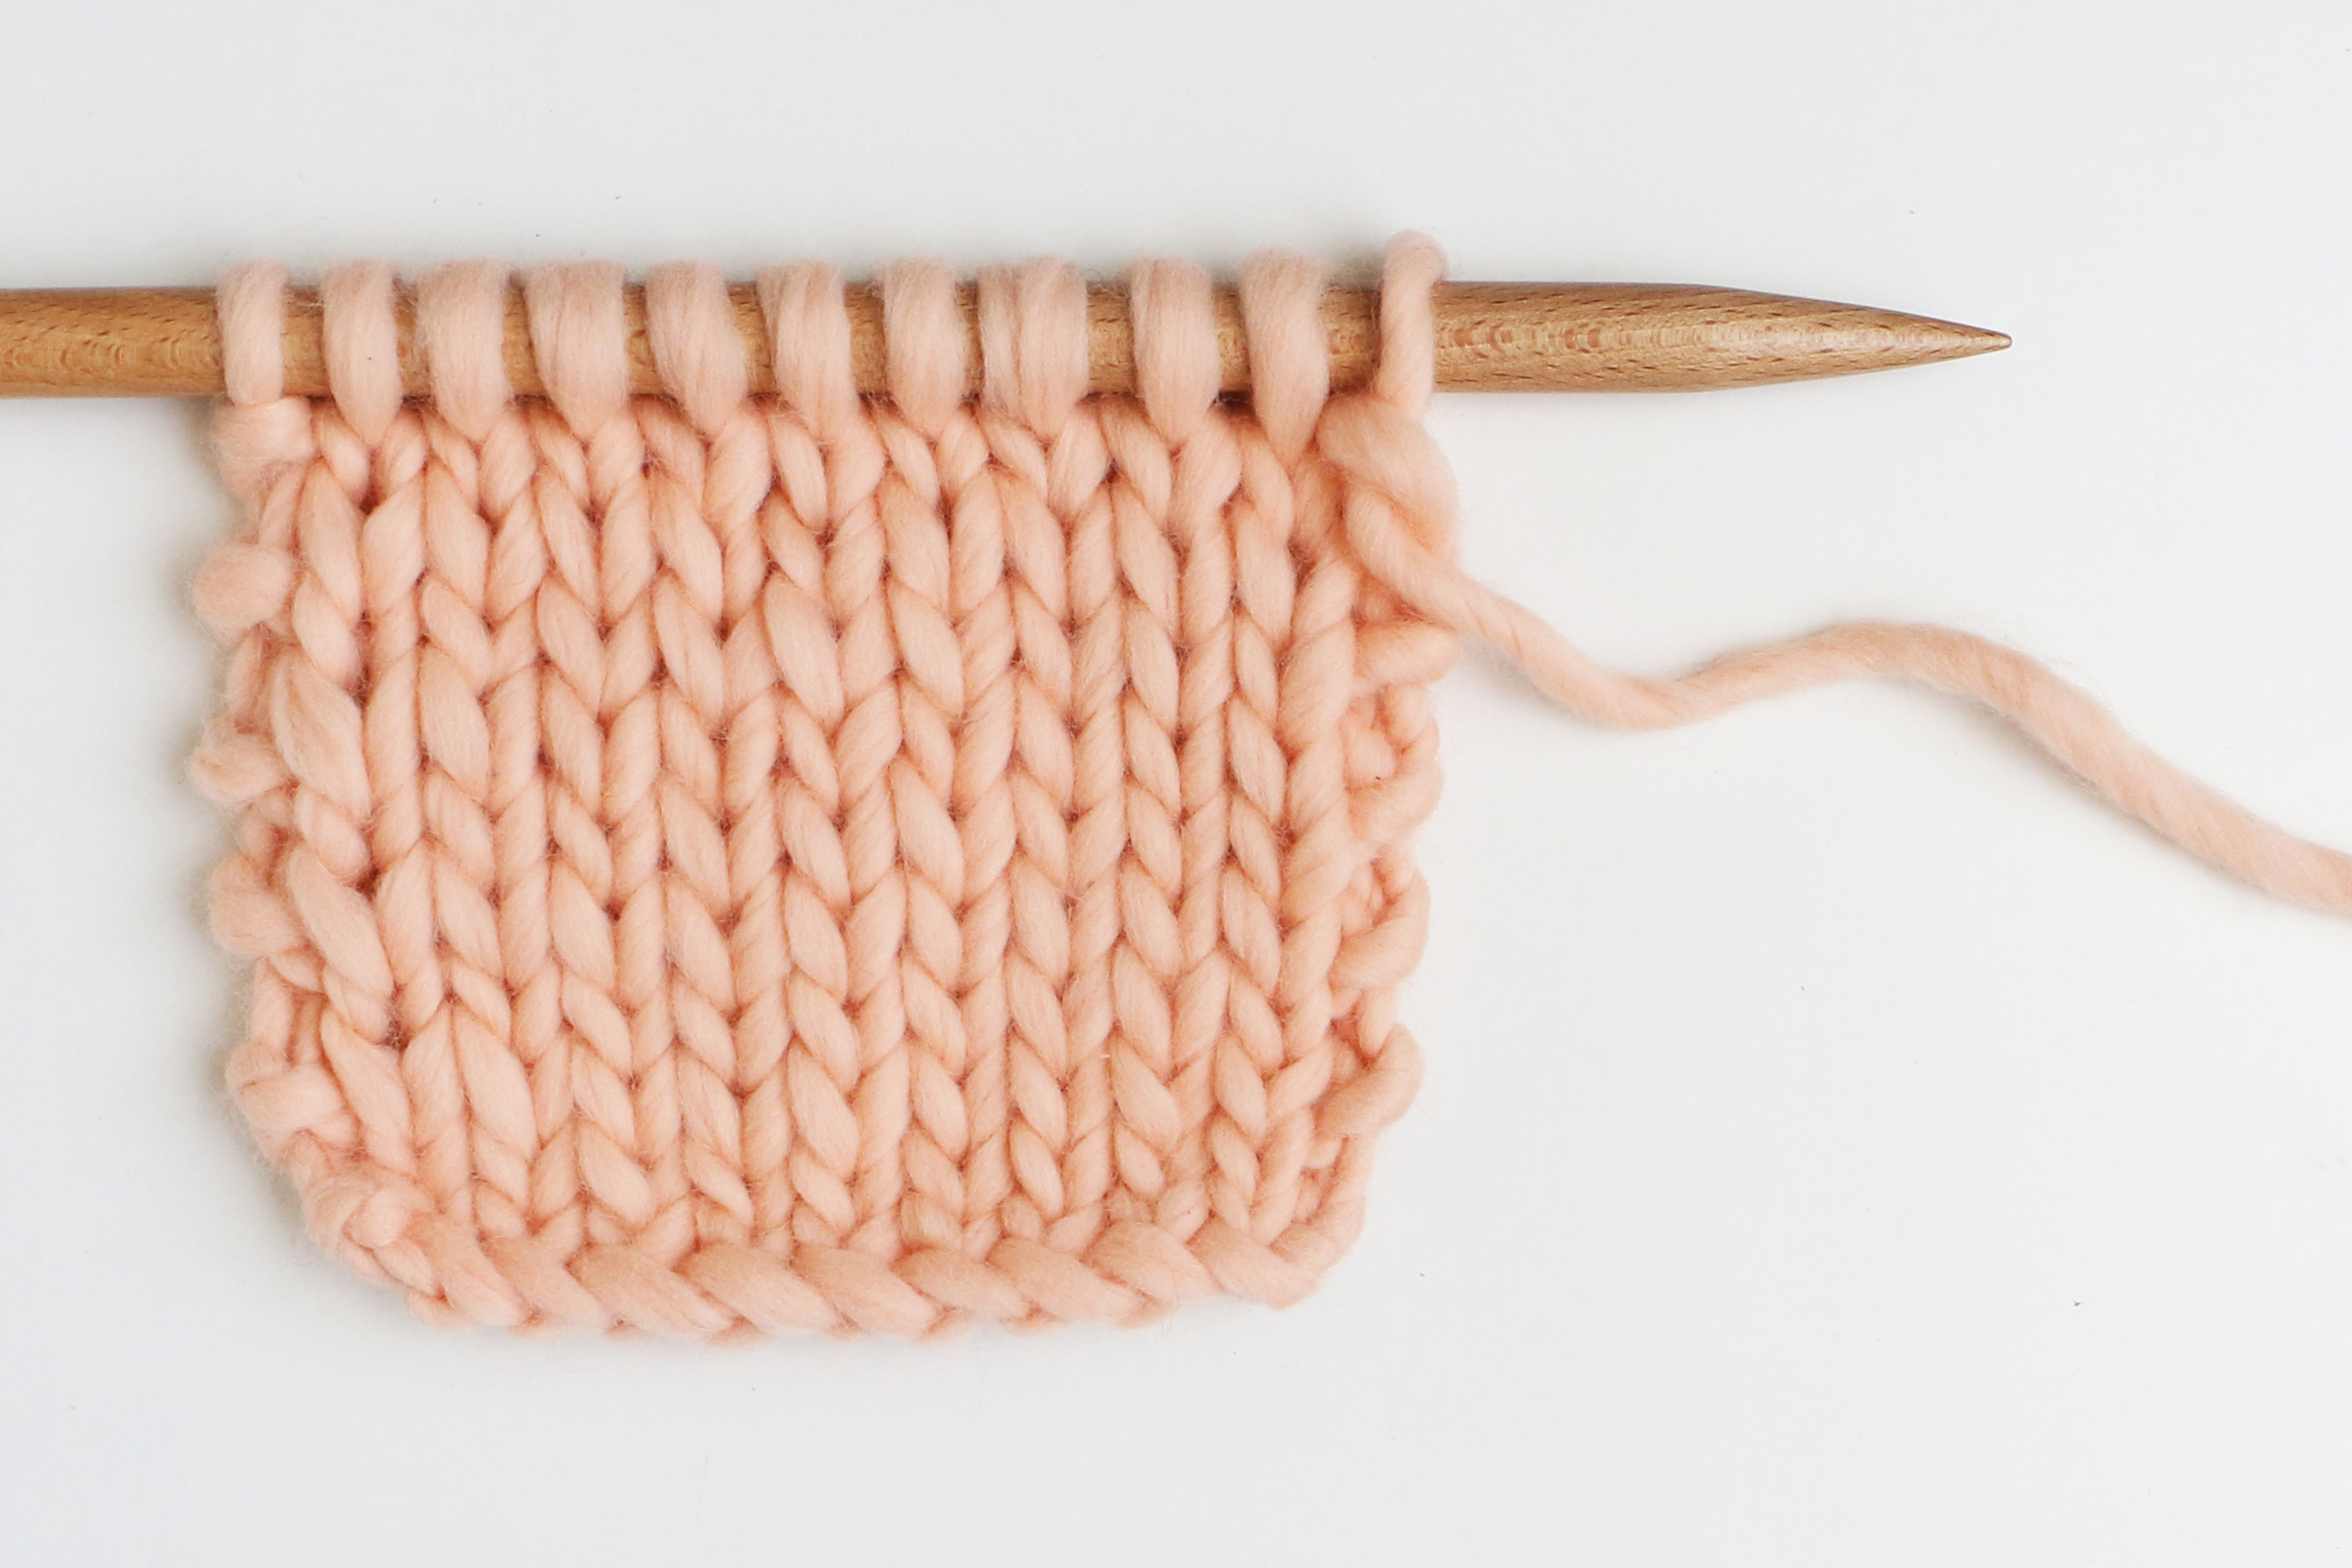
1. Knit a sample big enough to calculate a square with a measure of 10X10cm with 12cm on each side. Always using your own WAK needles!
2. Mark the 10X10cm square with some stickpins.
3. Count the no. of stitches and rows inside the square and apply the rule of three in math for all the measure of your pattern.
We suggest paying attention to the measures and samples! Some people do not care a lot about this little rule, but we highly recommend paying attention while knitting so that you can make sure, your design will look perfect.


