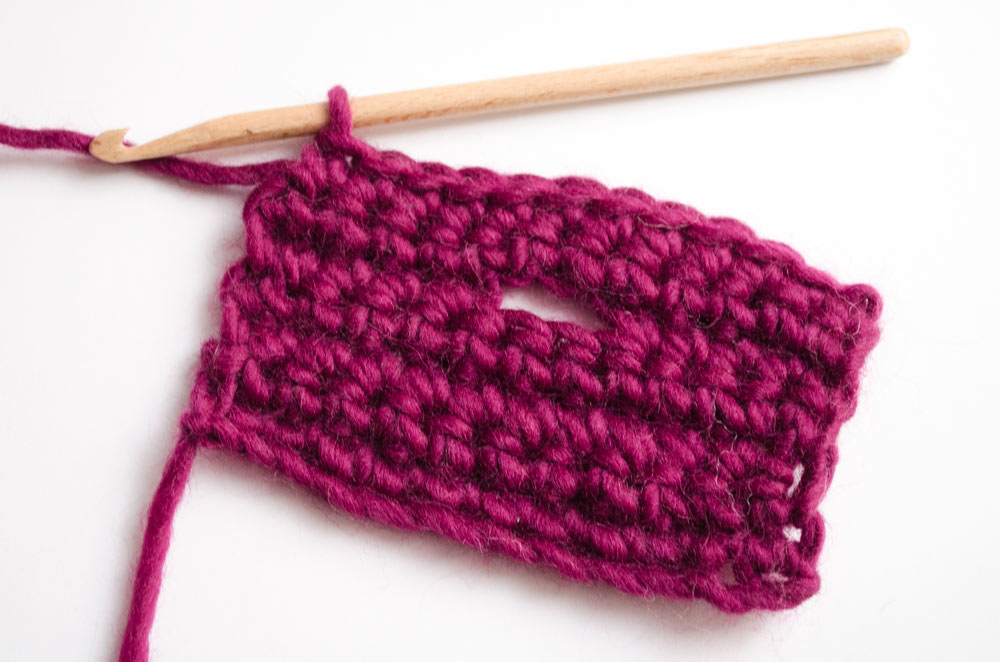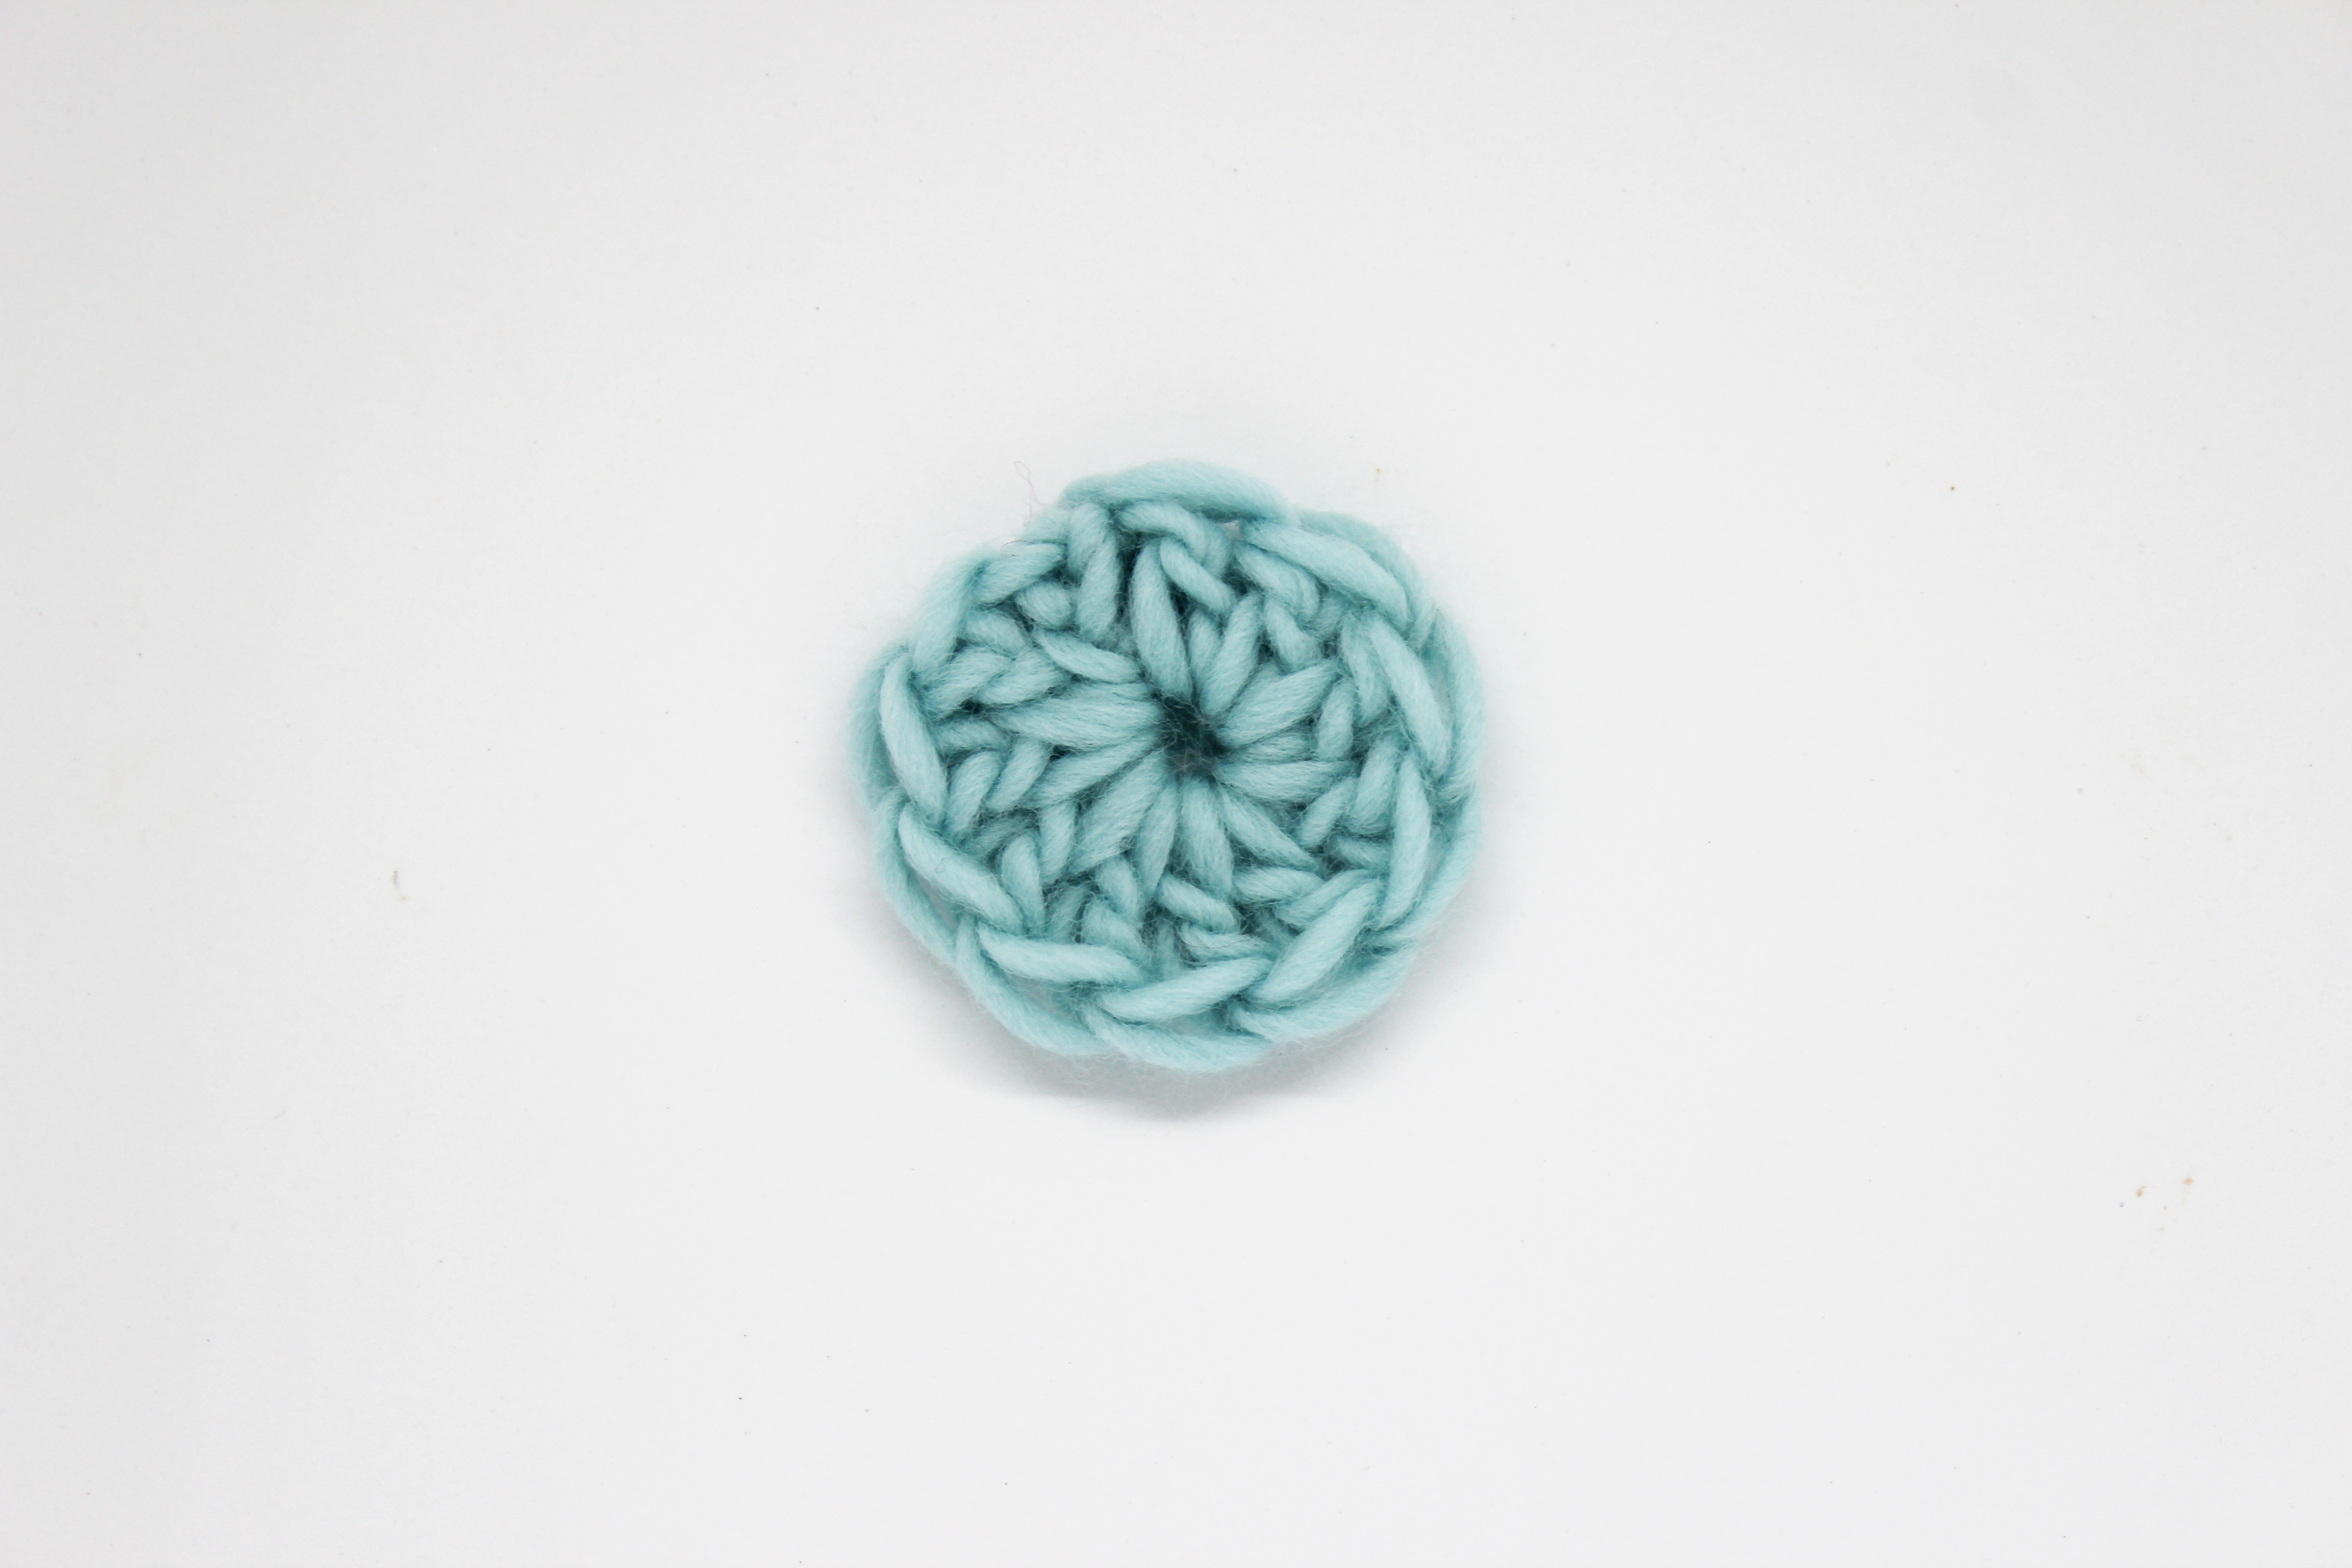
You already know we love stitches that have cool textures and are easy to knit at the same time. The kind that you get the hang of and don’t even need take notes. Today we are going with another one of those: the bubble stitch. Perfect to use to make your crochet accessories, it’s ideal for chunky blankets and cuddly cushions 🙂

For this tutorial we used a skein of our petit wool and a size 7 mm crochet hook.
Before we get started here is a list of stitches used so you can do a quick review 😉
- How to crochet a chain
- How to single crochet
- How to double crochet
- How to double crochet 3 stitches together
Now let’s get started.

You should start with an even number of chains in your foundation chain.

Row 1: start by working a single crochet in the second stitch from the hook. Continue working single crochet in each chain until the end of the row. Chain 1.

Row 2: work 4 double crochets in the first stitch of the previous row and close them together. *Now work one single crochet and 5 double crochets and close them together (this will make a bubble) *. Repeat until the end of the row. Chain 1 for your turning chain.
We made a short video so you can see how to crochet the bubble. Hit play!
The trick to making the bubble is to bind off the 5 treble crochets very well and adjust the yarn so that it is tight enough to create relief.

Row 3: work a single crochet in each chain of the previous row. To finish the row chain 3 for your turning chain.

Continue working rows 2 and 3 until you reach the desired length for your project.
Did you find a project to knit using bubble stitch yet? We hope this post has been useful to you and we are always delighted when you share your new projects and ideas on social networks using the hashtag #weareknitters.


