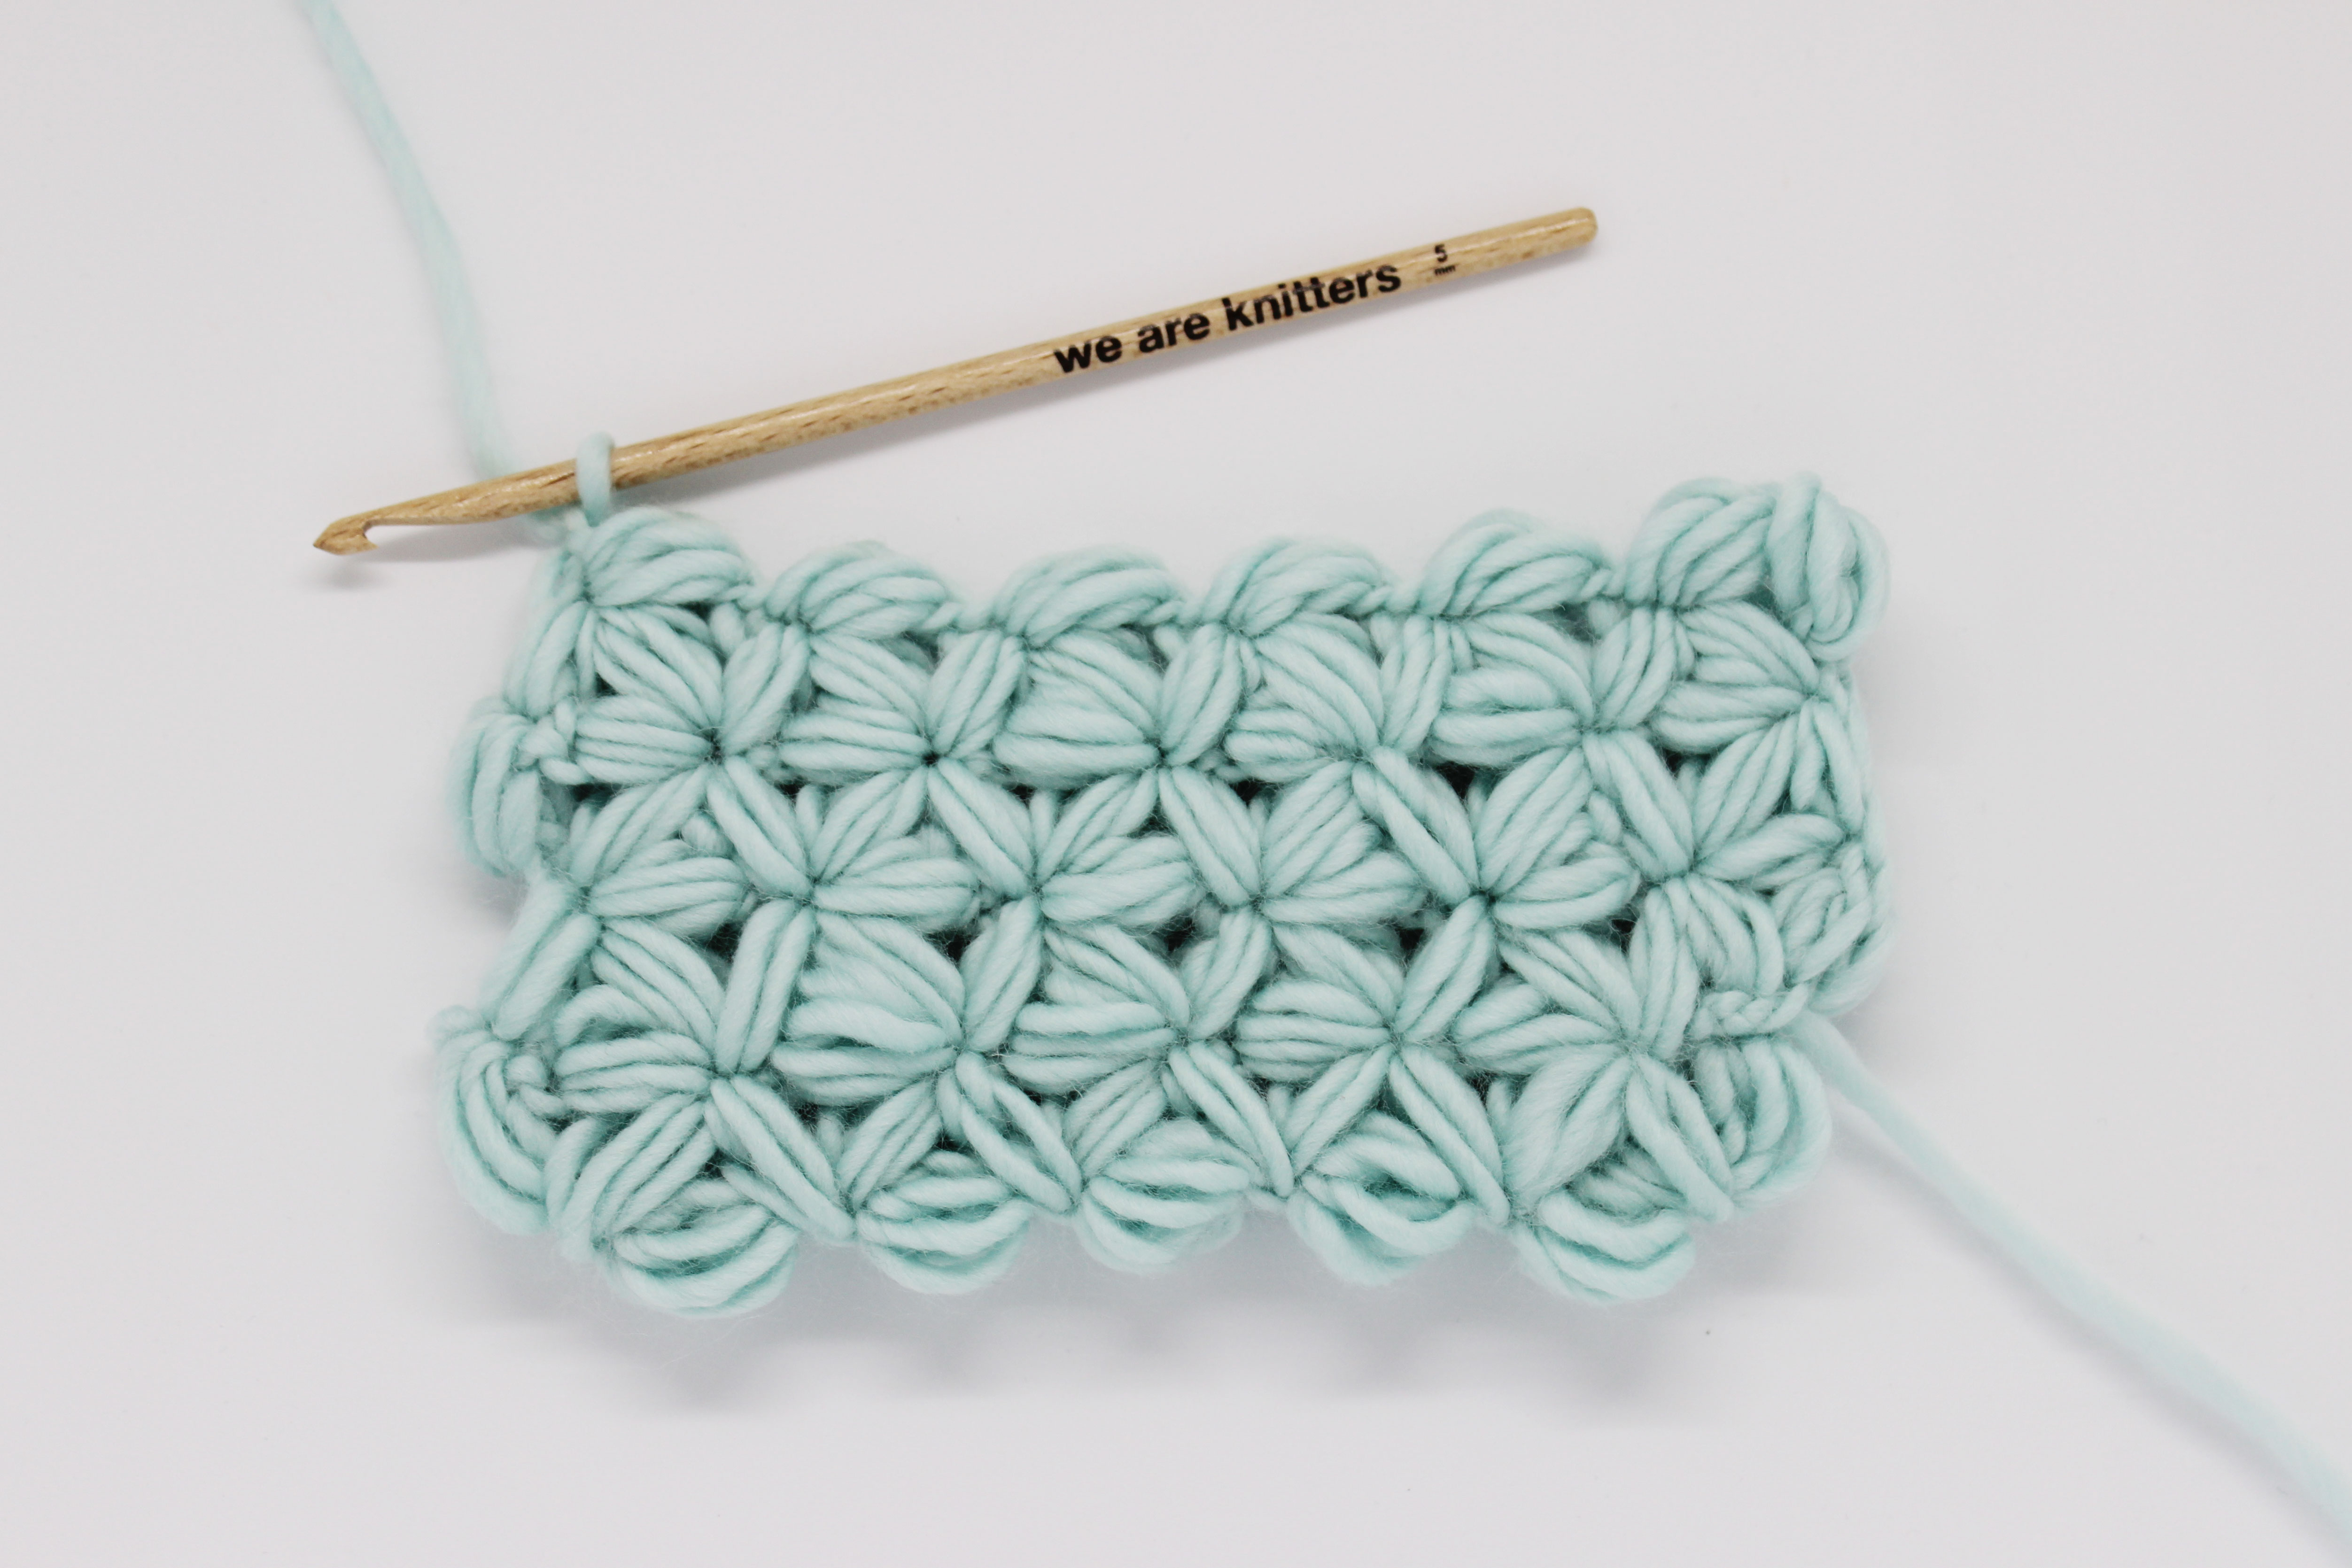
We love warm, soft, squishy textures for winter. That is why today we are going to show you how to crochet the star stitch, combined with the softness of the yarn and its original texture, we are sure it is going to be one of your essential stitches for your winter projects.

For this step-by-step tutorial we chose to use our Petite Wool and a 7 mm crochet hook, to make for a squishy stitch.

We will start by chaining an odd number of chains, which will serve as the foundation of our stitch.
Before we get started on the star stitch, as always, we give you a list of the stitches you will need to know how to do for a quick review:
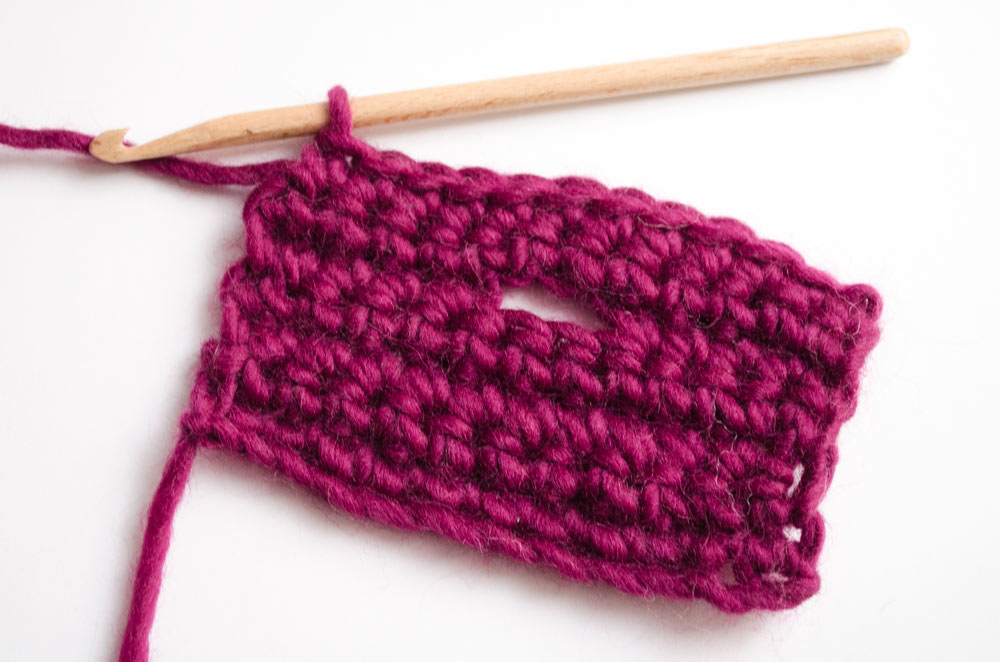
Row 1
First star
We will start the first row by crocheting a star as follows:

Insert your hook into the second chain from your hook and pull up a loop. Just like the first part of the slip stitch, but stopping before closing the stitch.

Repeat the process above until we have 6 stitches on our hook.

Yarn over again and pull the yarn through all six loops on your hook, this way we close them all together.

Now, to finish the first star, we just have to chain one.
If you want to see how it is done, hit play on the following video:
Second star

We keep crocheting and start making the second star by inserting our hook into the “eye” formed in the first star, yarn over and pull up a loop. Now we have two stitches on our hook.

Now we are going to insert our hook between the fourth and fifth strands of the first star. We repeat the same process: yarn over and pull up a loop. We now have three loops on our hook.

Now we are going to insert our hook in the same place where we inserted for our sixth stitch for the first star. Yarn over and pull up a loop.

To make the last two loops of our star: insert the hook into the next two chains. Remember to just yarn over and pull up a loop. Just like a slip stitch, but without finishing it.
At the end of this process, we will have six loops on our hook to make the next star.

Pull up another loop and close them together.

Just like we did for the first star, we will finish by chaining one.
If you have any doubts or if you missed a step, here is another video to see how to make the second star:

Repeat the same steps for the second star to finish the rest of the row, until we get to the last stitch of the row.

The last stitch will be a half double crochet.
Row 2

Chain two.

Now make two half double crochets in the “eye” of the star in the row below.

Repeat the previous step across the whole row.

Find the first stitch of the first star and make two half double crochets.
Row 3

We will turn our work and chain three.

We will insert our hook into the second chain and repeat the process of pulling up a loop.

We will do the same operation in the third chain. At the end we will have three loops on our hook.

The we will inset our hook into the first, second, and third half double crochets of the previous row to get the next three loops needed to make the star.

We close all of the loops together and then chain one to finish the star.
Here is another video to see how to make the star when we start a row:

The rest of the stars are made just like the “second star” that we explained in Row 1. We will keep working like this until there is only one stitch left to work from the previous row.

To finish make one half double crochet.
Row 4

Repeat row 2.

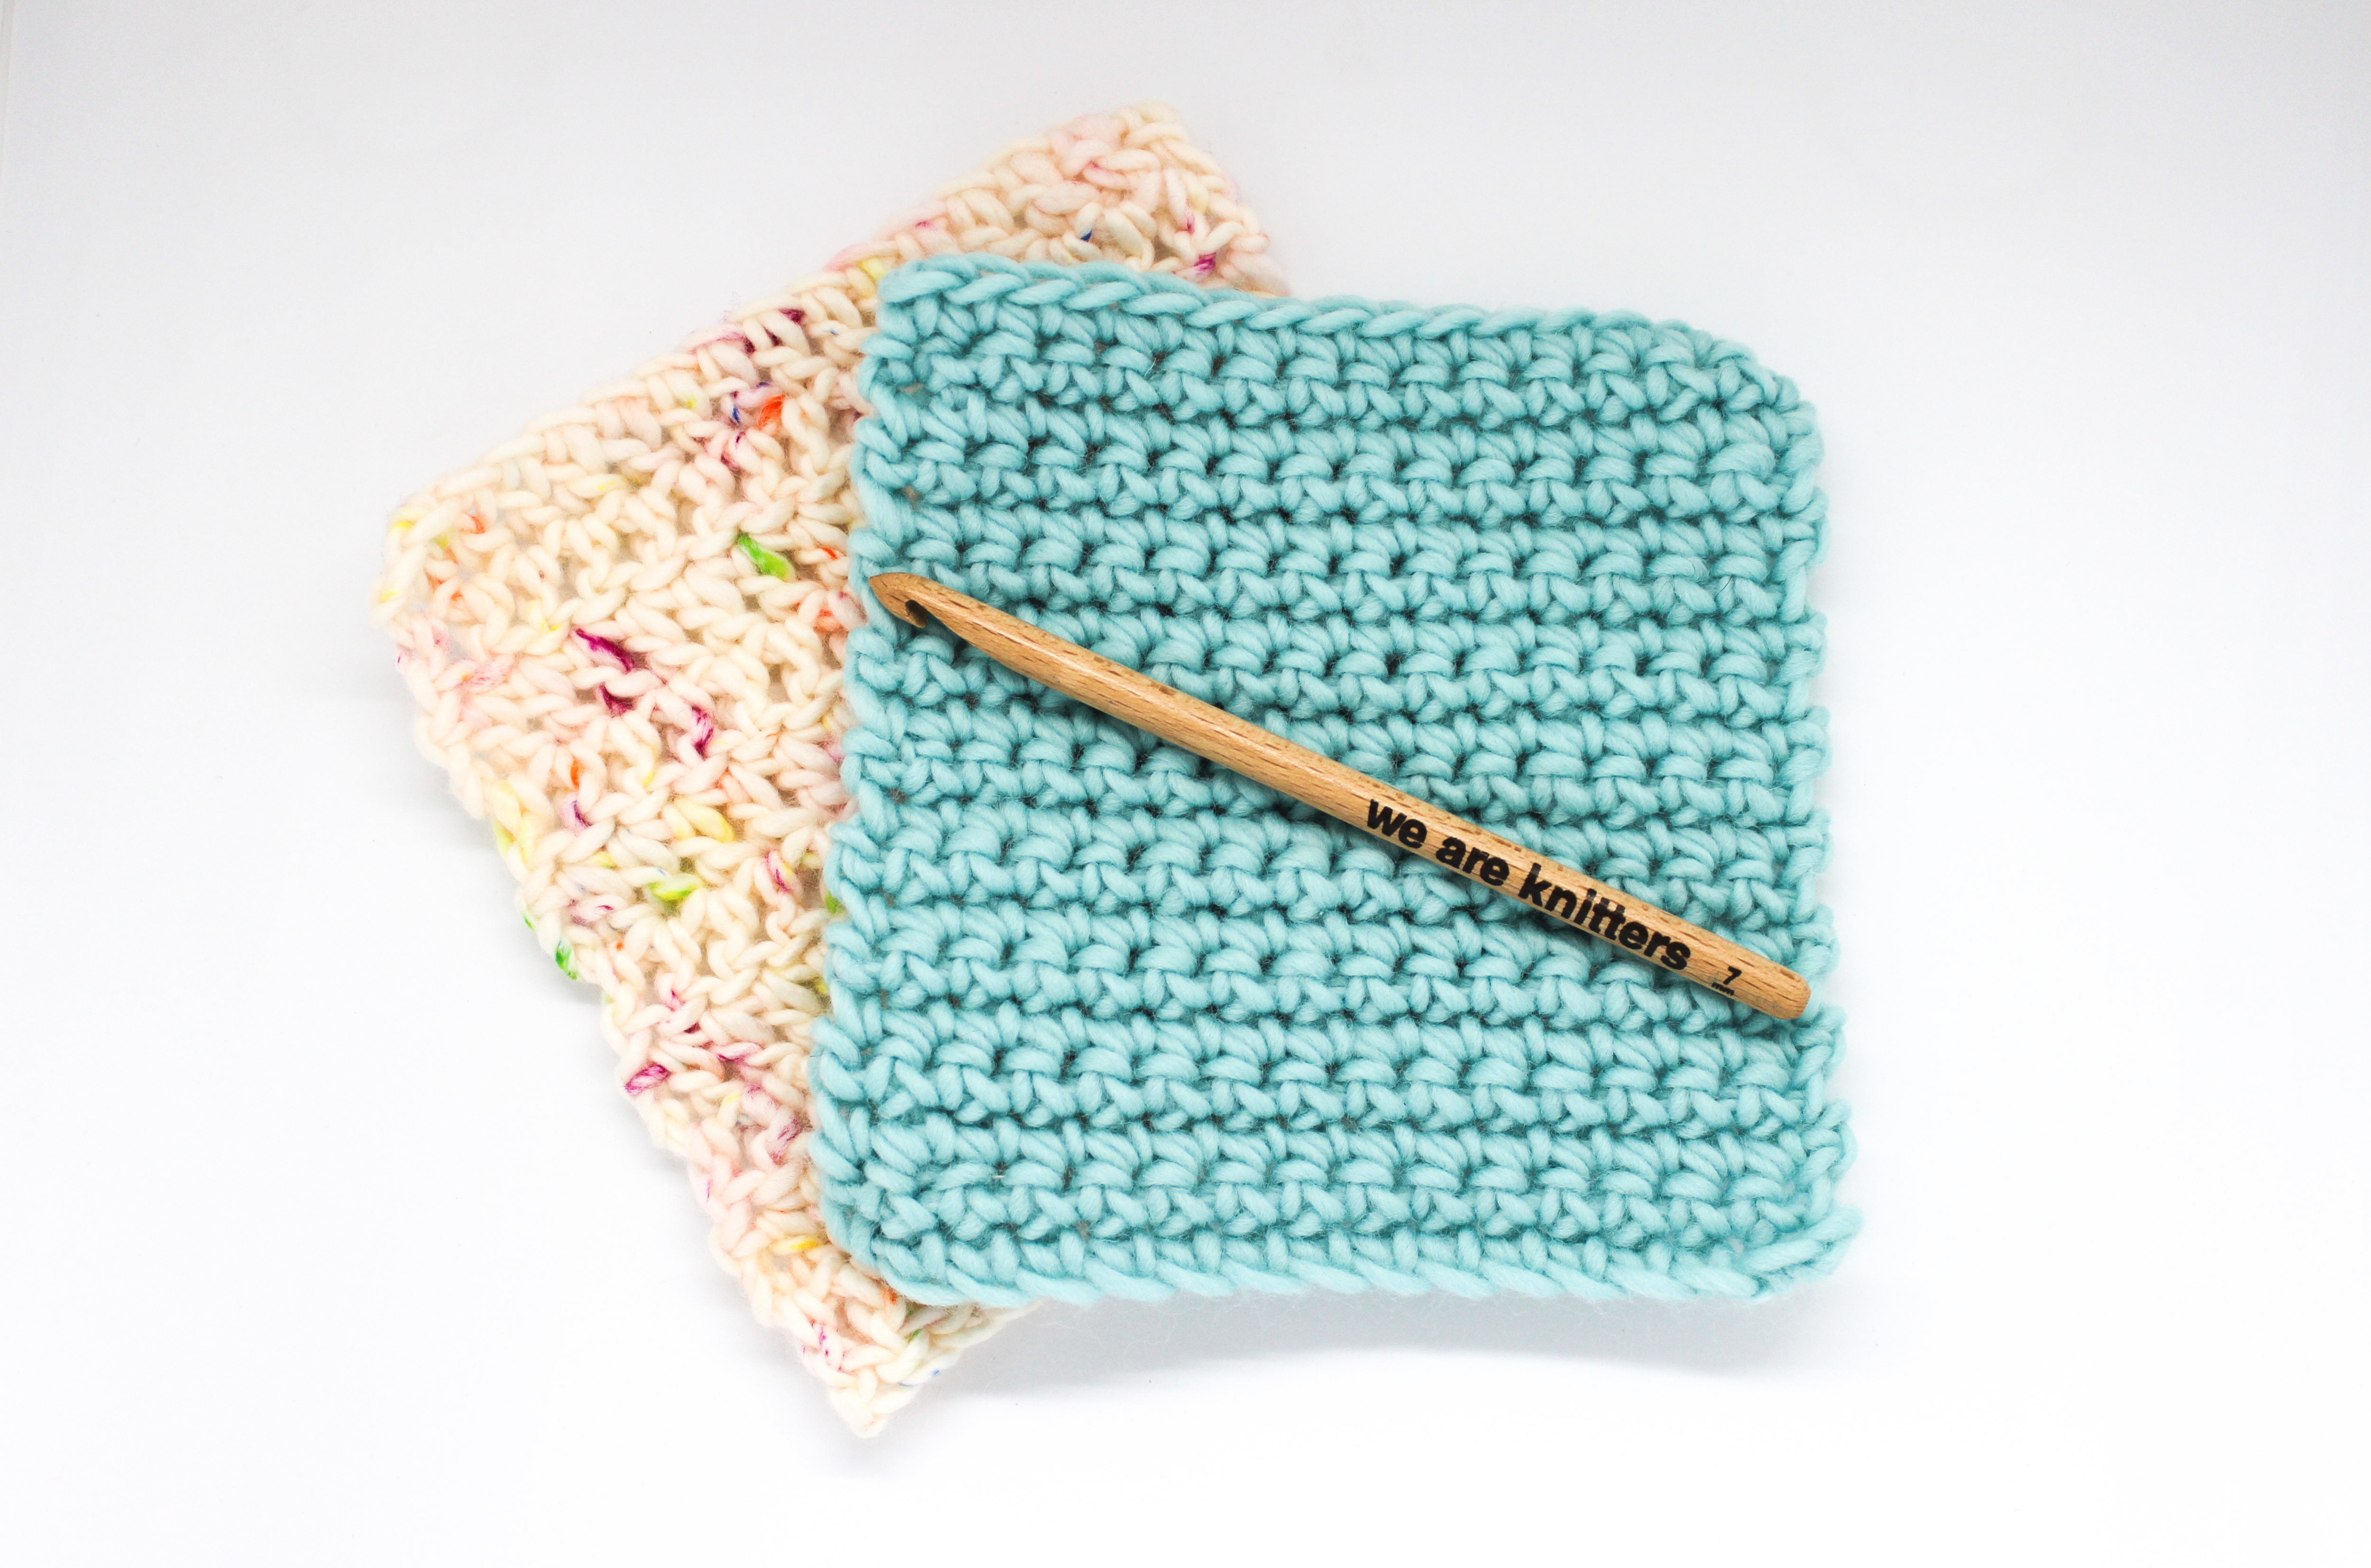
Keep repeating rows 3 and 4 to see your fabric grow as long as needed.

We hope you enjoy crocheting this fun and unique stitch. We can’t wait to see what garments and accessories you use it for. Don’t forget to share your projects with us on social networks using the hashtag #weareknitters.