Hi knitters!
Today we are teaching you a technique to knit in Eyelet stitch with two needles.

It’s very simple:
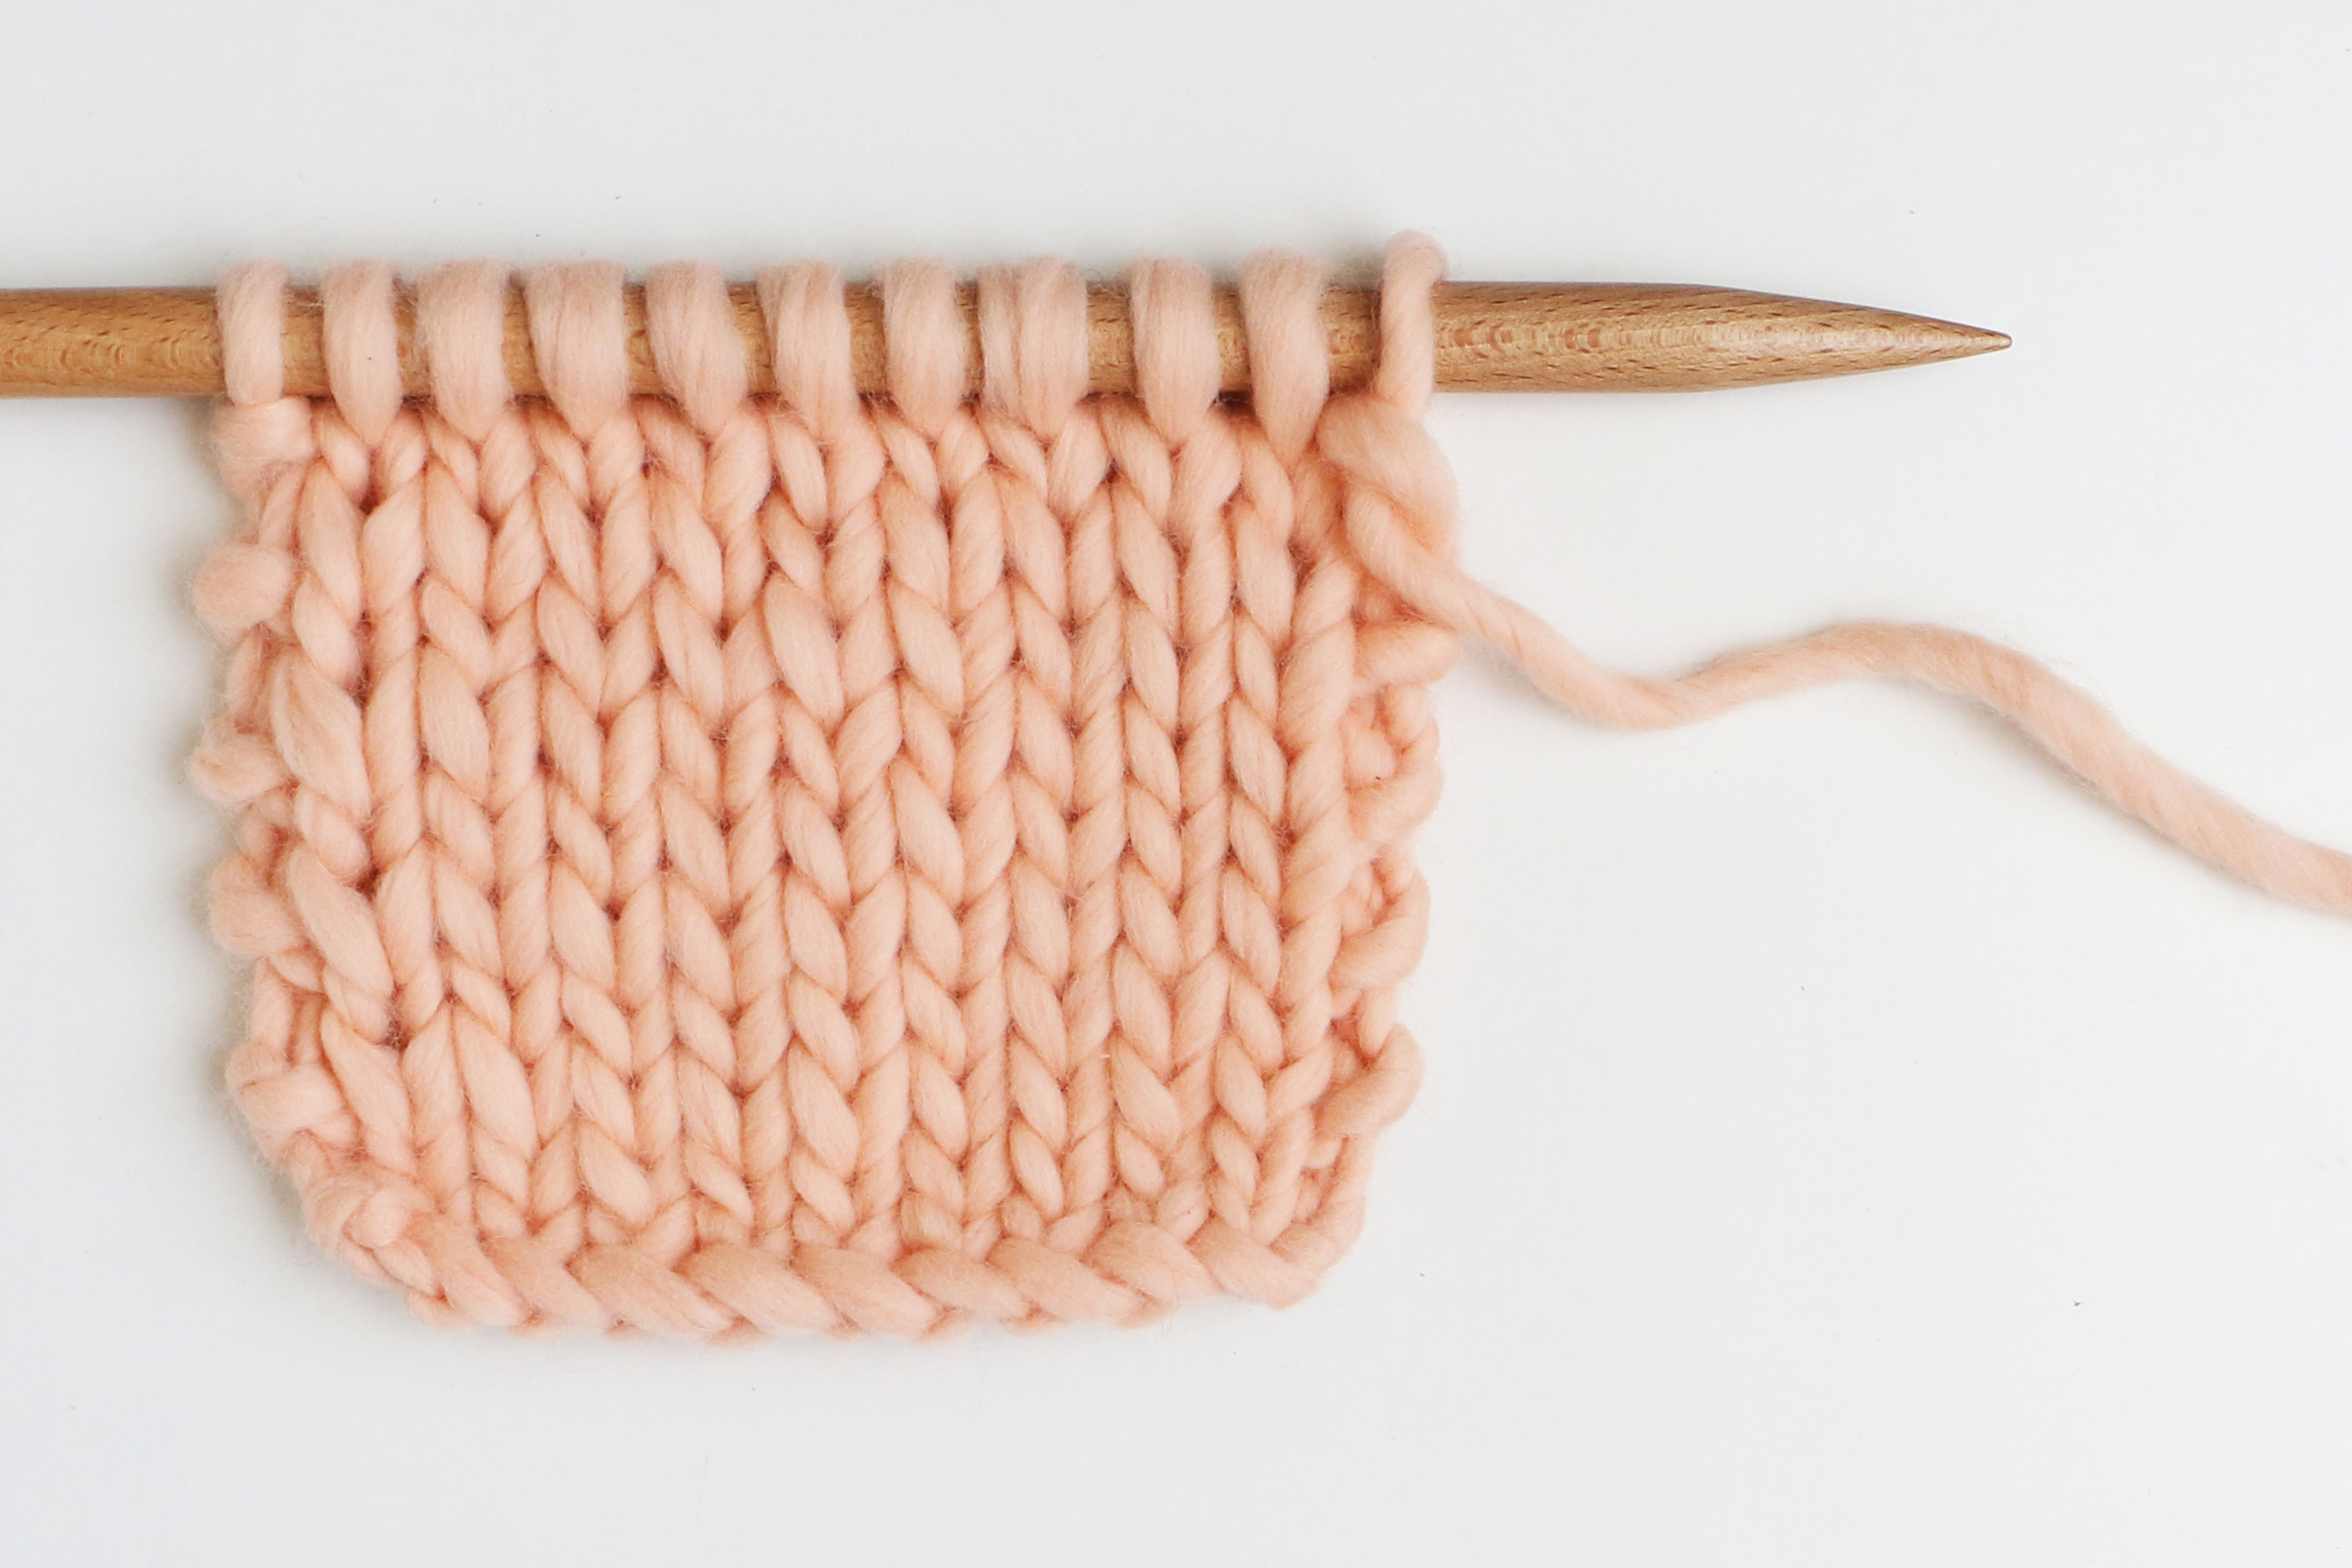
You have to begin by casting on 21 stitches onto one of your wooden WAK needles.
Row #1: knit 2 stitches and knit 2 stitches together. Repeat this until you finish the row.
Rows #2 to #7: knit in Eyelet Stitch: knit the first stitch, *knit 2 stitches together and place the thread in front of the needle*. Repeat from *a* until the end of the row. Knit the last 2 stitches of the row.
Now you know how to do Eyelet stitch! The Eyelet pattern will look perfect this summer on your shirts, jackets or whichever accessory you choose for your next WAK knitting kit.
We’re leaving you a video here that explains it step by step so that it is much easier for you to learn how to knit with this technique.
If you want to learn to knit Eyelet stitch with our materials, you can purchase Pima cotton and wooden needles on our website… or you can purchase the complete knitting kit to make our most famous Eyelet shirt: the Juliet Tee!


2 comments
Your instruction say “place the thread in front of the needle”. To me this means move the thread to the front as if to purl. What you’re doing in the video is wrapping the thread around the needle (backwards) or a yarn-over.
Thanks for letting us know!