![Imagen 1: foto-1[1]](https://blog.weareknitters.com/wp-content/uploads/2021/02/foto-1-1024x683.jpg)
If you have a hard time following some of the steps to beginning the neckline when you reach that area, and you don’t quite understand what the pattern is asking you to do: today we will teach you how to work the initial row to create a V shaped neckline.
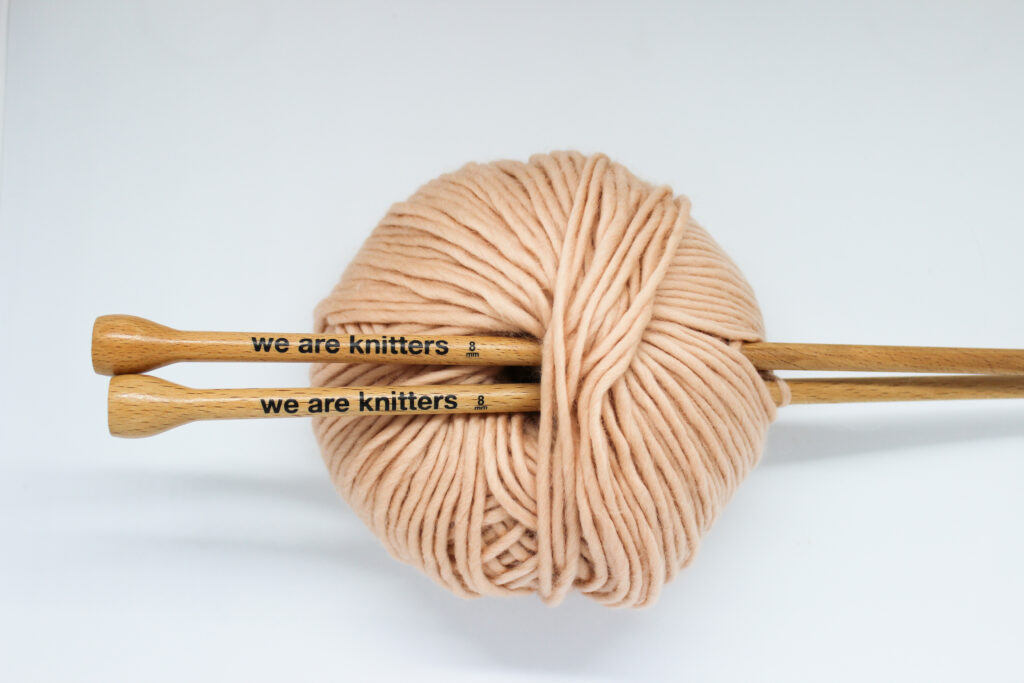
For this tutorial we have used one of our Petite Wool skeins and size US 11 (8 mm) beechwood knitting needles.
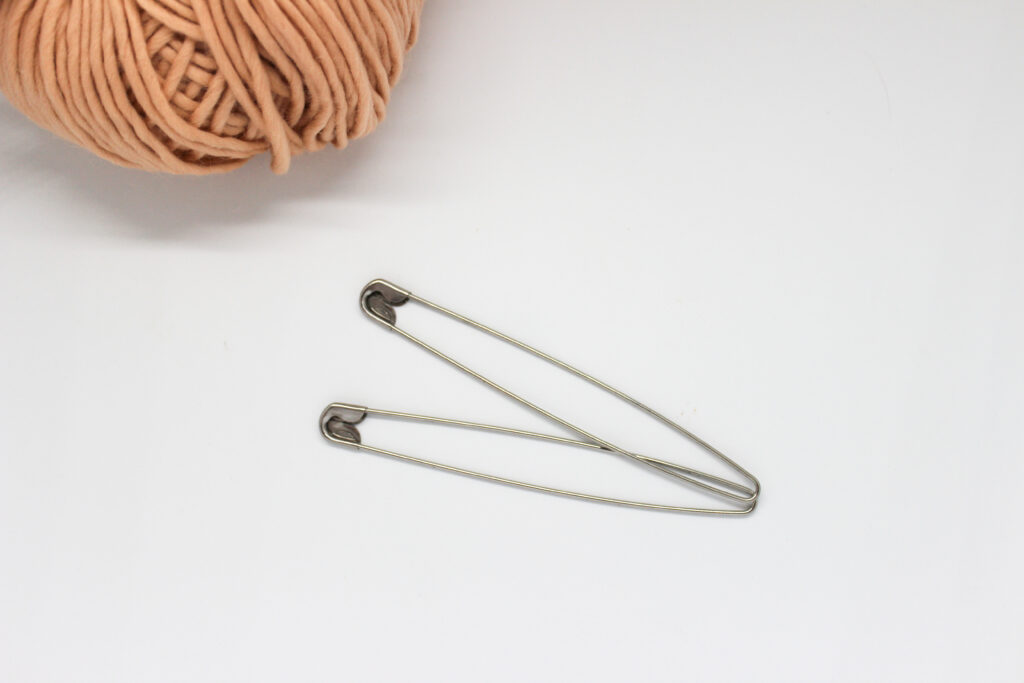
You will also need stitch holders. If you don’t have them, you can use a scrap of yarn in another color and a tapestry needle, which you will be able to use to leave the stitches on hold when you have to.
To explain how to work a V neckline we are going to use two practical examples where the mechanics of the matter is the same, only the number of stitches and some of the steps to do change. Let’s begin!
2 STITCH CROSS
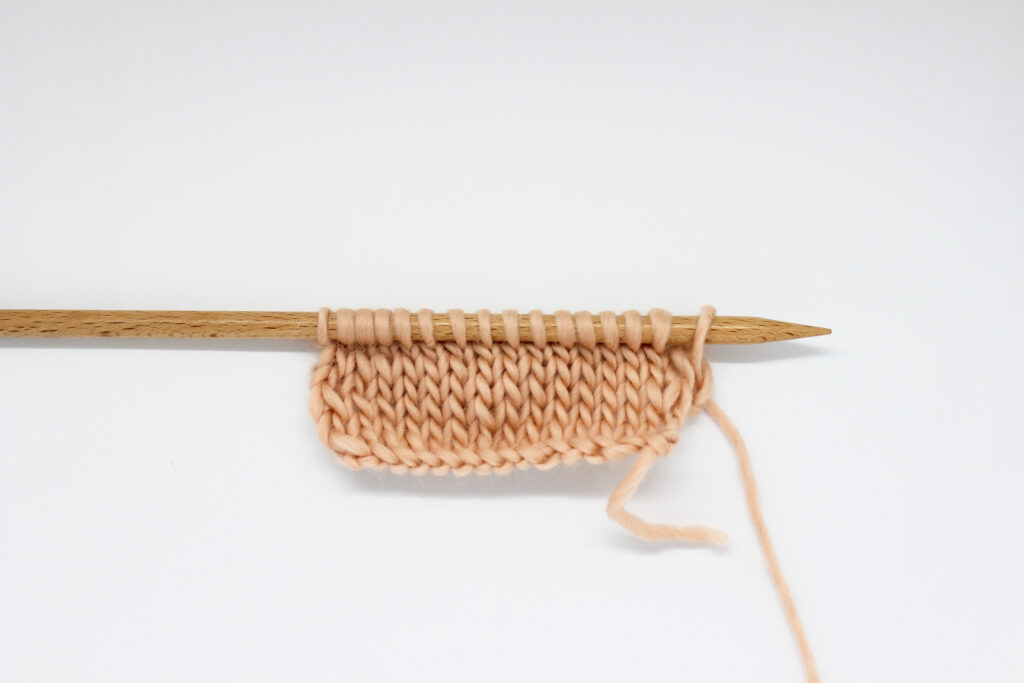
Once the piece have the desired length and you have reached the beginning of the neckline, you’re gonna work the next Right Side row as follows:
Work X stitches as indicated on the pattern, and leave them on hold on a stitch holder or on a scrap of yarn in a different color.
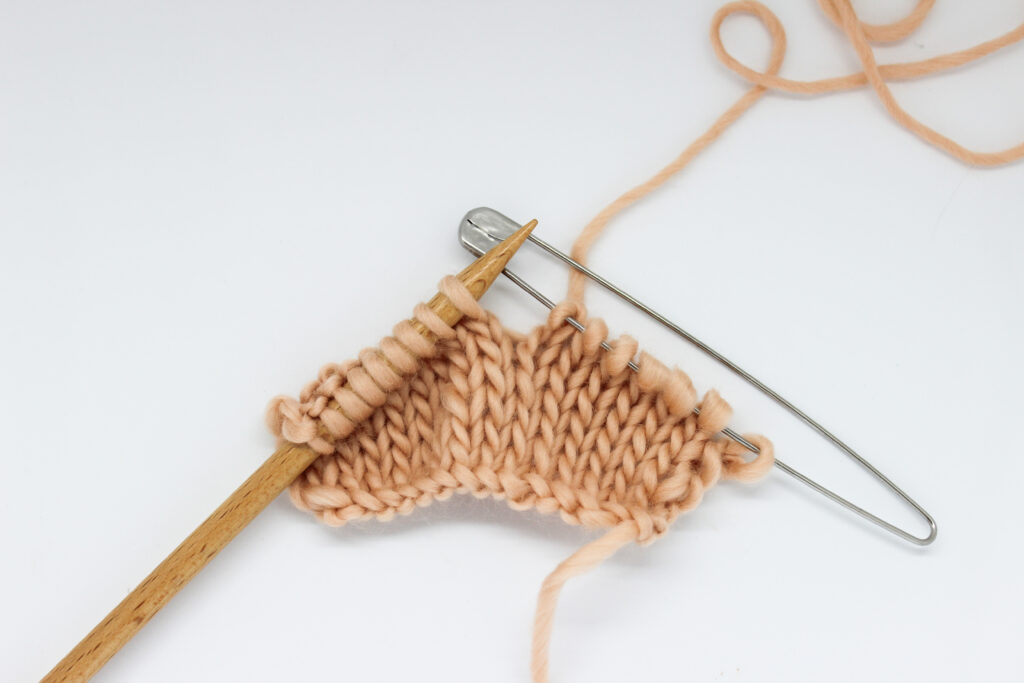
Now we are going to cross the stitches. To do so:
- Work 1 stitch as indicated in the pattern. Leaving the stitches on hold in the front of the work.
- Pass the next stitch to the stitch holder in front of the work, and leave it on hold along the stitches you left on hold before.
- Work the remaining stitches as indicated in the pattern.
You have any doubts? Check the following video 🙂
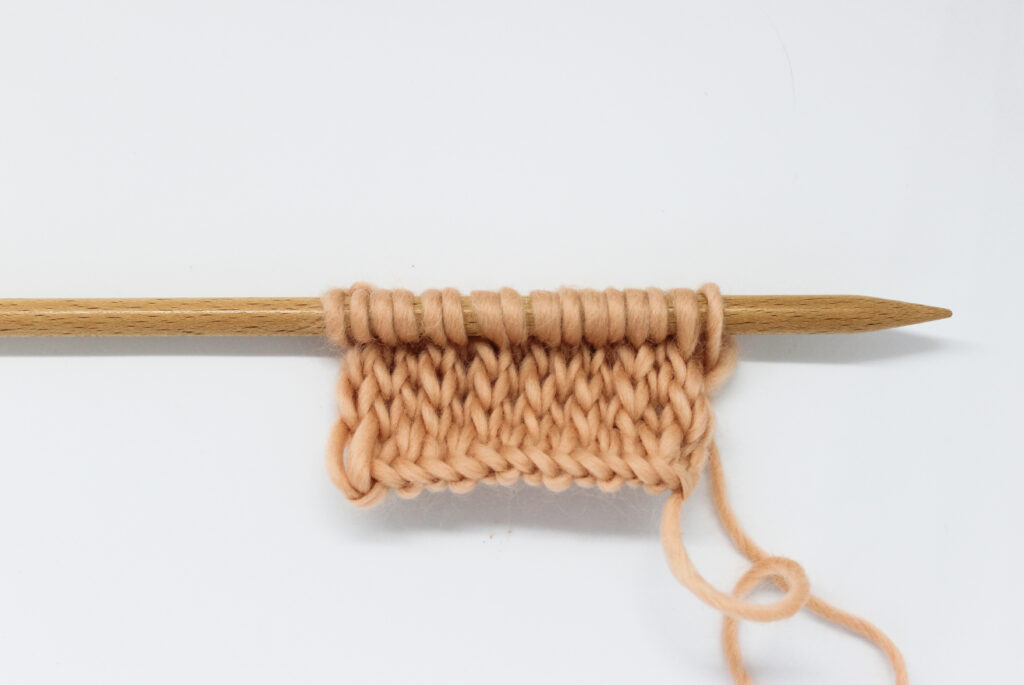
This way you will have begun your V neckline.
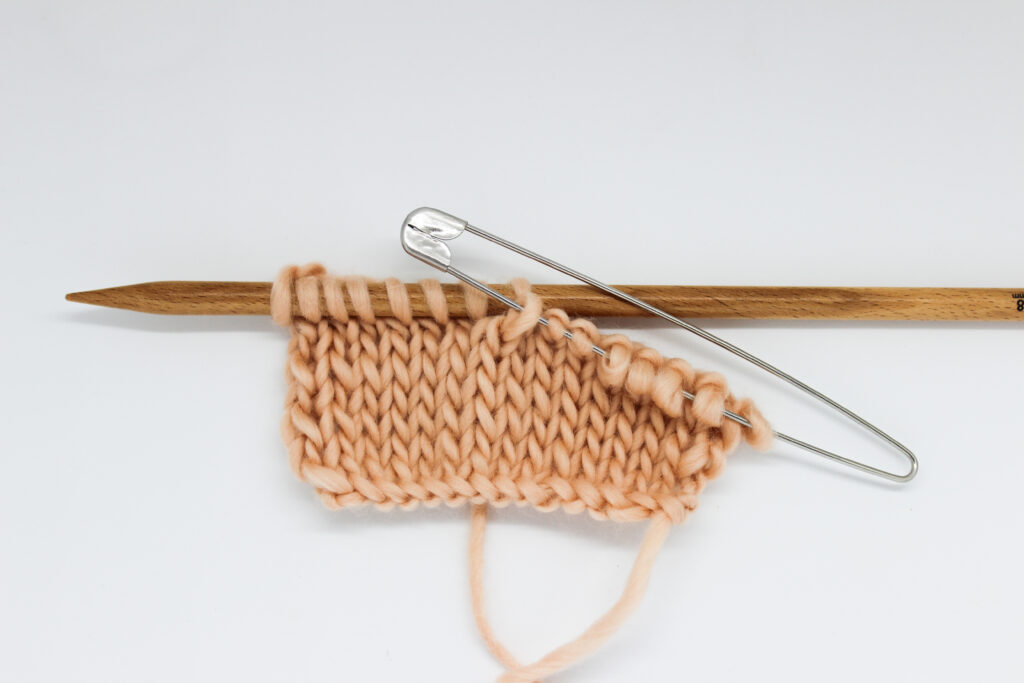
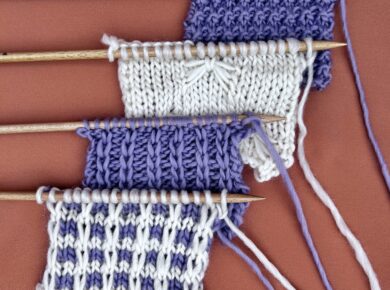
And after this row, your piece will look like the picture above.
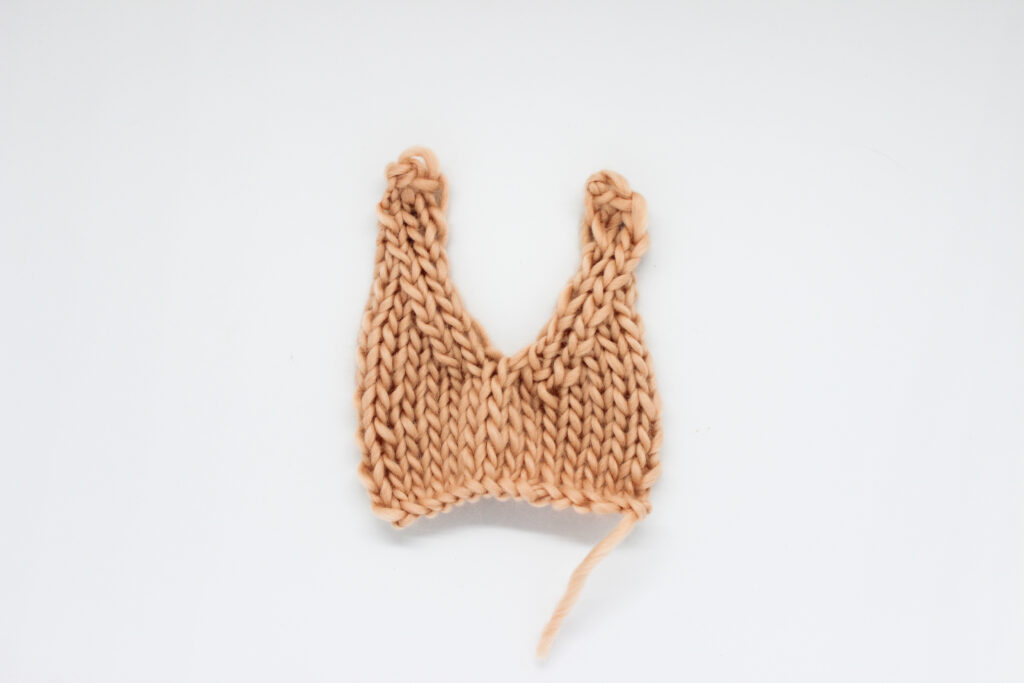
If you keep working as indicated in the pattern, working both sides of the neckline, you will create a neckline very similar to this one.
4 STITCH CROSS
In some patterns, because of the stitch they use, you may have to cross 4 stitches instead of 2. For example, a pattern that uses linen stitch, where rows are worked as follows:
Odd rows: *slip 1, knit 1*. Repeat from * to * until the end of the row.
Even rows: *slip 1, purl 1*. Repeat from * to * until the end of the row.

Like we did previously! Work X stitches as indicated in the pattern, and leave them on hold on a stitch holder or scrap of yarn.
To cross the stitches:
- Pass the next two stitches to another stitch holder, and leave them on hold in front of the work.
- Slip the next stitch and knit 1.
- Pass these last two stitches you just worked to the stitch holder with the first stitches you left on hold.
- Place the two stitches you had on the second stitch holder on your left-hand needle, slip 1 and knit 1.
- Work the remaining stitches as indicated in the pattern.
In order for you to see all the process, we have prepared a short video:
Now the beginning of your neckline is finished!

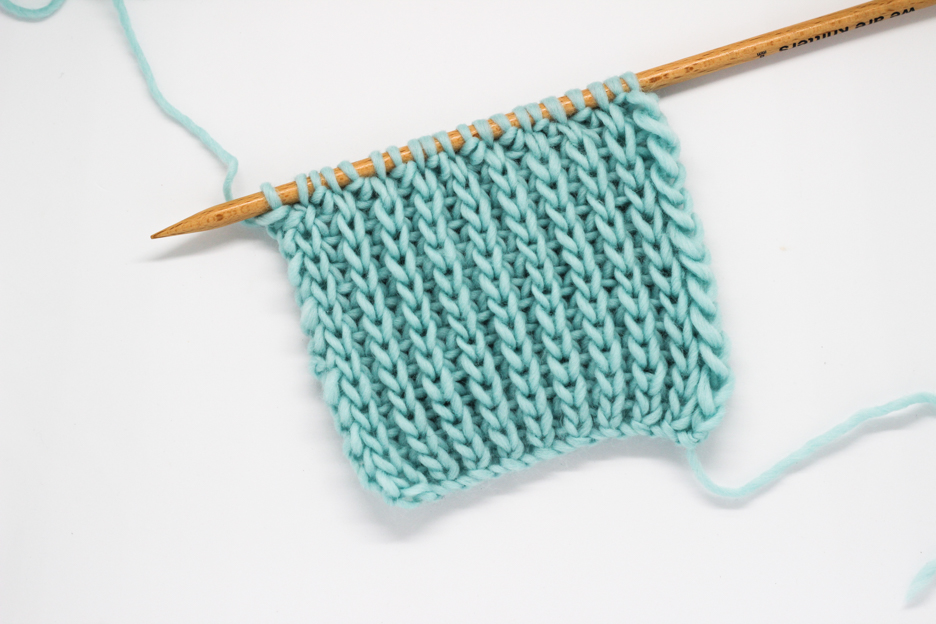
When you finish the row, the piece will look like the picture above.
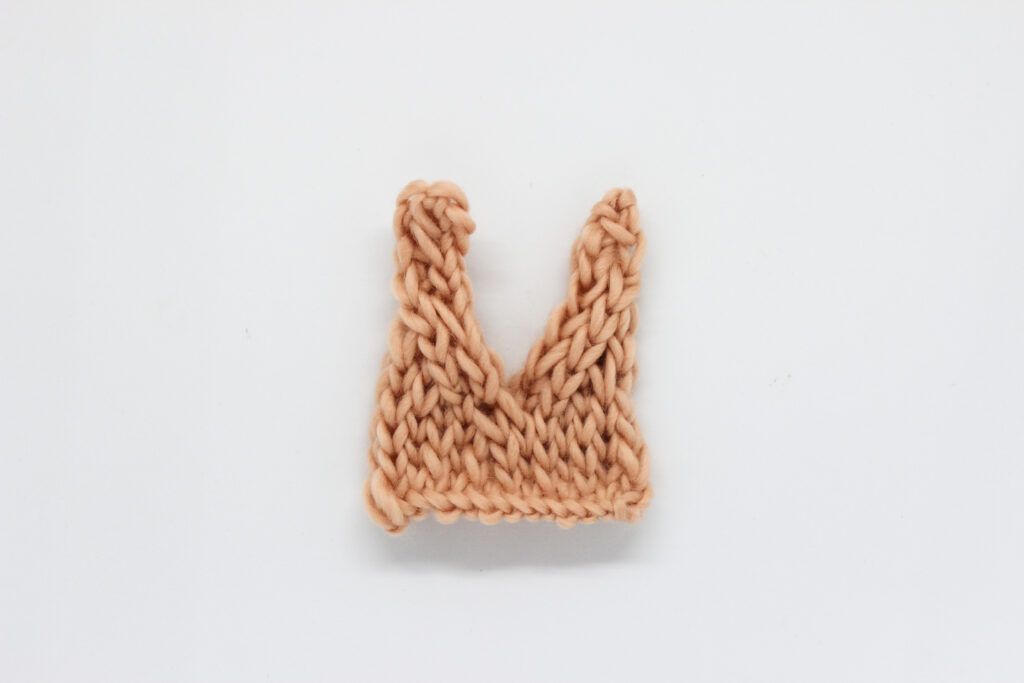
And, after working both sides of the neckline, following the instructions of your pattern, you will finish your V shape neckline.
We hope this post is useful to you when knitting this kind of neckline, and that it solves the doubts that you may had. We are always happy that you share with us your new projects through social media with the hashtag #weareknitters.