Today we are going to show you how to knit right and left leaning twists. You can use this technique to make the famous “cables”, but also to make endless textures and reliefs in your knitting projects. Are you up for the challenge?

For this step-by-step tutorial we used a skein of our Pima cotton and a pair of size 8 (5 mm) needles. You will also need a spare needle (any needle of a smaller size than you are working with will do), a stitch marker, a safety pin, or even a bobby pin 😉 to leave the stitches on hold while you knit the twist.
Knit a left leaning twist
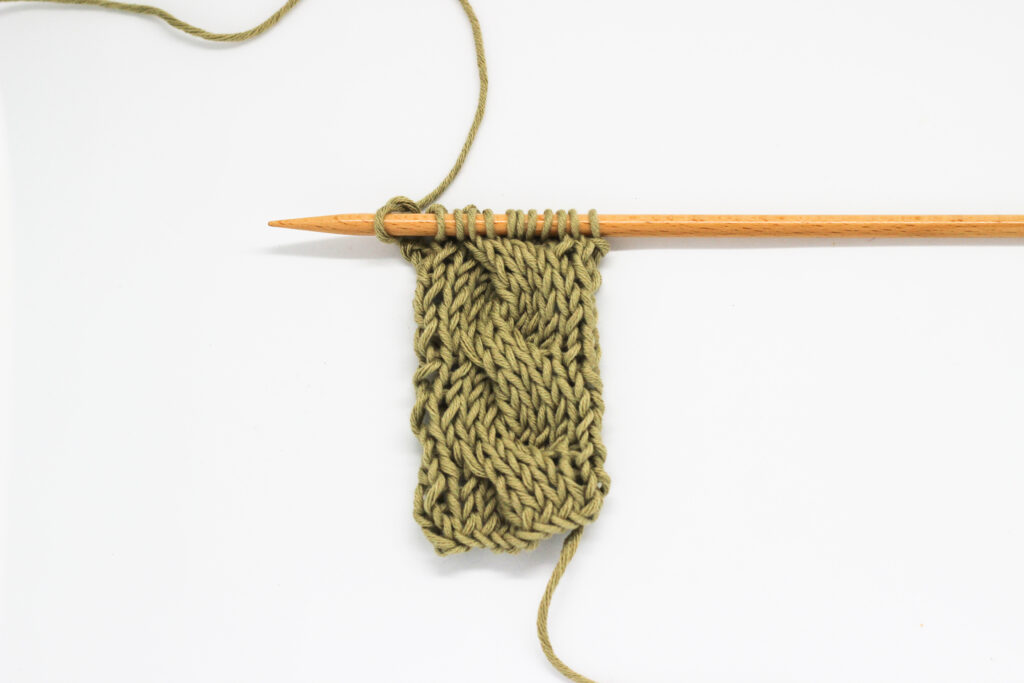
Slip 1 stitch (or the number of stitches you need) to a cable needle or stitch holder, and leave them on hold in front of your work. Knit the next stitch(es) (it can be one or several). Go back to the stitches you had on hold, and knit them.
Knit a right leaning twist
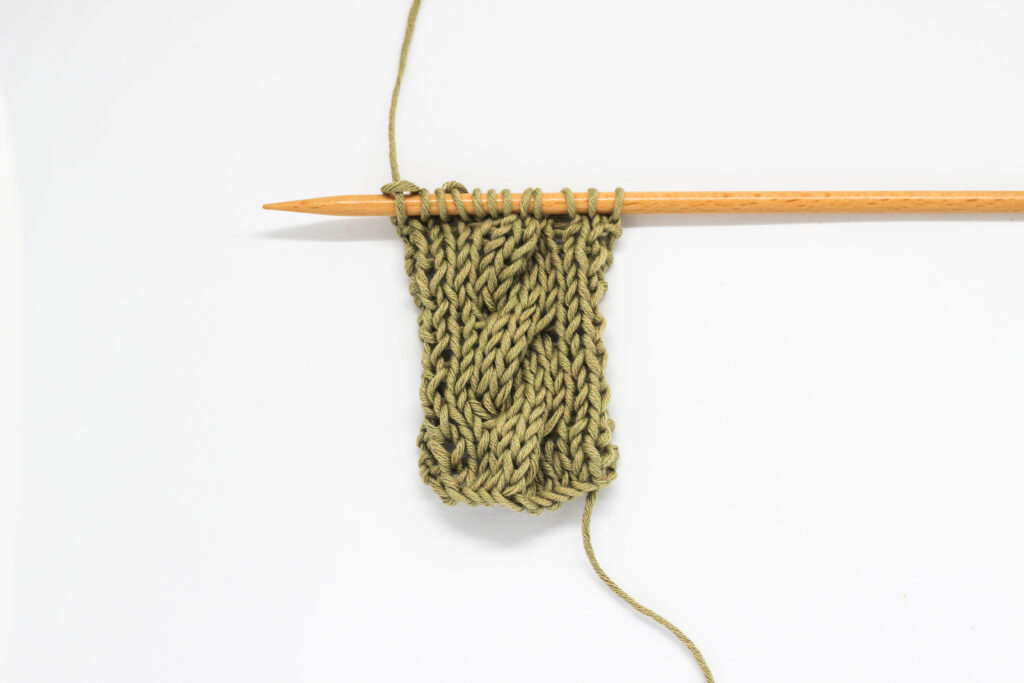
Slip 1 stitch (or the number of stitches you need) to a cable needle or stitch holder, and leave them on hold behind your work. Knit the next stitch(es) (it can be one or several). Go back to the stitches you had on hold, and knit them.
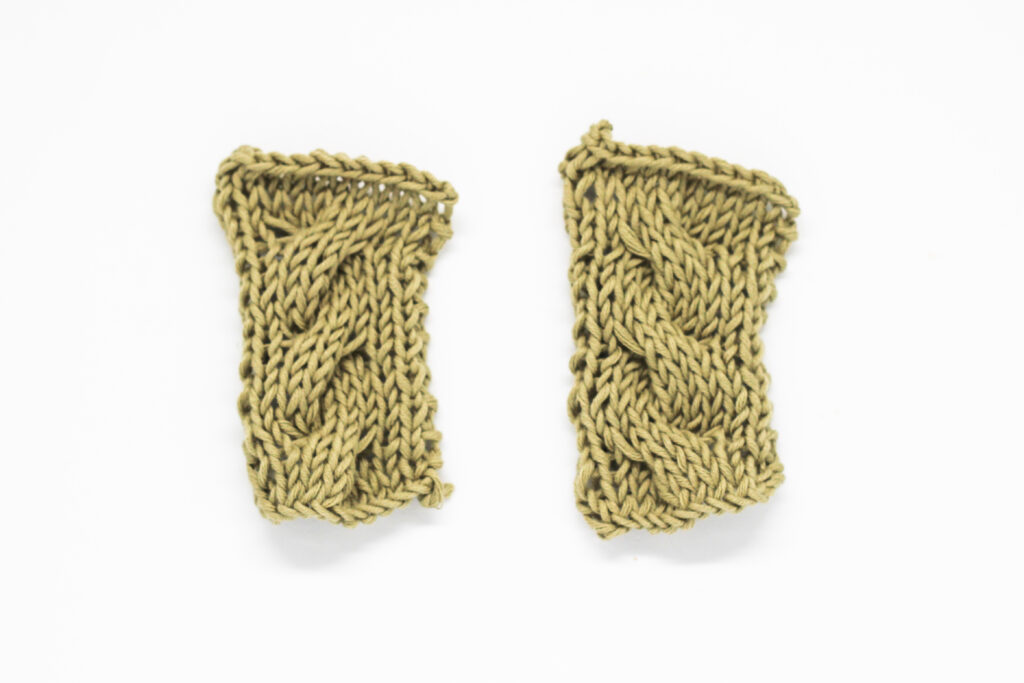
Easy right? These types of twists will give you multiple possibilities when creating textures and patterns in your fabrics. As always, we look forward to seeing what projects you use it for, and hope you share it with us on social networks using the hashtag #weareknitters. Until next time!


