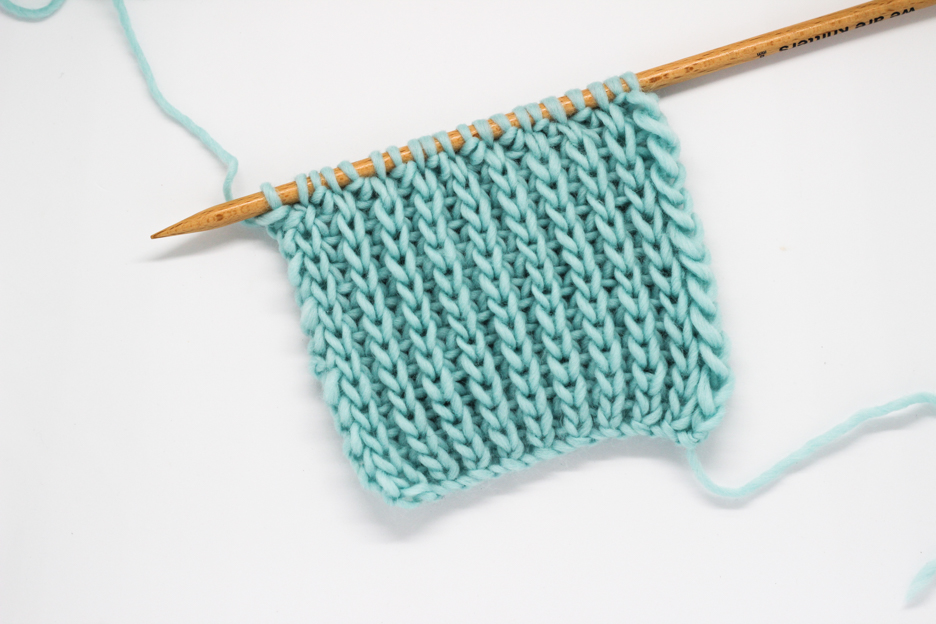
In today’s post we are going to see a very easy technique to put into practice on your winter projects. When we talk about working 2 stitches together we always associate it with a decrease in our work, but we can also use it to create simple and original openwork to create a perfect finish for our garments.
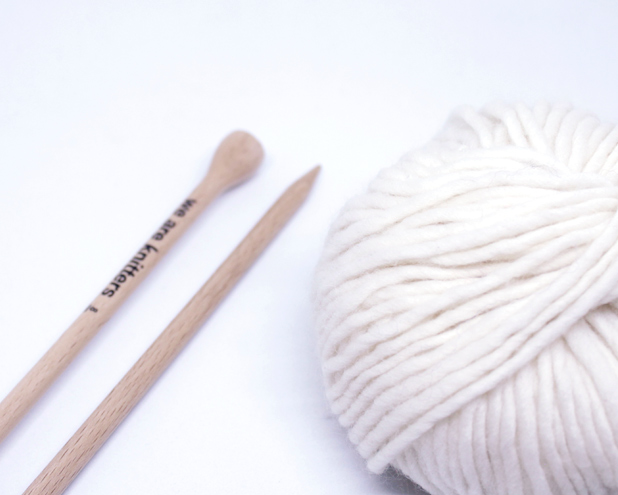
For this post we used fine wool and size 11 knitting needles.
To demonstrate this technique we started with a base fabric in stockinette stitch. We will apply this technique when we are working a wrong side row.
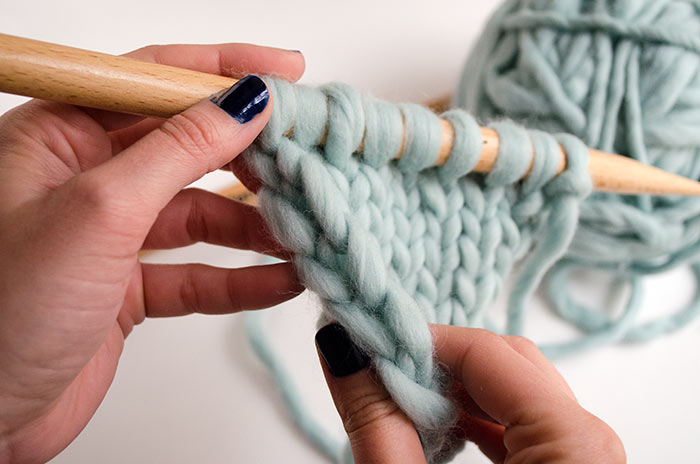
When it is time to purl 2 stitches together through the back loop we have to turn the stitches so they don’t get twisted. We are going to do this by inserting the needle as if we are going to knit a stitch and slipping it to the other needle, first one stitch and then another.
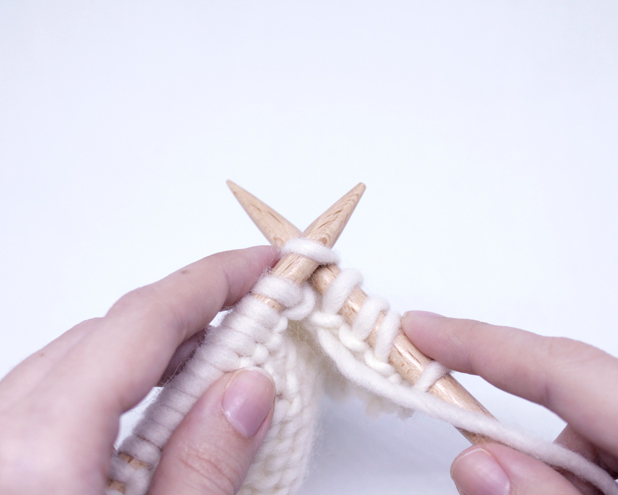
Put them back on the left-hand needle. Now they are ready to purl.
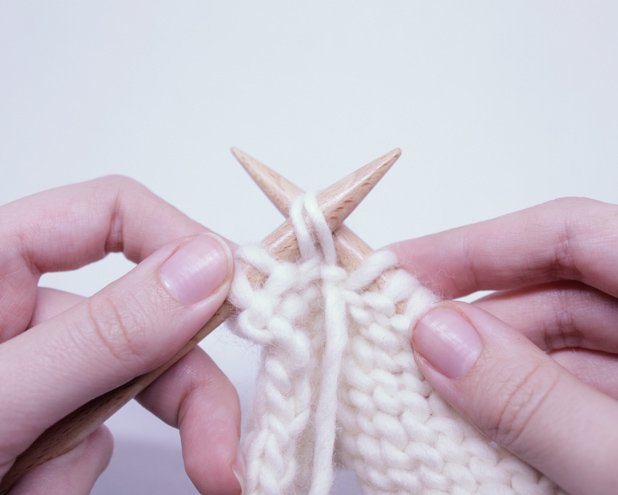
You have to work them through the back loop with the yarn in front of your work, since you will be purling them. Insert the needle from left to right and from the bottom to the top through the 2 stitches you just turned. Your work should look something like these photos.(photo5 and photo6)
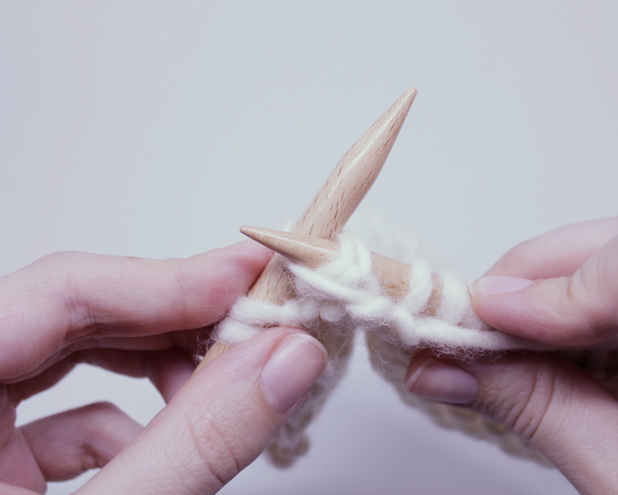
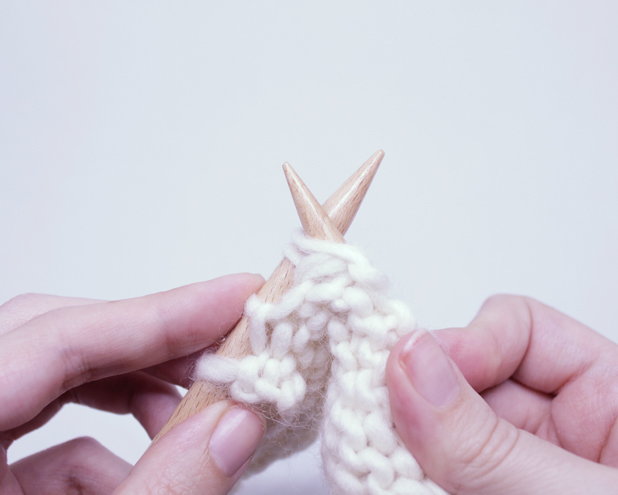
Wrap your yarn around the needle and work the two stitches together.(photo7 and photo8)
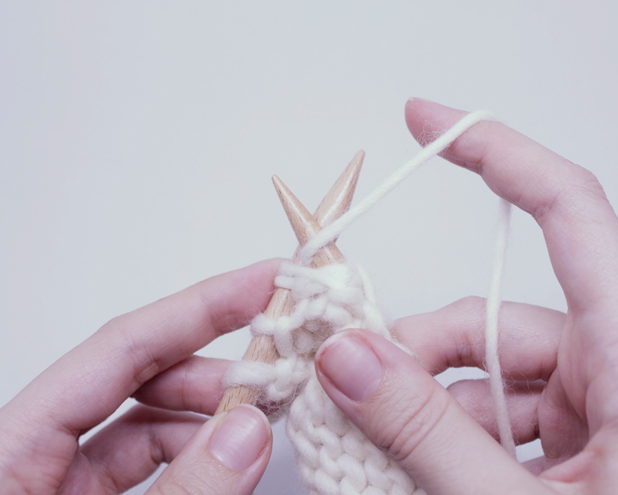
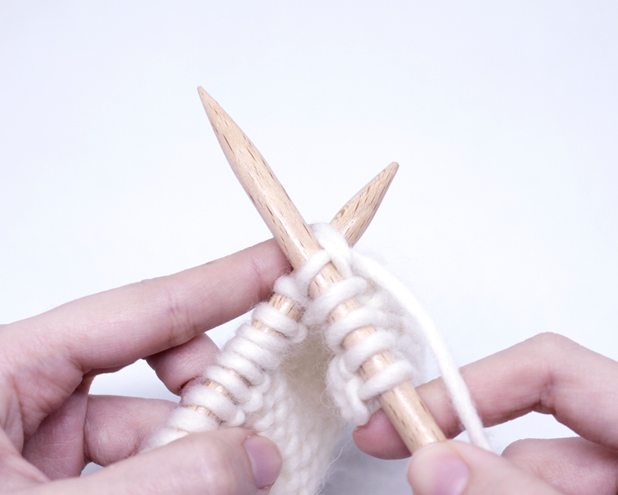
Since it can be hard to see in photos we made this video so you can see how it’s done:
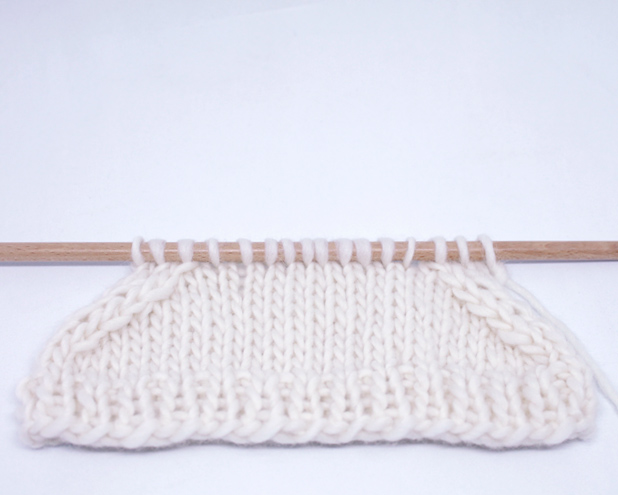
When you purl 2 stitches together through the back loop on the right side of your work, the stitch leans to the left, but when you purl 2 stitches together as usual, the stitch leans to the left.
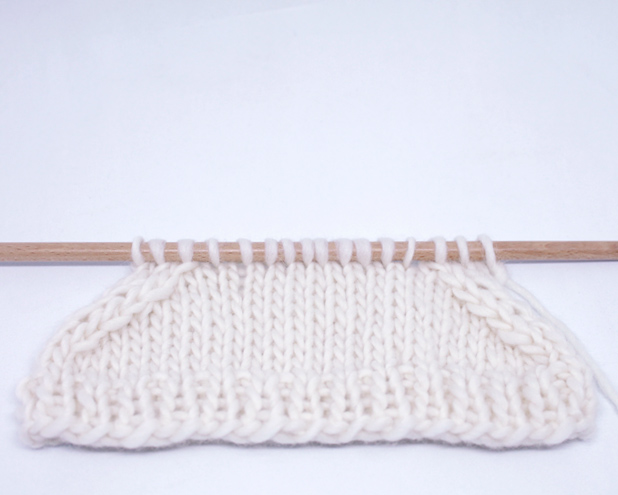
In this photo you can see the results of the decreases made on the wrong side of the work, but seen from the right side. On the left edge of the fabric you see how 2 stitches purled together look (leaning to the right), and on the right edge of the fabric using the technique we explained in this post (leaning to the left).
Try out his technique and share your winter projects on social network using the hashtag #WeAreKnitters.

