Hi knitters!
Last week we taught you how to knit the simple decrease and how to decrease by knitting two stitches together.
Today we will finish by teaching you how to make a double decrease with center double decrease and s1, k2tog, psso.
Now, we are going to show you how to make double decreases in the center of your knitting.
For these decreases, we will remove two stitches, knitting over a third. It may sound weird like this.
This type of decrease is often used to knit very angular shapes, for example the v-neck of a sweater, or to give a different finishing touch to your garments, such as a zig-zag on the sleeves, a flap on a cushion, a clutch in the shape of an envelope, etc…
Let’s begin!
Center double decrease
1. We knit our garment with the selected stitch until we reach the center of the row.
2. We slip the next two stitches together from our left needle to our right WAK needle, without knitting them.
3. We knit the following stitch (the third) normally, like the rest of the garment.
4. With our left needle, we pass the two stitches that we haven’t knitted and were on the right needle over the knitted stitch.
5. We continue knitting the rest of the garment.
S1, k2tog, psso decrease (slip one, knit 2 together, pass slipped stitch over)
1. We knit our garment with the selected stitch until we reach the center of the row, or the desired place in the garment.
2. We slip a stitch from our left needle to our right WAK needle.
3. We knit the following two stitches together normally, like we did for the rest of the garment.
4. With our left needle, we pass the stitch that we haven’t knitted and was on the right needle (Step 1) over the double stitch that we just knitted. (Step 3)
Now you have learned different ways to make decreases… we are looking forward to seeing your progress and your WAK creations on Instagram. 😉
#weareknitters
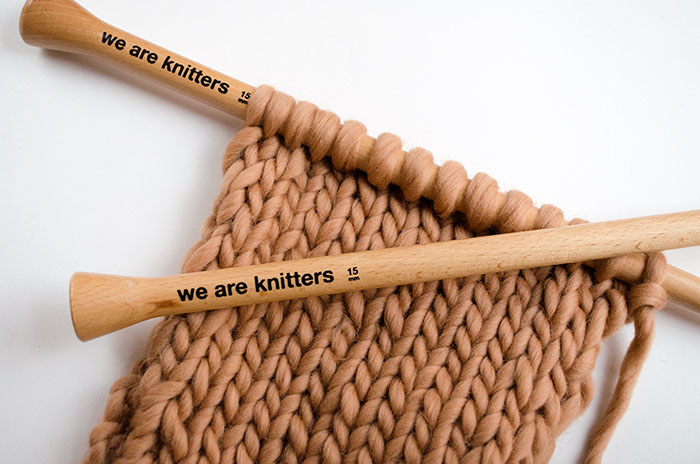
For this post we used 8mm/US size 11 WOODEN NEEDLES and 100% PERUVIAN WOOL YARN in BEIGE.


