It is really important to be familiar with the different types of decreases. Depending on the shape we want our final product to have it is better to use one rather than the other, because although they all serve to make decreases at the end of the day, the result can vary quite a lot. That’s why we have to be very clear on the direction in which we want to take away stitches.

There are decreases which “fall” to the left and others which “fall” to the right. The majority of knitters know that, but many think this only refers to decreases on the outside. Far from that, there are also different ways to decrease when we want to reduce the number of stitches on the inside.
Decreases to the left

This way to decrease is the most common when we knit on the inside. You just have to purl two stitches together, inserting the right-hand needle into the threads of the two stitches.
Decreases to the right

Slip the stitches of the decrease onto the right-hand needle as if you were to knit them.

Now transfer both stitches back onto the left-hand needle without changing their direction.

Finally, insert the righthand needle into both stitches through the backloop and knit them together.
That way both sides will be ready, combining these decreases:
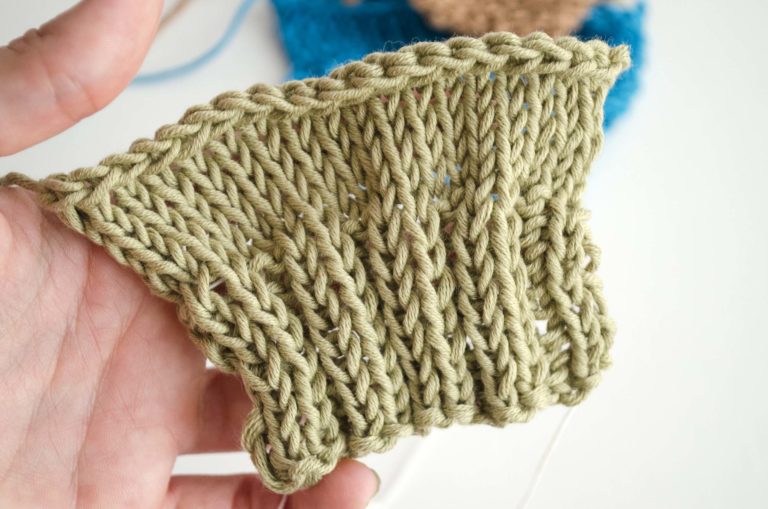
The decreases on the left side of the sample show the decreased stitches falling to the right. And the decreases on the right side of the sample show the decreased stitches falling to the left.

That’s what they would look like on the inside:

Get used to do the decreases correctly and you will notice a huge difference in your finished projects! Additionally, you will be able to knit more easily and all you have to do is learn how to knit two different types of decreases, easy peasy.
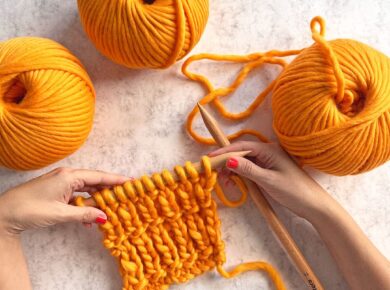
In our example we have used the cotton in grey, but you can of course use any color you like and 8MM wooden needles.
It doesn’t matter whether you are already an expert in this technique or whether you have just started to use it, we are always interested in seeing your own creations. You can share them with us on Instagram with the hashtag #weareknitters.


