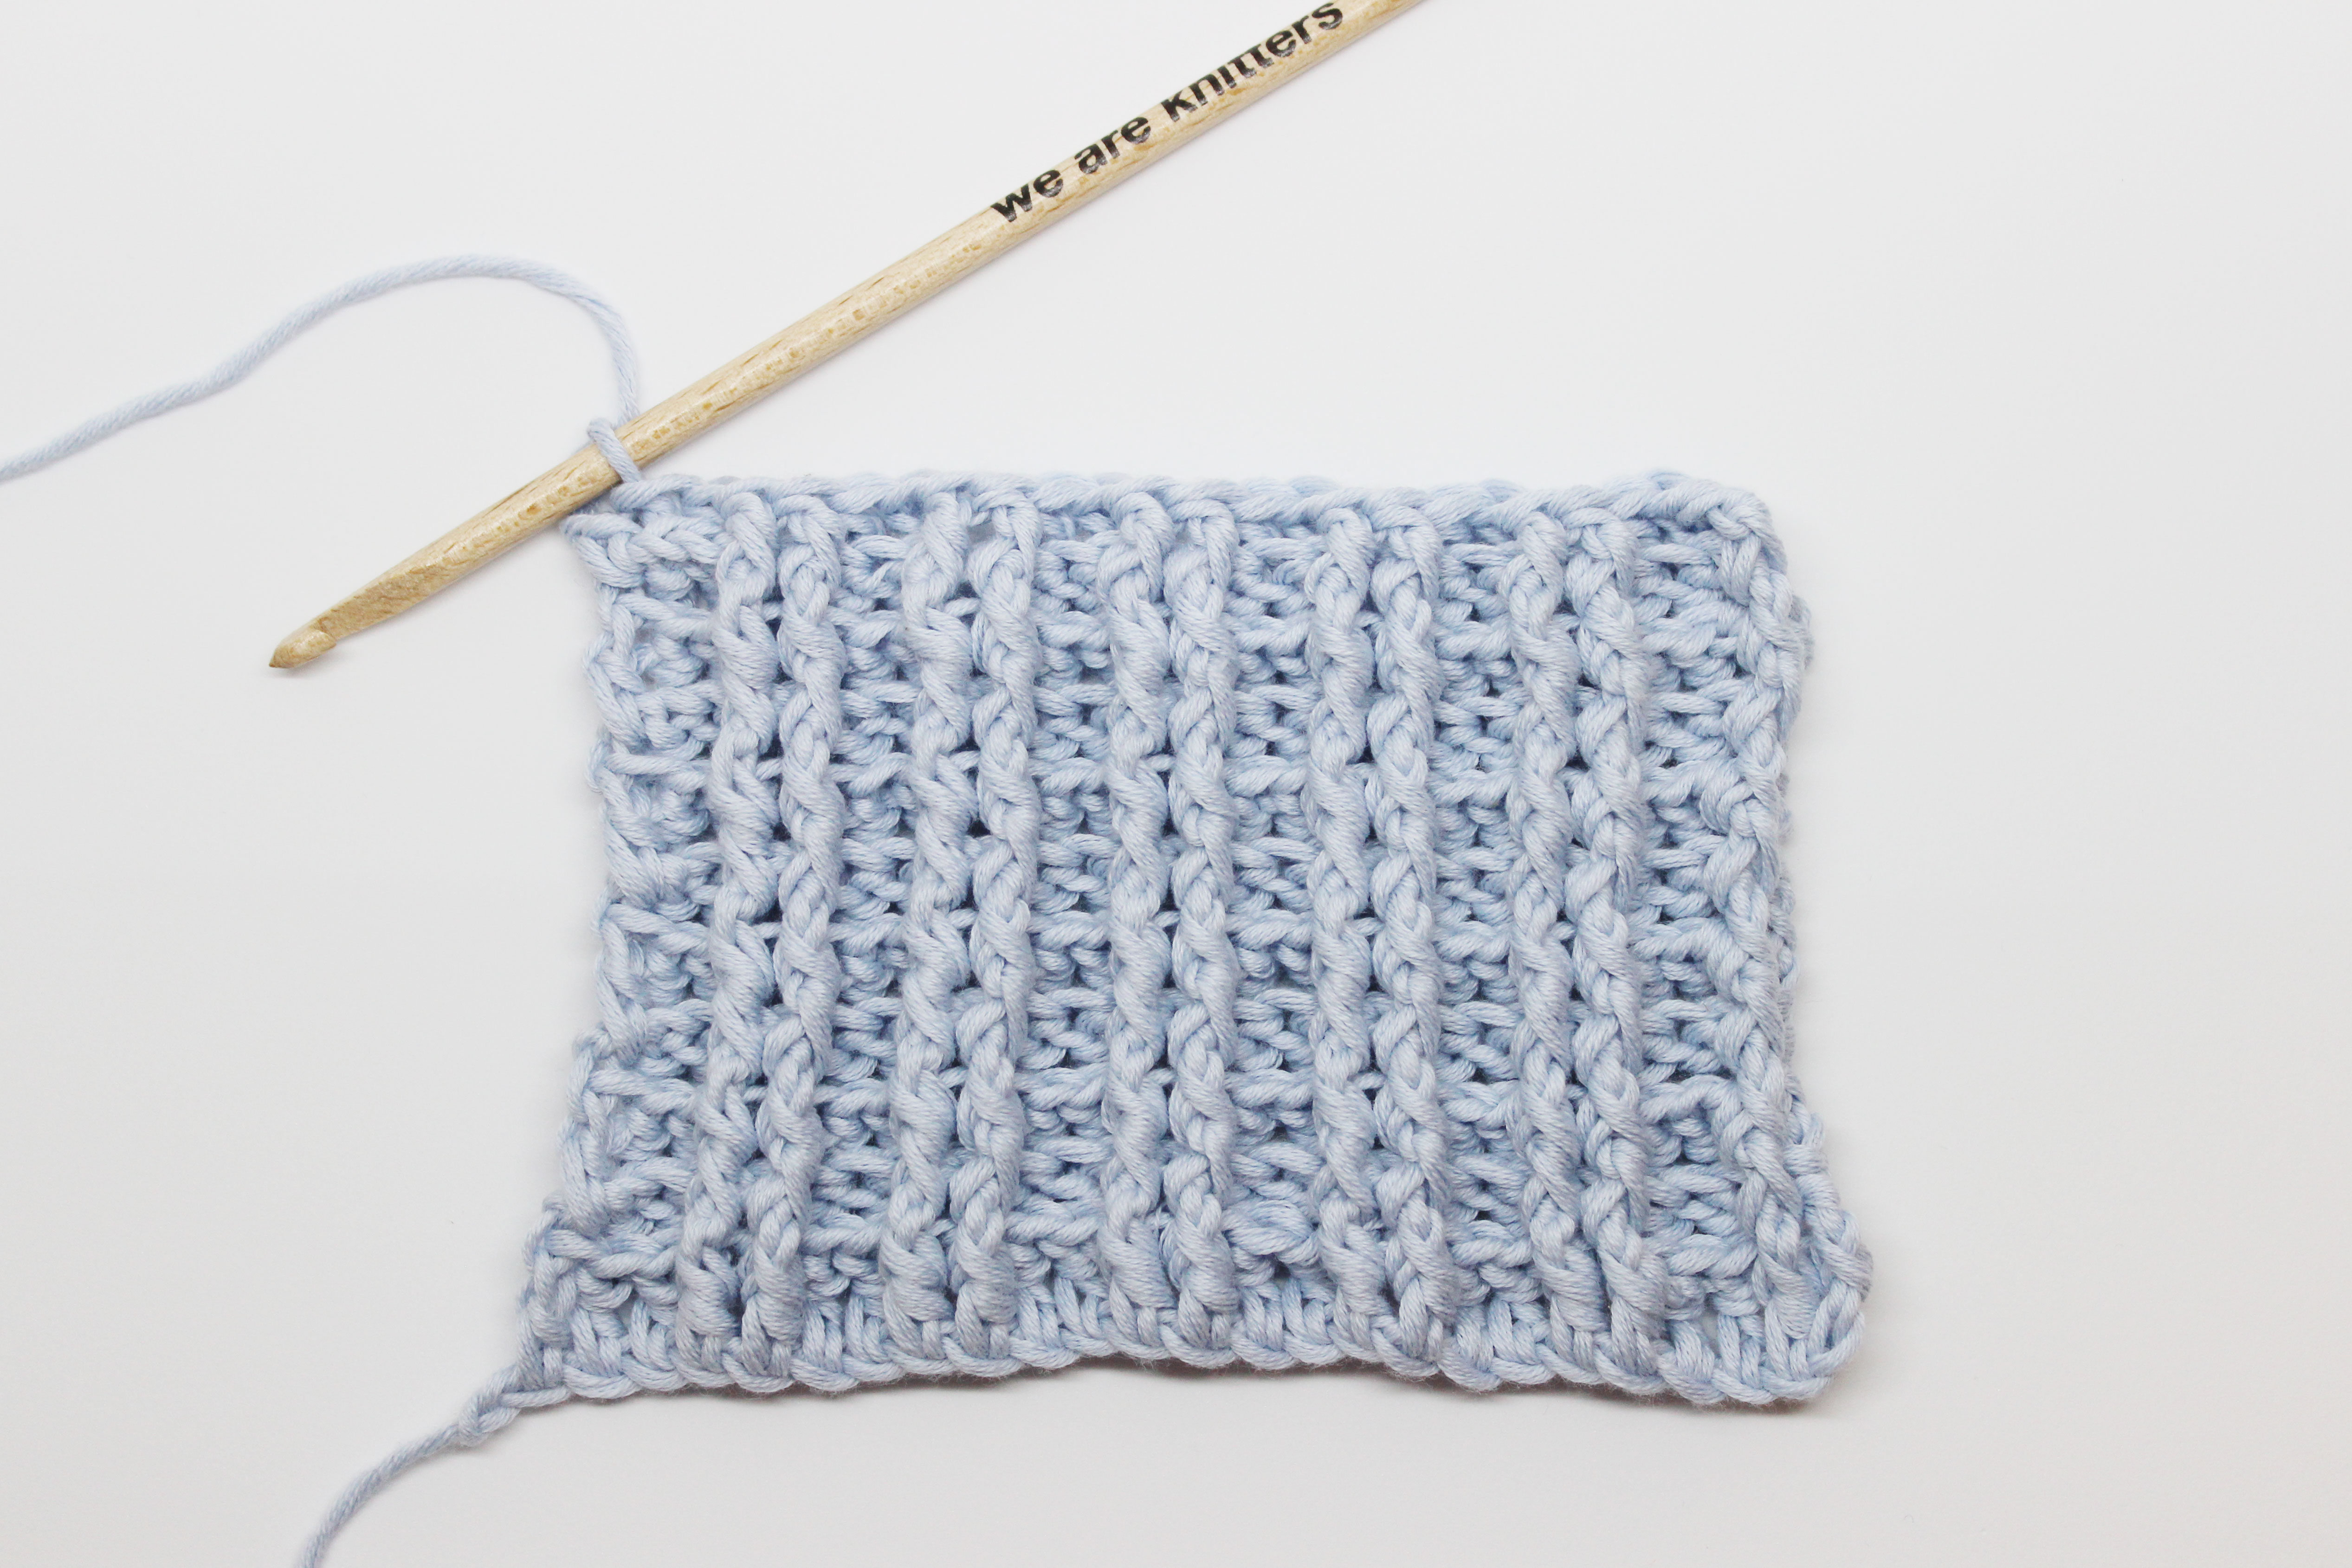
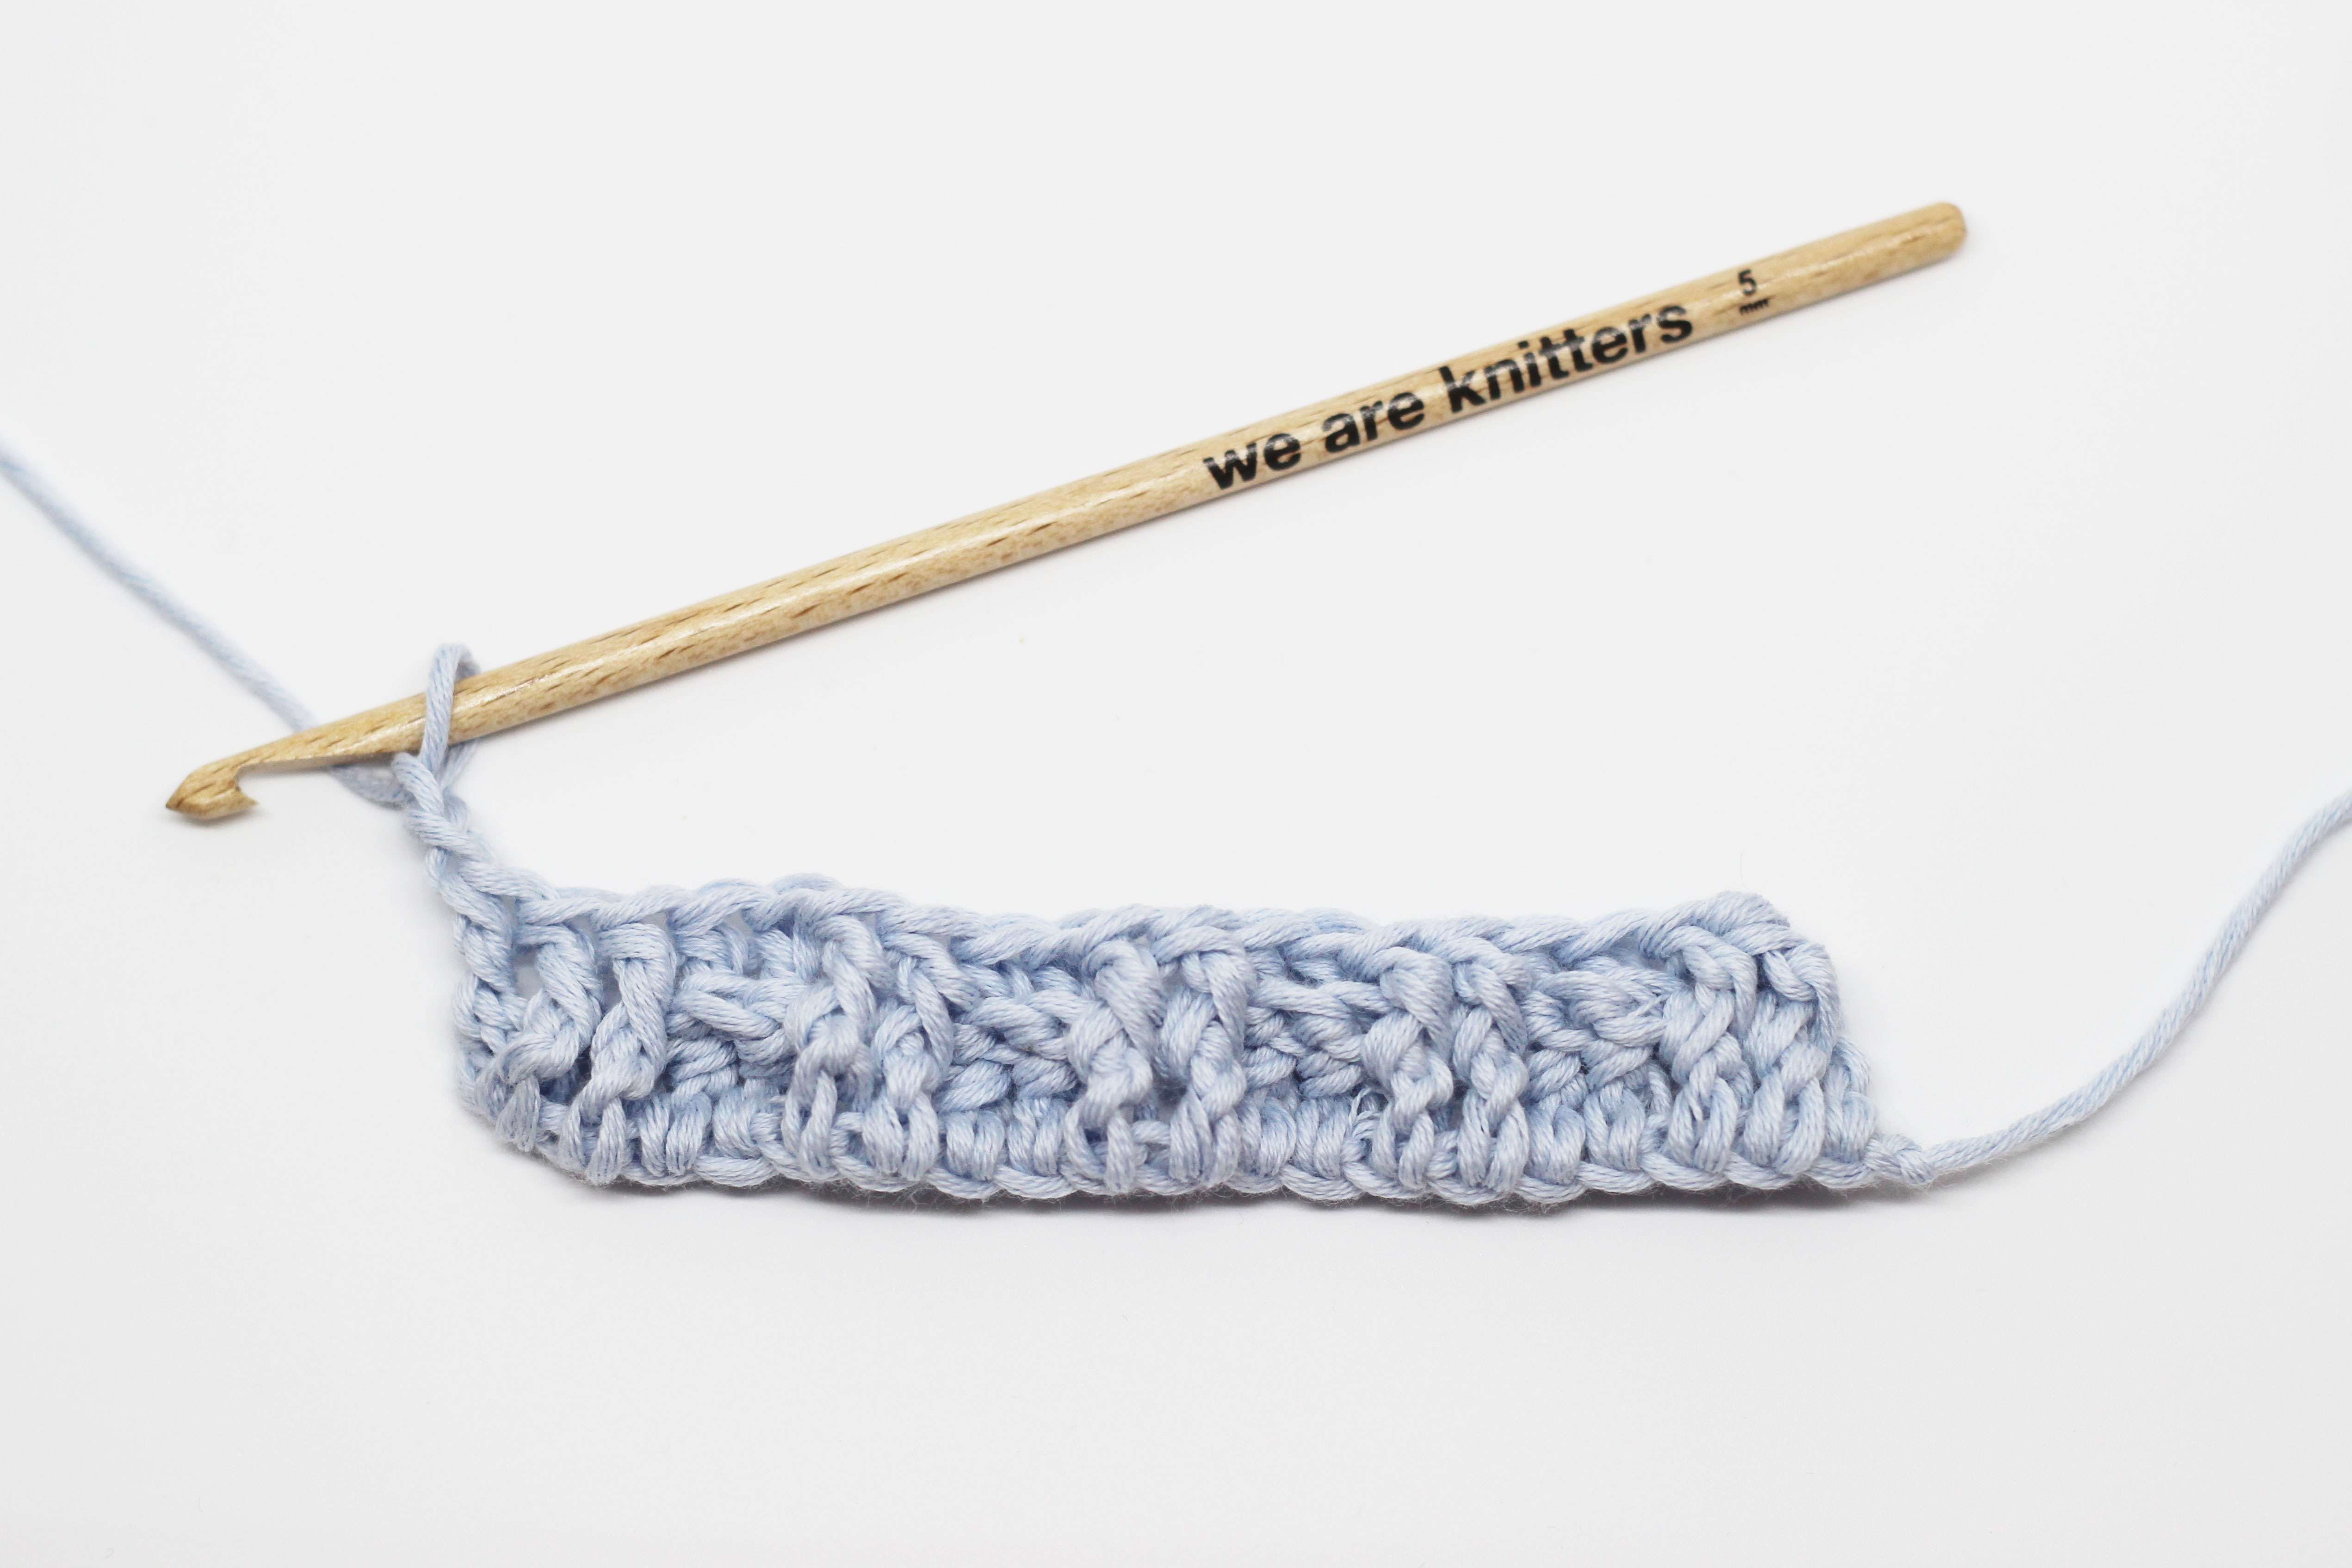
The 2 x 2 rib stitch, that serves as the basis for all rib stitches (1×1, 3×3, 4×4, etc.), is a basic in crochet. One of its main characteristics is that it is reversible and is used for the hem of your garments, beanies, cowls, bags, etc. And now we will show you the “hooker” version to use on your summer projects. Can you imagine how it would look for a crocheted top or a beach bag?
For this example we used a size 8 (5mm) crochet hook and our Pima cotton.
You will need to know how to do the following techniques to learn how to do this stitch:
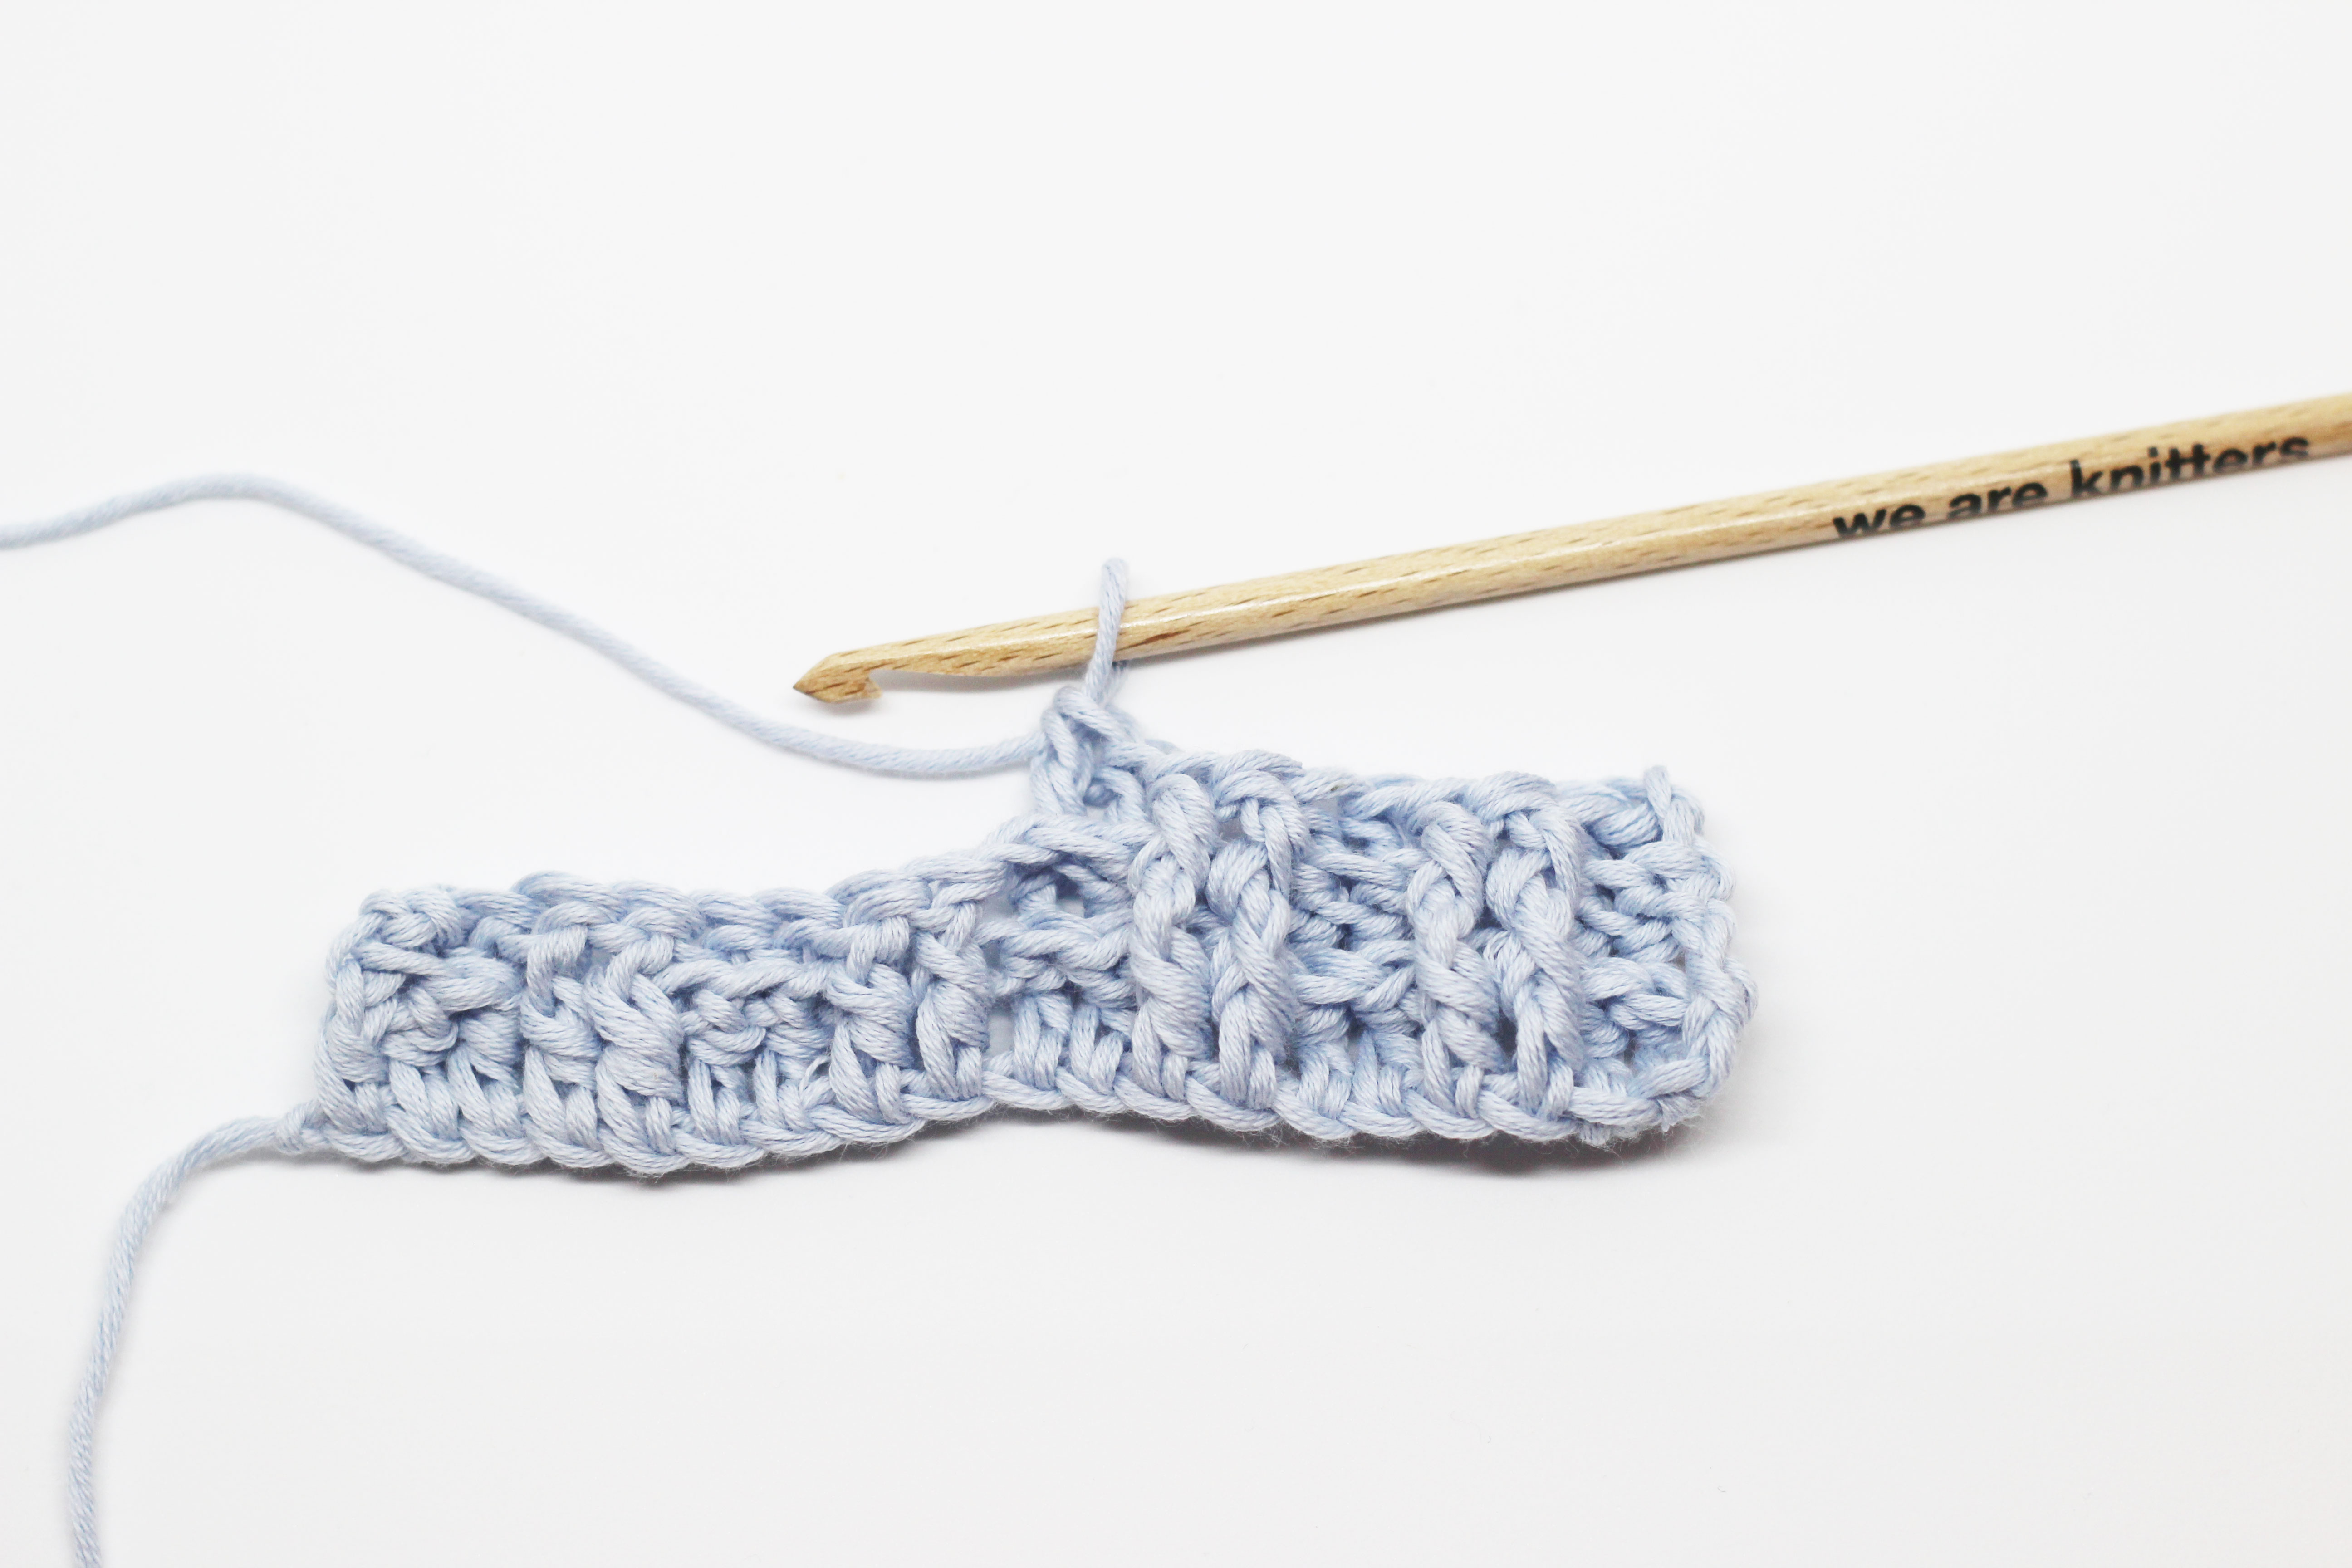
This stitch is made by working a combination of double crochets through the front post and back post. For this type of stitch we won’t insert the crochet hook into the top of the previous row, but rather through the posts, as shown below:

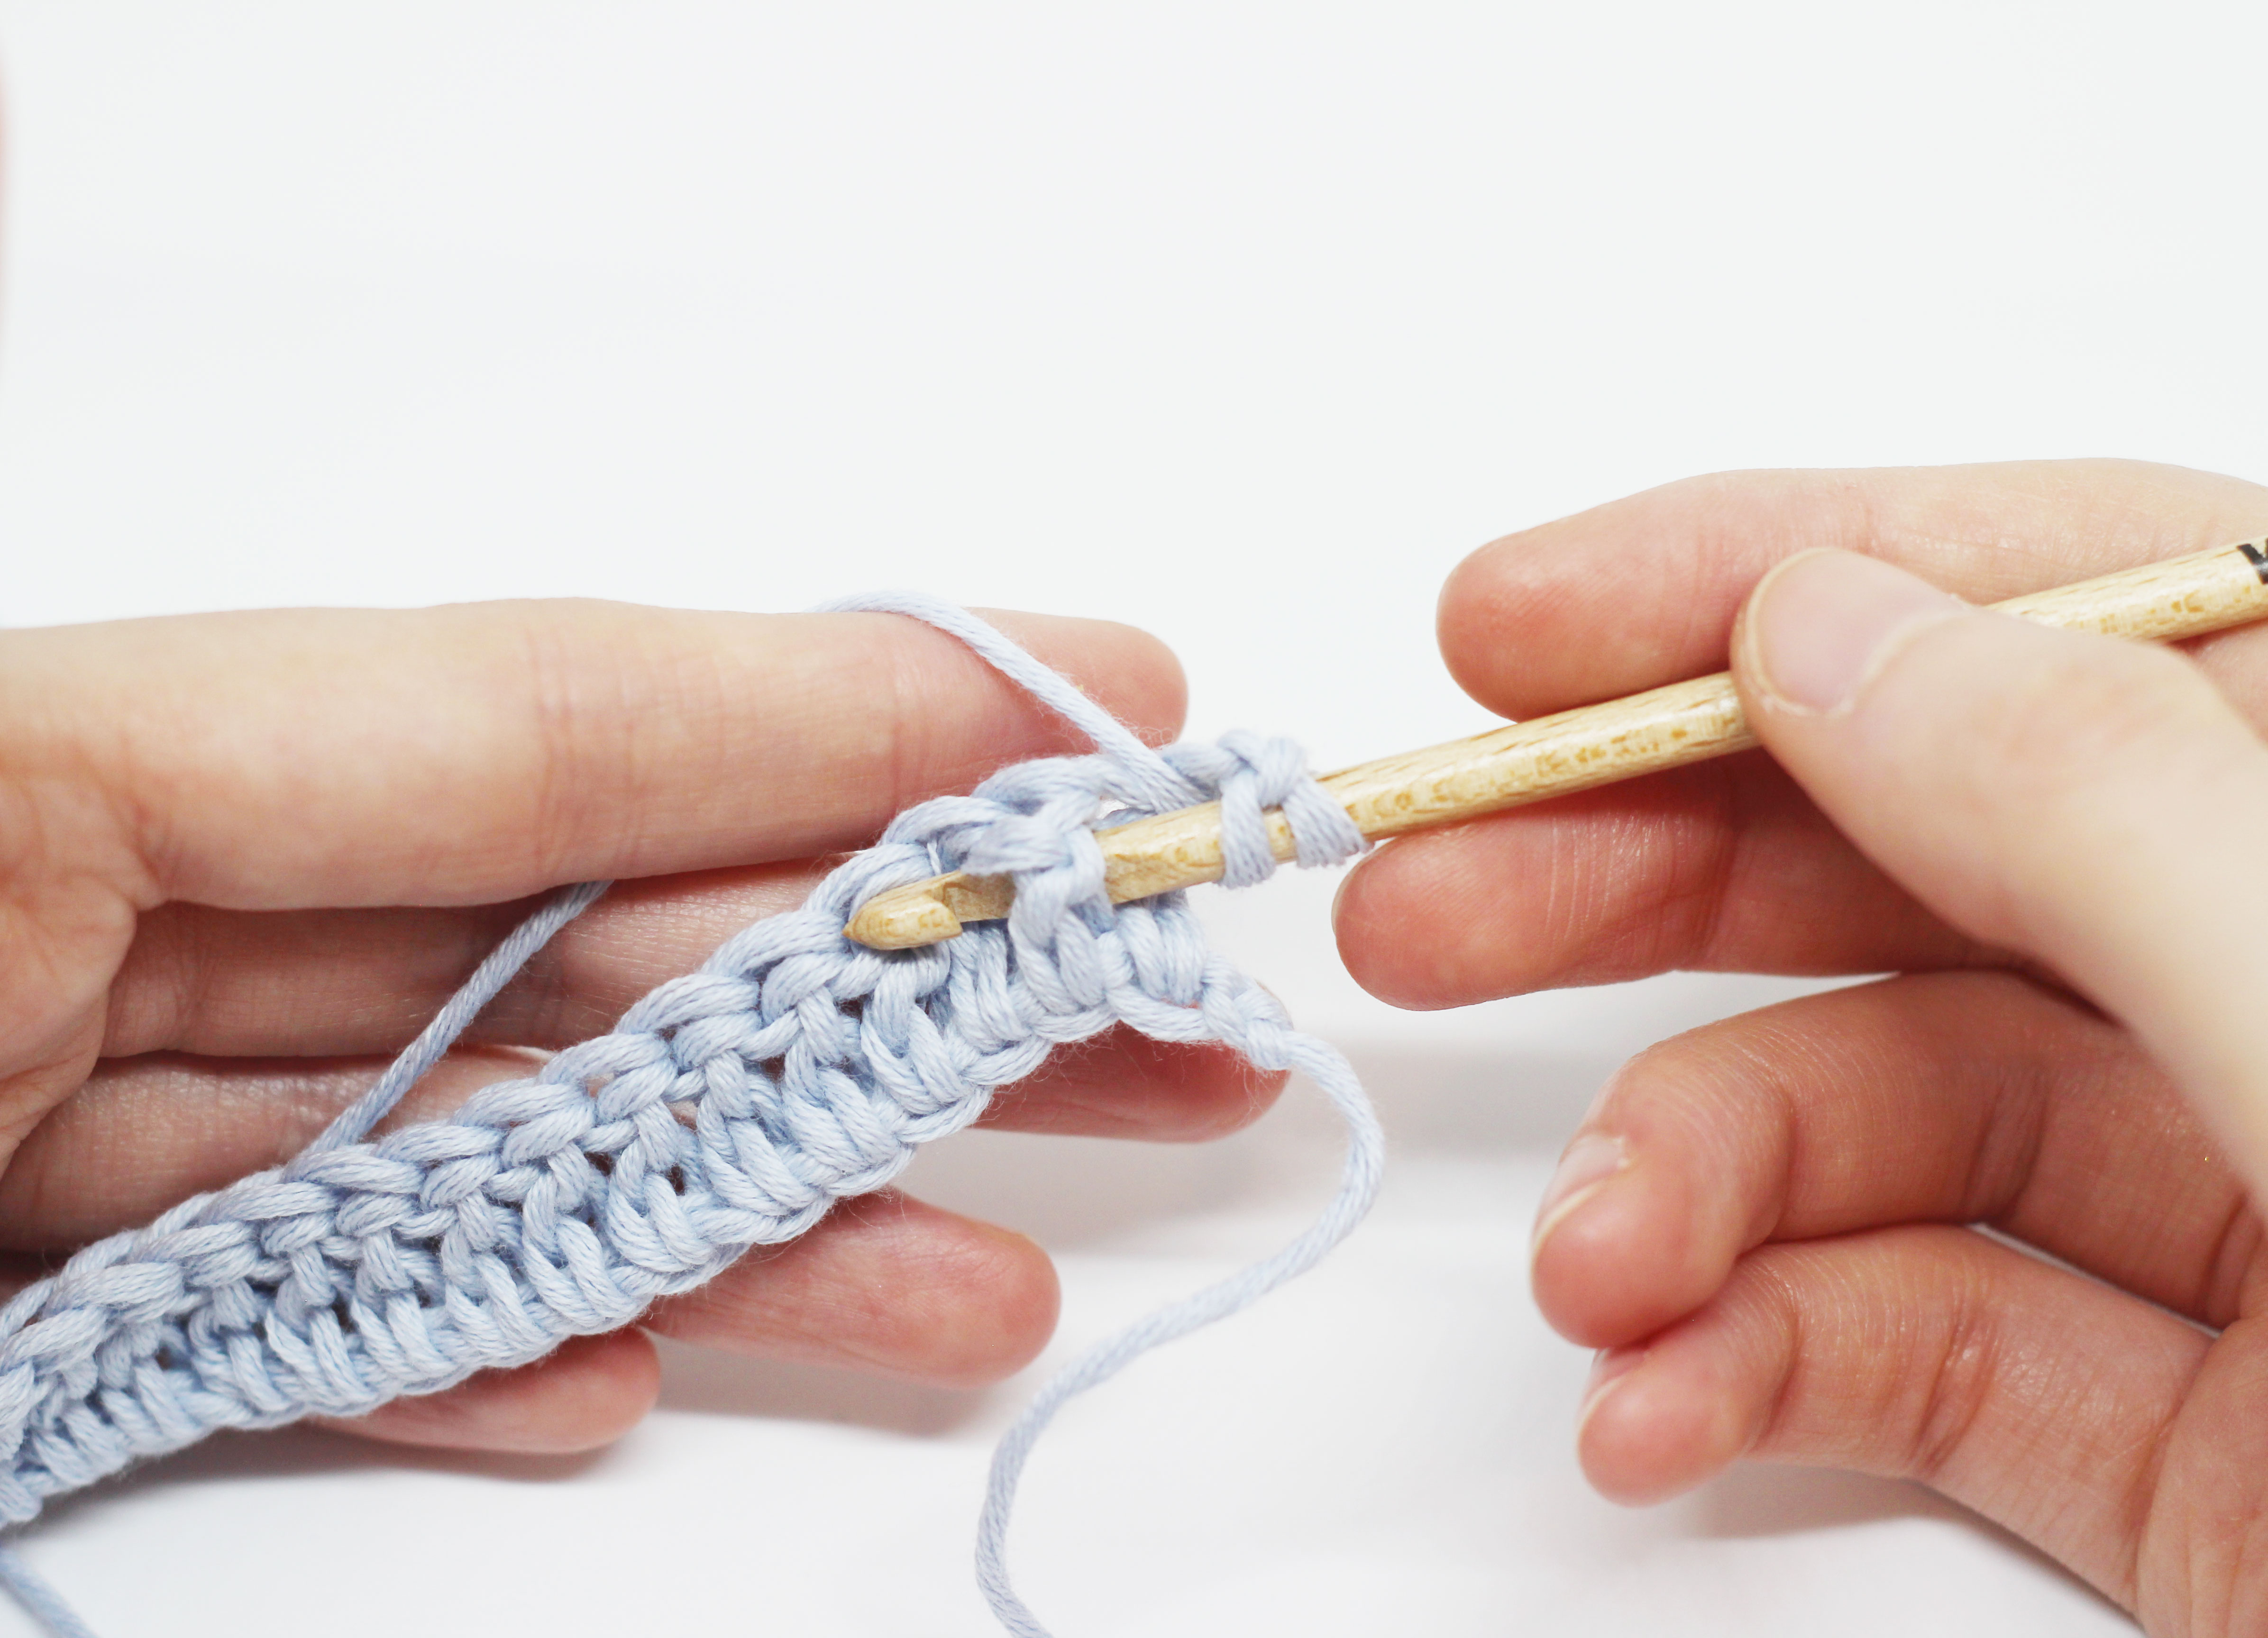
Front post double crochet: you have to insert the crochet hook from front to back between the posts of the first and second stitches, go behind the second post, and bring the hook out to the front between the second and third stitches. Yarn over again and draw up the yarn as if you were working a regular double crochet.
Back post double crochet: you have to insert the crochet hook from back to front between the posts of the first and second stitches, go in front of the second post, and then front to back between the second and third stitches. Yarn over again and draw up the yarn as if you were working a regular double crochet.
Now we are going to see how to work the 2 x 2 rib stitch by combining the stitches we explained above:
Row 1: work the whole row in double crochet.

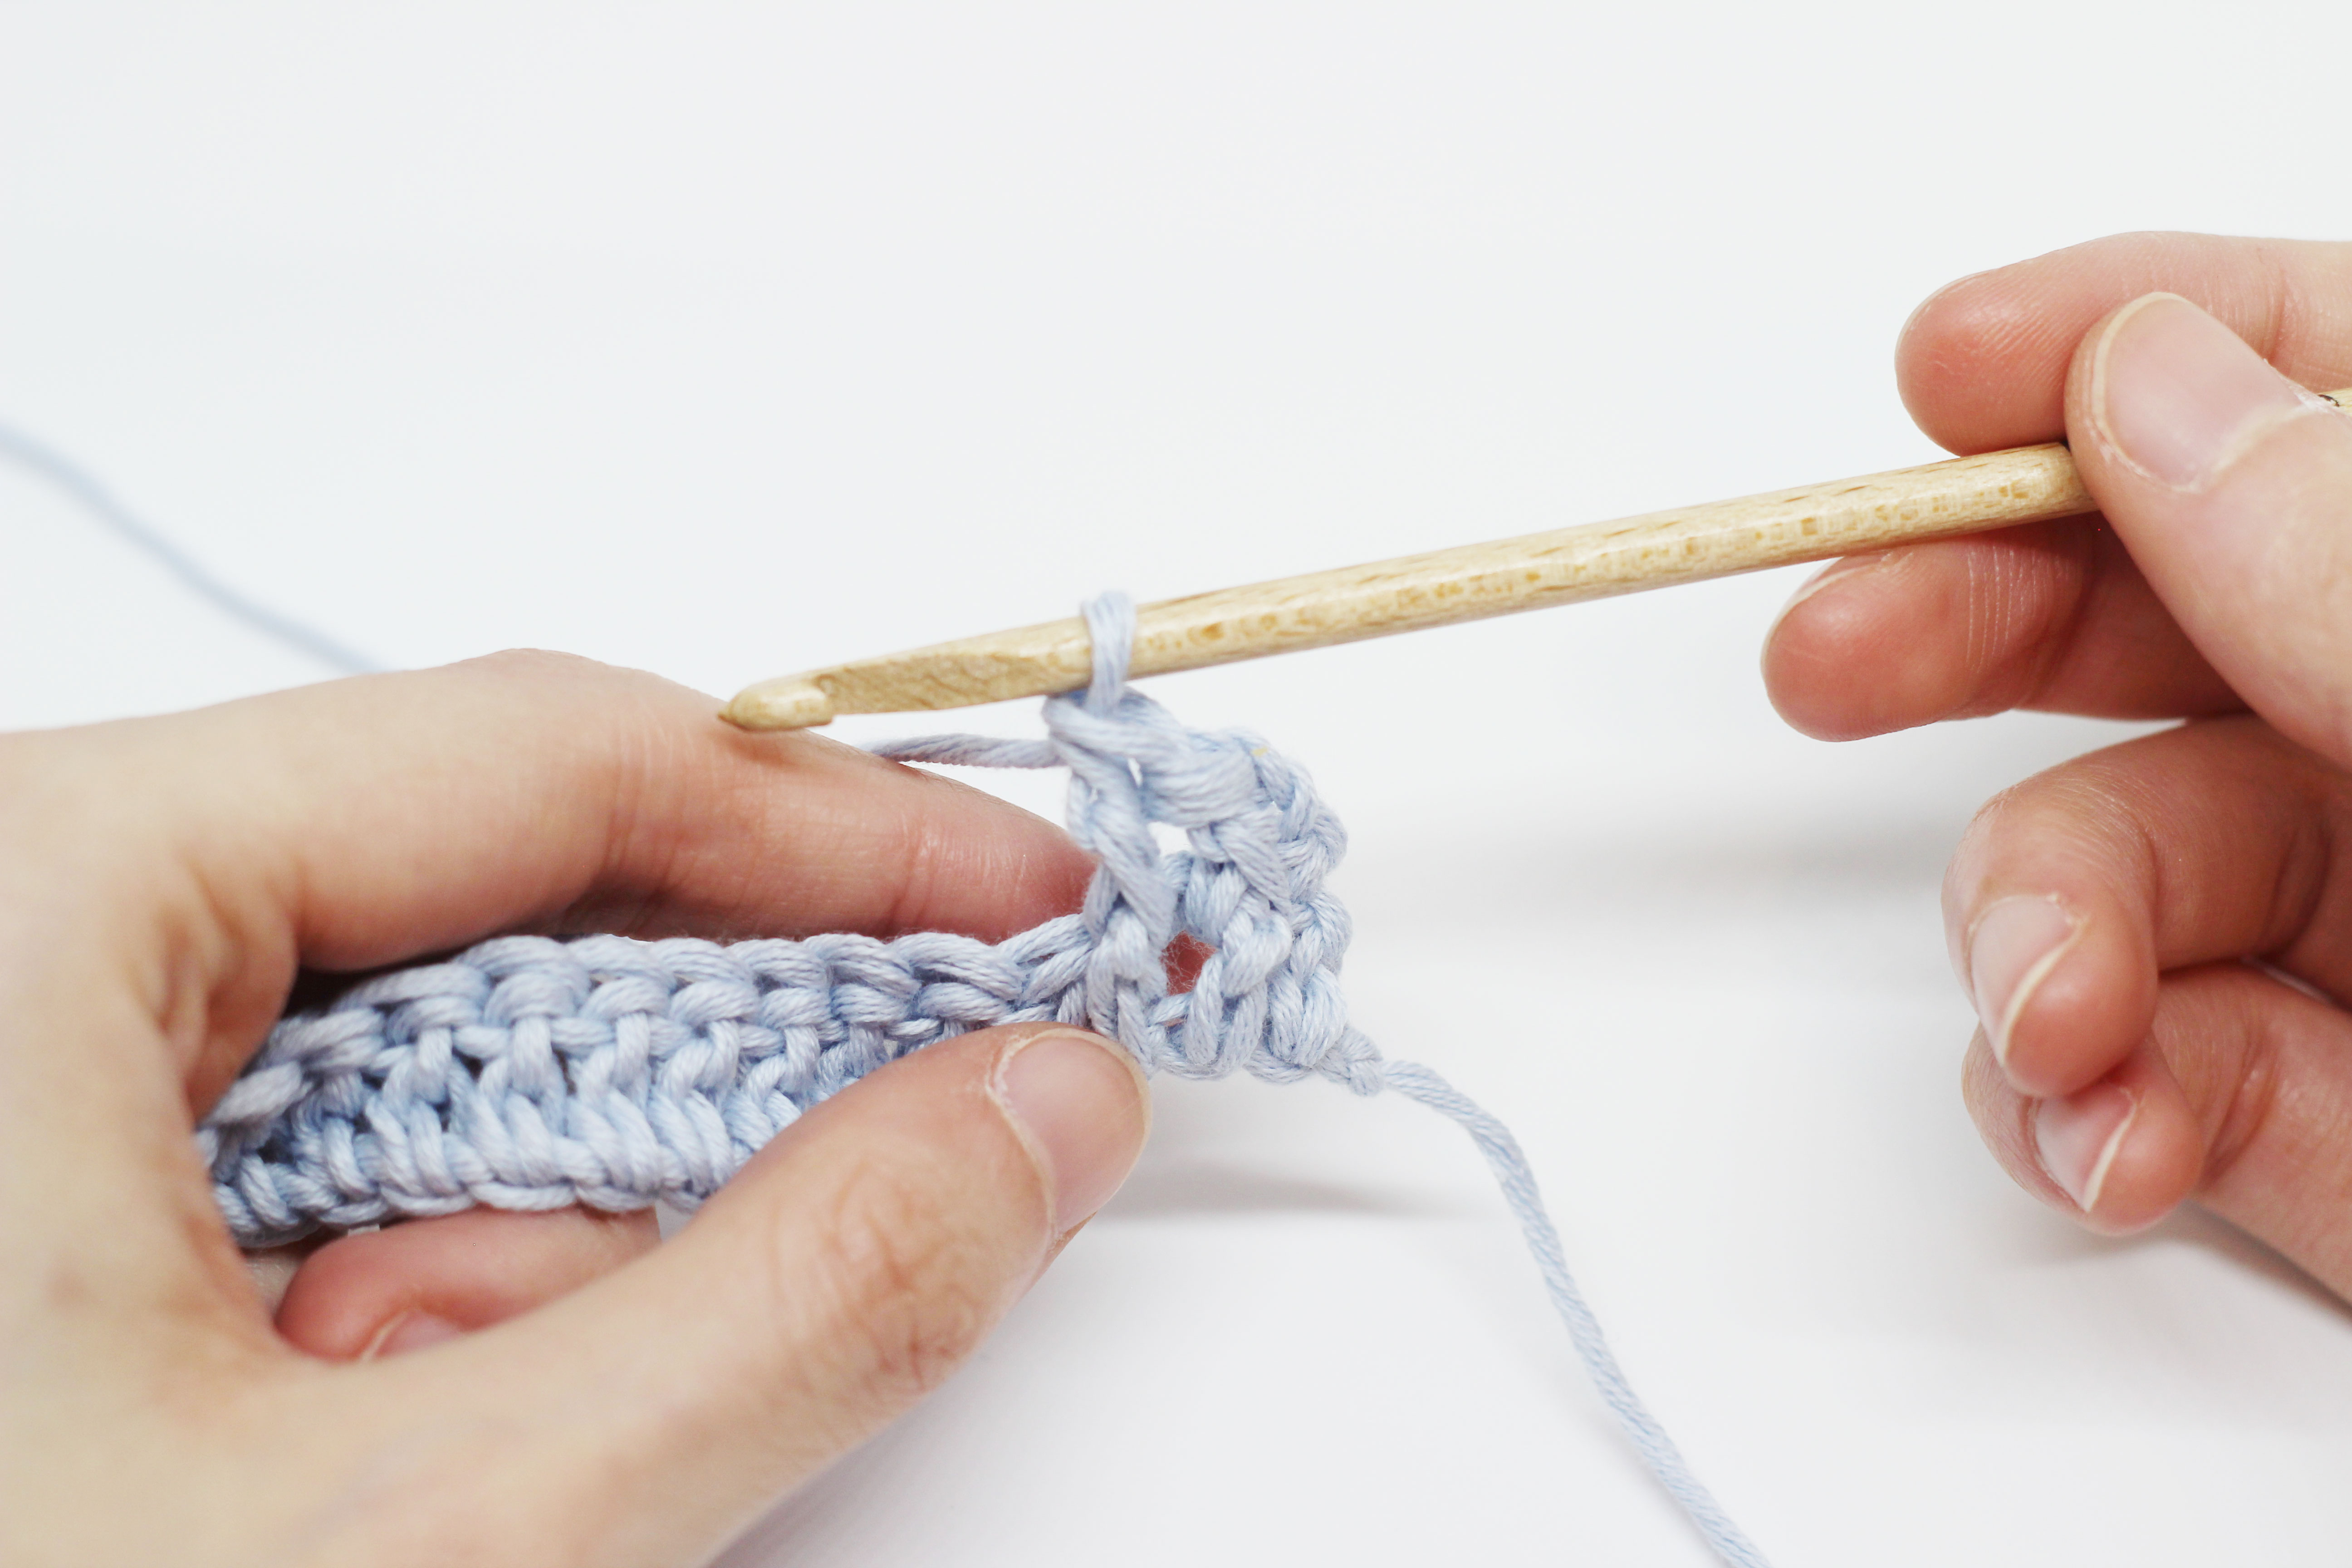
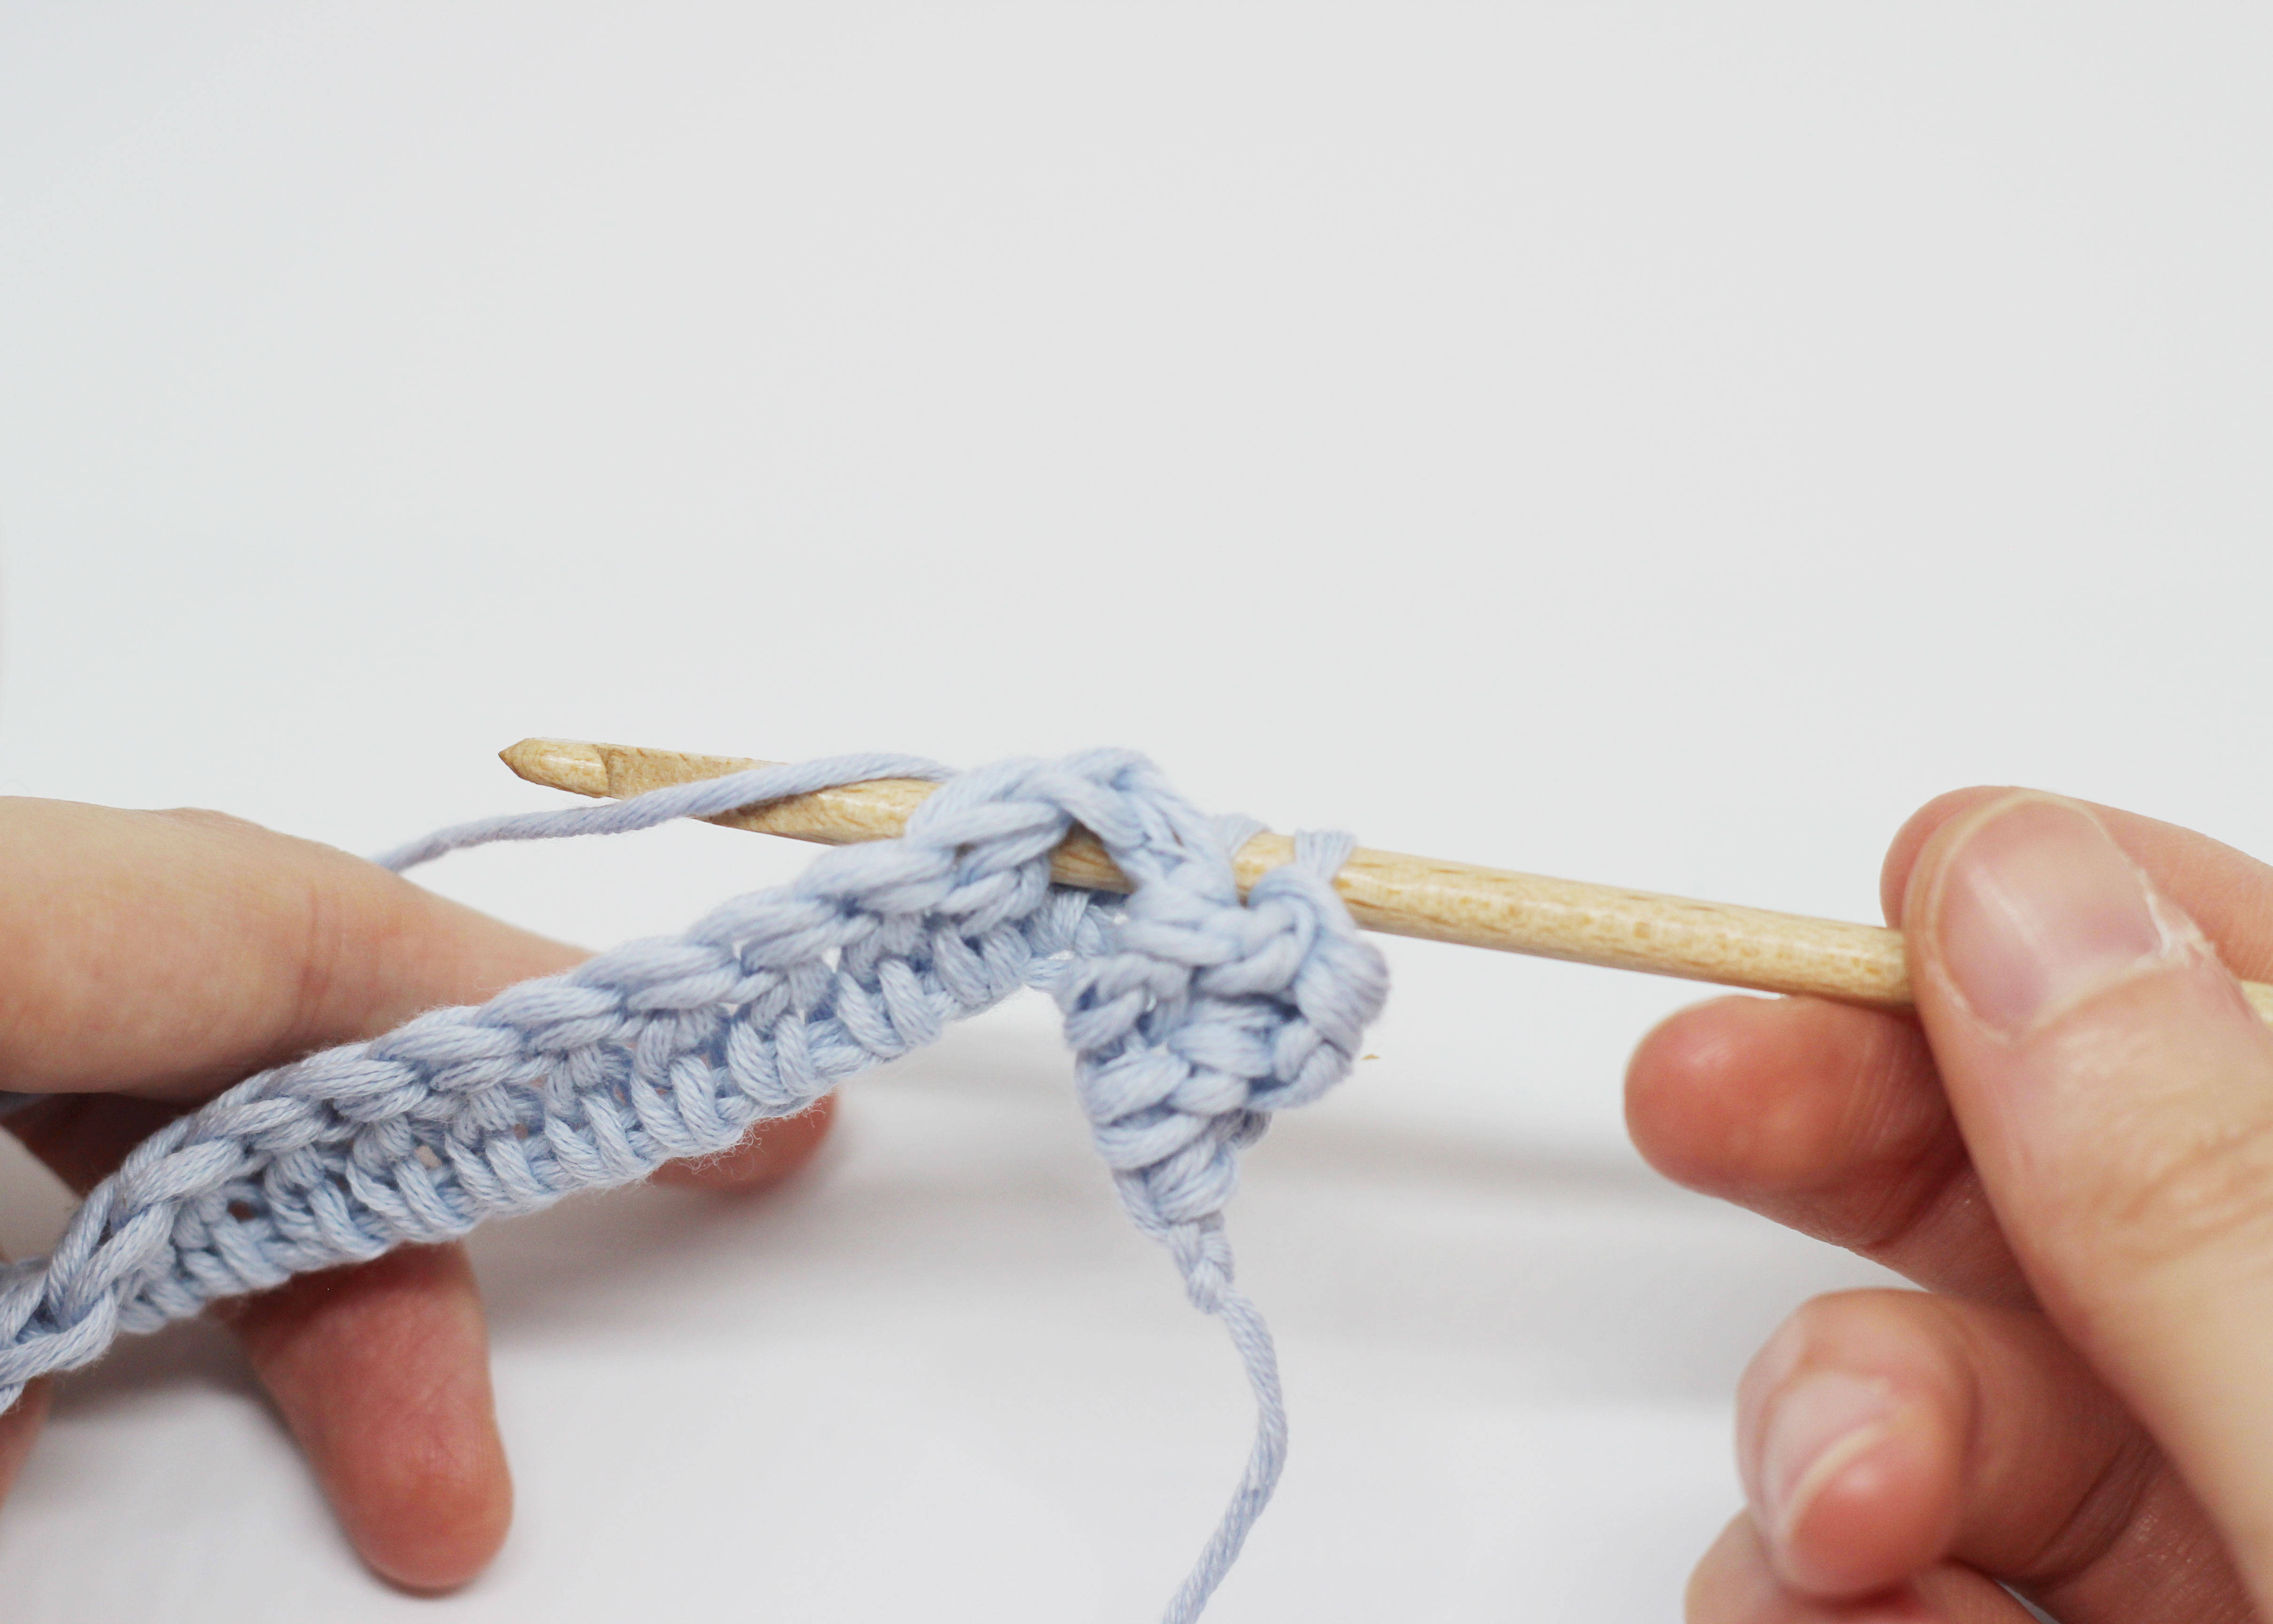
Row 2: we will work by alternating front post double crochet with back post double crochet as follows: 2 front post double crochets + 2 back post double crochets. Remember that your foundation chain must be a multiple of 4 in this case. If you want to make a wider or thinner ribbing (1×1, 3×3, 4×4, 5×5, etc.) your foundation chain must have a multiple of 2, 6, 8, 10… and so on. At the end of the row you have to chain 3 to start the next row.
Row 3: start by working the opposite stitch than the last stitch of the previous row. If you ended with 2 front post double crochets, start with 2 back post double crochets. At the end of the row remember to chain 3 to start the next row.
Repeat rows 2 and 3 until you reach the desired length.

As you can see this is a very easy stitch to learn, and depending upon the combination of front post double crochets and back post double crochets your ribbing will come out wider or thinner with different results.
Like always, we encourage you to share your creations with us on Instagram, using the hash tag #weareknitters. We can wait to see where you’ll use the rib stitch.