As you have seen in our blog posts, we love quick and easy stitches that, in turn, are the most beautiful. Today we will teach you how to knit two crossed triple crochet stitches. A stitch that you will surely be able to use for many of your summer projects.

For this tutorial we used a skein of our Pima cotton and a size 8 (5 mm) crochet hook.
Before beginning, here’s a list of the stitches you need to know how to do, so you can take a look and review them:
Let’s get started!

We will start by making a chain with an even number of chains plus one extra chain.

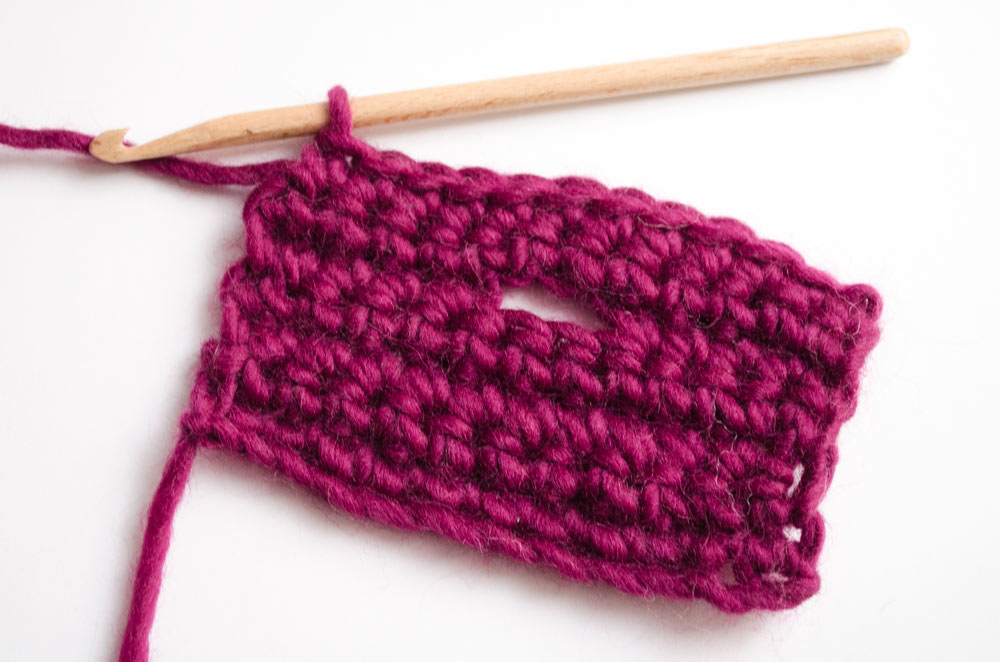
Next, over our foundation chain, we worked a row in double crochet to create a base for the crossed triple crochet row. You can use your favorite combination of stitches.

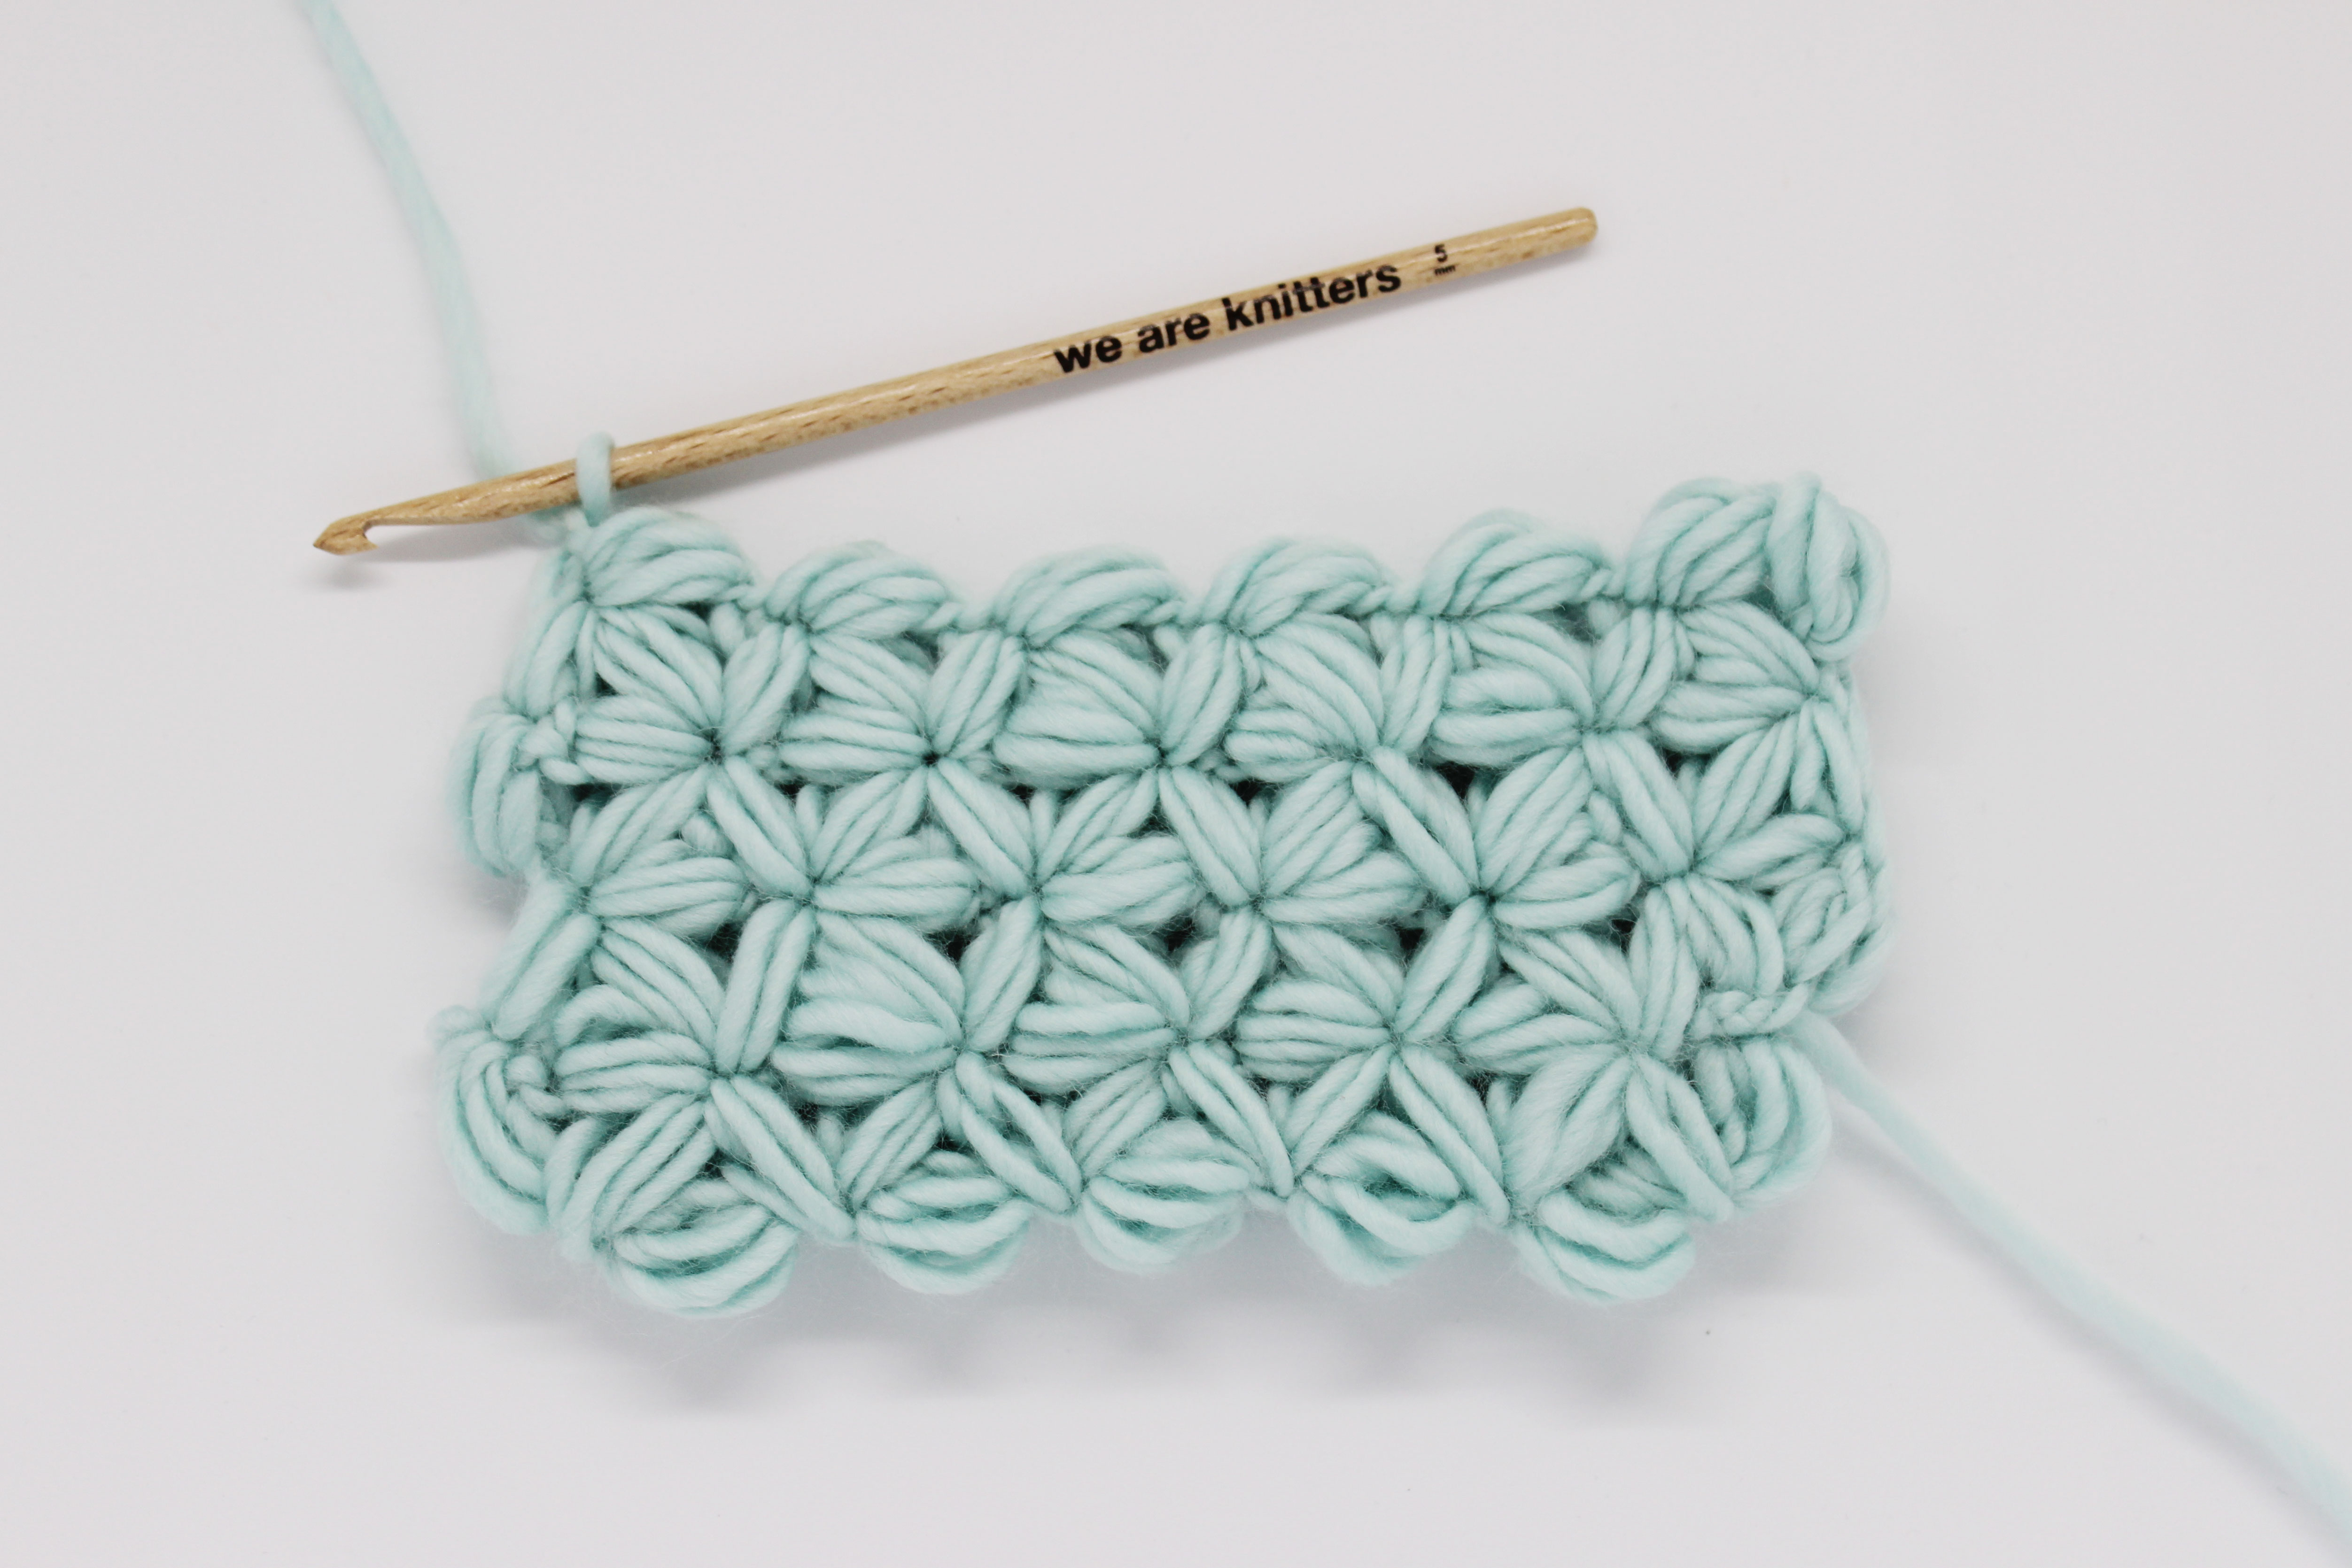
To make a crossed triple crochet stitch we will work as follows: skip one stitch from the previous row and work a triple crochet into the next stitch.

We will work the next triple crochet into the stitch that we skipped. Work the triple crochet into the back of the fabric.
In order for you to see this step more clearly, we prepared a short video for you.
Seeing it in action is always better!
As you can see, crossing the stitches is really easy to do. You just have to remember to work into the back of the row.

Continue working crossed triple crochets along the rest of the row.

You can make many different combinations with this simple stitch.
We hope this mini step-by-step tutorial was useful. We look forward to seeing what projects you use it for and that you share it on social media using the hashtag #weareknitters.
Until next time!