Joining pieces can always cause us a brief moment of panic– especially if it’s crochet. We’re always worried that the seam won’t be sufficiently invisible or that it won’t match up with the fabric well. Today, we’ll show you how to make a crochet seam look perfect. This technique can be used with both crochet garments and when joining the famous granny squares.
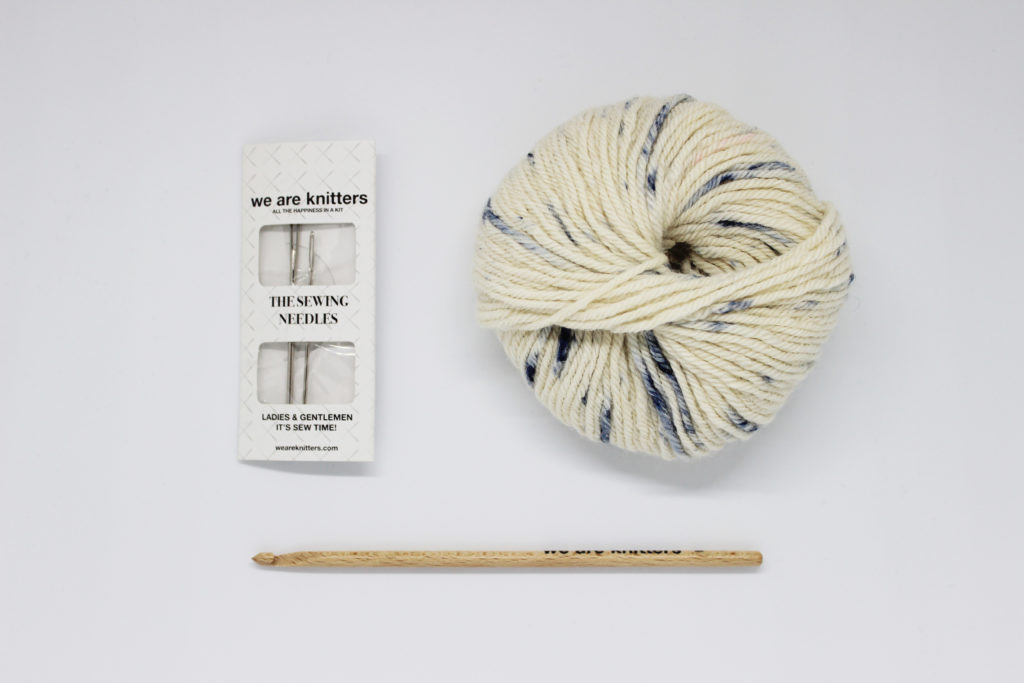
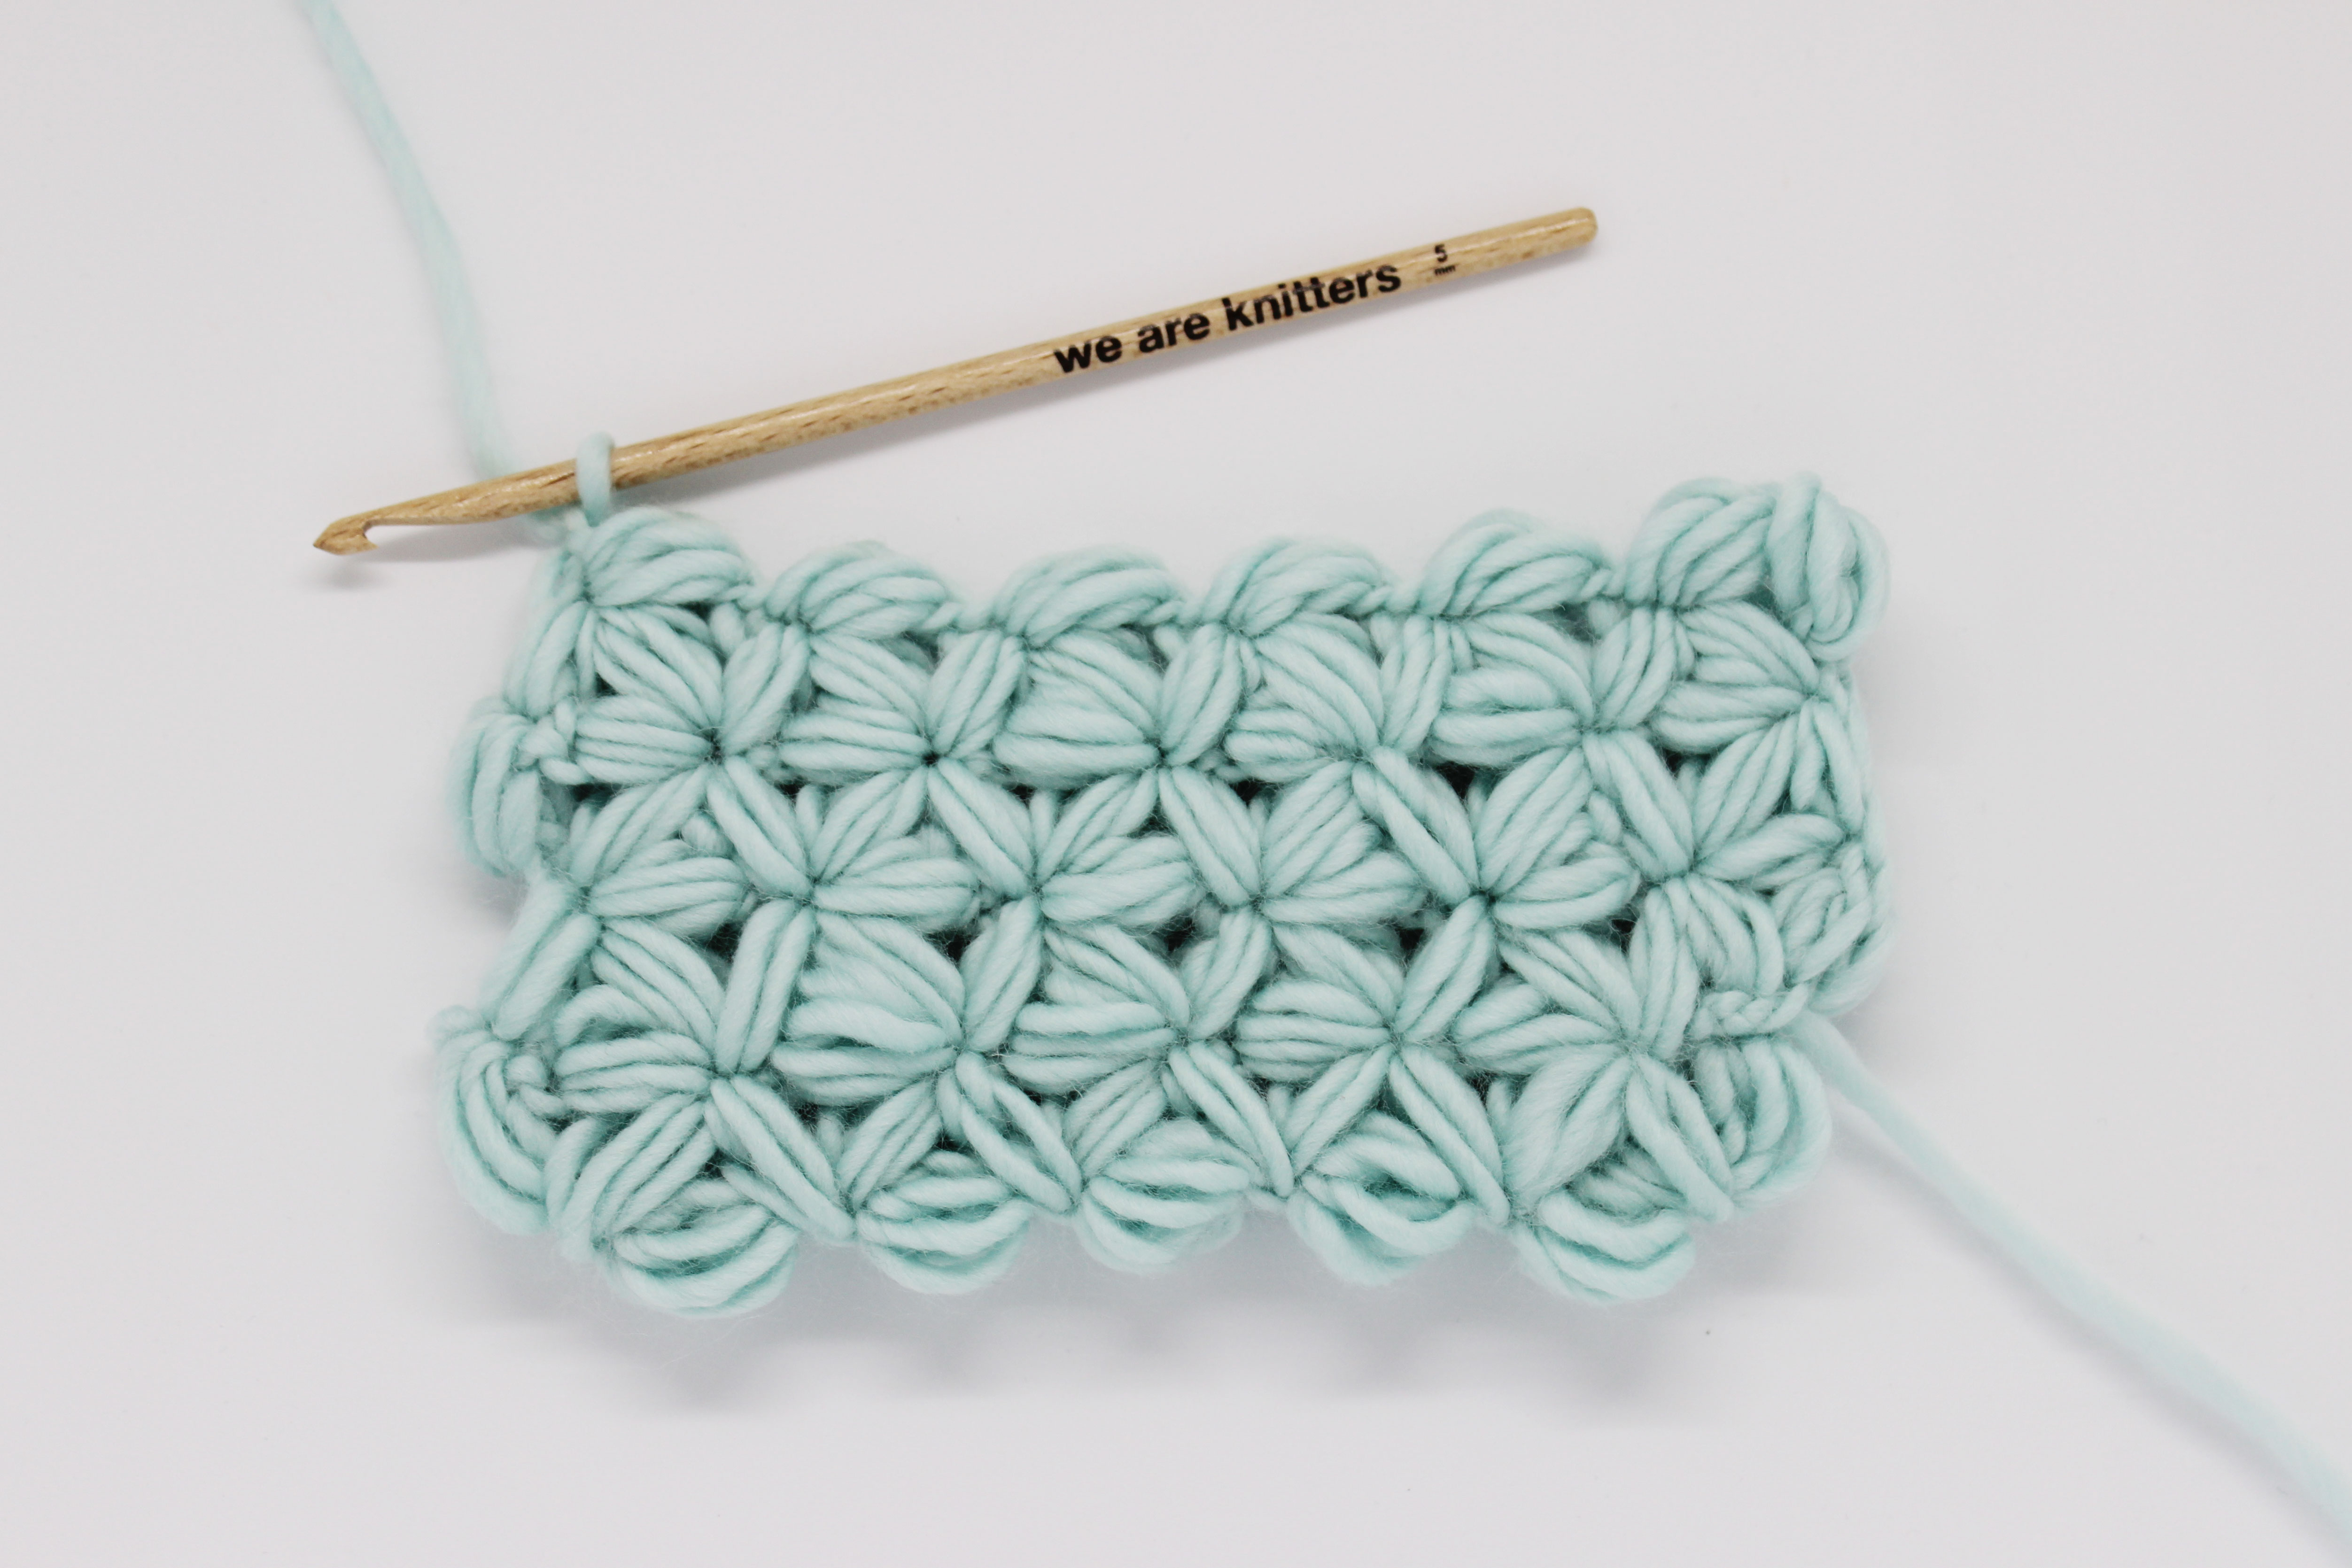
For this step-by-step, we’ve used a 5 mm crochet hook, one skein of our lightweight and smooth yarn The Baby Alpaca, and one of our tapestry needles.
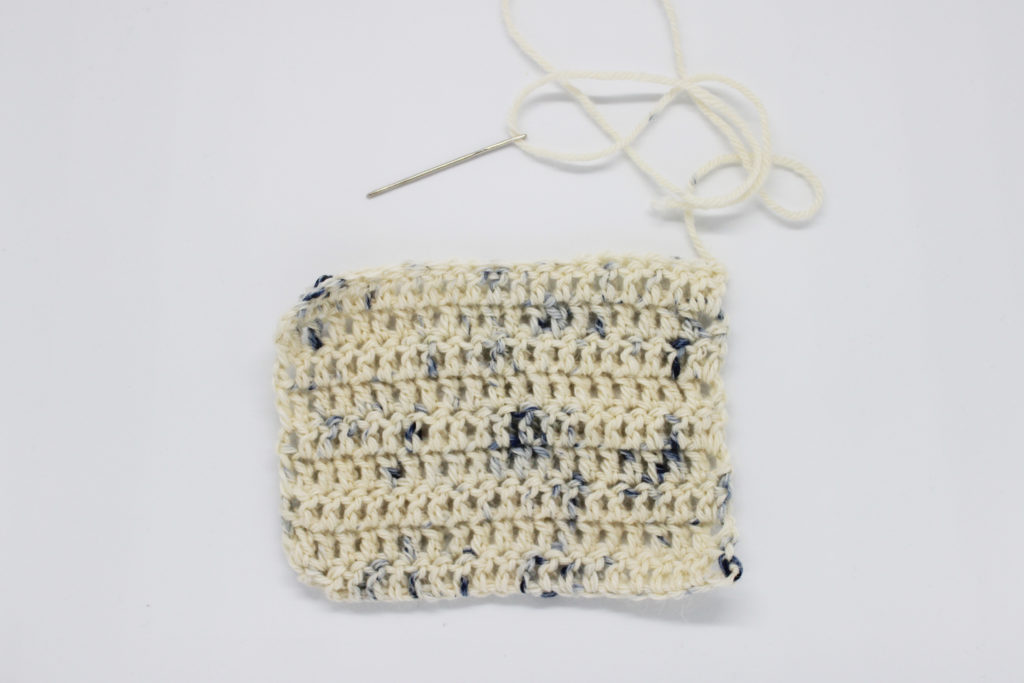
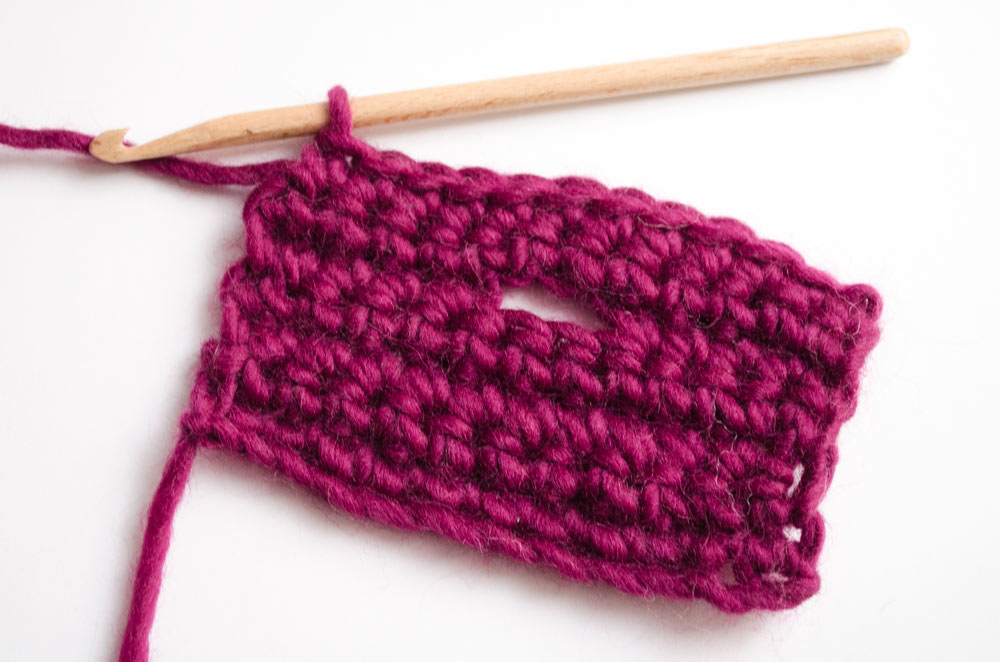
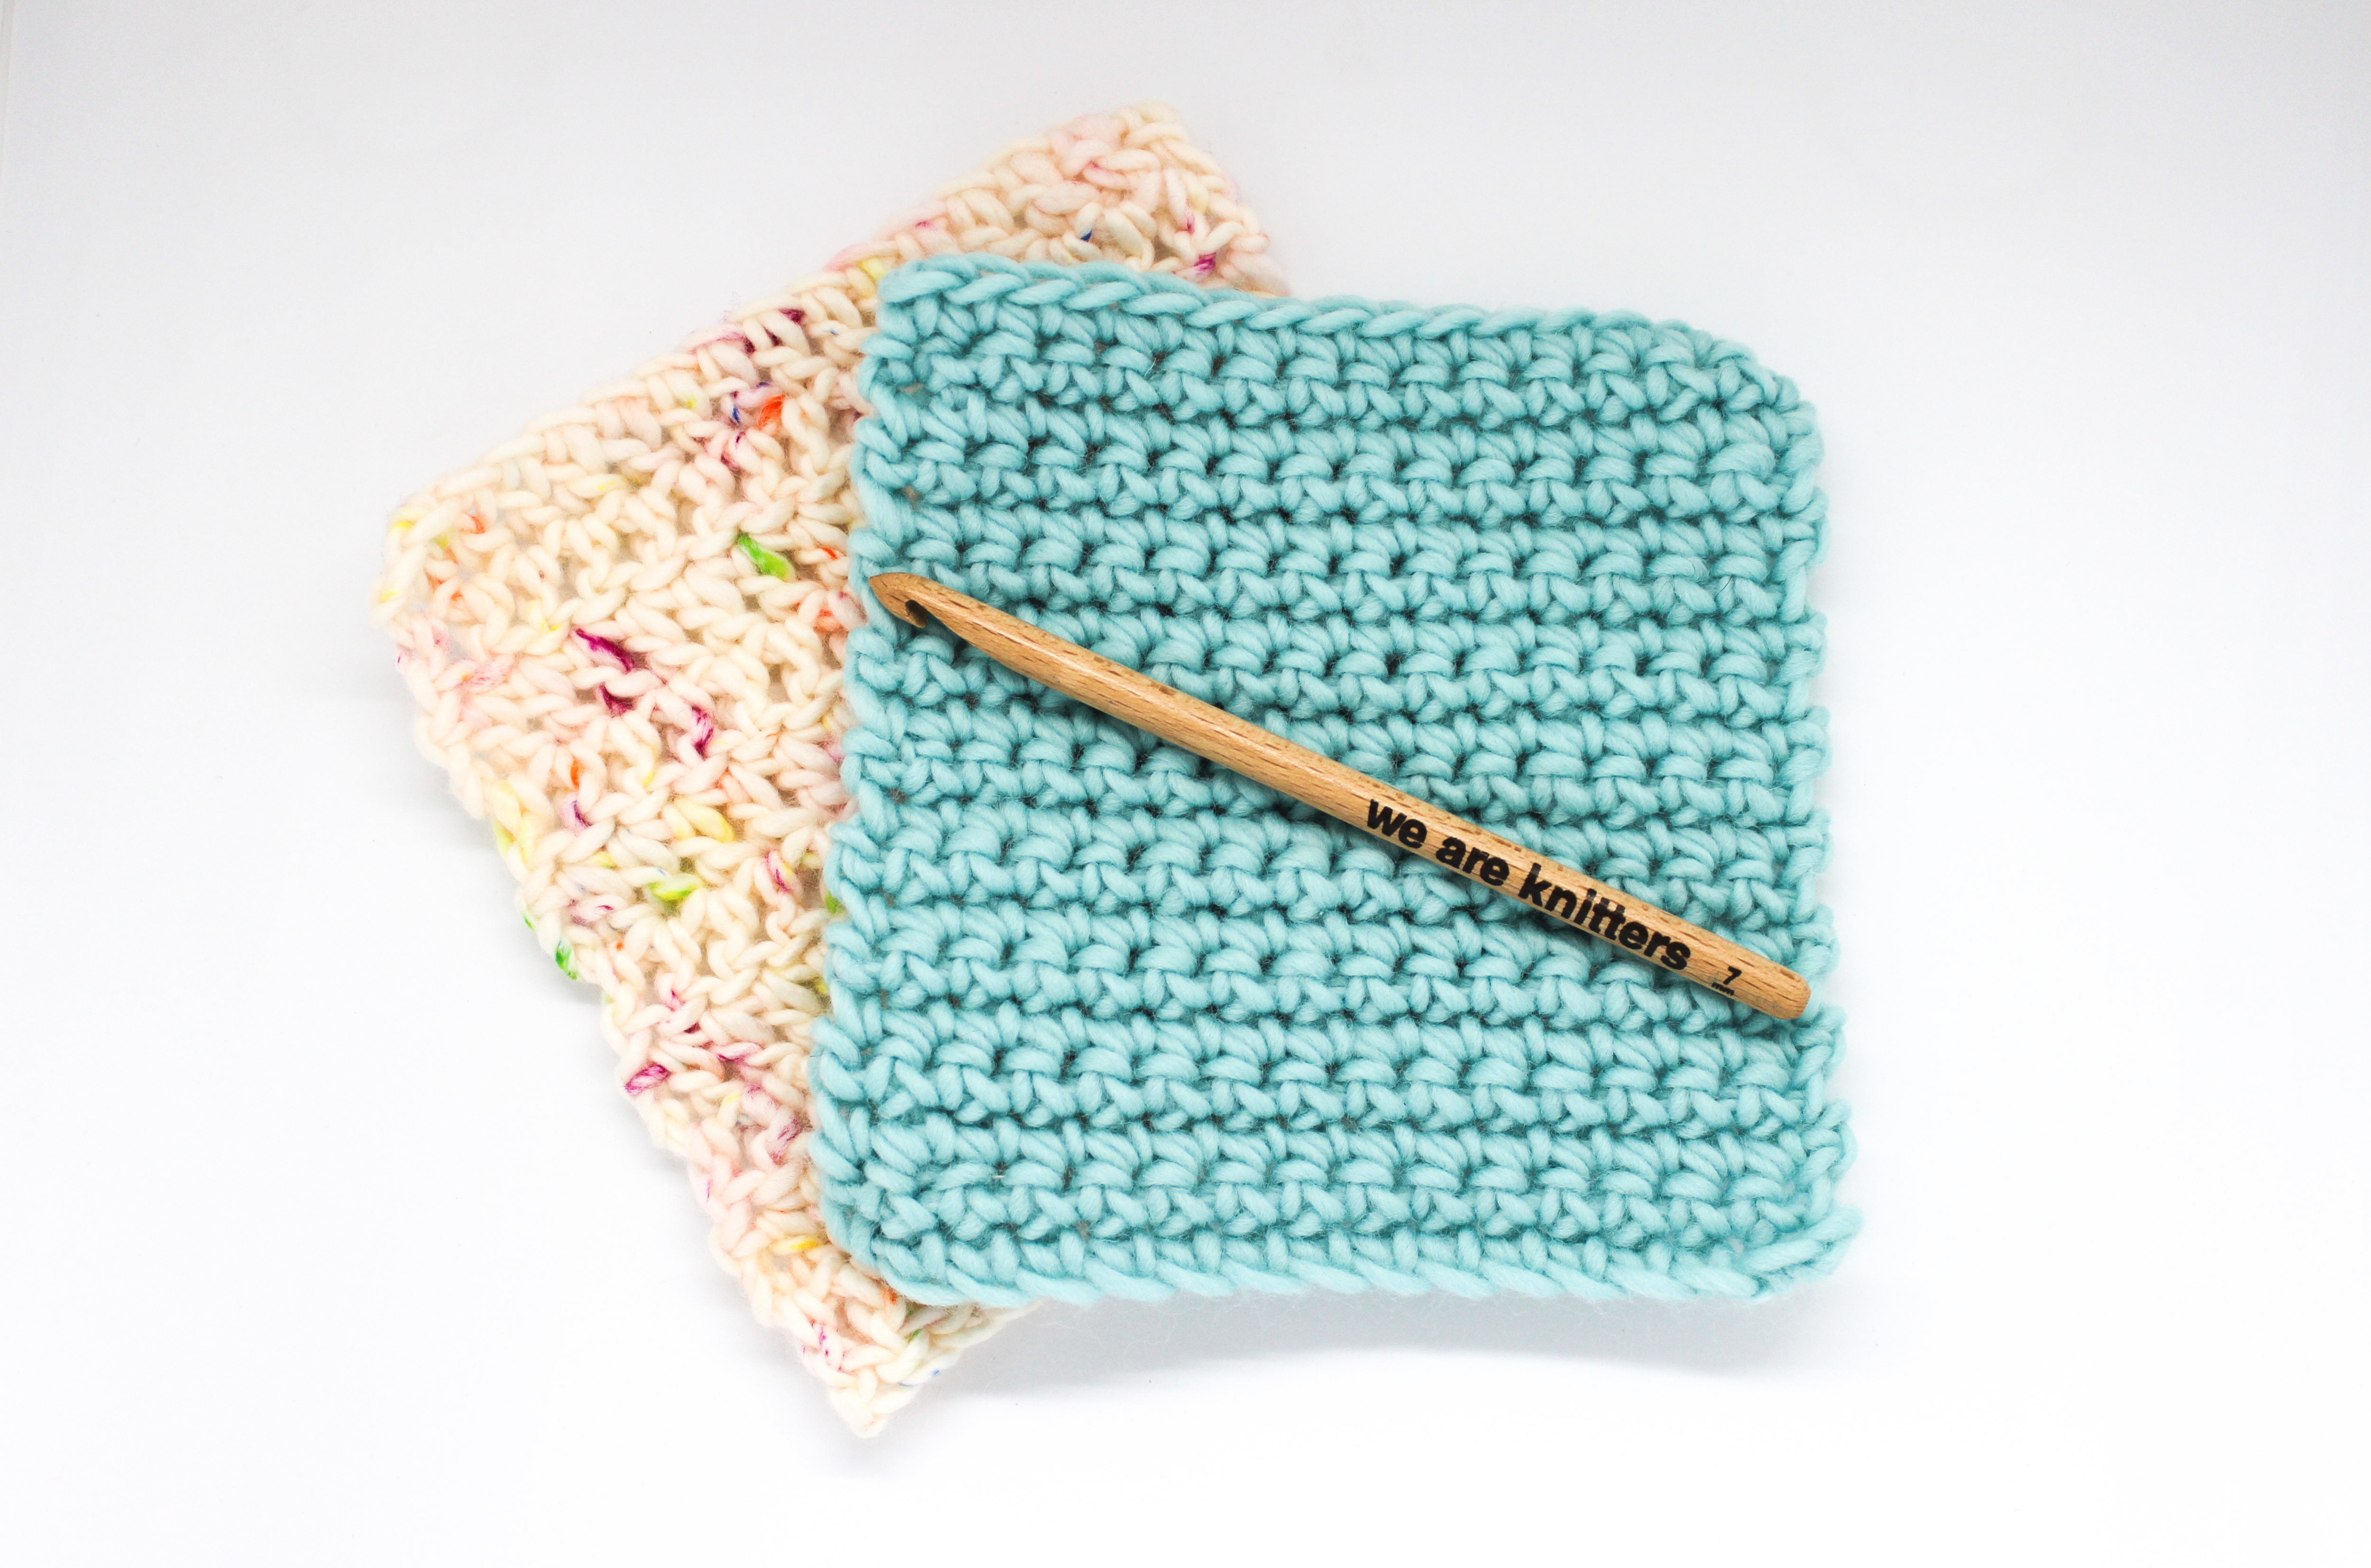
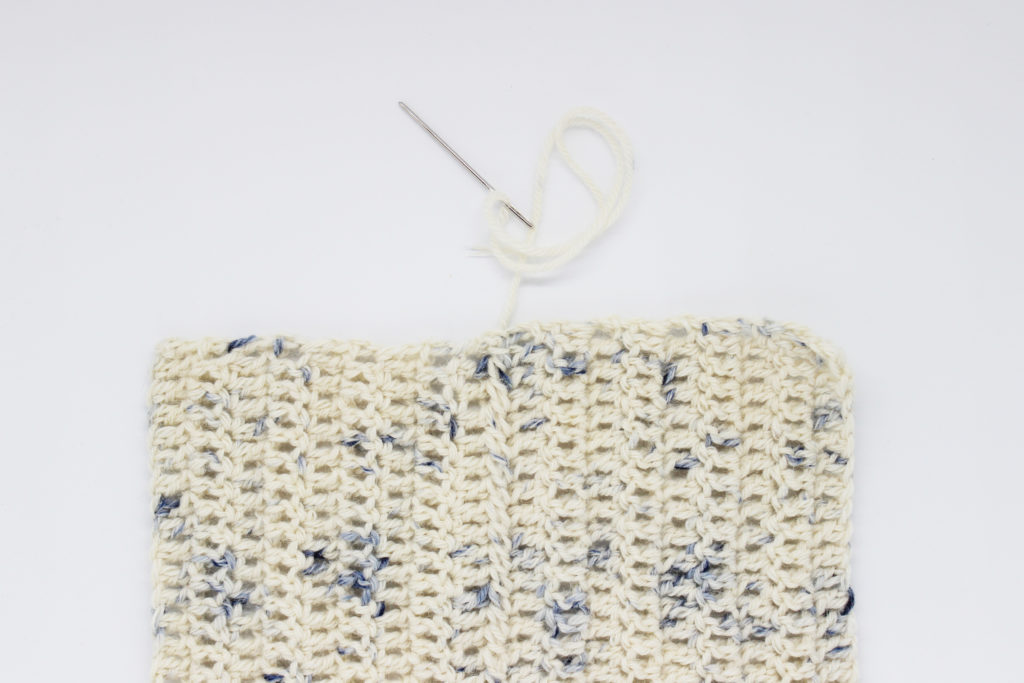
For this tutorial, we’ve made two swatches of the same size. When you’ve finished knitting, leave a stand long enough to make the seam for a clean start. This strand is the one you’ll thread onto the tapestry needle.

Now take the two pieces you’re going to join, one on top of the other with the wrong sides facing each other and the right sides on the outside.
Now we’ll begin to make the seam. We made a video so you can easily see how it’s done:
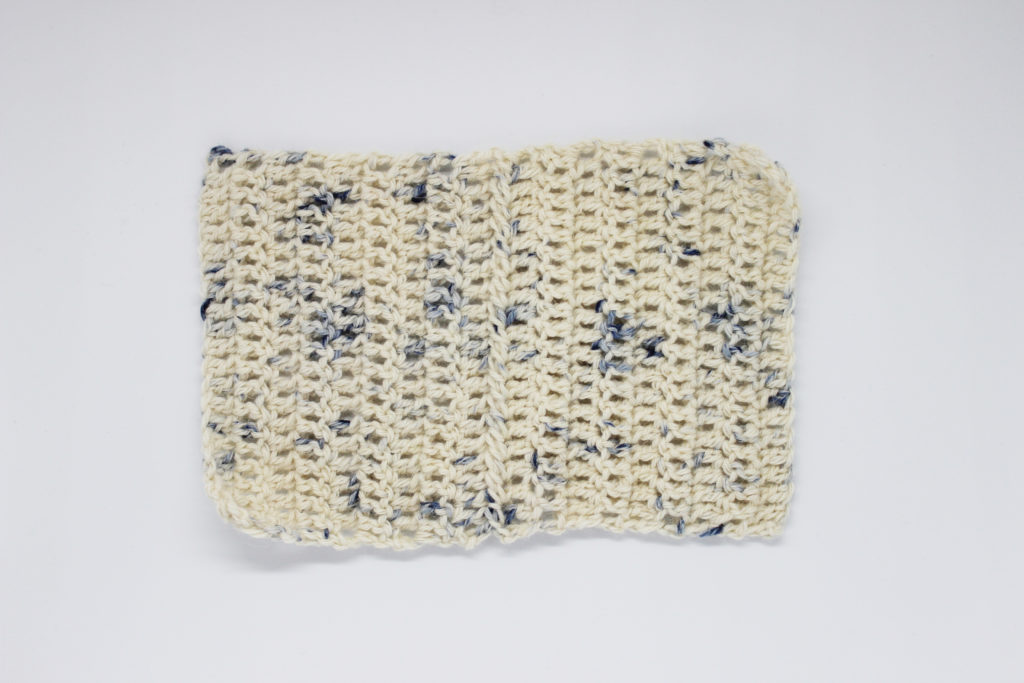
As you can see, it’s doesn’t take long to join two pieces of crochet and get a perfect seam.
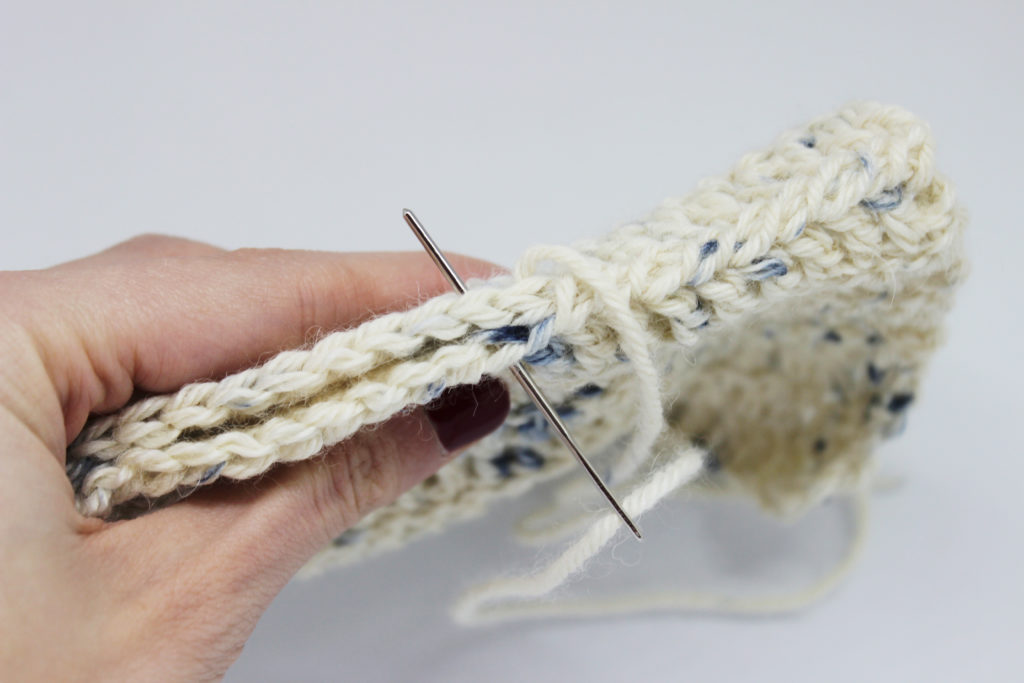
The trick to making to look nice and even is to join a stitch from the front piece with the equivalent stitch from the back piece. Matching them up 1-to-1, the seam will be perfect.
We hope that this step-by-step will take away your fear when it comes to sewing. With these simple tricks, you can sew up any garment with no problem at all. Don’t forget to share your next project with us on social media using #weareknitters 🙂 Until next time!