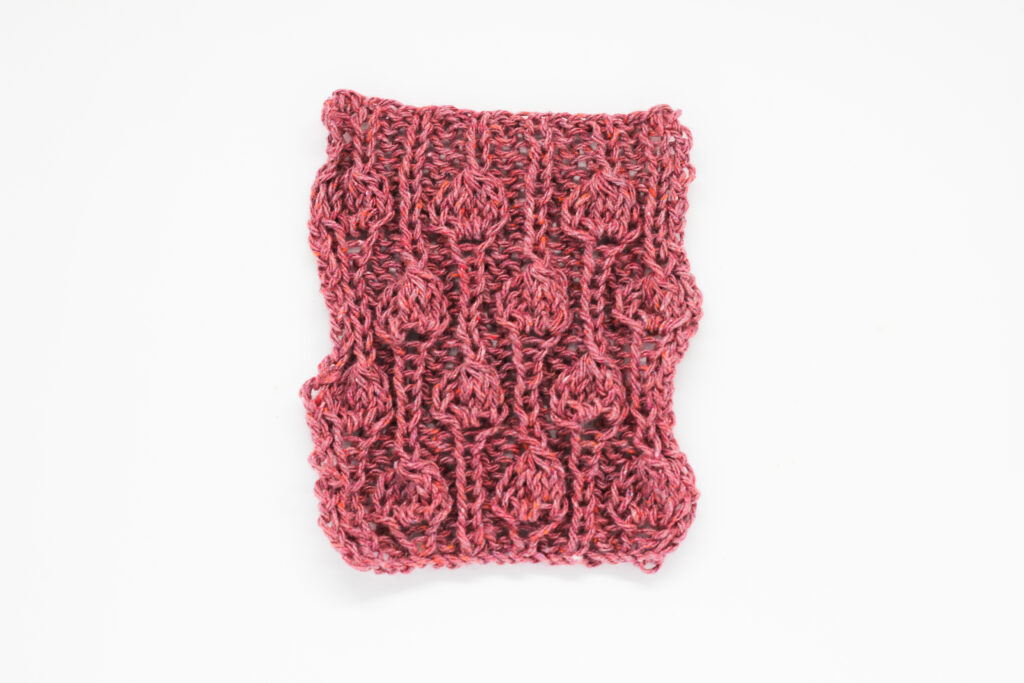
If you’re already working on your spring projects, you’ll want to take a look at this post all about the stitch we’re about to teach you. Today, we’re going to learn how to knit the bud stitch. It looks perfect on sweaters, and the airy fabric and light openwork are a perfect match.

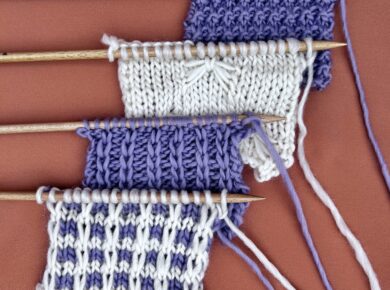
For this tutorial, we’ve used one skein of Recycled Yarn, made from reclaimed cotton, and our 5 mm knitting needles.
Before beginning, let’s review the stitches that you need to know for this stitch:
We are also going to explain a couple of the particular stitches that we’re using while we are knitting:
Knit 1 stitch 5 times
Knit 1 without dropping the stitch off the needle, yarn over, knit the stitch again without dropping it off the needle, yarn over, and knit the stitch. You will have dropped the stitch from the needle. You will have 5 stitches coming from the same stitch.
Decrease 4 stitches
Slip the next 4 stitches one by one knitwise, work the next stitch, and pass the 4 stitches that you slipped over this stitch as if you were binding off.
Let’s begin!
We’ll cast on a number of stitches that is a multiple of 6 + 2 extra.
Row 1 (right side of work): start by purling 2 stitches and knit 1. Continue working * purl 2, knit 1 and purl 2 *. Repeat from * to * until the end of the round.
Row 2 (wrong side of work): start knit knitting 2 and purl 1. Continue working * knit 2, purl 1, knit 2*. Repeat from * to * until the end of the round.
Row 3 (right side): start the row purling 2, * then knit 1 stitch 5 times, purl 2, knit 1, purl 2 *. Repeat from * to * until the end of the round.
Row 4 (wrong side): start with knitting 2. Continue working *purl 1, knit 2, purl 5, knit 2 *. Repeat from * to * until the end of the round.
Row 5 (right side): start the row purling 2, * then knit 5, purl 2, knit 1 and purl 2 *. Repeat from * to * until the end of the round.
Row 6 (wrong side): as row 4.
Row 7 (right side): start the row purling 2, * then decrease 4 stitches, purl 2, knit 1, purl 2 *. Repeat from * to * until the end of the round.
Row 8 (wrong side): work as row 2.
Row 9 (right side): begin with purling 2, continue working * knit 1, purl 2, knit 1 stitch 5 times and purl 2 *. Repeat from * to * until the end of the round.
Row 10 (wrong side): start the row knitting 2. Then * purl 5, knit 2, purl 1, knit 2 *. Repeat from * to * until the end of the round.
Row 11 (right side): begin with purling 2. We continue working * knit 1, purl 2, knit 5 and purl 2 *. Repeat from * to * until the end of the round.
Row 12 (wrong side): work as row 10.
Row 13 (right side): begin with purling 2, continue working * knit 1, purl 2, decrease 4 stitches and purl 2 *. Repeat from * to * until the end of the round.
Row 14 (wrong side): as row 2.
To keep adding length, you should repeat rows 3 to 14. We hope that this new stitch that we’ve taught you today will be very useful to you. We are already looking forward to seeing what clothes you use it on. Don’t forget to share your projects with us on social media using the hashtag #weareknitters.