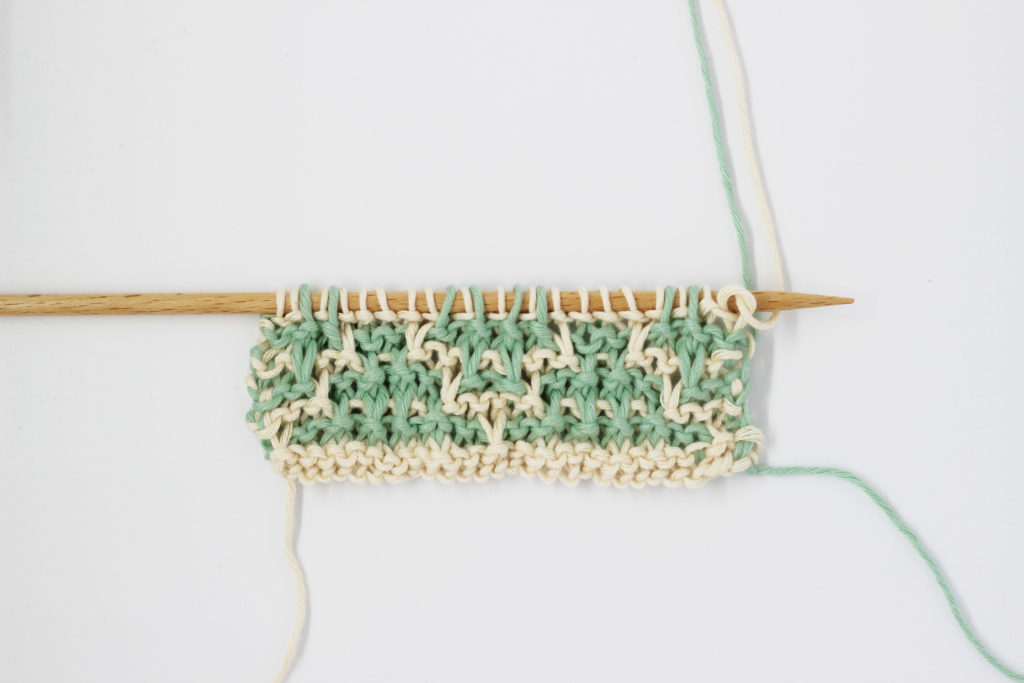
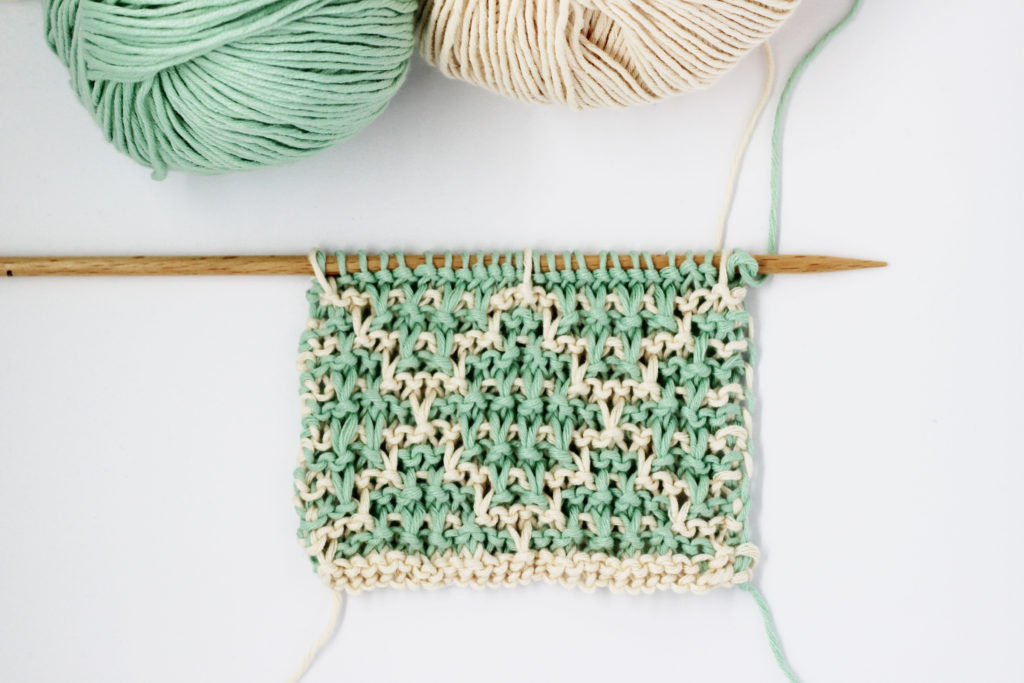
You will never imagine how easy can be to knit with two colors until you try it. In today’s post we will teach you how to make mosaics in garter stitch… yes, yes, only garter stitch, two contrasting colors, knitting needles and… the fun and colorfulness are a given. Do you imagine how this mosaic will look in your knitted accessories?
To knit this mosaic you will need two contrasting colors of our Pima cotton and US size 8 (5mm) knitting needles.
PROCESS:
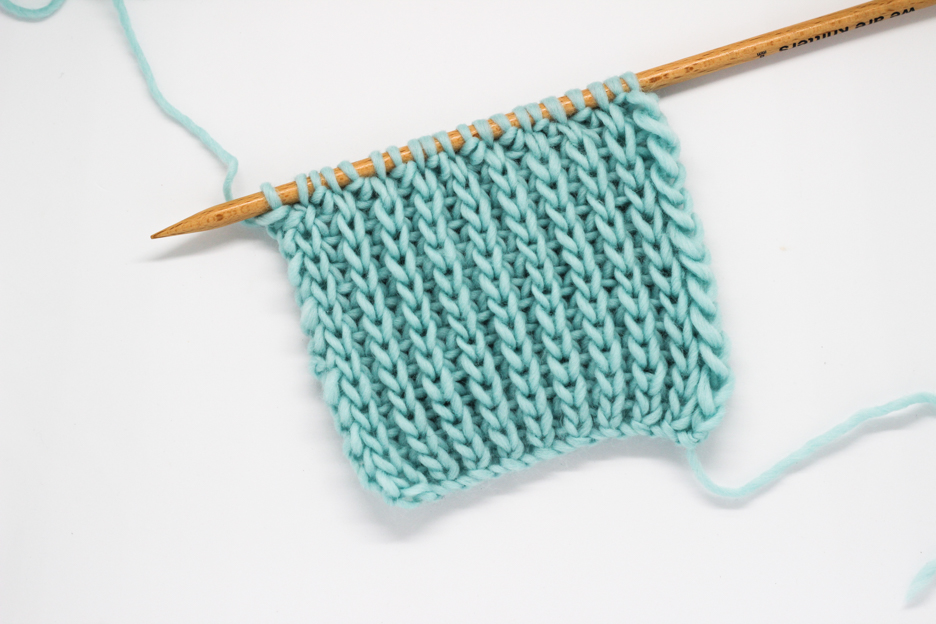
To knit the mosaic stitch you need to know how to do 3 easy techniques: to cast on, the knit stitch, and slip 1 stitch without working it, which we are gonna teach you how to do next:
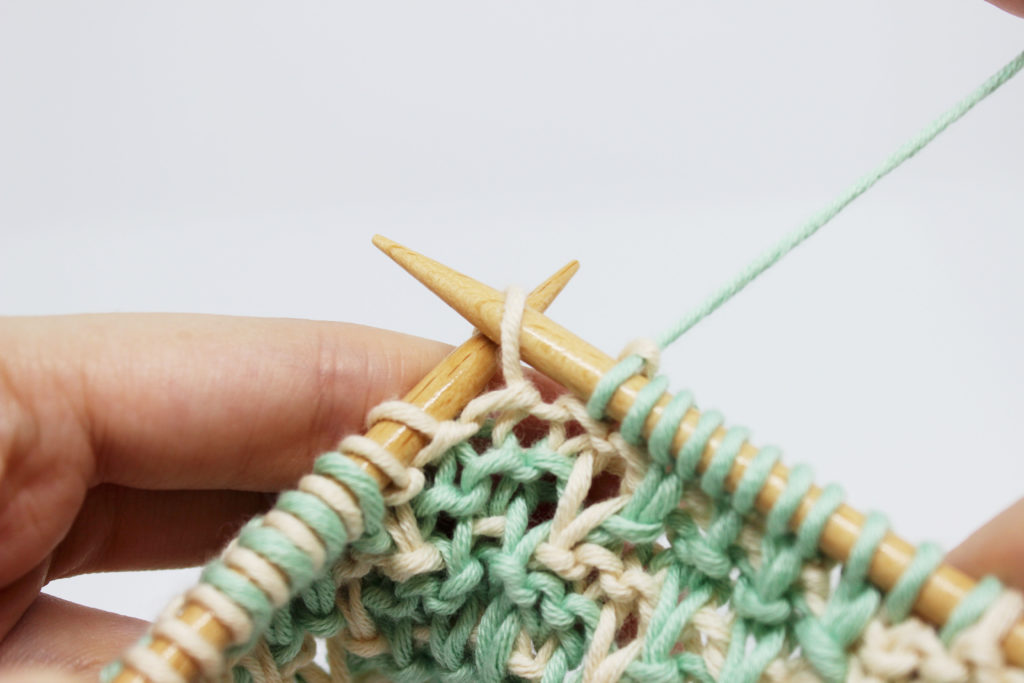
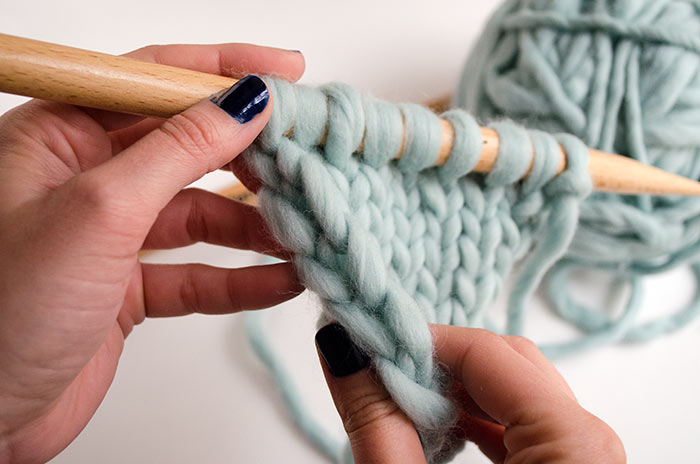
The stitches are slipped without working them always from the left hand needle to the right hand one. This means, take the stitch with the right hand needle as if to purl it, but just slip it without actually purling it. The stitches are slipped in a different way on odd rows and on even rows:
On odd rows the stitch is slipped with the yarn in the back of the project, so the color change is left on the wrong side.
On even rows the stitch is slipped with the yarn in front of the project, so the color change remains on the wrong side.
Now: let’s begin!
You must cast on a number of stitches multiple of 12 + 3 (on our sample we have casted on 27 stitches).
While working the mosaic stitch we will alternate between color A (base color) and color B (contrasting color).
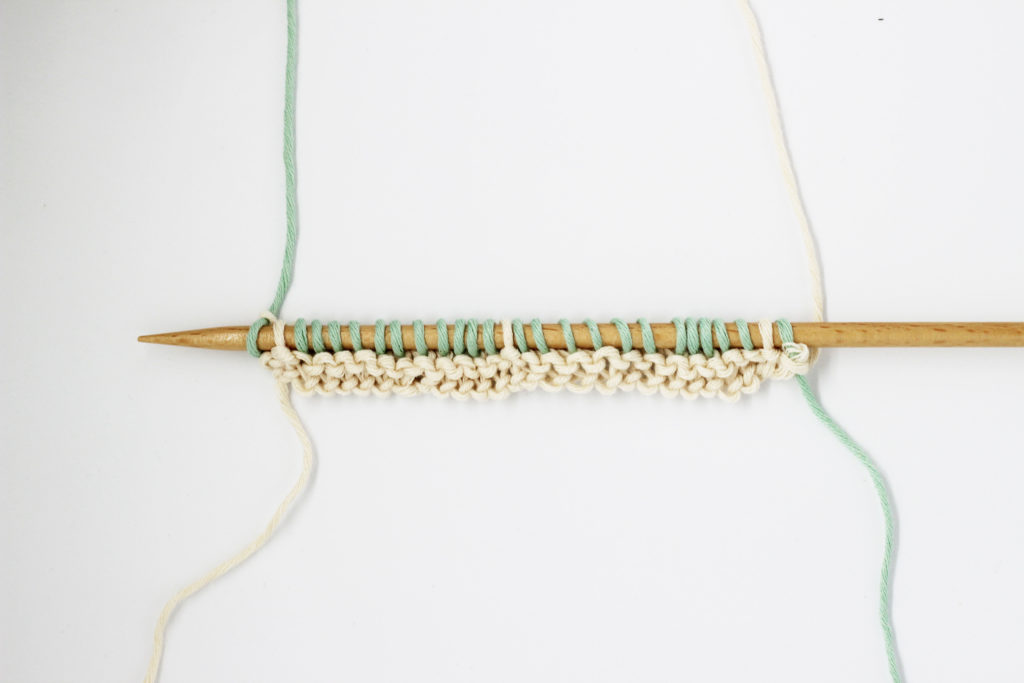
Rows 1 and 2 (with color A): knit all stitches.
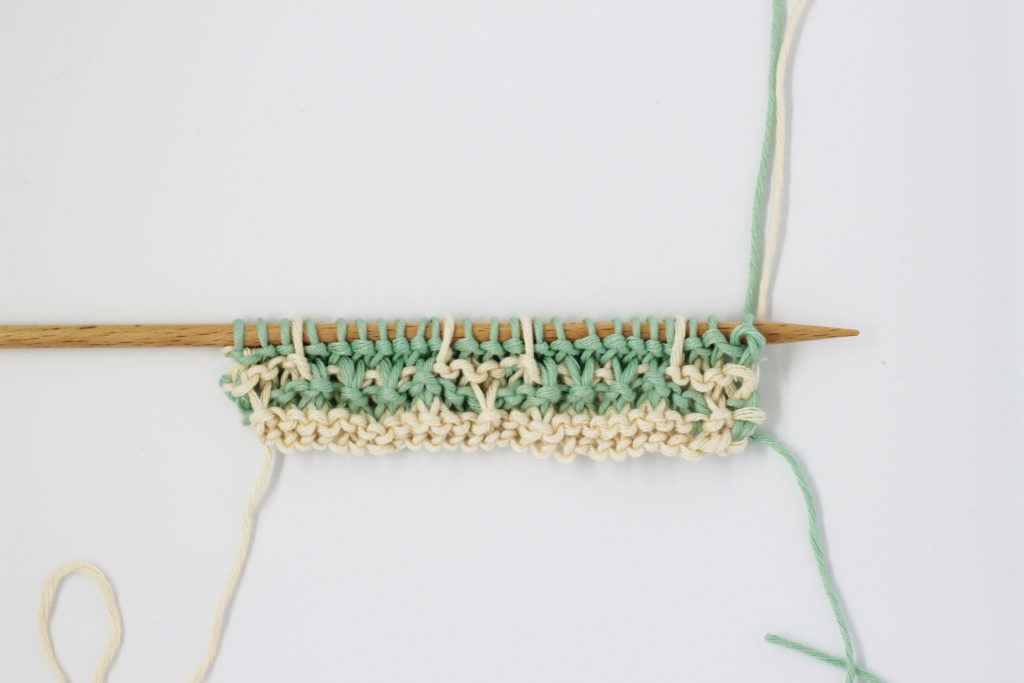
Row 3 (with color B): knit 1. *slip 1, knit 11*. Repeat from * to * until there are 2 stitches left, slip 1, knit 1.
Row 4 and the remaining even rows: knit all the stitches you worked on the previous row, with the same color as the previous row. You also must slip the same stitches you slipped on the previous row (but with the working strand in front of the project).
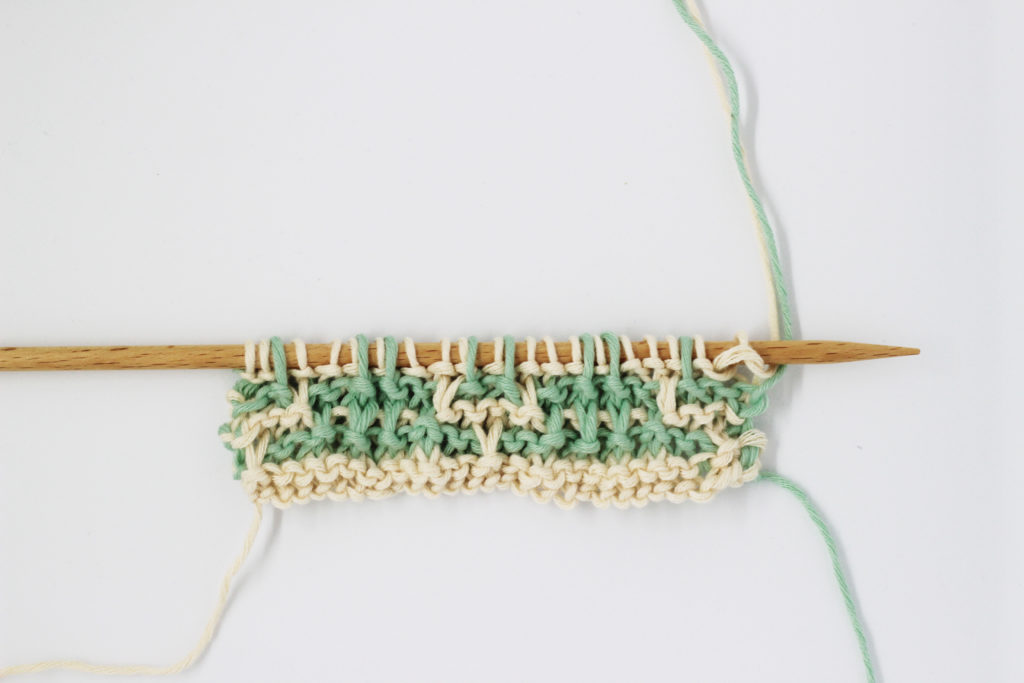
Row 5 (with color A): knit 1. *knit 3, **slip 1, knit 1**, repeat from ** to ** 3 times more, knit 1*. Repeat from * to * until there are 2 stitches left, knit them.
Row 7 (with color B): knit 1. *knit 2, slip 1, knit 7, slip 1, knit 1*. Repeat from * to * until there are 2 stitches left, knit them,
Row 9 (with color A): knit 1. *knit 1, slip 1, knit 3, slip 1, knit 1, slip 1, knit 3, slip 1*. Repeat from * to * until there are 2 stitches left, knit them.
Row 11 (with color B): knit 1. * knit 4, slip 1, knit 3, slip 1, knit 3*. Repeat from * to * until there are 2 stitches left, knit them.
Row 13 (with color A): knit 1. *knit 1, slip 1, knit 1, slip 1, knit 5, slip 1, knit 1, slip 1*. Repeat from * to * until there are 2 stitches left, knit them.
Row 15 (with color B): knit 1. *knit 6, slip 1, knit 5*. Repeat from * to * until there are 2 stitches left, knit them.
Rows 17 and 18 (with color A): repeat rows 13 and 14.
Rows 19 and 20 (color B): repeat rows 11 and 12.
Rows 21 and 22 (color A): repeat rows 9 and 10
Rows 23 and 24 (with color B): repeat rows 7 and 8.
Rows 25 and 26 (with color A): repeat rows 5 and 6.
Repeat rows 3 to 26 until you reach the desired length.
Now you just have to get to it! Don’t forget to take a picture to your project and show it to us in social networks with the hashtag: #weareknitters


