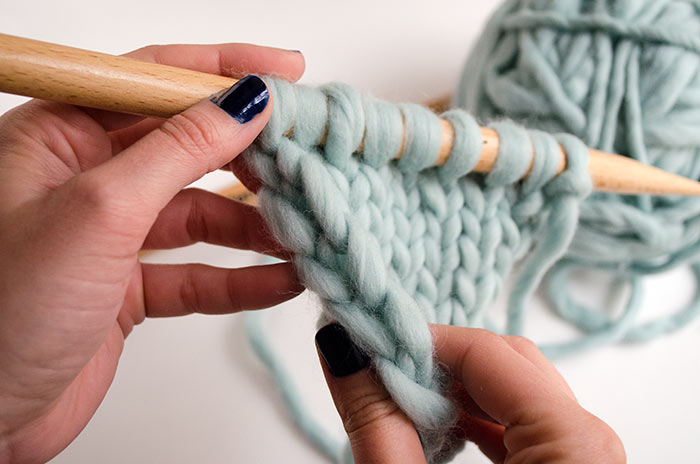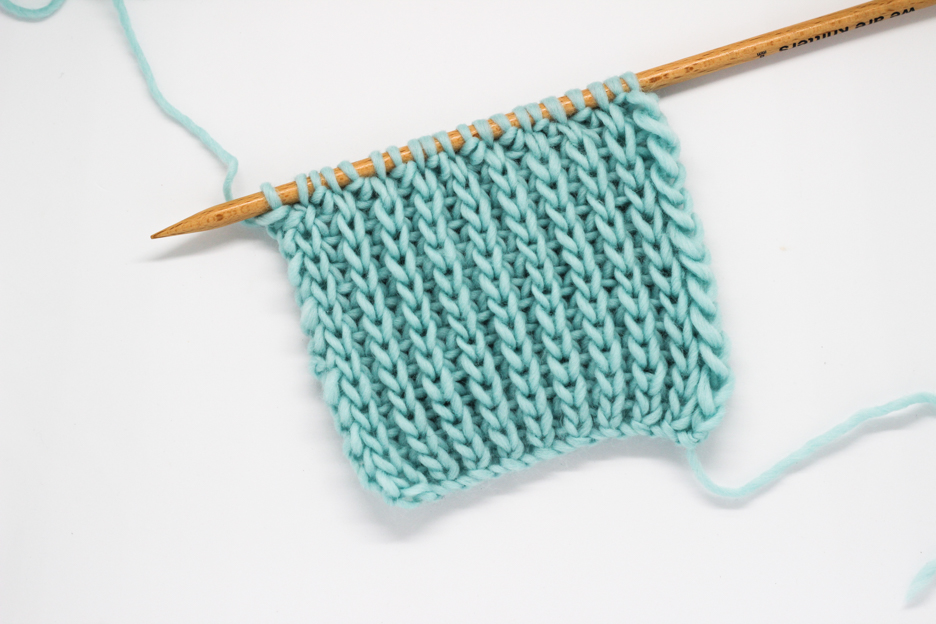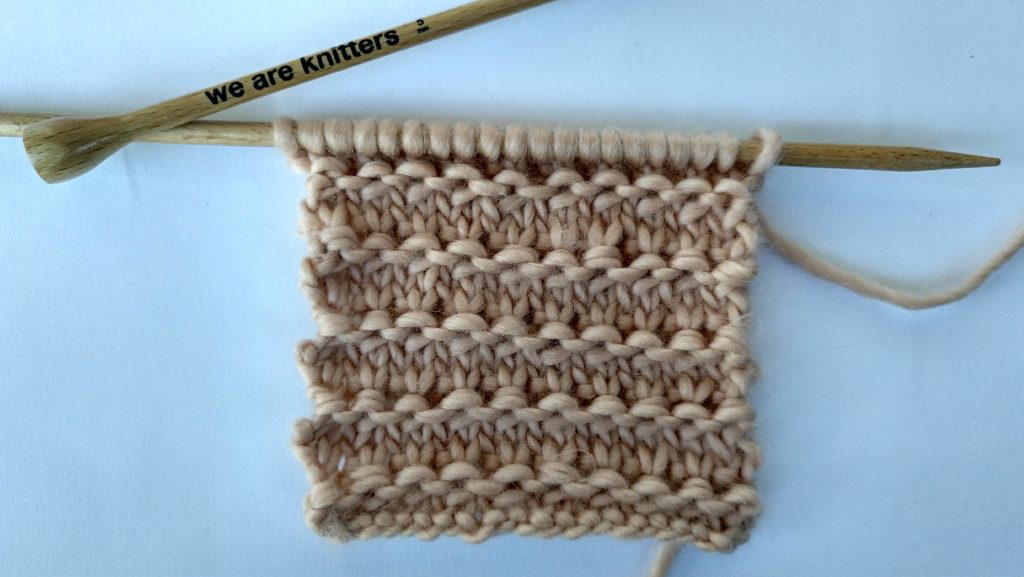
You have to choose a new project, and you don’t know what to do. You’ve been thinking about knitting a woolen blanket for a while, but you are lazy because the ones you have seen seem complicated and you don’t know what kind of stitch to choose for your project. Well, here we present granite stitch– ideal for this type of work. At the beginning, some of the points may seem complicated but, after reading this post, in the second round of rows you’ll have gotten the trick. By the time you’ve worked the stitch a couple times, you’ll have it down. So, let’s get started.
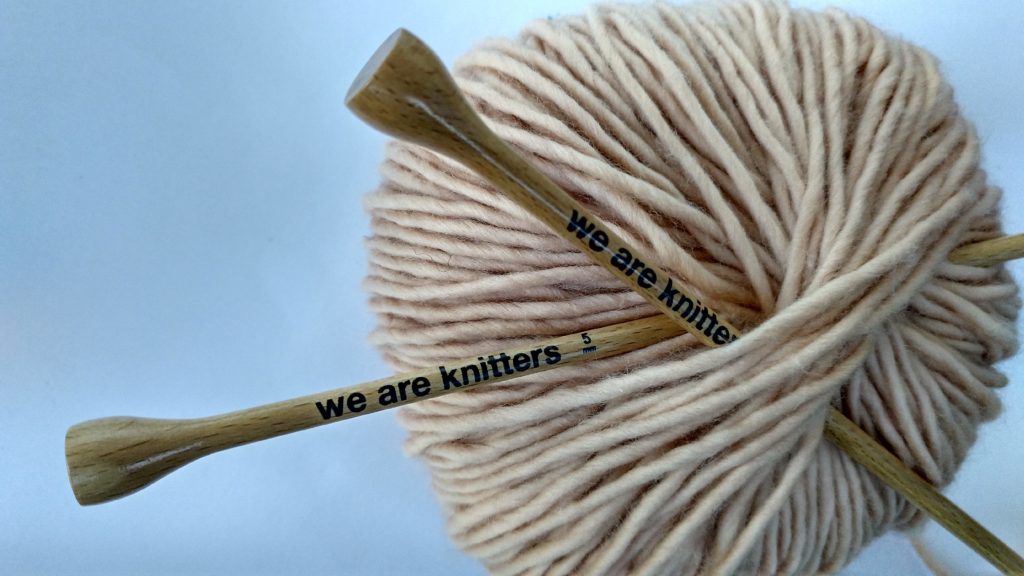
For this sample, we’ve used:
To start practicing granite stitch, you should be familiar with the following techniques:
In this case, we’ve cast on 20 stitches to work the sample. In each row, the stitches are worked two by two. You can change the number of stitches to match the size of the project you’re making, but you should always cast on an even number of stitches.
If you’re ready, let’s begin!
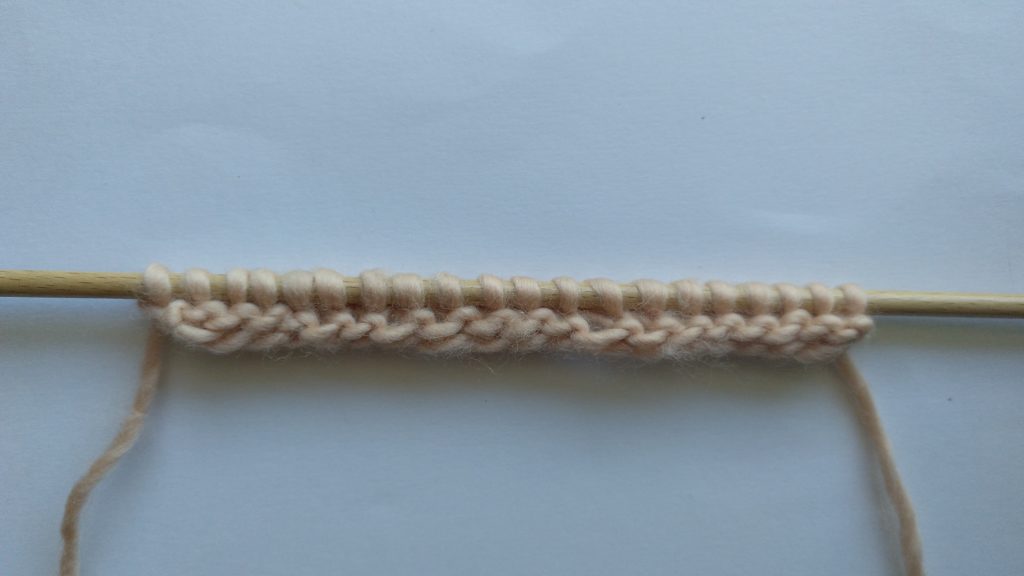
Row 1. Knit all stitches
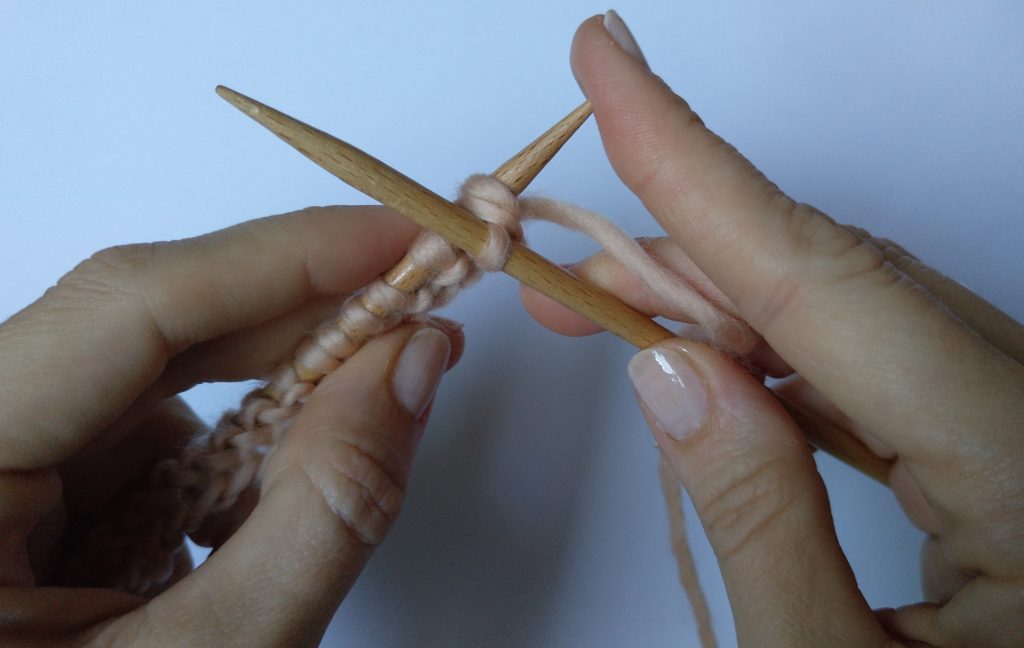
Row 2. *Knit 2 together*. Repeat from * to * until the end of the row.
Row 3. *Knit the same stitch twice* Repeat from * to * until the end of the row. This means: First knit the stitch, then without dropping the stitch from the left needle, knit the stitch again, this time through the back leg (we show you how in short video so you can see the process).
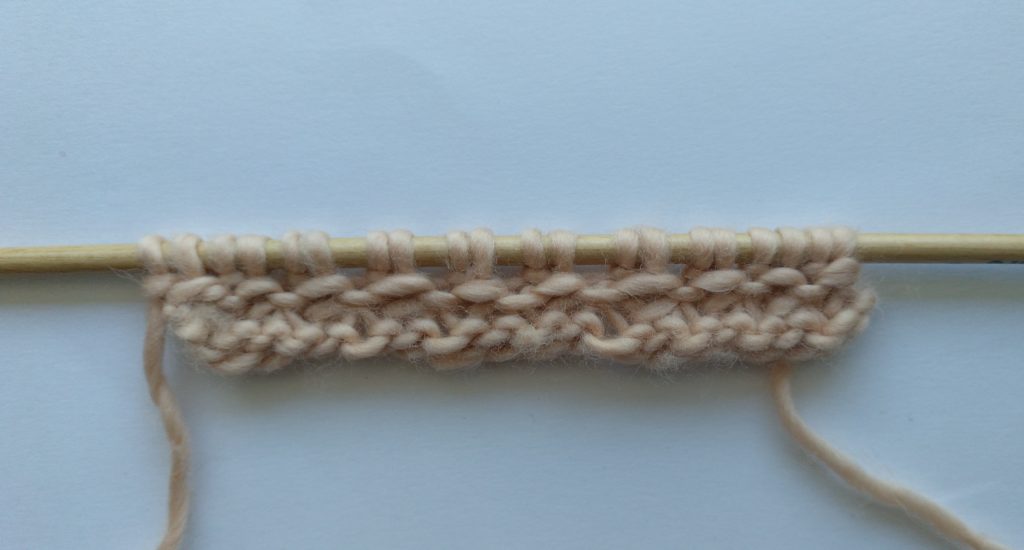
Row 4. Purl all stitches
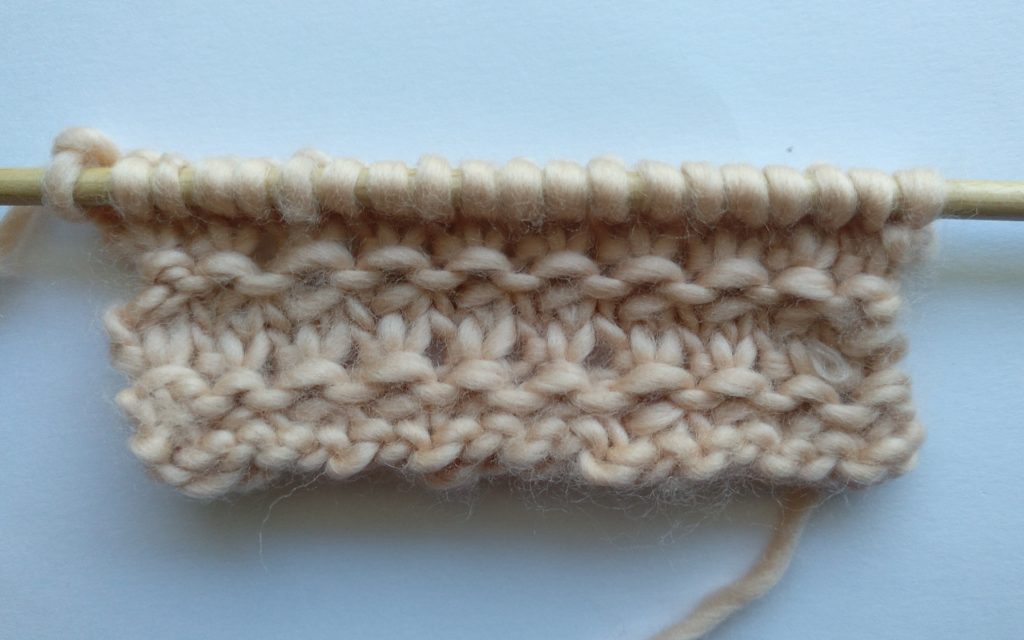
Repeat rows 1 to 4 as many times as needed to reach the desired length for your project.
Didn’t we tell you so? It’s simpler than you thought! Now you can throw a blanket on the sofa when you invite someone over for coffee. Have fun and make one in several different colors or make some matching cushions and decorate your living room. Use it and share your photos with us at #WeAreKnitters.

