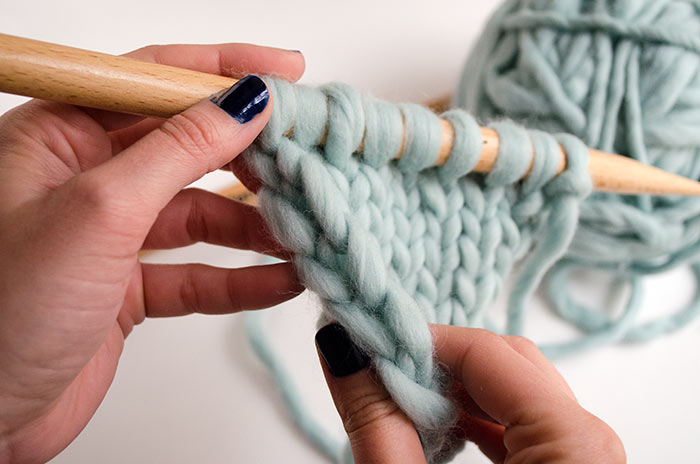
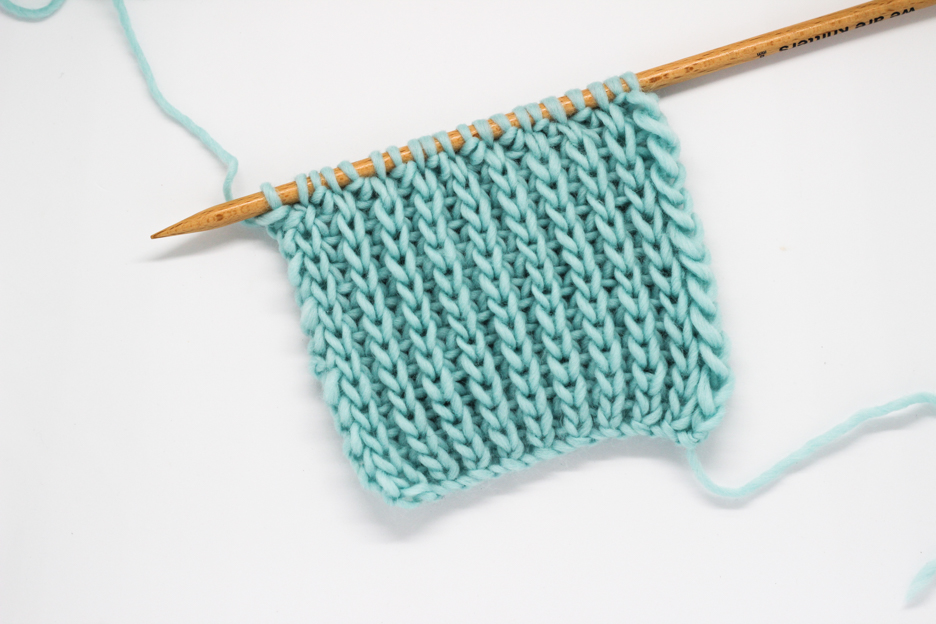
Today we bring you another installment of how to read a knitting chart. In this second part we are going to explore stitch symbols that are a little more difficult, but that we will regularly find in knitting charts, over and over again. As we already did in the first part: we are going to show you the symbol that represents the stitch, we will explain how it is done, and we will share a video so you can see how it is done live. 🙂

Make 1 right
To make 1 right, insert the left needle, from back to front, under the horizontal bar that joins the stitches between the two needles, and leave it on the left needle as if it were a stitch. Knit the strand of yarn.

Make 1 left
To make 1 left, insert the left needle, from front to back, under the horizontal bar that joins the stitches between the two needles, and leave it on the left needle as if it were a stitch. Knit the strand through the back loop.

Center double decrease
To make a center double decrease slip two stitches as if you were going to knit them together onto the right needle. Knit the next stitch and pass the two slipped stitches over the stitch you just knit,

Knit through the back loop
To knit through the back loop, you knit the stitch the same as the knit stitch, but instead of inserting the needle through the stitch from left to right, the needle is inserted from right to left, through the back loop, so that the stitch is twisted over itself.

Left twist
Slip 1 stitch to a cable needle or safety pin and leave it on hold in front of your work. Purl the next stitch. Pick up the stitch you had on hold and knit it.

Right twist
Slip 1 stitch to a cable needle, or safety pin, and place it behind your work. Knit the next stitch. Pick up the stitch you had on hold and purl it.

Slip 1
With the yarn behind your work, insert the right needle into the next stitch as if you were going to purl, and slip it to the right needle without working the stitch.

Number of stitches to be worked
Work the number of stitches indicated in the square.
That was thorough, wasn’t it? As always, we hope you found this post useful, and that it comes in handy as a future reference when you have doubts about your knitting projects. We would love for you to share your experience and projects with us, via social networks by tagging us at #weareknitters.


