Short rows are used very often and you will find them in a multitude of patterns. You must know how to knit them if you want to make unique shapes in your projects. They are used to make rounded hems in sweaters, original shapes for shawls, and even to shape the heels for socks. An essential technique that will make the projects you want to knit multiply by a thousand!

For this tutorial we used a skein of our 100% merino Merifine wool and a pair of size 8 knitting needles.

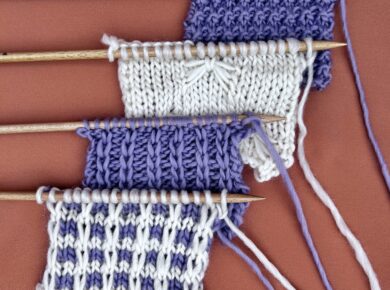
We are going to use a swatch of stockinette stitch.
PART 1: How to wrap the stitches
This technique is called short rows because, as we knit, we will have some stitches “on hold” on our needles and others we will keep knitting. We will have to wrap the last stitch of the row we are working, so that we can turn our work and continue working on the next row. Now we will explain how to do it on the right and wrong sides of your work.
Wrap stitches on the right side of your work

As you can see in the image above, we have stopped knitting the row we were working, there are two stitches left on the left-hand needle and we are going to wrap the next stitch, so we can turn out work and continue on the purl side of our work.

Slip the stitch to the right needle as if we were going to purl it.

This is what it should look like once we have completed the last step.

Bring the yarn from the back to the front of your work, as if we were going to purl.

We return the stitch to the left-hand needle.

And we move the yarn from the front to the back again.

Now we just have to turn our work, being careful not to let the stitches slip off the needle.
Continue working on the purl side of your work.
Here is a video so you can see the whole process:
Wrap stitches on the wrong side of your work

In the image above we reached the point where we want to turn our work to continue working on the right side of our work.

Slip the next stitch to the right-hand needle as if you were going to purl it.

Once you have completed the previous step, it will look like this.

Move the yarn to the back of your work, as if you were going to knit a stitch.

Return the stitch that you had slipped to the right needle back to the left needle.

Bring the yarn to the front of your work again.

Turn your work to continue working on the right side.
Here we share another video so you can see how to wrap the stitch when you are on the purl side, or wrong side, of your work:

As you continue wrapping your stitches your work will look like this: you will have stitches on hold on your left-hand needle and on the right-hand needle you will work the center section.
Part 2: How to lift stitches
The way you have your stitches on the needles you may wonder how you will start working the stitches on hold again. This is why we have to “lift” them. Let’s see how:
Lift a stitch on the right side of your work

In the image above you can see that we have come to the first stitch that we wrapped.

To be able to knit it: notice the strand of yarn that wraps the base of the stitch. You have to insert your needle, as shown in the image above, into the wrap.

Once you have the wrap on your needle, insert your needle into the stitch.

Knit the wrap and the stitch together.
We made a video so you can see this part of the process:
Lift a stitch on the wrong side of your work

In the image above you can see that we worked until the point where we find another stitch that is wrapped.

Notice, like we did in the section above, that the yarn wraps the base of the stitch. Insert your needle into the wrap as shown in the image above.

Now that you have the wrap on your needle, it’s time to insert it into the stitch.

Purl the wrap and the stitch together.
Here is another video so you can see how we lift the stitch from the back:

As you work lifting the wraps your work will look (more or less) like the image above. The shape of your fabric will depend on the pattern you are making. In this case we made a triangle so you can see it better 😉

We hope you learned a lot from this tutorial. We enjoyed being able to help you with short rows and can’t wait to see the results on social networks. Don’t forget to tag us at #weareknitters.