If you were looking for a way to increase stitches easily and in a way that they are totally integrated to the fabric, today we will teach you to make a yarn over purlwise. For sure you will use it a lot to create new shapes 🙂
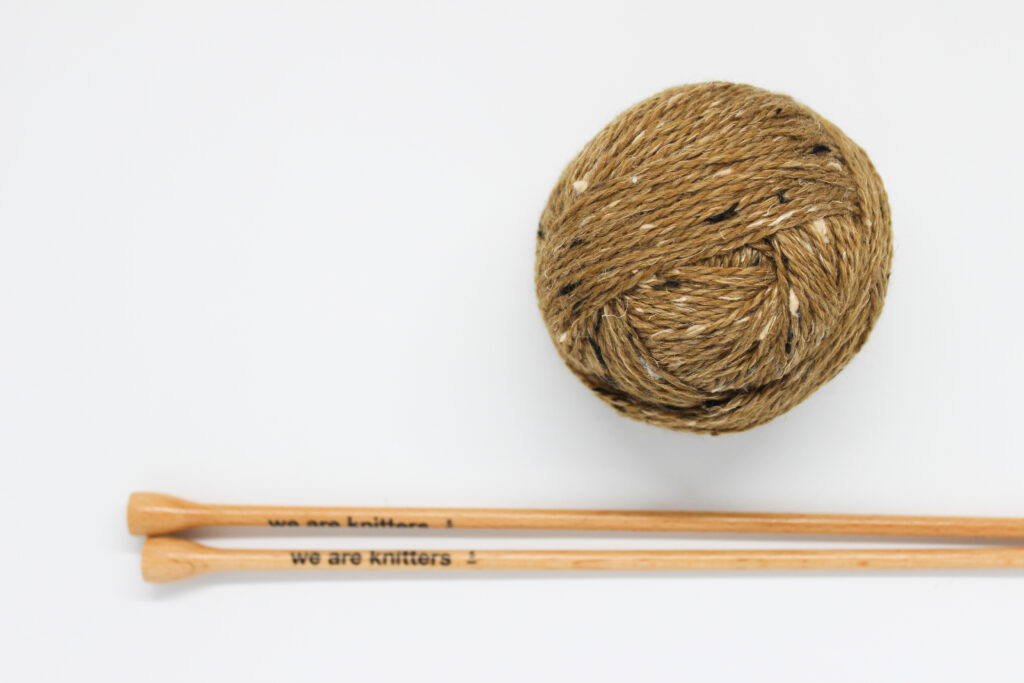
For this step-by-step we have used one of our The Twist and Shout Yarn skeins and size US 8 (5 mm) beechwood knitting needles.
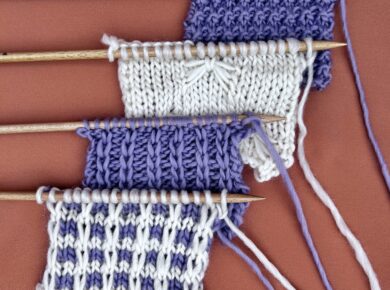
Also, here’s a list of the stitches we will use for this tutorial, so you review them quickly in case you don’t remember some of them 😉
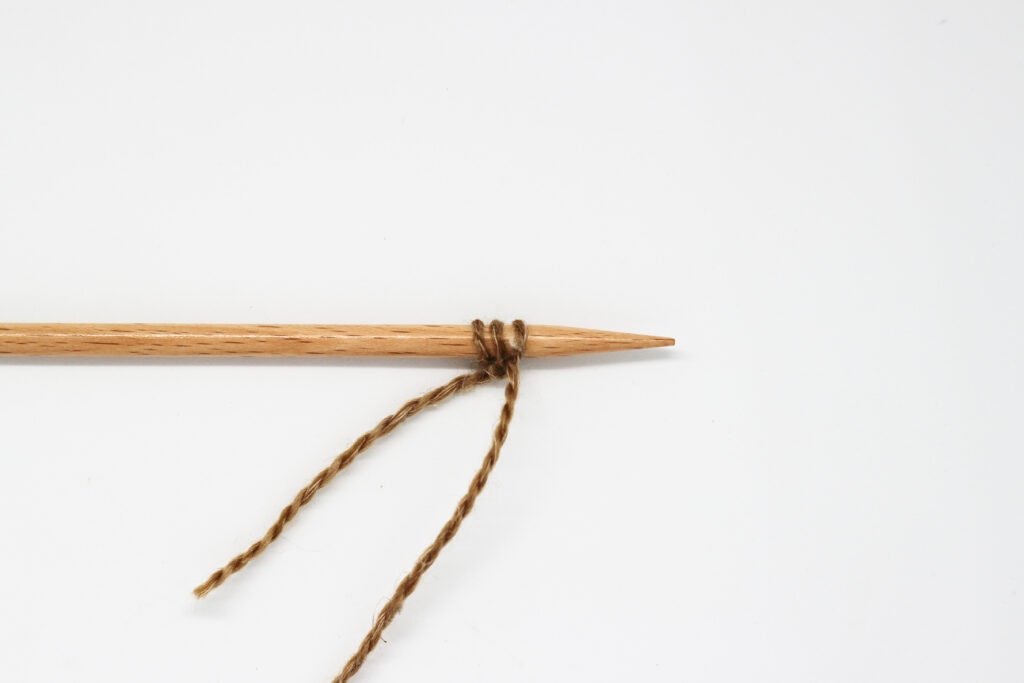
The first thing we will do is to cast on the stitches for our sample.
You can cast on as many stitches as you want. In order to create a pronounced peak in our sample, we casted on only three stitches.
Row 1 (right side of the work): knit 1, yarn over purlwise, knit the remaining stitch.
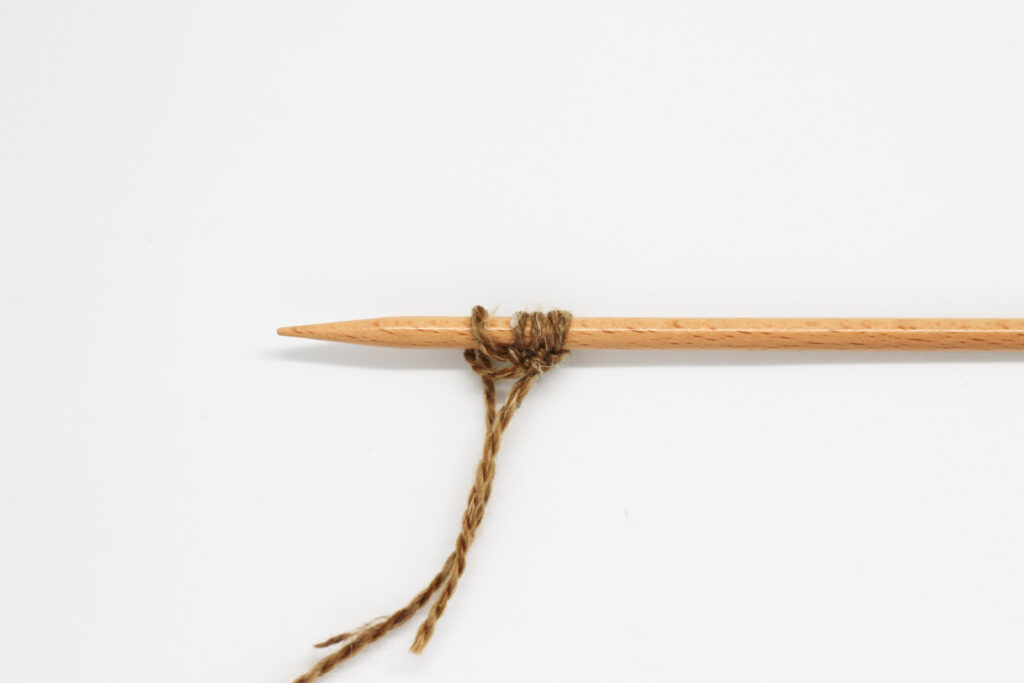
To yarn over purlwise, follow these steps:
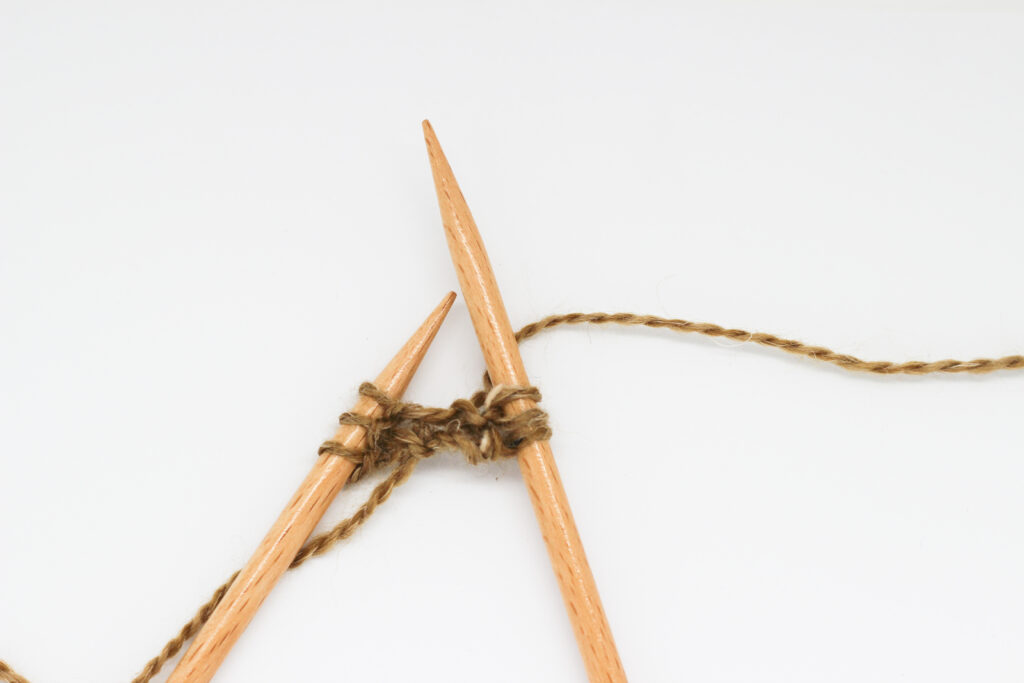
When you finish knitting the stitch before the yarn over, you will have the working yarn on the back of the needle.

Wrap the right-hand needle passing the yarn over the needle from the back to the front of the work, until you have the working yarn in the back of your work again.
If you have any doubts, or something is not clear, play the following video. You will see the whole process step by step:
Easy and quick, right?
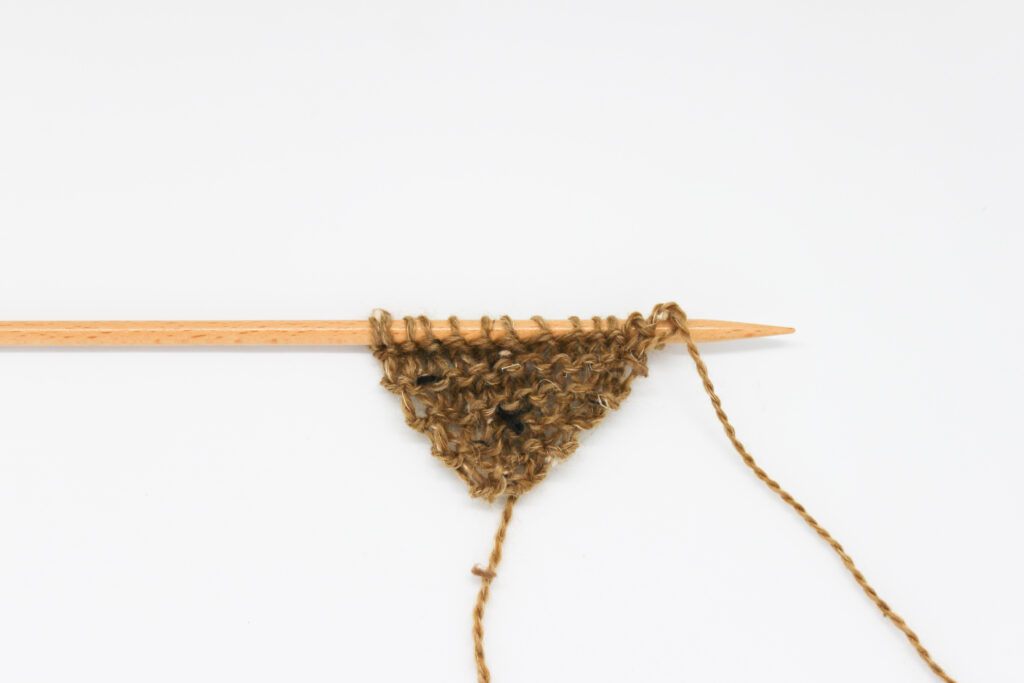
When you work yarn over you made on the wrong side of the work, you will work it as it corresponds. In this case we are knitting it because we are working in Garter stitch, but if it was Stockinette stitch we would purl it. This way there will be no hole, and the increase will be hidden.

We hope you enjoy this new type of increase and that soon you put it into practice in the next garments and projects. We would love that you share in social networks with the hashtag #weareknitters.