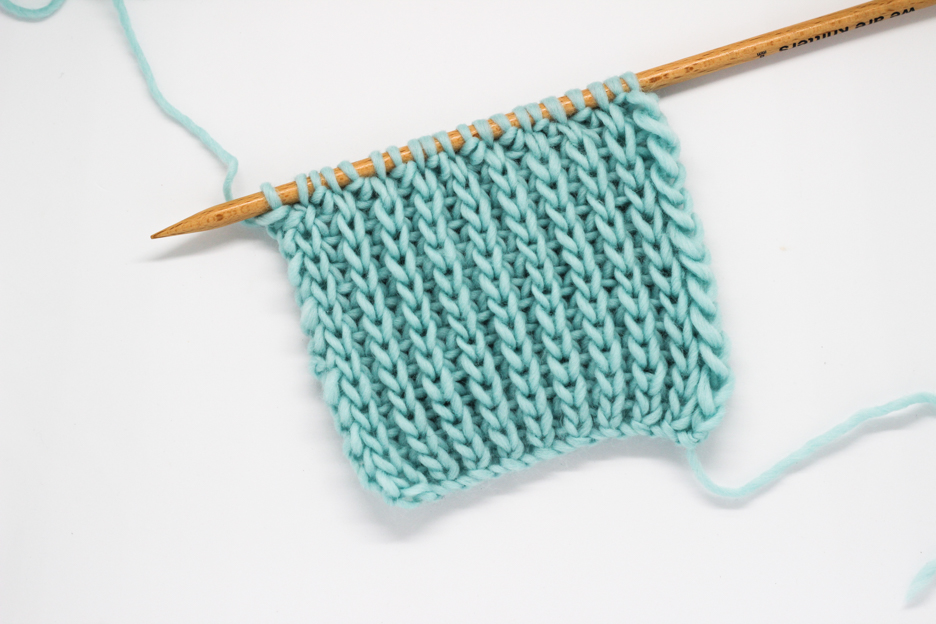
One of our biggest passions is making sure our projects always come out impeccable and perfect.
Not long ago, in another post, we showed you some ways to get perfect edges on your project.
Today we want to go a step further and teach you another simple trick that is just as easy, but instead concentrating on creating perfect edges when knitting stockinette stitch or garter stitch.
You’ll be surprised you didn’t know this before!
We’re going to use a swatch in stockinette as an example. Remember that you’ll use the same trick for garter stitch too.
On the knit side, or right side, start by bringing the strand of yarn that comes from the ball to the front of your project.
Next, insert your right needle into the first stitch, as shown in the image.
Don’t knit this stitch, just slip it onto the right needle without knitting.
Now place the yarn to the back and knit the rest of the stitches as usual.
On the purl side, or wrong side, follow the same steps: slip the first stitch without knitting or purling, purl the rest of the stitches except for the last one, knit the last stitch.
See how easy it is? You can clearly see the results!
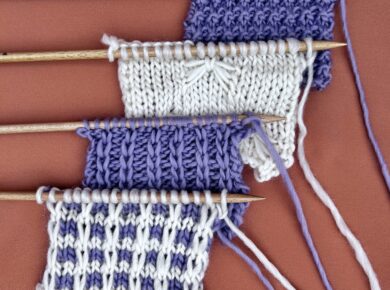
In this photo, you can see the difference between knitting as usual and using this trick.
The first few rows were knit as usual and the next few (the ones next to the needle), following the steps above:
However, the projects worked by changing the first and last stitches of each row in stockinette or garter stitch come out perfectly.
As you can see, this trick isn’t at all complicated and as soon as you do it a few times it will quickly become automatic.
Grab your beechwood needles and your favorite balls of wool and start practicing 😉
Don’t forget to share your photos on Instagram using the hashtag #WeAreKnitters, you can win 70€ (that’s $75 for our American friends!) of WAK products each month 😉


