This week we are going to talk about selvedge, or edge stitches. There are several ways to work your edges, so we’re going to take a look at which to use depending on what you’re knitting.
WHAT IS A SELVEDGE?
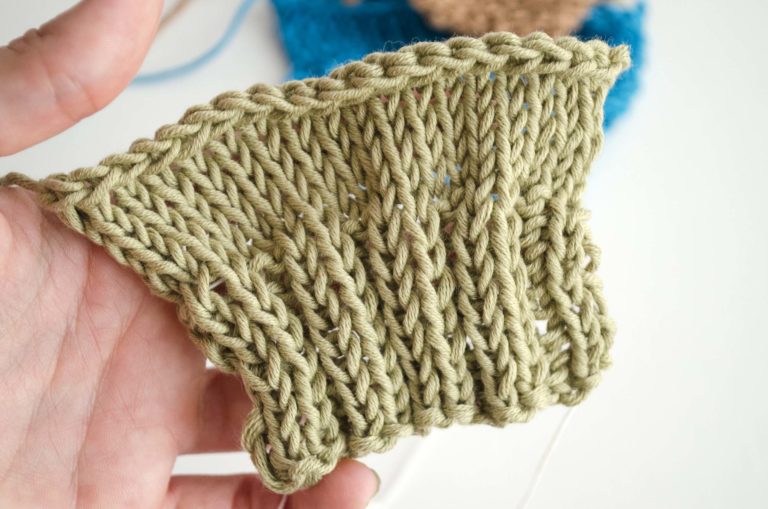
The term “selvedge” defines the left and right sides of a piece of knitting. An edge can be made up of one or more stitches.
The edge stitches are then the first stitch (or stitches) and the last stitch (or stitches) of each row.
They are usually reserved for seaming, if the piece is seamed, or can be purely for decorative purposes.
WHAT PURPOSE DO SELVEDGE STITCHES SERVE?
The edge stitches allow for well formed and even edges.
When your project is made without needing a seam, as in a scarf for example, the selvedge stitches can be decorative, but above all they help to prevent the edges from curling.
In the case of a more complex project, like a sweater, the edges facilitate the seaming of the different pieces together, and sometimes are even necessary to keep the pattern flowing from one piece to the other. They are also useful when the pattern calls for picking up stitches.
Choosing one technique over another to work selvedge stitches depends upon the type of stitch called for and the piece.
Below we are going to show you the principle techniques for making selvedge stitches. In this example, we practiced on stockinette swatches, but these techniques can be used with any stitch patterns.
1. NO-SELVEDGE EDGE

The no-selvedge edge is the most common and makes seaming your knit pieces easier, regardless of what stitch pattern is used in the rest of the row.
Odd rows (right side): knit the first and last stitch of the row.
Even rows (reverse side): purl the first and last stitch of the row.
2. GARTER STITCH EDGE

The garter stitch edge creates a little raised row on all of the edges. This technique gives you a firm edge that prevents the edges from curling. The seams will be stiffer than when using the previous technique.
All rows: knit the first and last stitch on every row.
3. CHAIN EDGE

The chain edge makes a very pretty selvedge, with a perfect edge for picking up stitches or for backstitching seams. However, it is not ideal for invisible seaming.
Odd rows: Slip the first stitch knitwise and knit the last stitch.
Even rows: Slip the first stitch purlwise and purl the last stitch.
4. CHAIN EDGE ON GARTER STITCH

This technique is used with garter stitch to obtain a pretty flat chain along the edges.
For all rows: Slip the first stitch of every row purlwise and knit the last stitch.
5. SLIPPED GARTER EDGE

The slipped garter edge is firmer than the no-selvedge edge. It prevents the edges from curling and makes seaming pieces easier.
For all rows: Slip the first stitch knitwise and knit the last stitch.
6. DOUBLE SLIPPED GARTER EDGE

The double slipped garter edge creates a very decorative edge, defined and firm.
For all rows: Slip the first stitch purlwise, knit the second stitch and knit the last 2 stitches of the row.
Do you have another method that you prefer to use? Tell us about it in the comments!
Loving your WAK wool and want to share it with us? Tag it on Instagram with #WeAreKnitters for your chance to be featured on our feed!


