In one of our earlier posts we talked about how important it is to correctly weave in the remaining threads of yarn, how it influences finishing your projects and also how long they last. We looked at how it’s done in stockinette stitch and today we are going to learn how to hide the remaining threads in garter stitch.
In order for you to see the steps more clearly we have used cotton of different colors in the tutorial.


1. Doubled Stitch
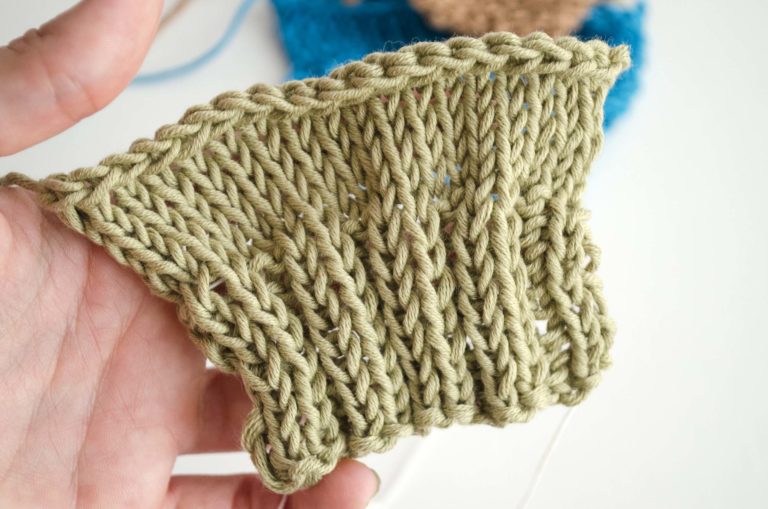
In order to hide threads this way we simply have to “copy” the stitches we have already knitted. Follow the order of the photos so that you pass the needle correctly through each stitch. As you can see the result is hardly visible which means you can use this technique on the inside as well as on the outside.


2. Horizontally
Introduce the needle from below upwards into one of the upper stitches of the row. Afterwards go on to the next stitch to the left, introducing the needle in the reverse direction, downwards.
Repeat these steps until you have completed a couple of stitches and the thread is fixed.


3. Diagonally
Another alternative when hiding threads in garter stitch is in a diagonal way. It is a very easy method and extremely fast.
Insert the needle upwards in a diagonal direction, taking care to always insert it into the corresponding stitches of the upper rows in an angle of 45°. Afterwards, you just have to turn around the needle and pass it into the opposite direction downwards through the stitches exactly beside the ones you just passed.
Now there won’t be any project that you can resist. Always remember that we have to take care of the smallest details in order for our projects to be perfect in the end.
In our example we have used cotton in natural and orange, but you can of course use any color you like and 5MM wooden needles.
No matter if you are already an expert in this technique or whether you have just started to use it, we are always interested in seeing your own creations. You can share them with us on Instagram with the hashtag #weareknitters.





2 comments
How should I start to teach children to crochet my mom’s crochet pattern for mittens? I bought the pattern to honor her because she made SO MANY MITTENS. And I wanted to donate the mittens like she did in her memory. I only got as far as knitting 3 scarves for “Christmas at Sea.” I recently received a thank you in the form of a card and sticker. The pattern I find tedious but my hands work better when I crochet. So the mitten is simple and made flat and folded over to create the mitten. But the part of counting each stitch I always mess up and it looks ridiculous. Why can’t I crochety like my mother?
practice, practice, practice!