This week we are going to show you one of the most popular techniques, how to cast on stitches in the “long tail cast on” method.
This technique to cast on stitches has many advantages in comparison with other methods, and once you have learned how to do it, it can be done rather easily.

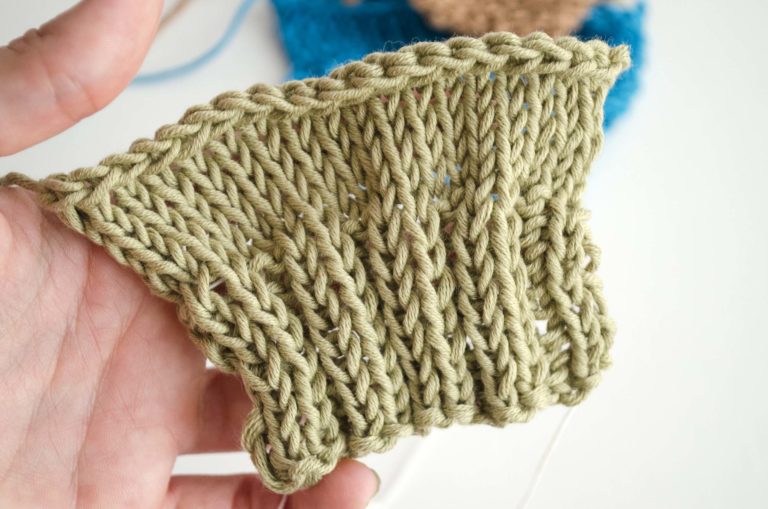
The long tail cast on serves to cast on stitches onto the needles and it results in a very flexible rim.
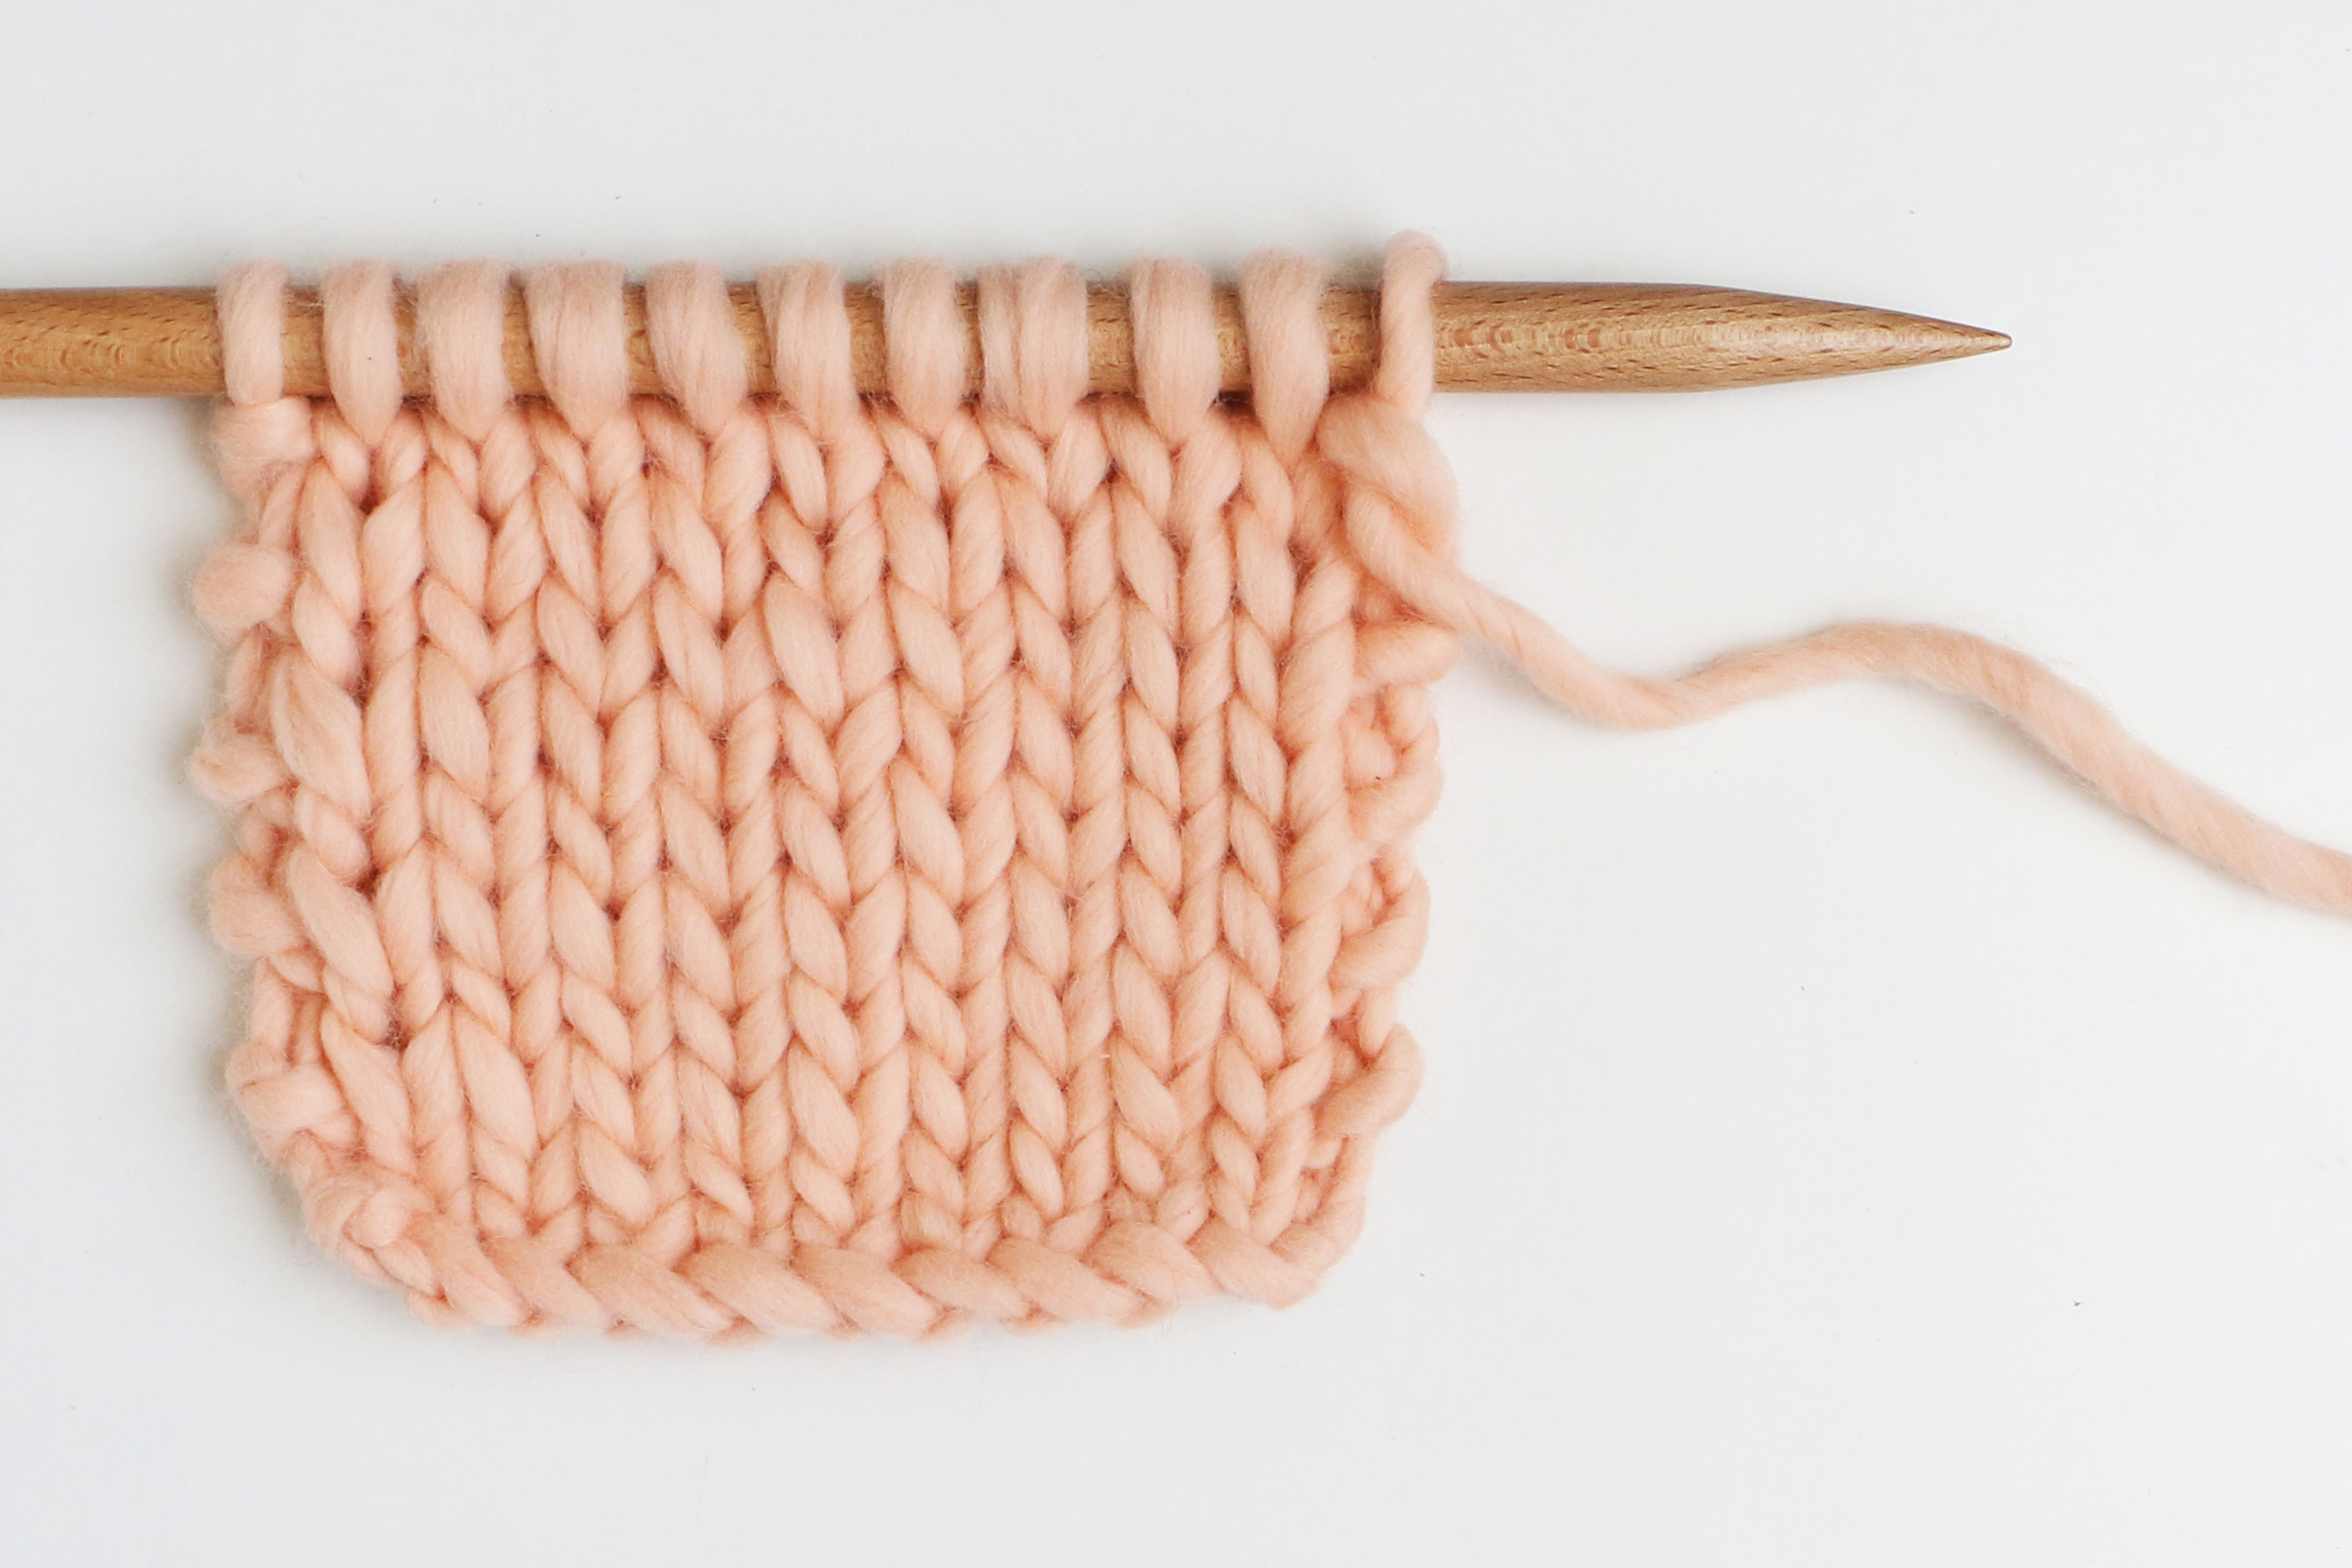
It works well in projects where you knit in stockinette stitch or rib stitch at the beginning. In addition, it results in a rim that is both consistent and beautiful.

This technique can be difficultto explain with words (although you will of course find the instructions below) so we have prepared this video to make it easier for you to understand:
<iframe width=”560″ height=”315″ src=”https://www.youtube.com/embed/poS7sQ4q-i4″ title=”YouTube video player” frameborder=”0″ allow=”accelerometer; autoplay; clipboard-write; encrypted-media; gyroscope; picture-in-picture; web-share” allowfullscreen></iframe>
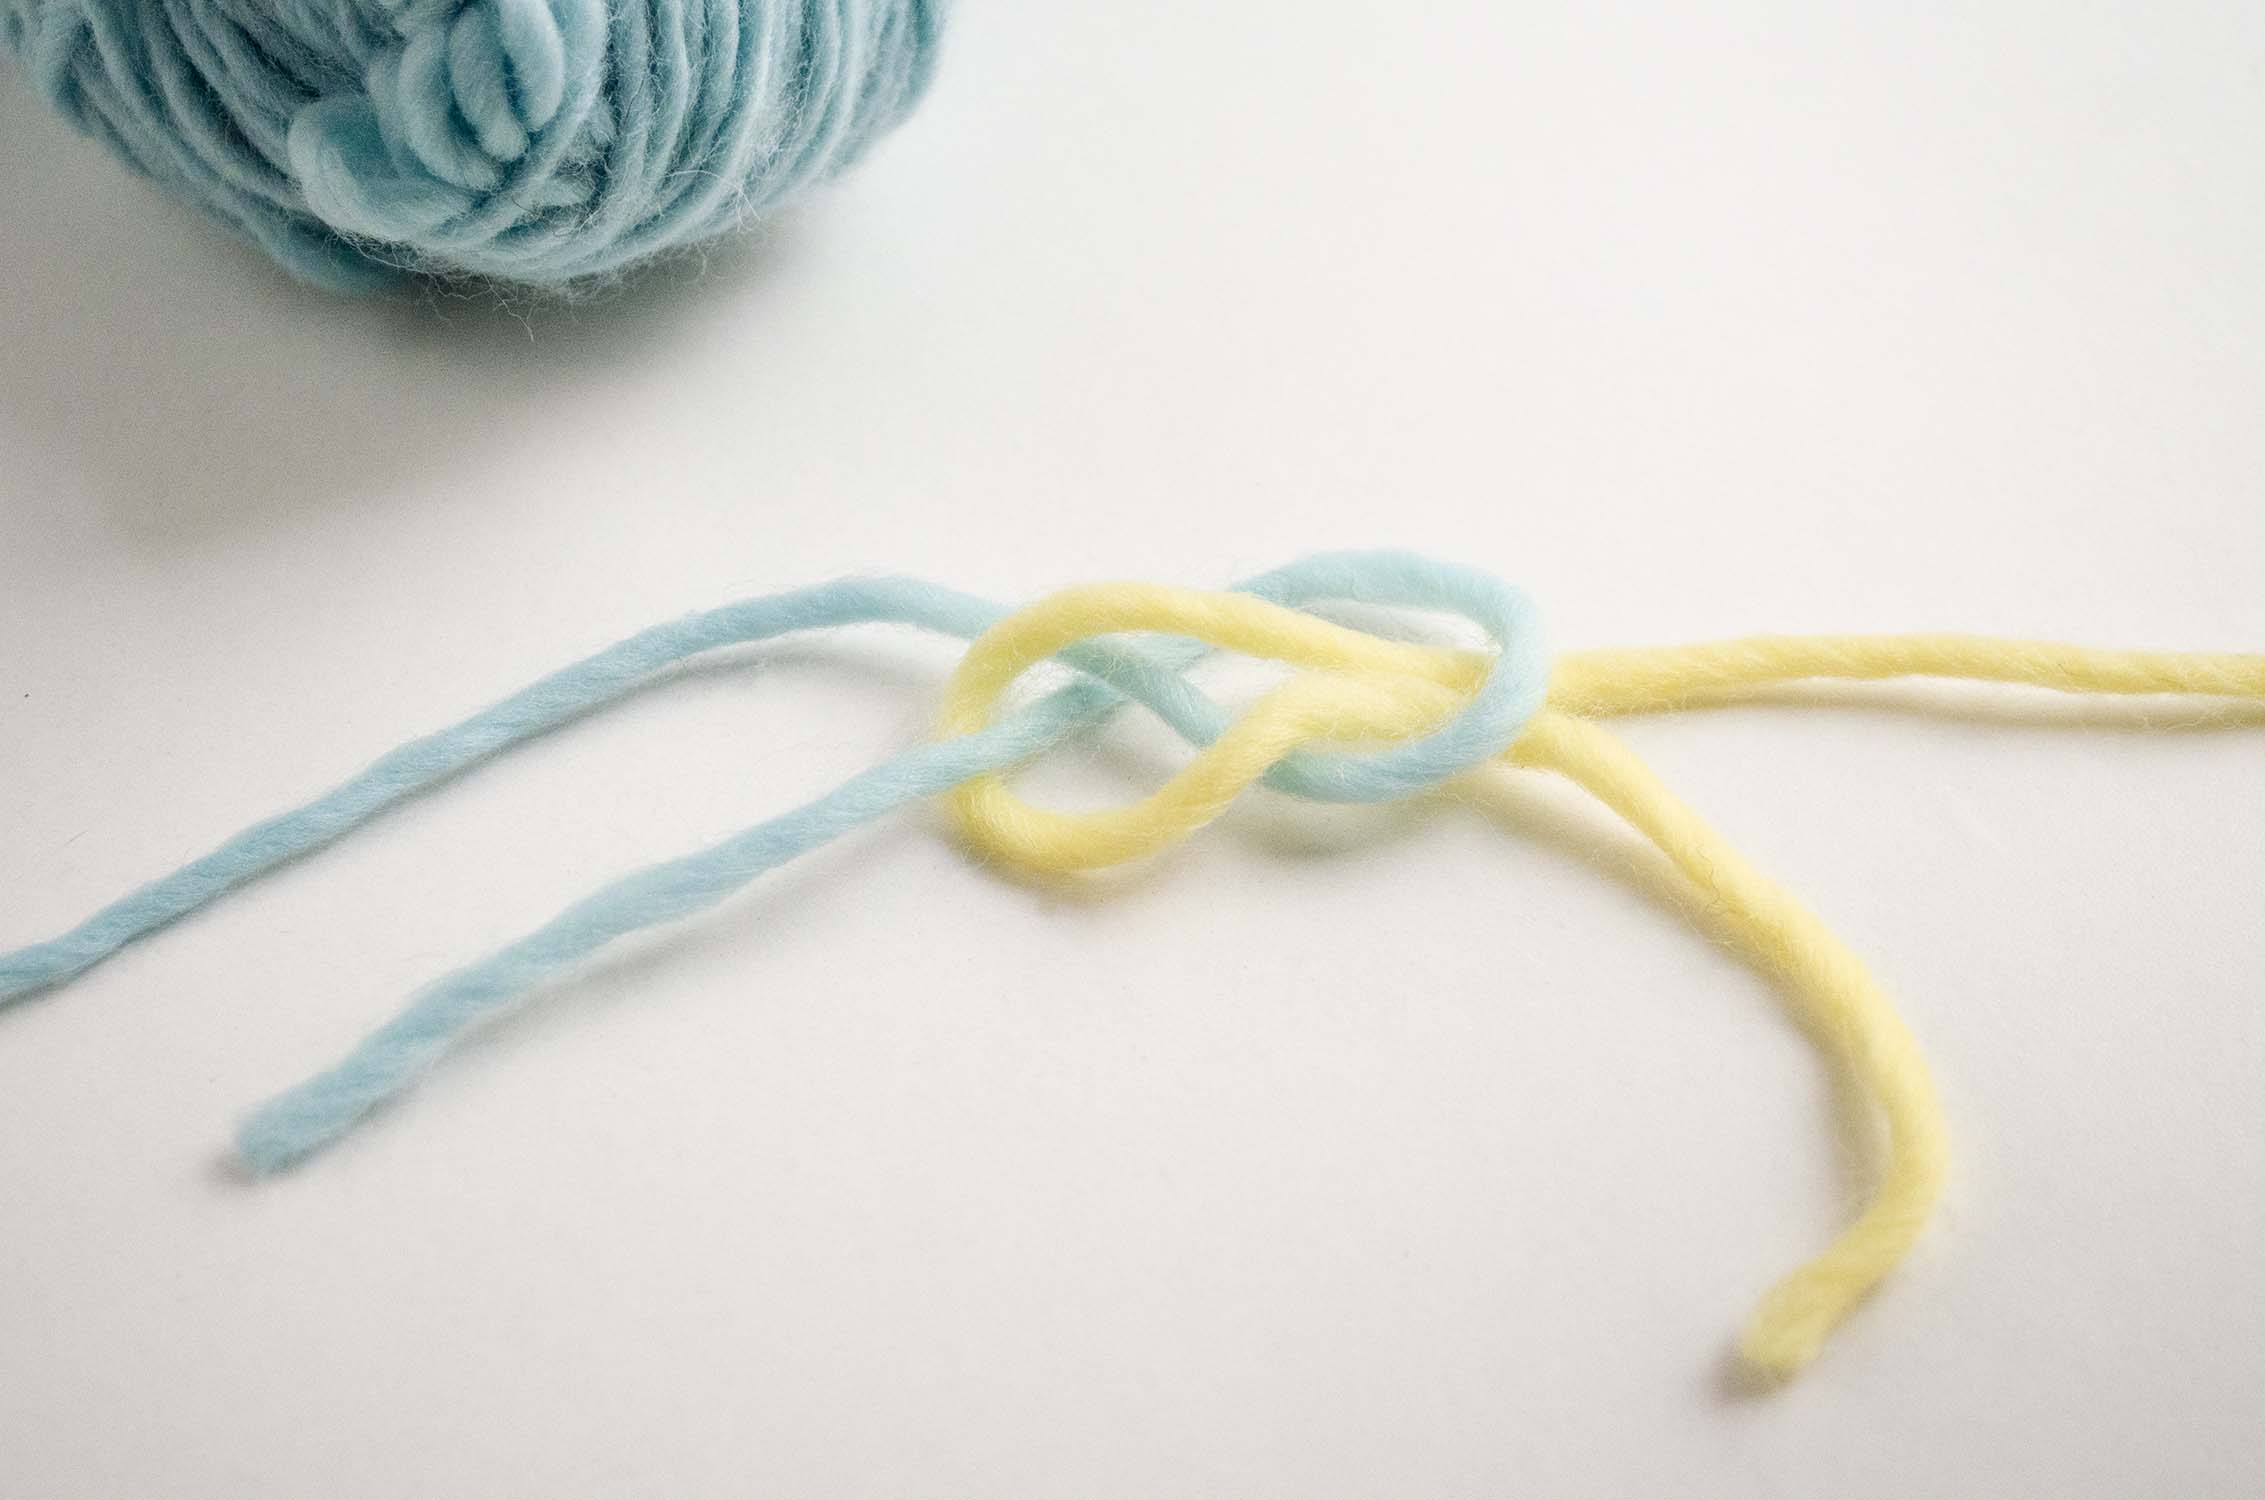
1. Start by leaving a long thread on the left side, while the thread coming from the ball of wool has to be set on the right side.
To calculate the length of the thread and avoid being left without space to cast on the stitches you can do one of two very easy things: leave a thread with a length of at least three times the length the project is going to have in the end, or cast on 10 stitches in the needle, then take them off again and measure the quantity of wool that you used to cast on these 10 stitches. Then simply use a rule (multiplier?) of three to know exactly how many cm you are going to need for the number of stitches required by the instructions.
2. Place the thread over thumb and index finger of the left hand with the short end of the thread on the thumb.
3. Close the rest of the fingers over the palm of your hand holding on to both ends of the thread of wool.
4. Now, place the needle below the thread that is spanned between the thumb and the index finger. Hold onto it with the index finger of the right hand.
5. Taking hold of the thread like you did in the step before, pass the needle along the outside of the thread on the side of the thumb (from the outside to the inside and from down to up).
6. Without letting go of the threads, repeat the previous step, this time with the thread beside the index finger.
7. Finally, pull the thumb out of the needle and pull on it to increase the tension on the stitch that is forming on the needle.
8. Repeat the previous steps until you have all the stitches you need to start knitting.
Take into account that when you repeat these steps for the first time you are going to cast on two stitches, but the following times you are only going to cast on one stitch each time.
Do you know this technique to cast on stitches? Which method do you prefer?
It doesn’t matter whether you are already an expert in this technique or whether you have just started to use it, we are always interested in seeing your own creations.
You can share them with us on Instagram with the hashtag #weareknitters.


