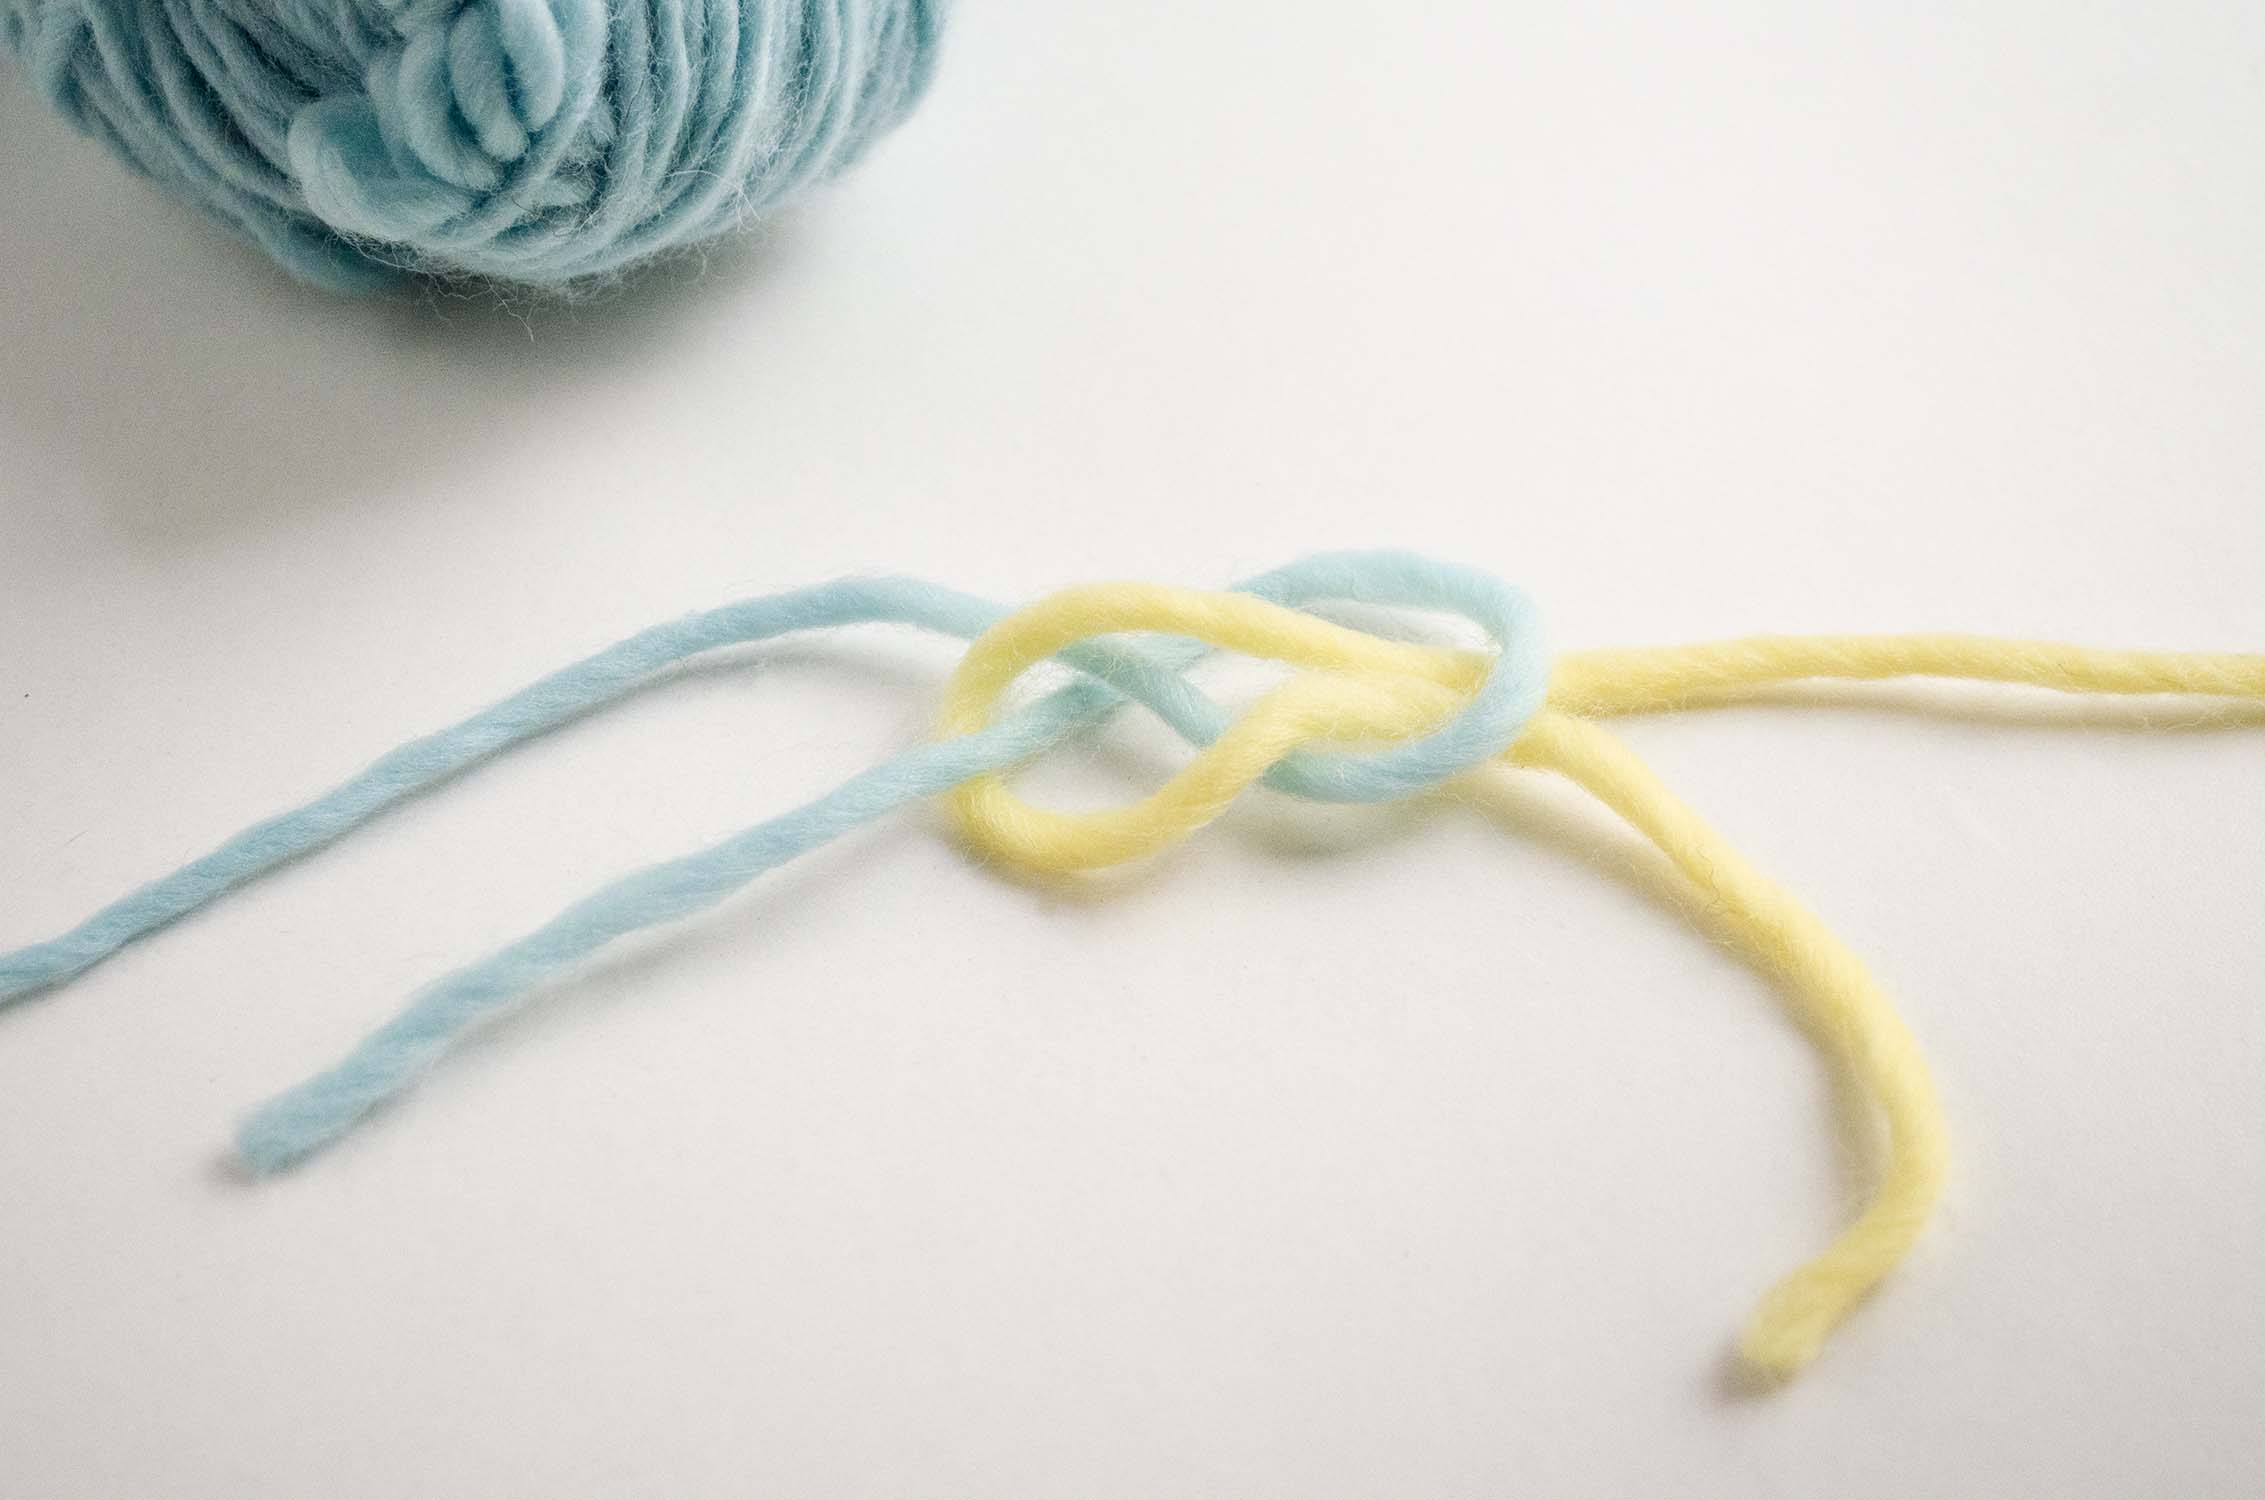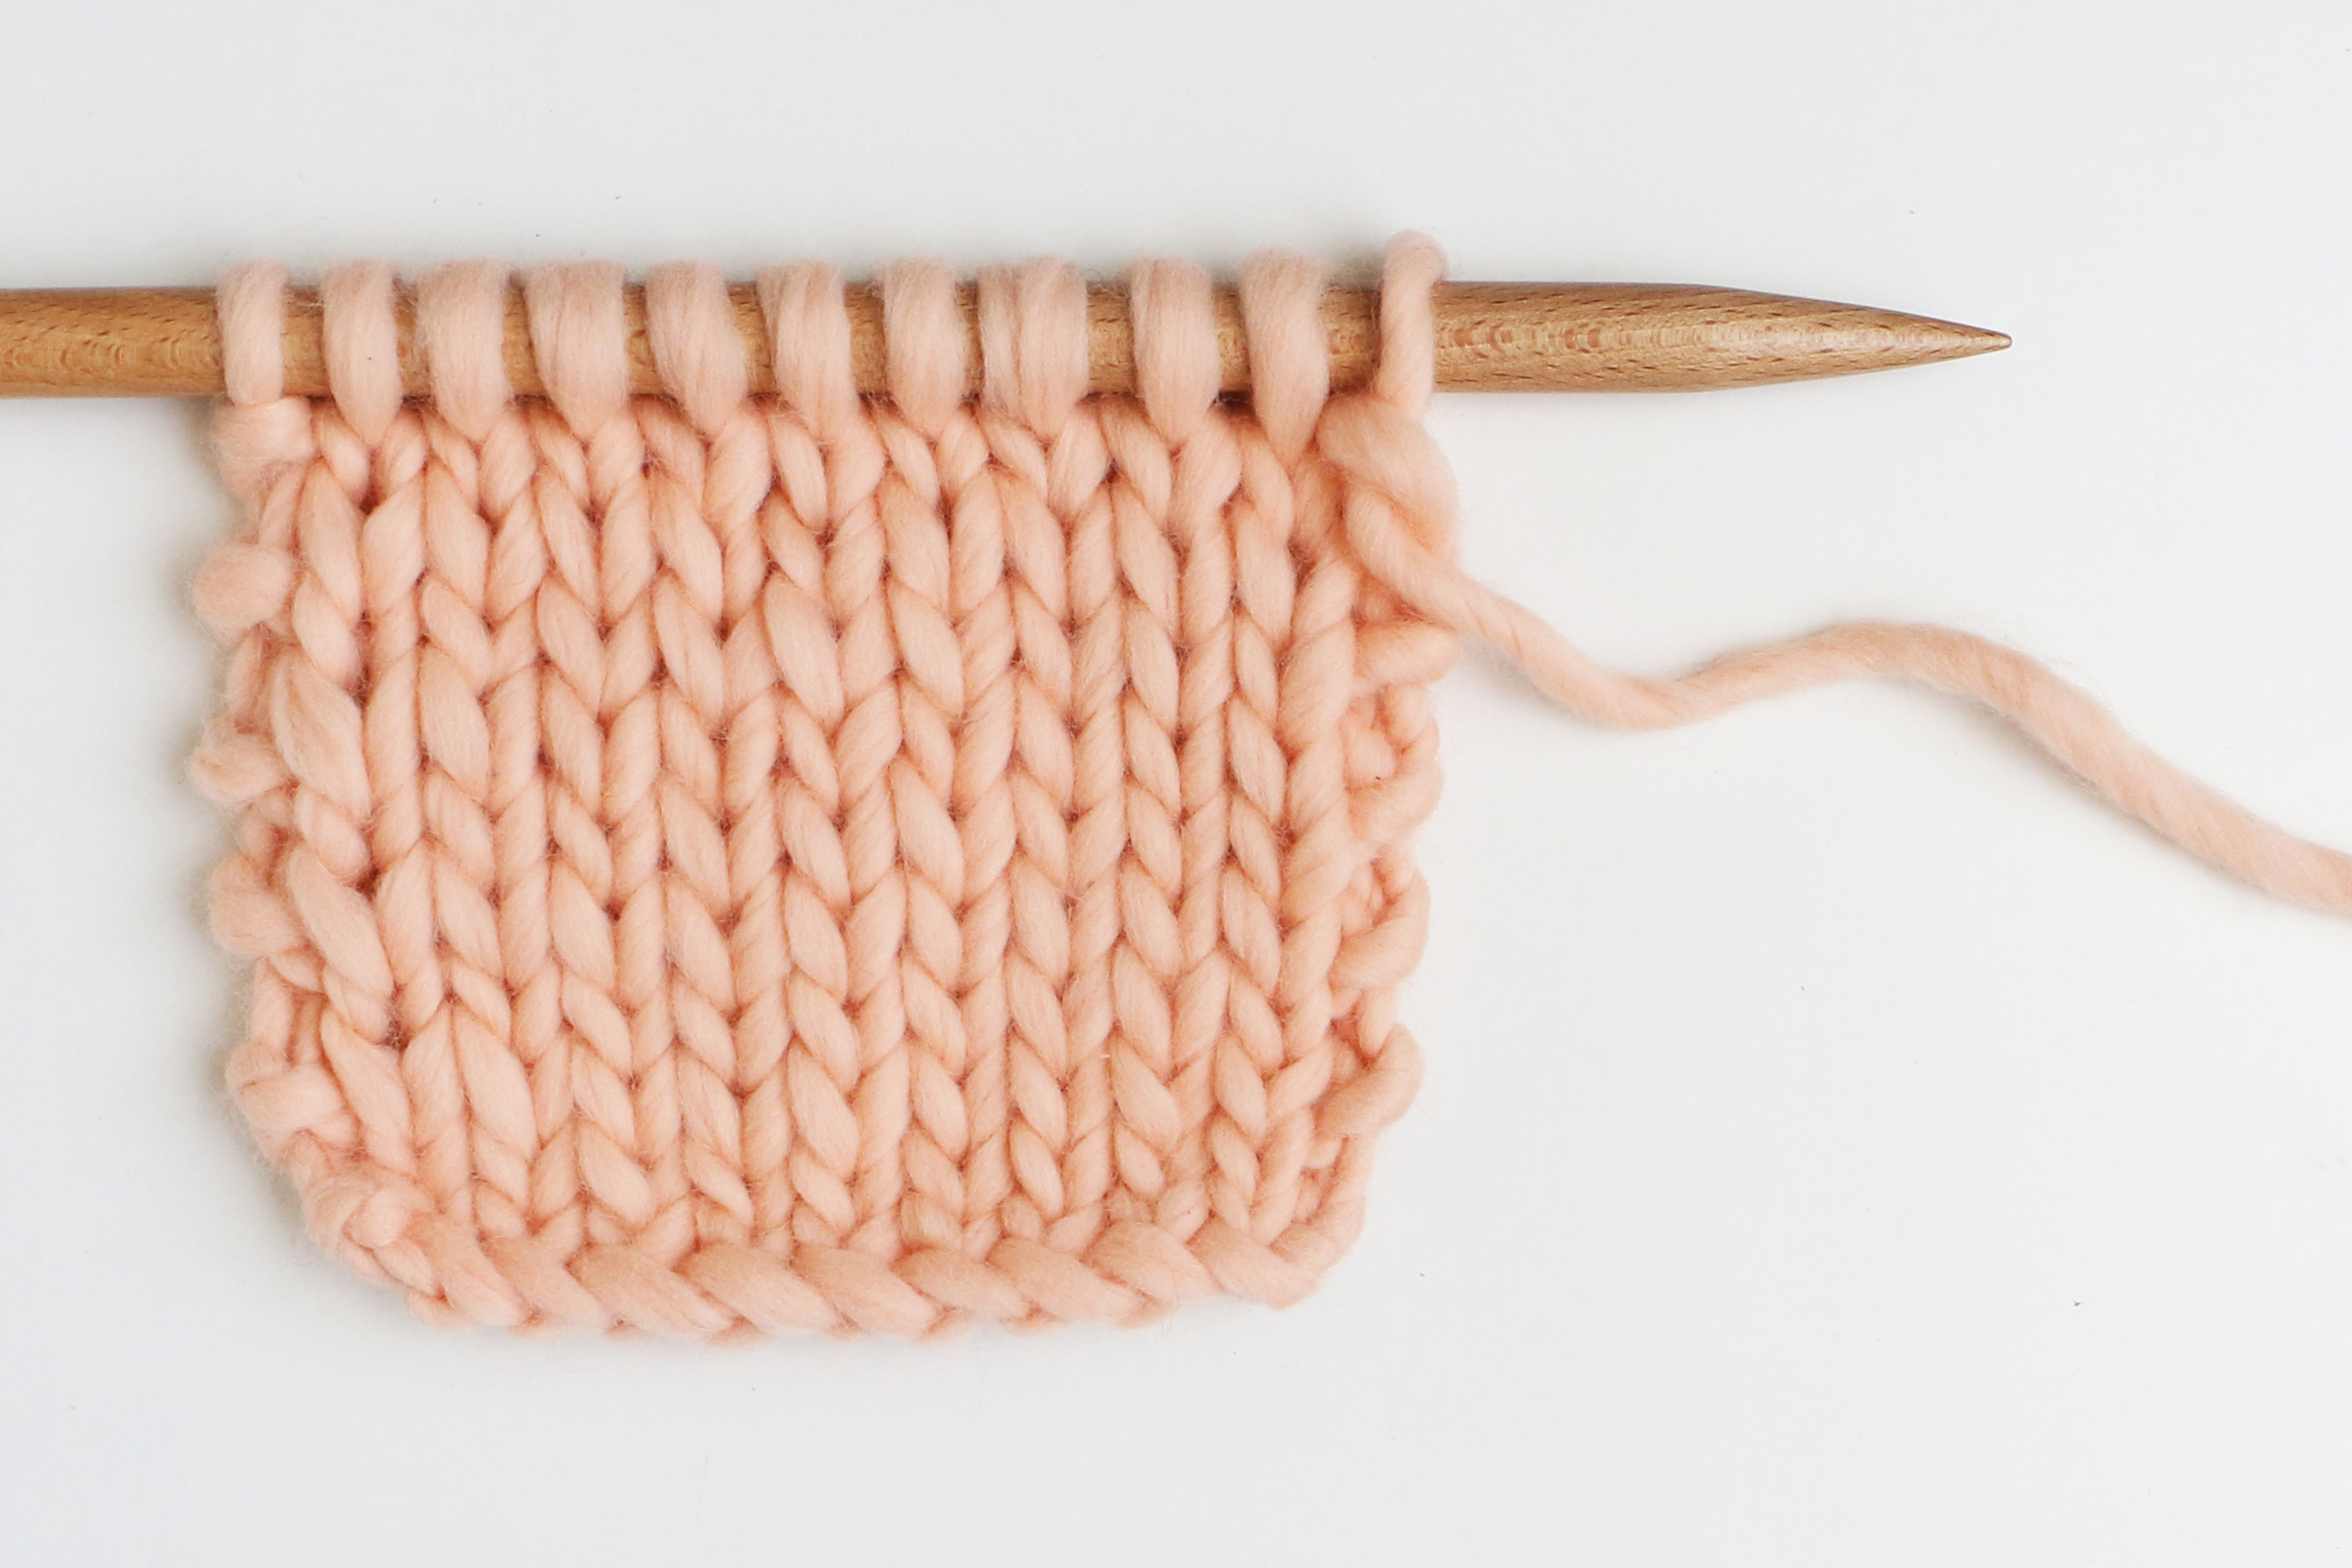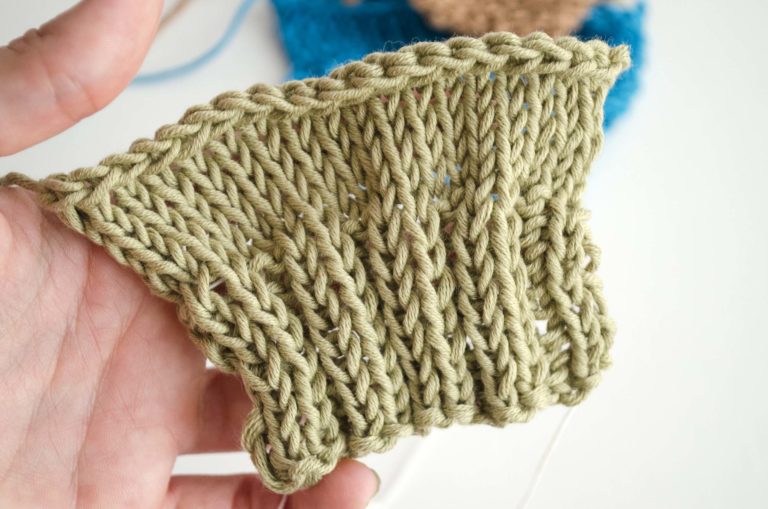
Weaving in ends properly can be tedious but it is necessary to obtain a neat and to secure the ends and to avoid the project from holes or unraveling. Today we will show you how to do it easily and quick.
1. Cut the Yarn: You have to keep in mind after casting off the stitches or finishing a yarn ball to cut the yarn leaving about 6-8 inches (15-20 cm), making sure it´s long enough to thread it on to your tapestry needle.
2. Make sure you are weaving in the end on the wrong side: Turn your work so the wrong side is facing you. Find the tail of yarn you want to weave in, if this end is on the other side pass it to the wrong side.
3. Thread the tapestry needle: Thread the end of your yarn through the tapestry needle. If the fiber you are using is very thick you can fold the end to pass it easier.
4. Weave in: Now pass the tapestry needle with the yarn through the stitches. You can do it following the stitches in the rows (horizontally or vertically). Weave in about 2-3 inches (5-7.5 cm). If your work is reversible like a blanket or a scarf try to follow the stitch pattern.
5. Don’t Pull the yarn Too Tight: Don’t pull the yarn too tightly as you weave in. Pulling the yarn too tightly can shrink your work, change the shape or the final measurement of your work.
6. Cut the thread : Once you’ve woven in a few inches, cut off even with the fabric.
7. Weave in any loose ends in the same way:

8. Repeat these easy steps to weave in the rest of the ends (such as ends of changing colors or joining a new yarn ball).
We hope you like this knitting tip and that soon you share your projects with it in social media with the hashtag #weareknitters 🙂 Until next time!


