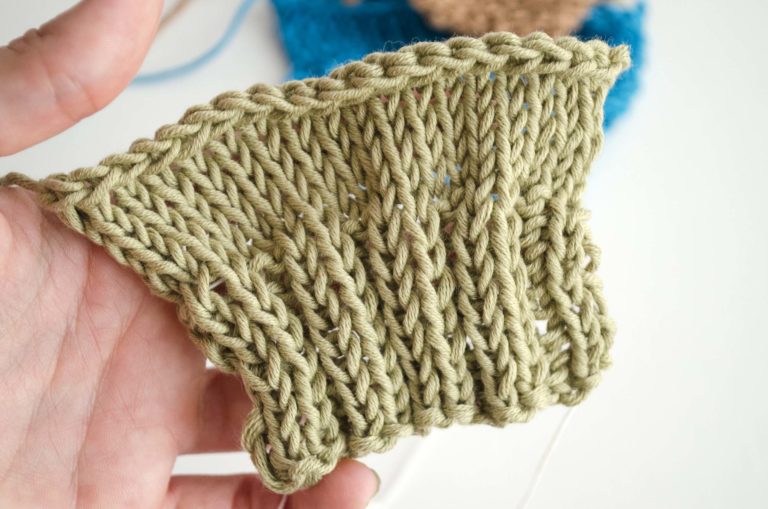
We love stitches that combine two colors and create new effects. So, today we are going to show you one of those stitches that’s not only beautiful, but easy too: the backstitch stitch. As we knit, we will pass a strand of color through the stitches, and as we do this, we will create a beautiful effect.

For this tutorial we used our Pima cotton in two contrasting colors and a pair of size 8 (5mm) knitting needles. We are going to identify each color with a letter, for our example color A will be color natural, for the background, and the contrasting color will be color B in orange.
Before beginning, like we usually do, we give you a link to the stitches you should know so you can give them a quick review if you have any doubts. 😉

To start knitting our pattern swatch we are going to cast on an odd number of stitches.

If you want to, you can knit a border before starting to knit the backstitch stich so the edges of your swatch don’t roll in. You can use seed stitch (like we did) or garter stitch, for example. If you are going to use this stitch for another project, or as part of a garment, you can skip this step and go directly to the next.
We also knitted a seed stitch border on both sides of the swatch. For each row we wrote the instructions for the border in a different color. This way you can substitute them with your favorite stitch, or skip them if you don’t want a border.

Row 1 (right side): with color A *knit 1, purl 1*. Repeat from * to * 1 more time, and knit 2. Place the strand of color B behind your work. **Bring the strand of color B to the front of your work and, using color A, knit 1. Place the strand of color B behind your work and, using color A, knit 1**. Repeat from ** to ** until there are 5 stitches left. With color A, repeat from * to * 2 times, knit 1.

Row 2 (wrong side): with color A *knit 1, purl 1*. Repeat from * to * 1 more time, knit 1. **Place the strand of color B behind your work and, using color A, purl 1. Bring the strand of color B to the front of your work and, with color A, purl 1**. Repeat from ** to ** until there are 6 stitches left. P la lace the strand of color B behind your work and, with color A, purl 1, and bring the strand of color B to the front. With color A repeat from * to * until there is 1 stitch left, knit 1.
To continue working the backstitch stitch you just have to repeat rows 1 and 2 until you reach the desired length.

We hope this tutorial proves useful and entertaining. We can’t wait to see the color combinations you come up with and the garments you make using this stitch. Show us your projects on social media using the hashtag #weareknitters.


