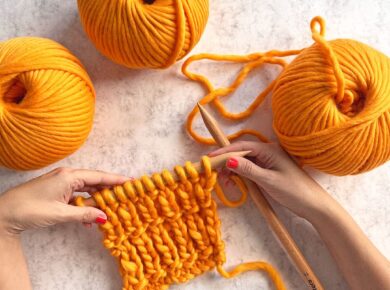
Provisional cast-ons are a fundamental technique in knitting, providing a temporary foundation for your work that can be easily undone later to reveal live stitches. While traditionally done with knitting needles, crocheters can achieve the same effect with a few simple steps. In this tutorial, we’ll explore how to cast on provisional stitches using crochet, enabling you to seamlessly integrate pieces or add borders to your knitting projects.

Materials Needed:
- Yarn of your choice
- Crochet hook appropriate for your yarn weight
- A scrap of a similar yarn in a contrasting color
- Scissors
Step 1: Choose Your Yarn and Hook
Select a yarn and crochet hook suitable for your project. For demonstration purposes, we’ll use our yarn “The Wool” and a P/Q (15 mm) hook size. Ensure you have enough of your scrap yarn and that it contrasts with your main yarn to distinguish between them easily.

Step 2: Make a Slip Knot
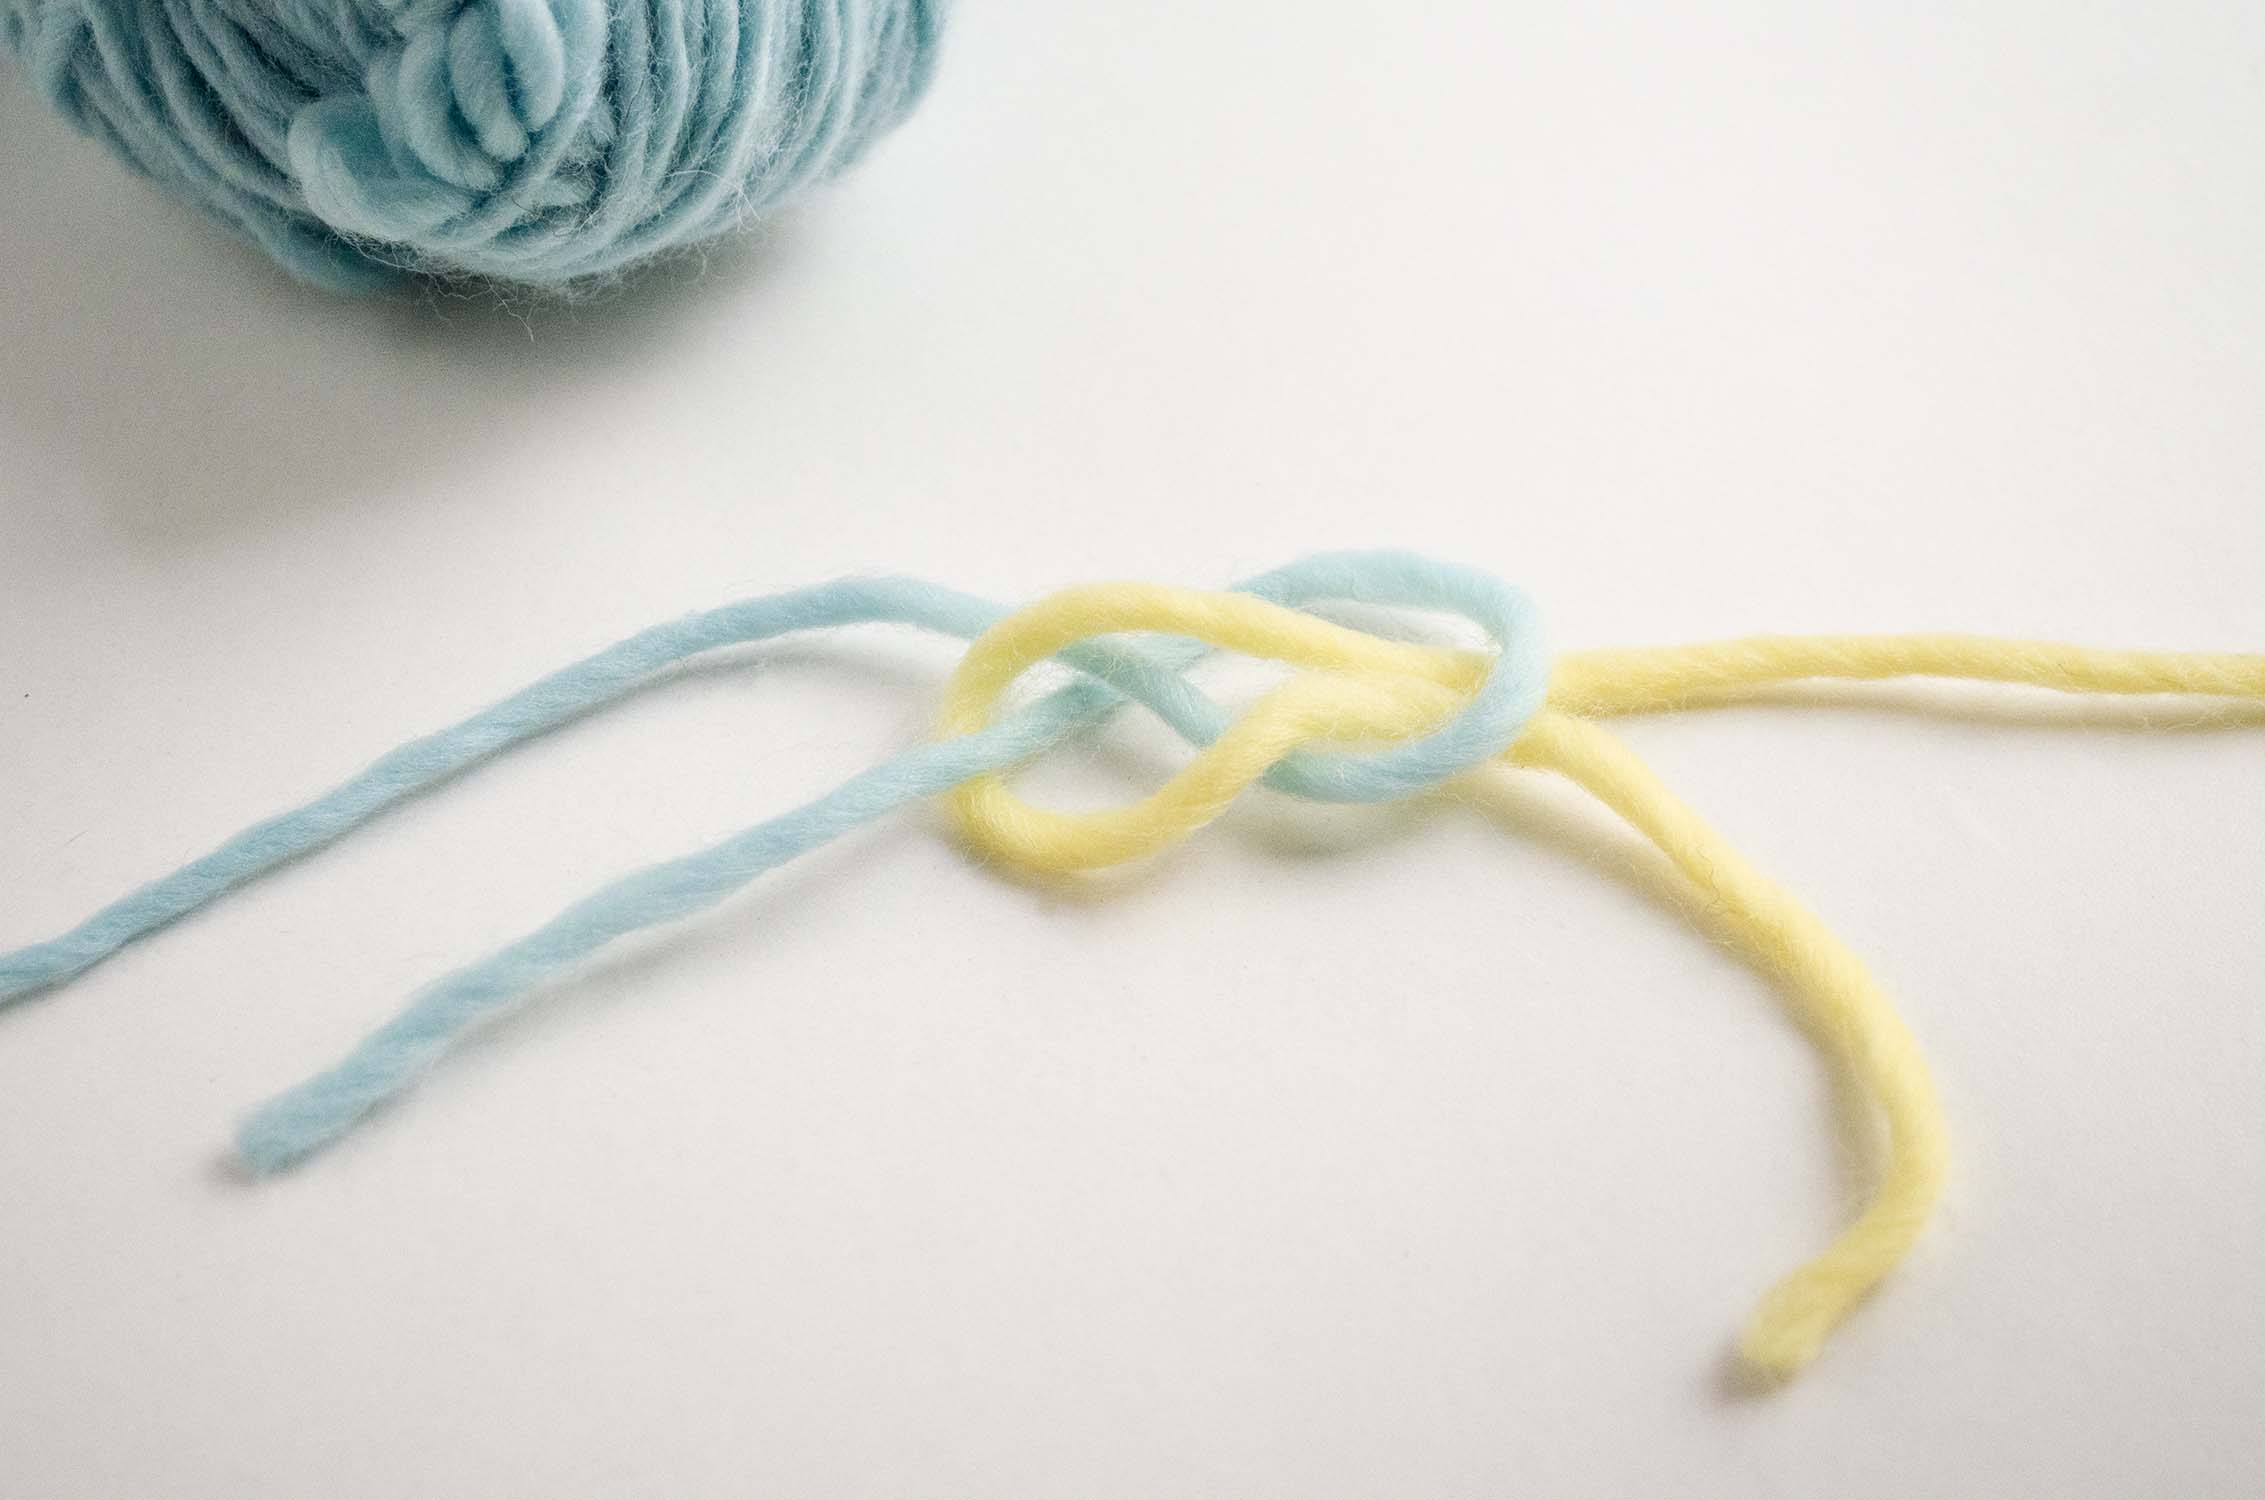
Start by creating a slip knot with your scrap yarn. Place the slip knot onto your crochet hook.

Step 3: Chain Desired Number of Stitches
Using the crochet hook and scrap yarn, chain the desired number of stitches for your provisional cast-on. Remember that the number of chains should match the number of stitches you want to cast on.
Once you’ve chained the required number of stitches, work a few additional chain stitches to secure the ends. We chained 6 more stitches.

Cut the yarn leaving a 10 inch (25 cm) tail and pull the yarn out through the last stitch. Mare a knot in this end so it is easier to find this end when you unravel this chain.


Step 4: Pick up the stitches with your knitting needle
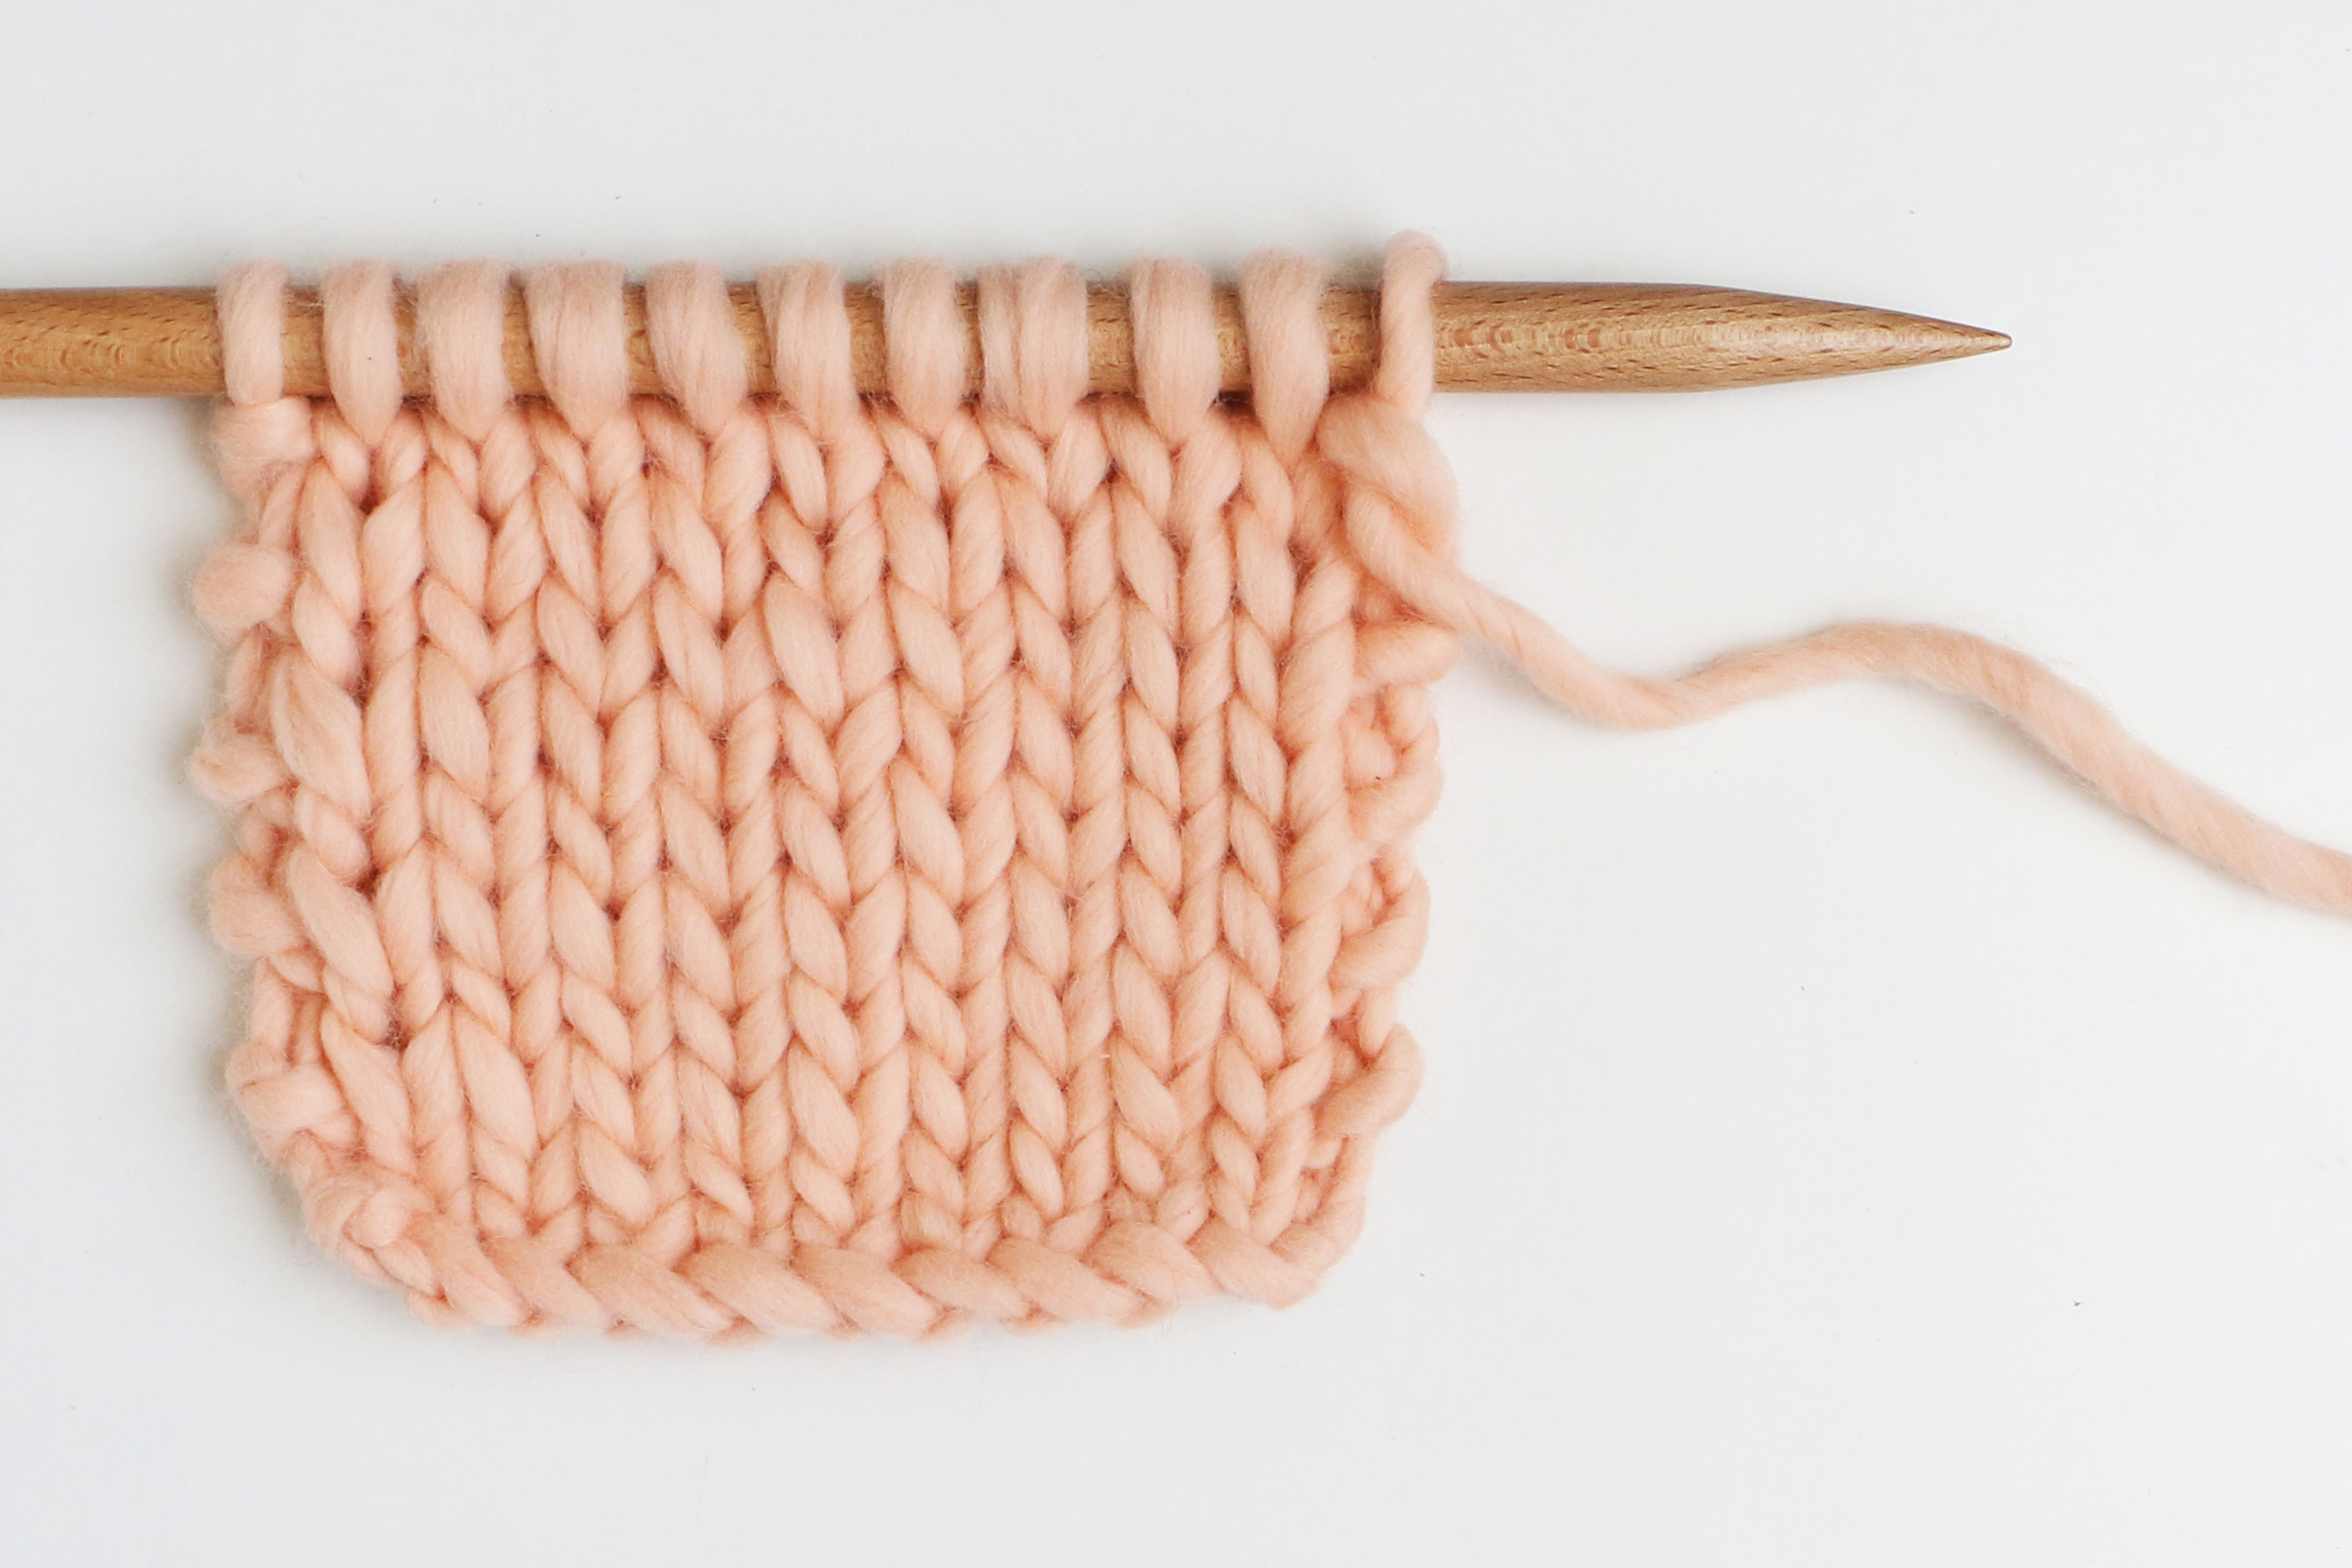
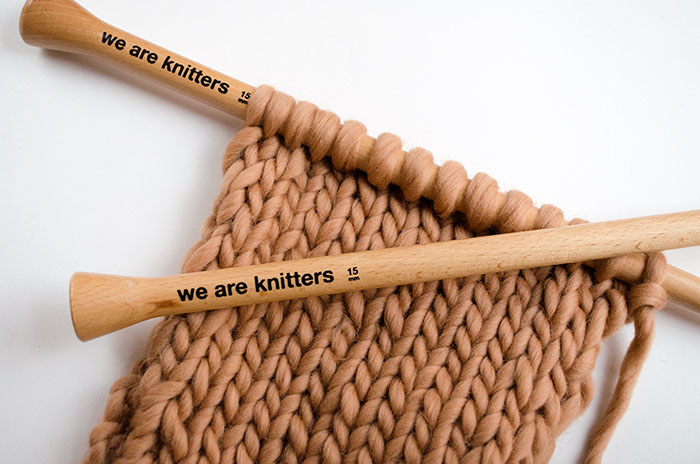
Pick the main yarn and starting on the 4th chain, pick up the number of stitches you want to cast on through the third loop of your foundation chain. 3 chain will remain without picking.


Step 5: Begin Your Knitting Project
Now that you’ve completed the provisional cast-on, you can start knitting your project directly. Work your desired knitting project as instructed by your pattern.

Step 6: Unraveling the Provisional Cast-On
When it’s time to unravel the provisional cast-on. Locate the end of your scrap yarn (the one with the knot), and carefully undo the last chain and pull it out, releasing the stitches. These stitches are now live and ready for use, allowing you to seamlessly integrate them into your project or to add a border. Be careful because live stitches can unravel and undo your work.

Mastering the technique of provisional cast-ons with crochet opens up a world of possibilities for your projects. Whether you’re joining pieces seamlessly or adding decorative borders, this versatile method provides flexibility and professional results. With a little practice, you’ll confidently incorporate provisional cast-ons into your crochet repertoire, enhancing the quality and creativity of your handmade creations.
We hope you like this stitch and that soon you share your projects with it on social media with the hashtag #weareknitters 🙂 Until next time!


