Making color changes in crochet is a lot easier than when you are knitting, but it still looks a bit menacing, especially when you have only just started knitting.
Today we are going to show you how to make correct color changes in crochet in two different ways. Ready your crochet hook and your wool!

One stitch before you make the color change, insert the needle into the stitch in the usual way.

Take the thread and pull the crochet hook through the stitch, but don’t pull it through completely, stay there.

You now have two loops on your crochet hook. Now help yourself with the middle finger, hold on to the thread of the new color (the color you will want to crochet the following stitches with) behind the project, it is not necessary to tie a knot.

Take the thread with the new color and now you may, finish the stitch as you normally would. Congratulations, you have just changed the color! This is done in the same way at the start, in the middle, or at the end of a row, always starting the stitch with the old color and finishing it with the new color.
Now that you already know how to change the color, you have to decide where you want to leave the thread that you are no longer using. There are two ways: behind (there will be threads visibly floating from stitch to stitch) or inside the stitches (otherwise known as tapestry). Both options have their advantages and disadvantages:

To place the thread behind the project on the inside, just let go of the thread of the previous color when you make the color change and take up the new color. When you have to go back to use the thread of the first color, take it up and carry it to the stitch where you want to use it, but don’t stretch it too much. A trick to make the threads look better is to always use the them in the same order when they cross over each other: for example, the basic color under the contrast color etc.
If you want to knit a large number of stitches in the new color, knit the old thread into the stitches sometimes so that the threads stretched between the stitches don’t become too long and tangled up.

In the picture above, you can see how it looks if you leave the first color behind the project and take it up again a few stitches later. We would then do the same thing with the contrast color.

Another way to work with many colors at the same time is to use the tapestry technique, which consists of crocheting the stitches over the threads of the color not currently in use. The advantage of this method is that we don’t have any loose threads, but it is not advisable to use it when we use more than two colors at the same time (because inside of the the stitches, the threads you don’t use take up a lot of space; changing the tension of the stitches).
To use this method, don’t let go of the old thread when yo make the color change but place it over the stitches you did not crochet yet and then crochet the new stitches around it. When you go back to that color repeat the same process with the contrast color, leaving it inside the stitches.
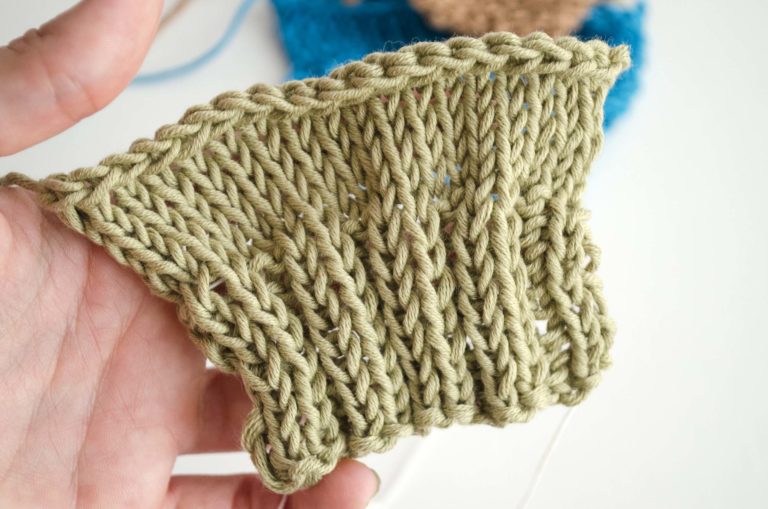
That is what the inside would look like when you use the tapestry technique. To obtain better results, use threads of the same thickness and weight, so that the project looks more consistent and uniform.
And if you want to crochet stripes, don’t cut the thread at the end of each row! Just take it along the rim, crossing all the threads in different colors that you will use later, so that yo can take them up when you need them (and you won’t have to struggle with loads of loose threads once you are done crocheting).
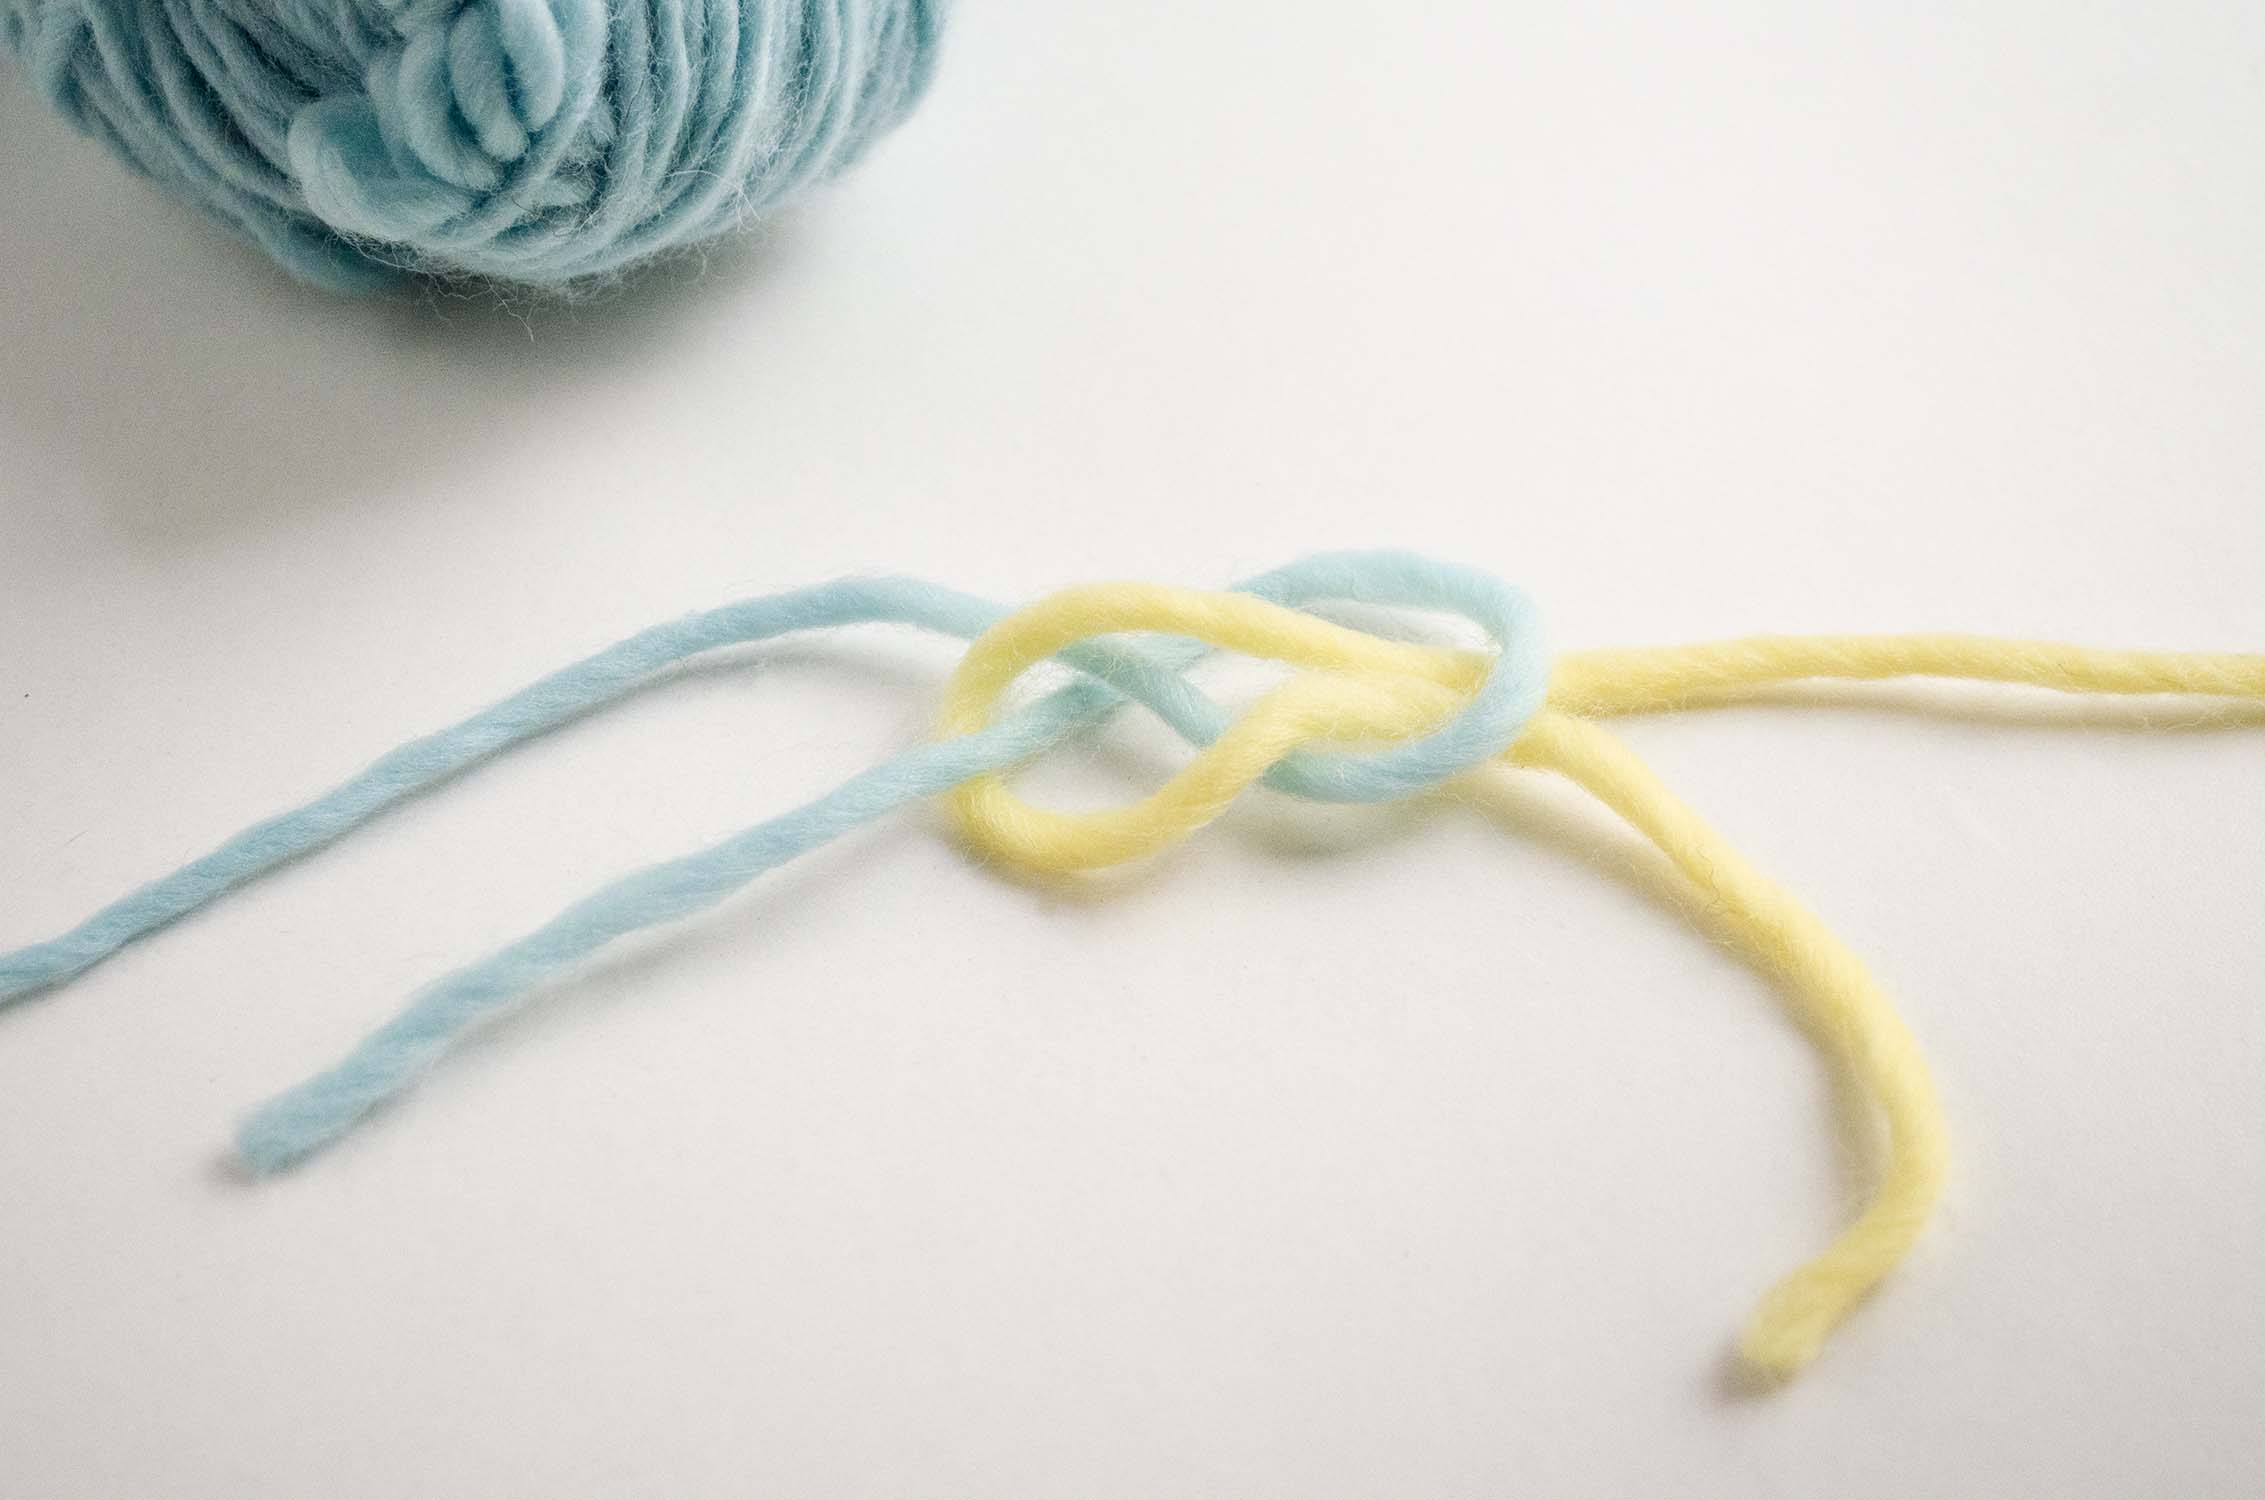
In our example we have used thin wool in the colors light yellow and light blue, but you can of course use any color you like and 5MM needles.
It doesn’t matter whether you are already an expert in this technique or whether you have just started to use it, we are always interested in seeing your own creations. You can share them with us on Instagram with the hashtag #weareknitters.


