If you’ve finished your new sweater, and it’s finally time to join the different pieces, you’ll be interested in today’s post. We’ll show you how to sew an invisible seam on reverse stockinette stitch. Not knowing how to make a seam that won’t show is about to be a thing of the past.
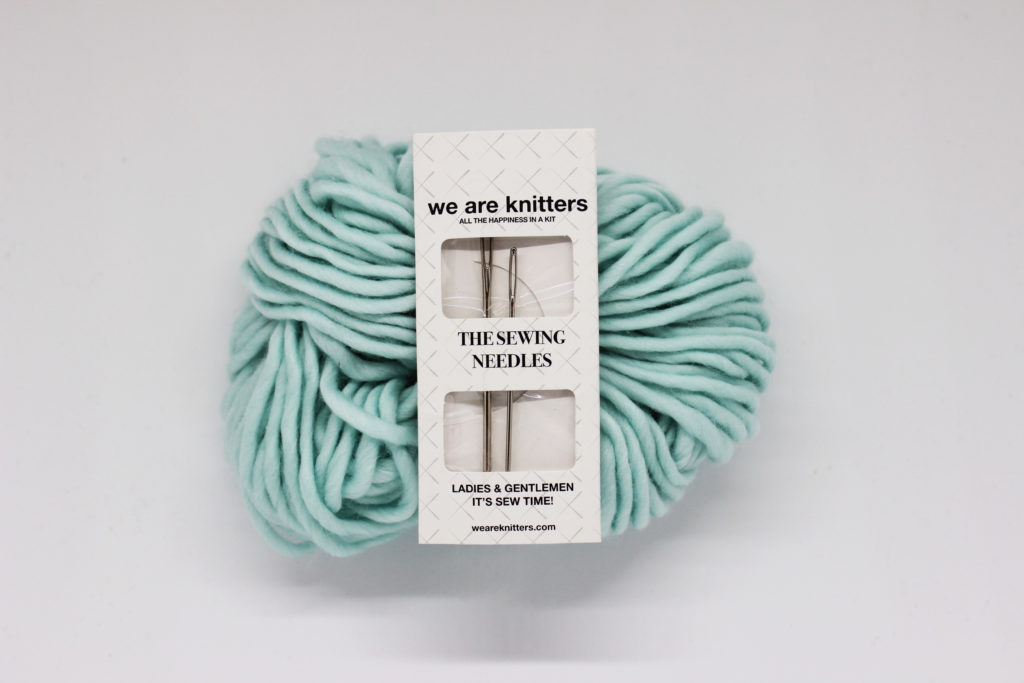
For this tutorial, we’ve used a skein of The Petite Wool and one of our tapestry needles.
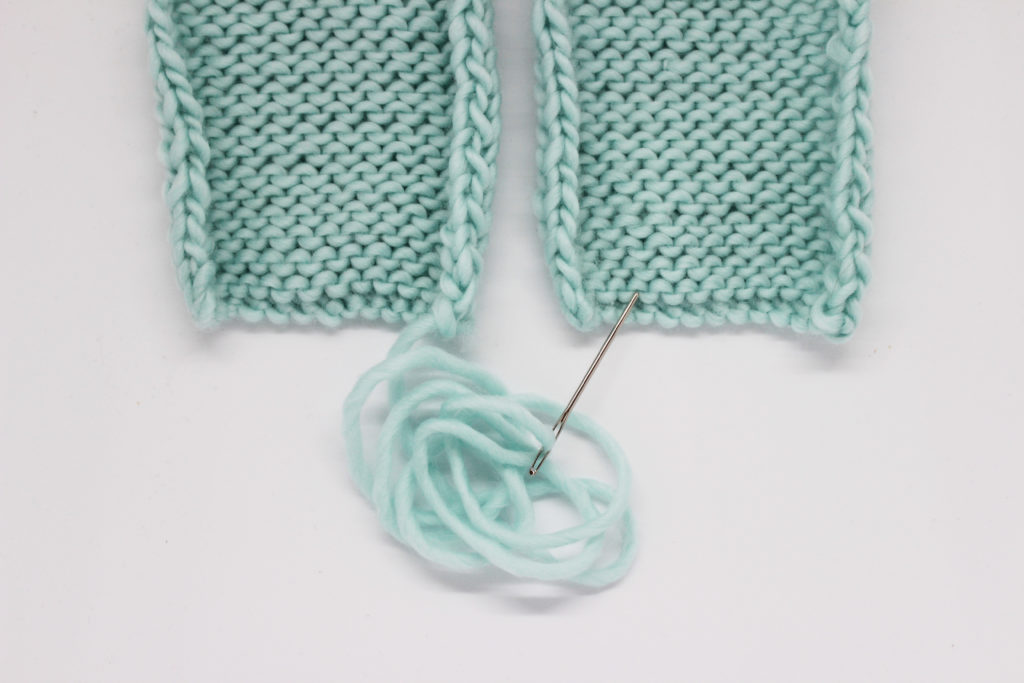
The first thing to do is, place one piece next to the other. Both will need to have the same number of rows since we will be joining one row from the left piece to the corresponding row on the right piece.
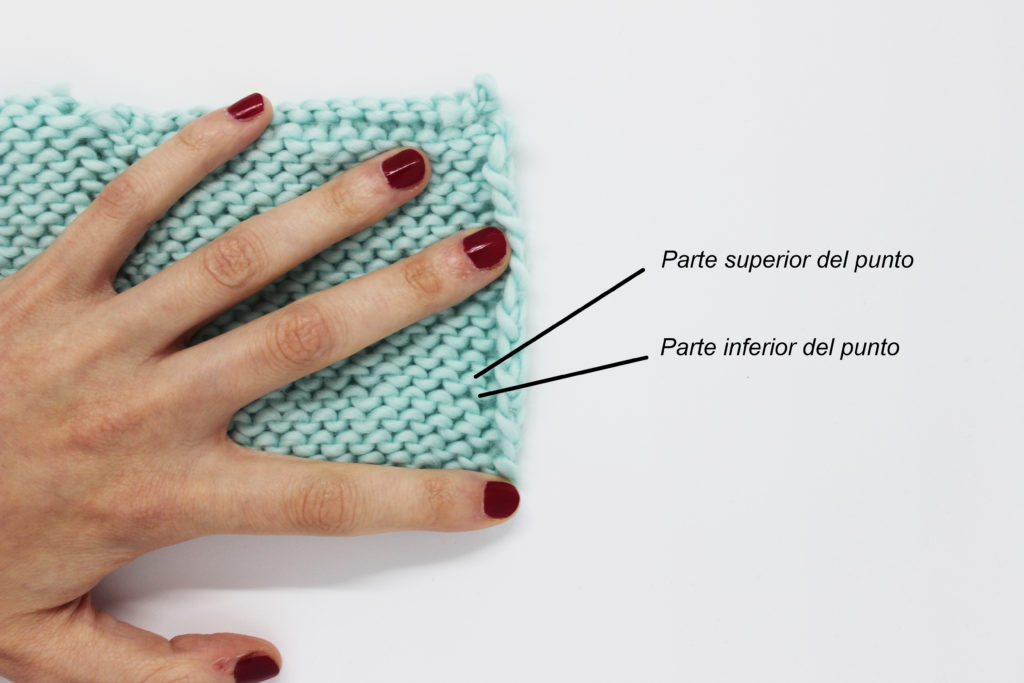
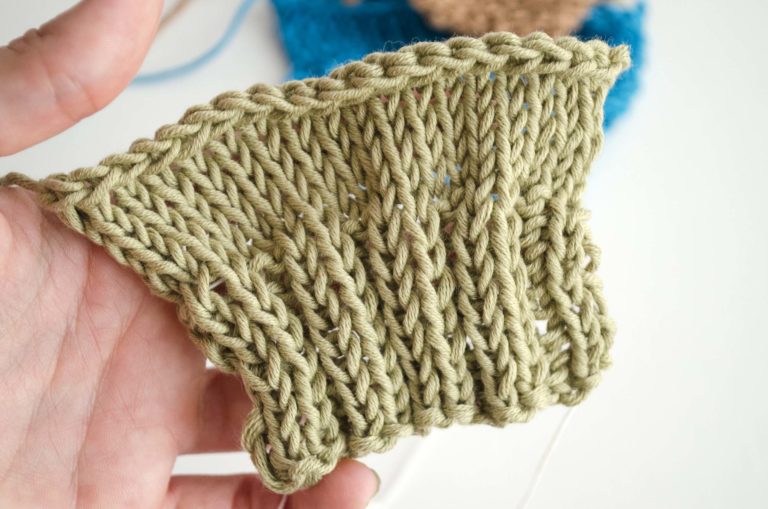
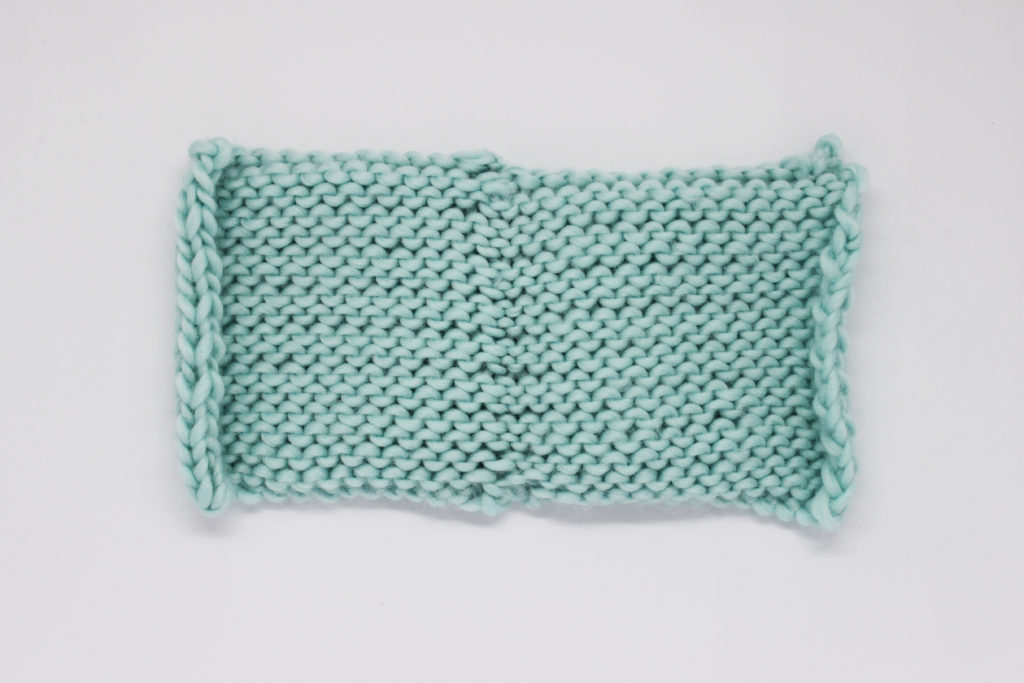
You should already know that in reverse stockinette, each stitch has two parts: top and bottom, as you can see in the image. As you’re sewing, you will pick up the bottom part of the stitch from the left piece, then you’ll pick up the top part of the corresponding stitch from the right piece.
The only thing that you should be careful of is to not pick up the edge strand, just the one next to it. This way, you’ll get a nice, clean seam.
Thread your needle and press play; we’ve made a video so you can easily see the entire process.
Easy, right? Now you can see that sewing an invisible seam isn’t hard at all.
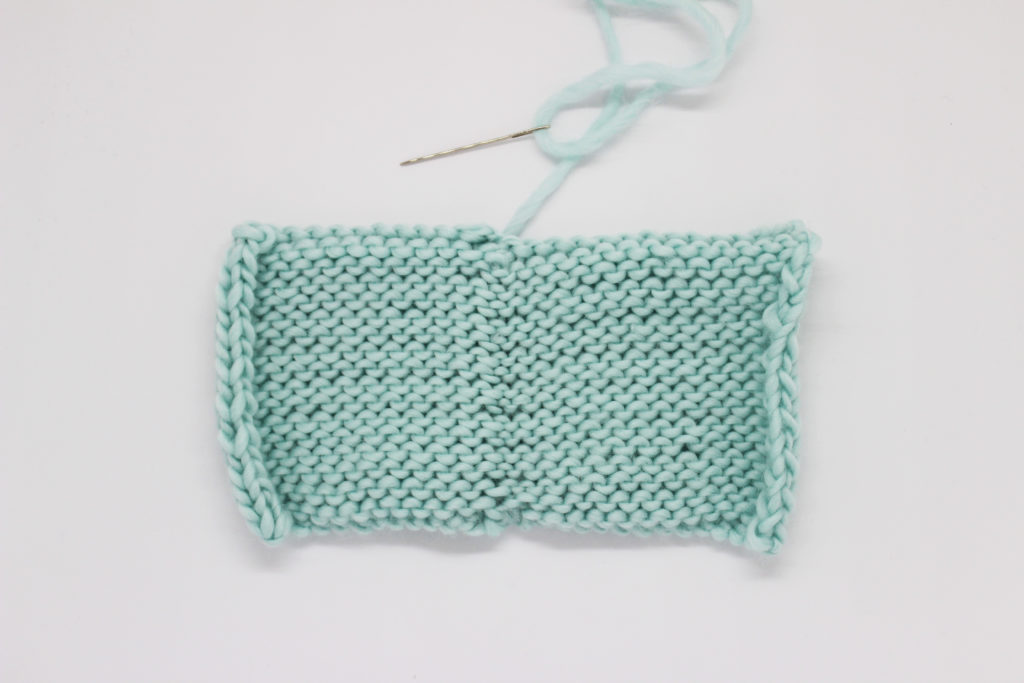
We hope that this tutorial will be useful when you’re joining your knit pieces. We love giving you tricks to make your sewing perfect. Don’t forget to share your projects on social media with the hashtag #weareknitters. We love to see what you do with our yarn 🙂

