Ready for a fun and simple project? No matter if you are a beginner or a pro, you can make the granny square without breaking a sweat. And with endless combinations, you will never get bored of this technique!

Today we are going to teach you this basic crochet technique, so grab your yarn and hook! Grannies are the “squares of the grandmother”, that we have stumbled upon so many times in blankets, tablecloths and cushions. It is something that has always been in style, and now more than ever.
There are a lot of different types of granny squares: simple, round, square, hexagonal ones… but it is best to start with the classic granny. It is very easy and you can achieve surprising results by combining different colors. Have a look at the combination we have chosen to make our sample and then choose your own colors! If you want to you can also make your granny square with just one color, which will give it a much more traditional look.

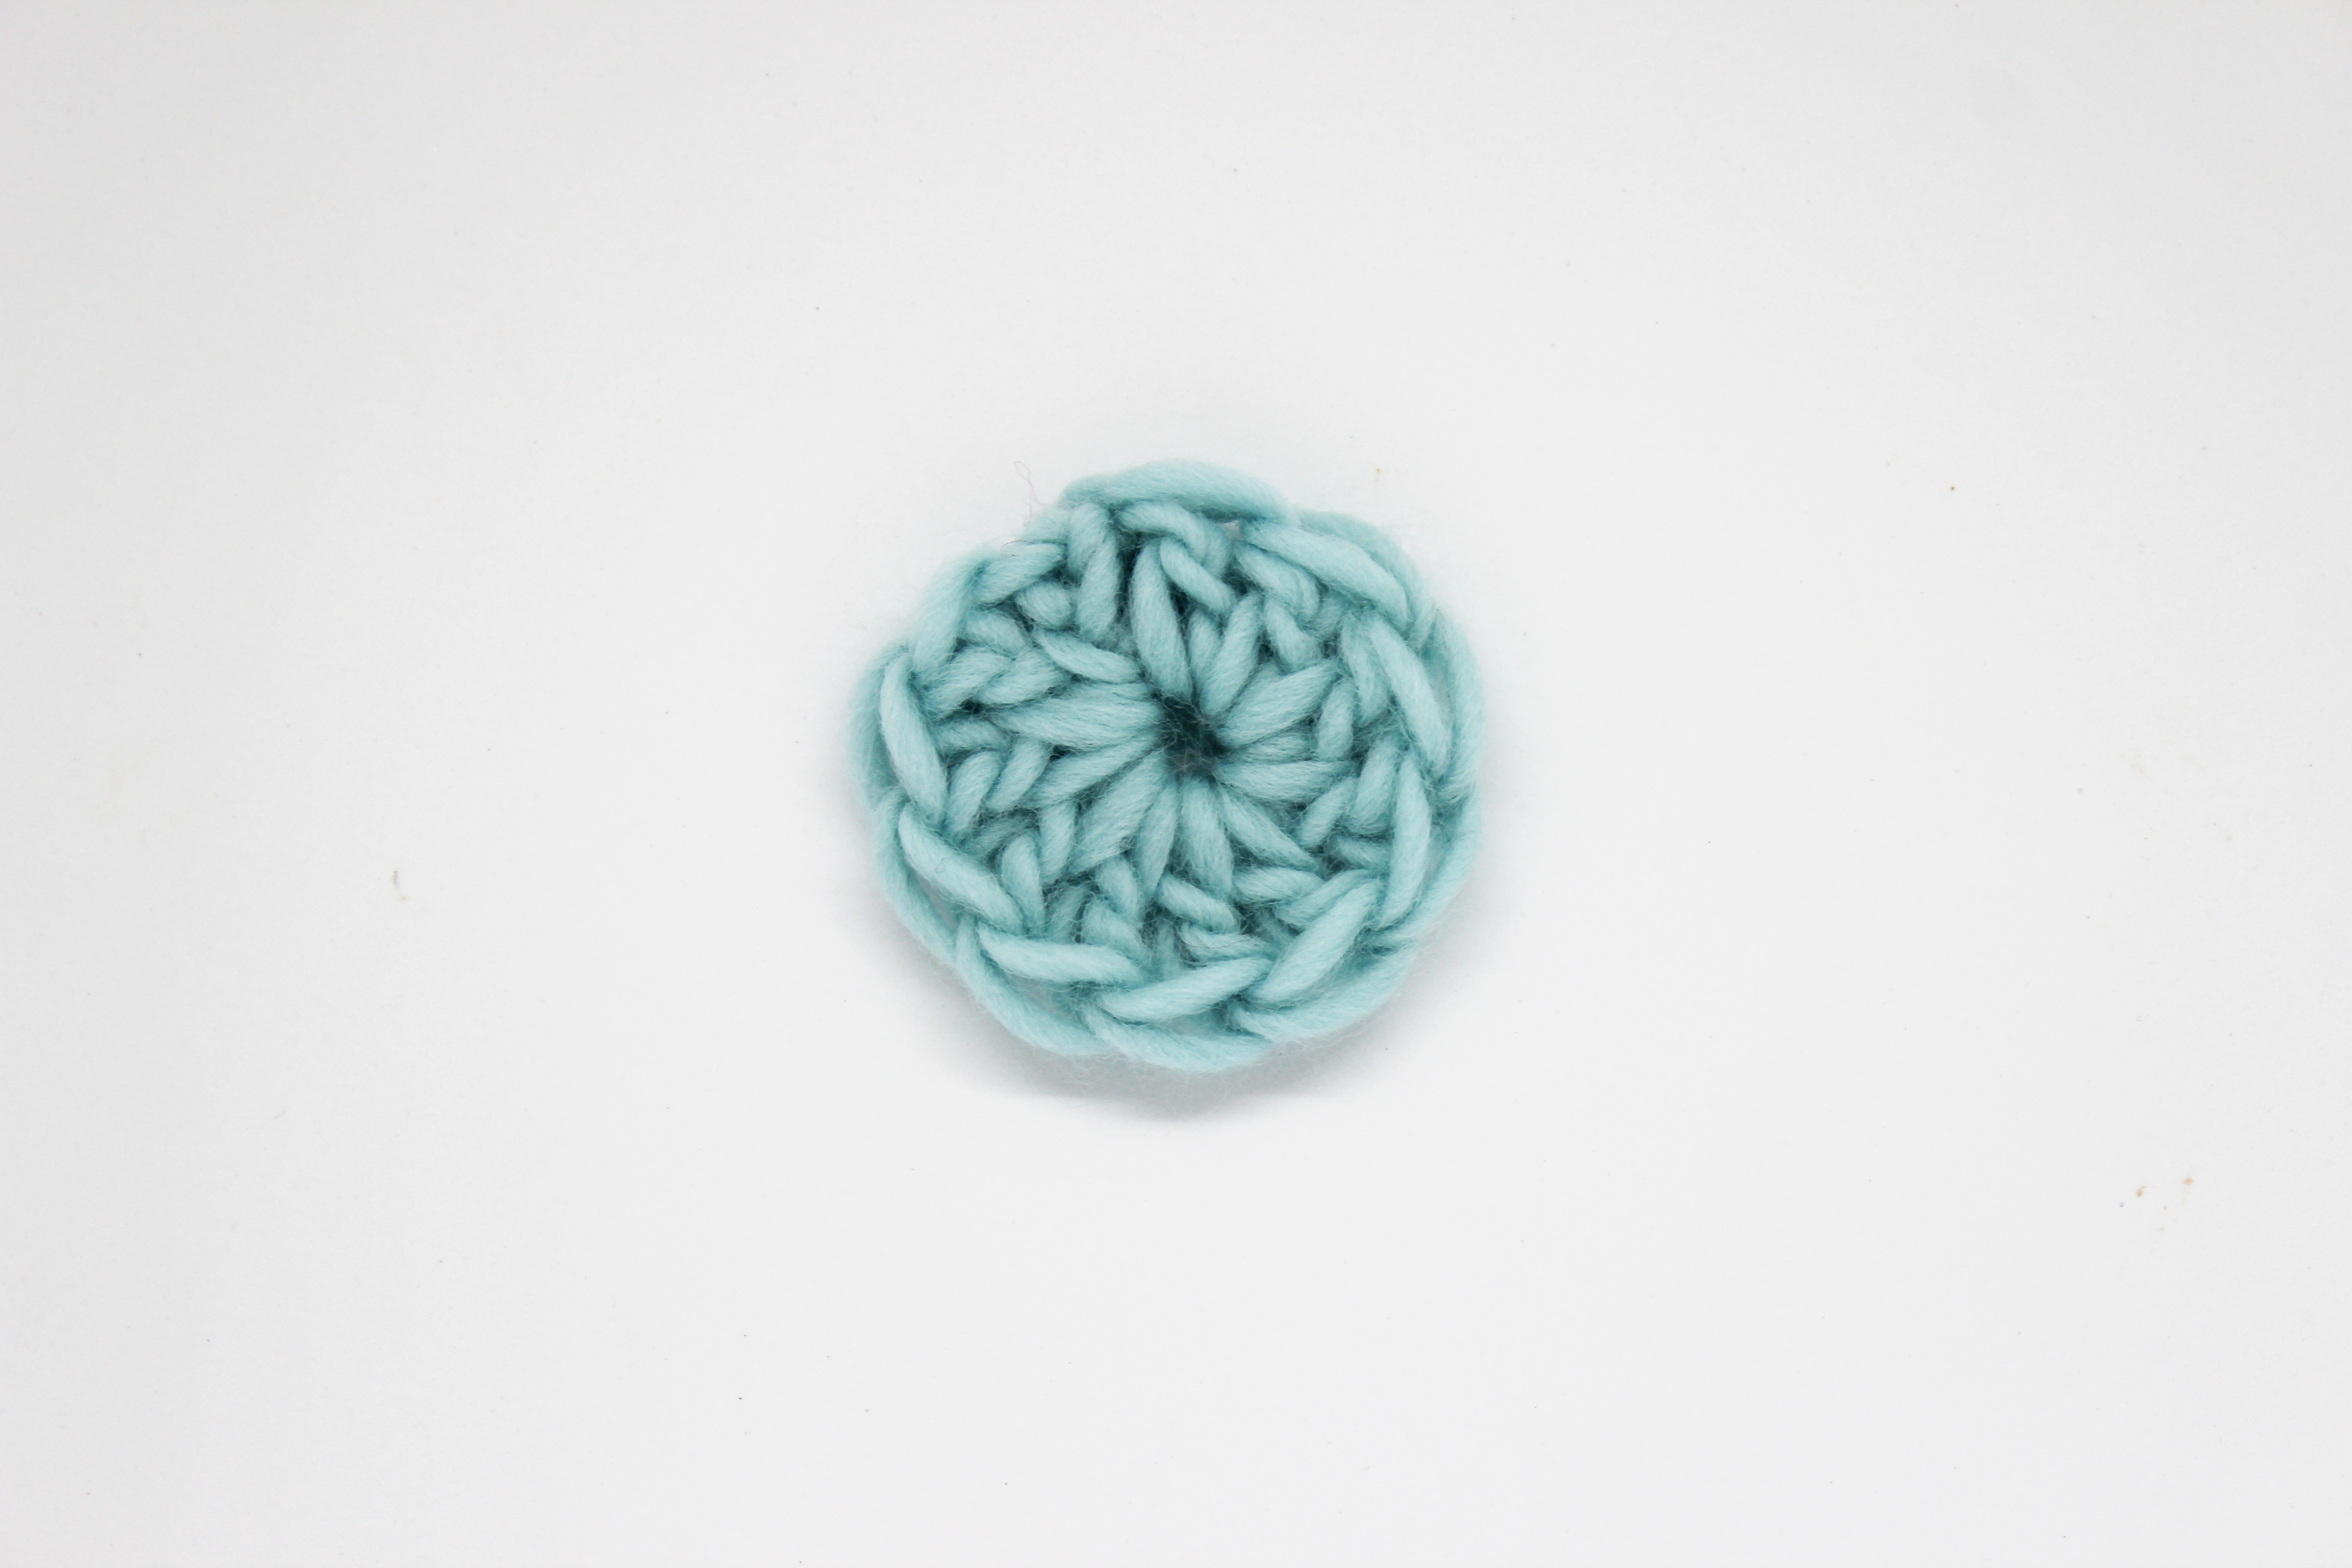
Make four chains in the first color and then join the first and last chain with a slipped stitch. You will have a little circle in which you can place the following stitches to start the granny square.
Make 3 chains and then 2 double crochets in the beginning of the ring (the 3 chains count like another double crochet so it is now as if you had on the whole 3 double crochets in the ring).
*Now make 3 chains, followed by 3 double crochets in the ring* repeat these instructions twice more.
Join the row with a slipped stitch in the third chain that we made at the beginning. You will have a little square like in the photo above these instructions.

Now we will add the second color into any of the free spaces formed by the 3 chains of our square.


Make 3 chains and then 2 double crochets in the space formed by the 3 chains in the inferior row (keep in mind that this combination of chains and double crochets counts like 3 double crochets in total).
*Now make 3 chains, followed by 3 double crochets in the free space left by the chains of the inferior row. Make another 3 chains and repeat the double crochets, in the same space as the ones before (you will have 6 double crochets separated by 3 chains in the same space of the inferior row, they form the corner of our square) * Repeat these instructions along the whole row. When you have completed the row, join it with a slipped stitch in the third chain that we did at the beginning of the row. Cut the thread.

Now we will add the third color in any of the free spaces left by the three chains in the row before.
Make 3 chains and then 2 double crochets in the space formed by the 3 chains in the inferior row (keep in mind that this combination of chains and double crochets counts like 3 double crochets in total).
*Now make 3 chains, followed by 3 double crochets in the free space left by the chains of the inferior row. Make another 3 chains and go on to the next space. Make 3 double crochets, 3 chains and again 3 double crochets in the same space (you will have a total of 3 double crochets in one of the spaces on the inferior row, followed by 6 double crochets separated by 3 chains in the same spot.) *
Repeat these instructions alternating a series of 3 and a series of 6 double crochets in the same space. When you get to the end of the row, join it with a slipped stitch in the third chain that we did at the beginning of the row. Cut the thread.
Hide the remaining lose threads and give shape to your square by dampening it a little with water and then leaving it to dry on a towel.
If you enjoyed knitting the granny square, why don’t you take up your crochet needles and make a little blanket using all the WAK wool that you have left from earlier projects? It is your choice whether you want to use different colors or always the same to make a granny square.
In our example we have used cotton in the colors grey, green and salmon but you can of course use the color that you like the most and a 5MM crochet hook.
No matter whether you are a master in this technique or whether you have just started using it, we are always interested in seeing your own creations. You can share them with us on Instagram with the hashtag #weareknitters.

