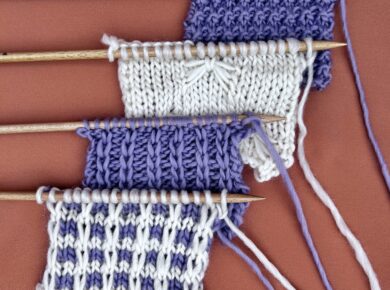
Let’s continue with the second phase of our step-by-step explanation of how to knit Entrelac. In the previous installment you saw how to make the base triangles, and now you will see how to make the first row of squares. Now you will begin to see how your Entrelac fabric is formed little by little and I assure you that you will fall in love with this technique.
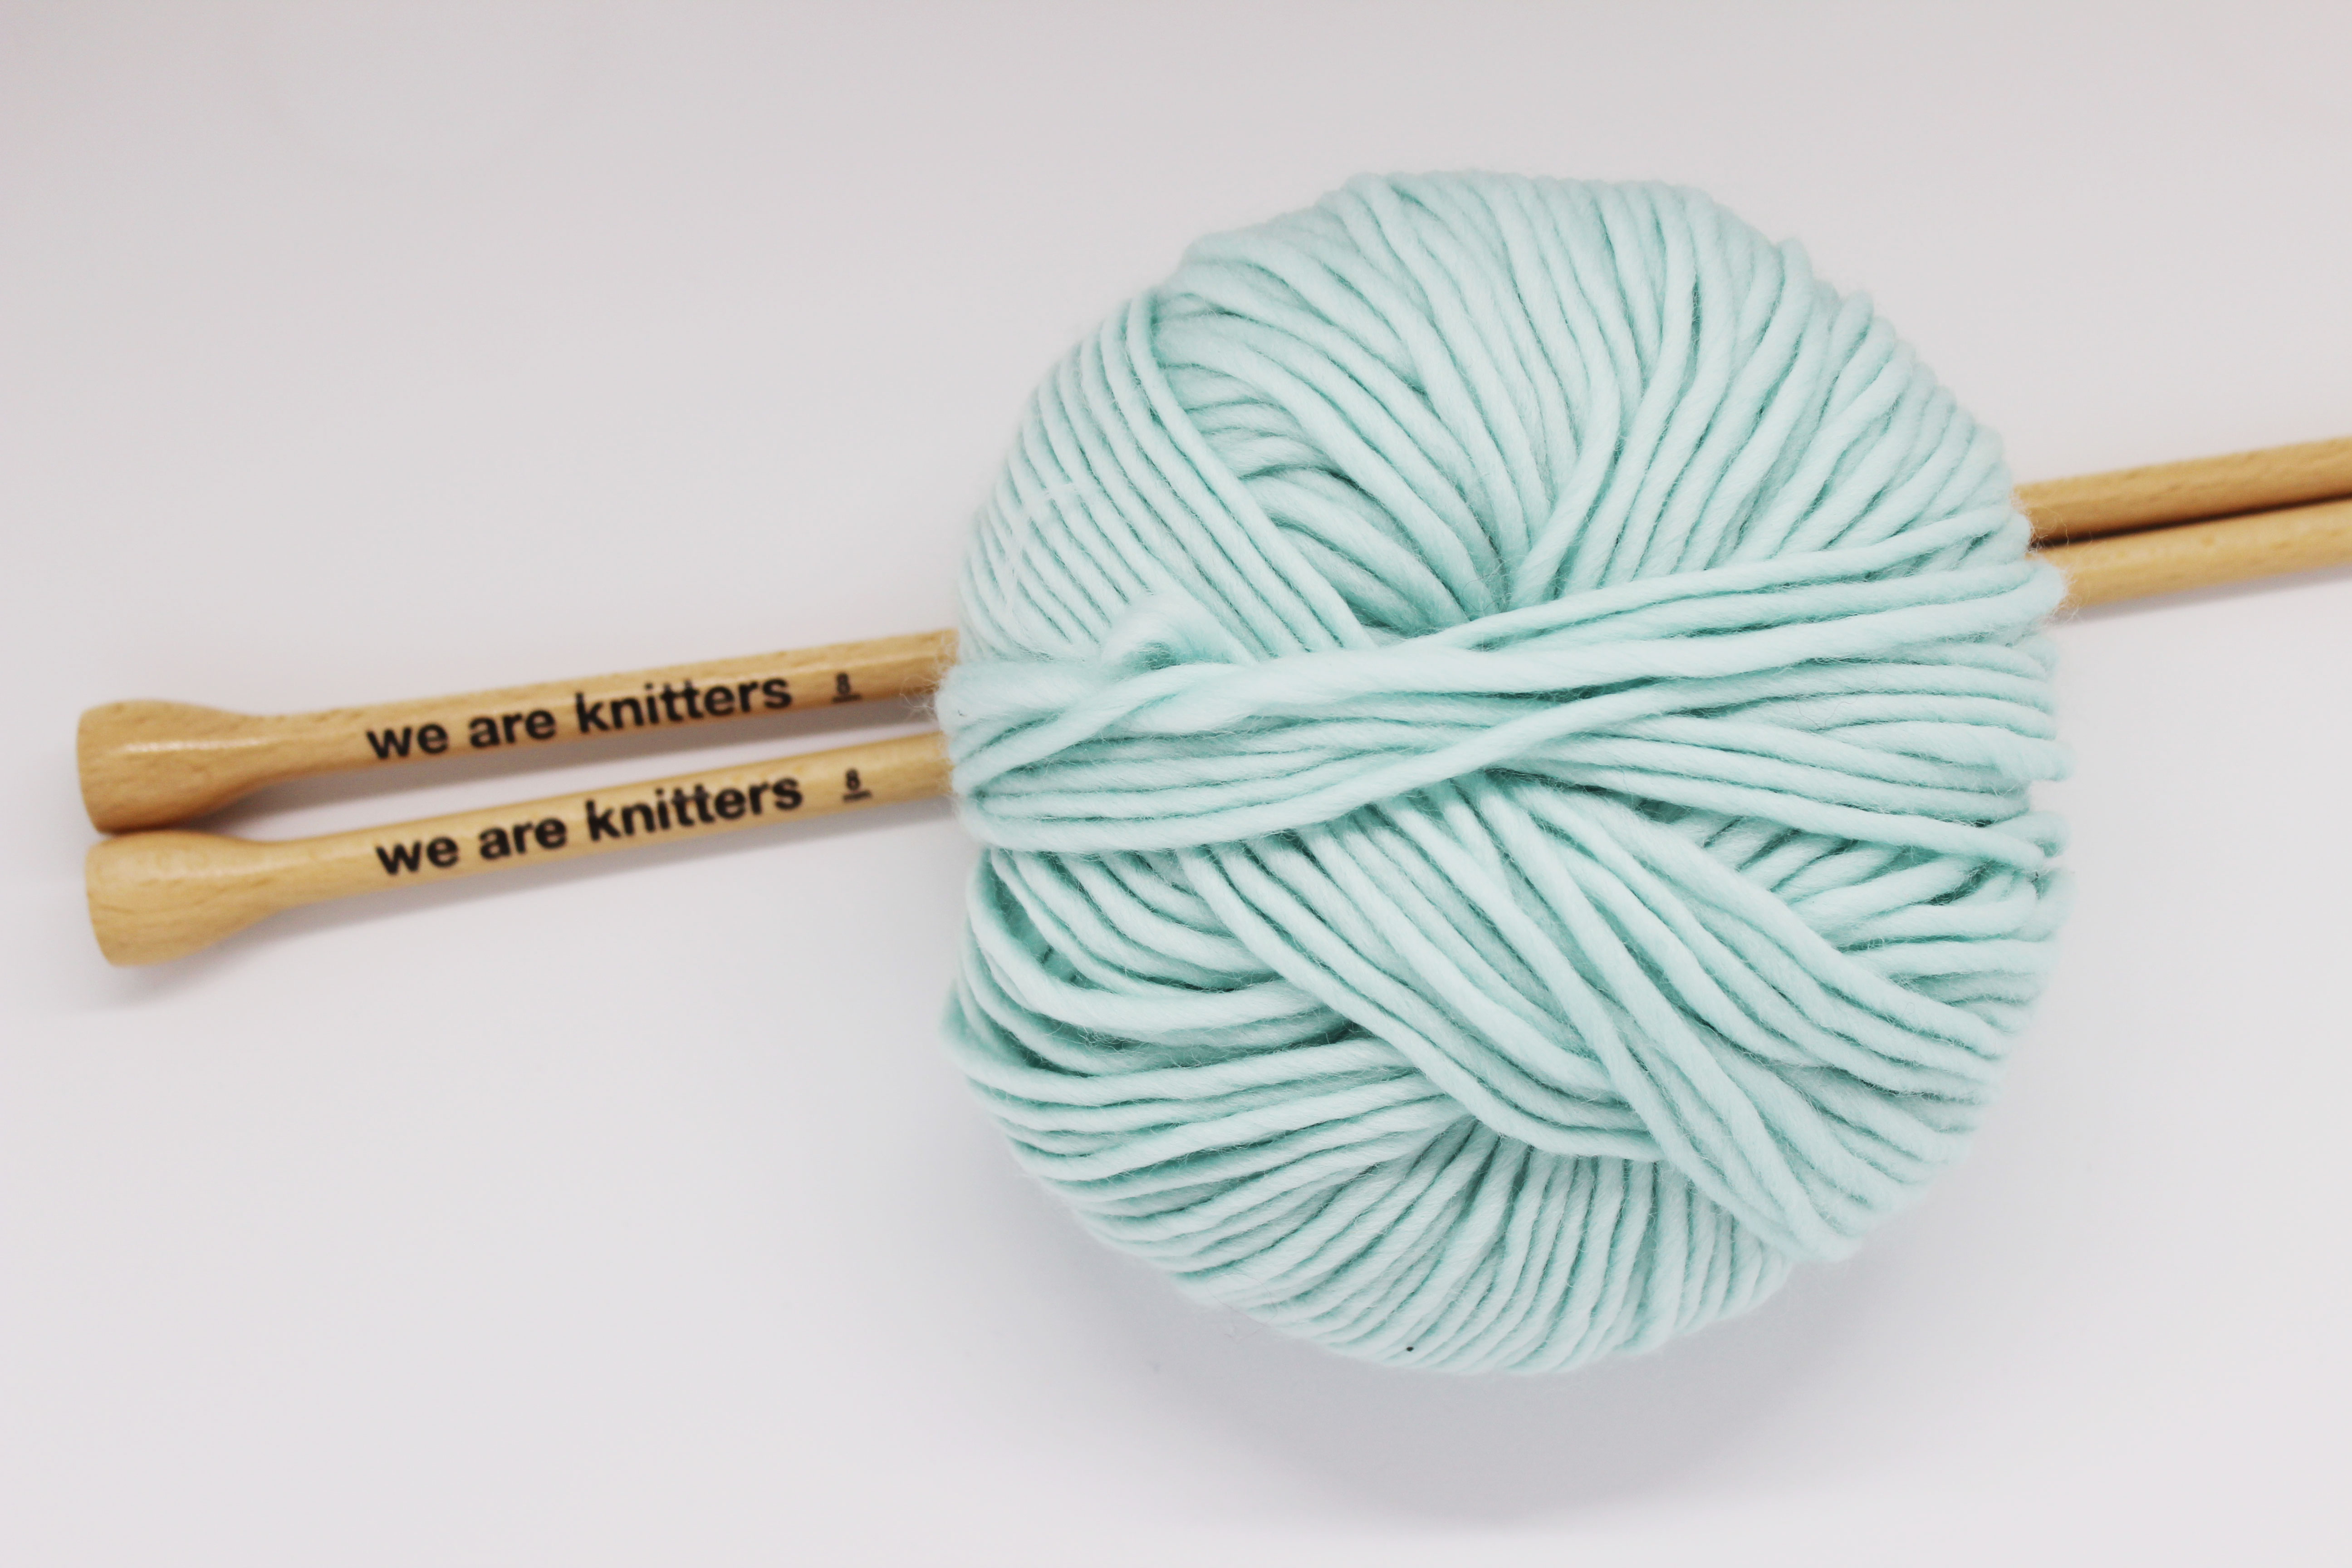
For this step-by-step explanation we used: size 11 knitting needles and one of our skeins of fine wool The Meriwool.
Before beginning, review the list of techniques you should be familiar with:
Remember that for this demonstration we are using a multiple of 6 stitches, but you can do it with however many you want to 🙂
We are going to divide this phase of Entrelac into three parts: on one of them we will form the right triangle, in the center section we will make the squares, and on the last the left triangle. For each section we show you a step-by-step video so you don’t miss anything. Let’s get started!
Right triangle
Row 1 (right side): knit 2, turn your work.
Row 2 (wrong side): purl 2, turn your work.
Row 3 (right side): knit 1, increase 1, SKPO (when you do this you will see that you’ll be picking up stitches that are on hold on the left-hand needle, so that each time you will be working one more stitch from the base triangle). Turn your work.
Row 4 (wrong side): purl 3, turn your work.
Row 5 (right side): knit 1, increase 1, knit 1, SKPO. Turn you work.
Row 6 (wrong side): purl 4, turn you work.
Row 7 (right side): knit 1, increase 1, knit 2, SKPO. Turn you work.
Row 8 (wrong side): purl 5, turn you work.
Row 9 (right side): knit 1, increase 1, knit 3, SKPO. Do not turn your work.
Center squares
Now it’s time to work the center squares. Make as many squares as you need.
Row 1 (right side): with the right-hand needle pick up 5 stitches from the side of the base triangle (picking up 1 stitch every 2 rows). Knit 1 (the first stitch of the next triangle). You will have a total of 12 stitches on your right-hand needle. Turn you work.
Row 2 (wrong side): purl 6, turn you work.
Row 3 (right side): knit 5, SKPO. Turn you work.
Repeat rows 2 and 3 until you have worked all of the stitches from that triangle. You have just finished knitting the first center square.
Repeat the above steps to work the rest of the squares. Until there are none left on your left-hand needle.
Left triangle
You might be asking yourself if you are doing it correctly because…there are no more squares left without knitting… but we will get the stitches to finish the row from the side of the triangle. Let’s watch the video to see how to do it.
Row 1 (right side): With the right-hand needle pick up 6 stitches from the side of the base triangle (picking up 1 stitch every 2 rows). Turn you work.
Row 2 (wrong side): purl 2 together, purl 4, turn you work.
Row 3 (right side): knit 5, turn you work.
Row 4 (wrong side): purl 2 together, purl 3, turn you work.
Row 5 (right side): knit 4, turn you work.
Row 6 (wrong side): purl 2 together, purl 2, turn you work.
Row 7 (right side): knit 3, turn you work.
Row 8 (wrong side): purl 2 together, purl 1, turn you work.
Row 9 (right side): knit 2, you work.
Row 10 (wrong side): purl 2 together. Do not turn your work.
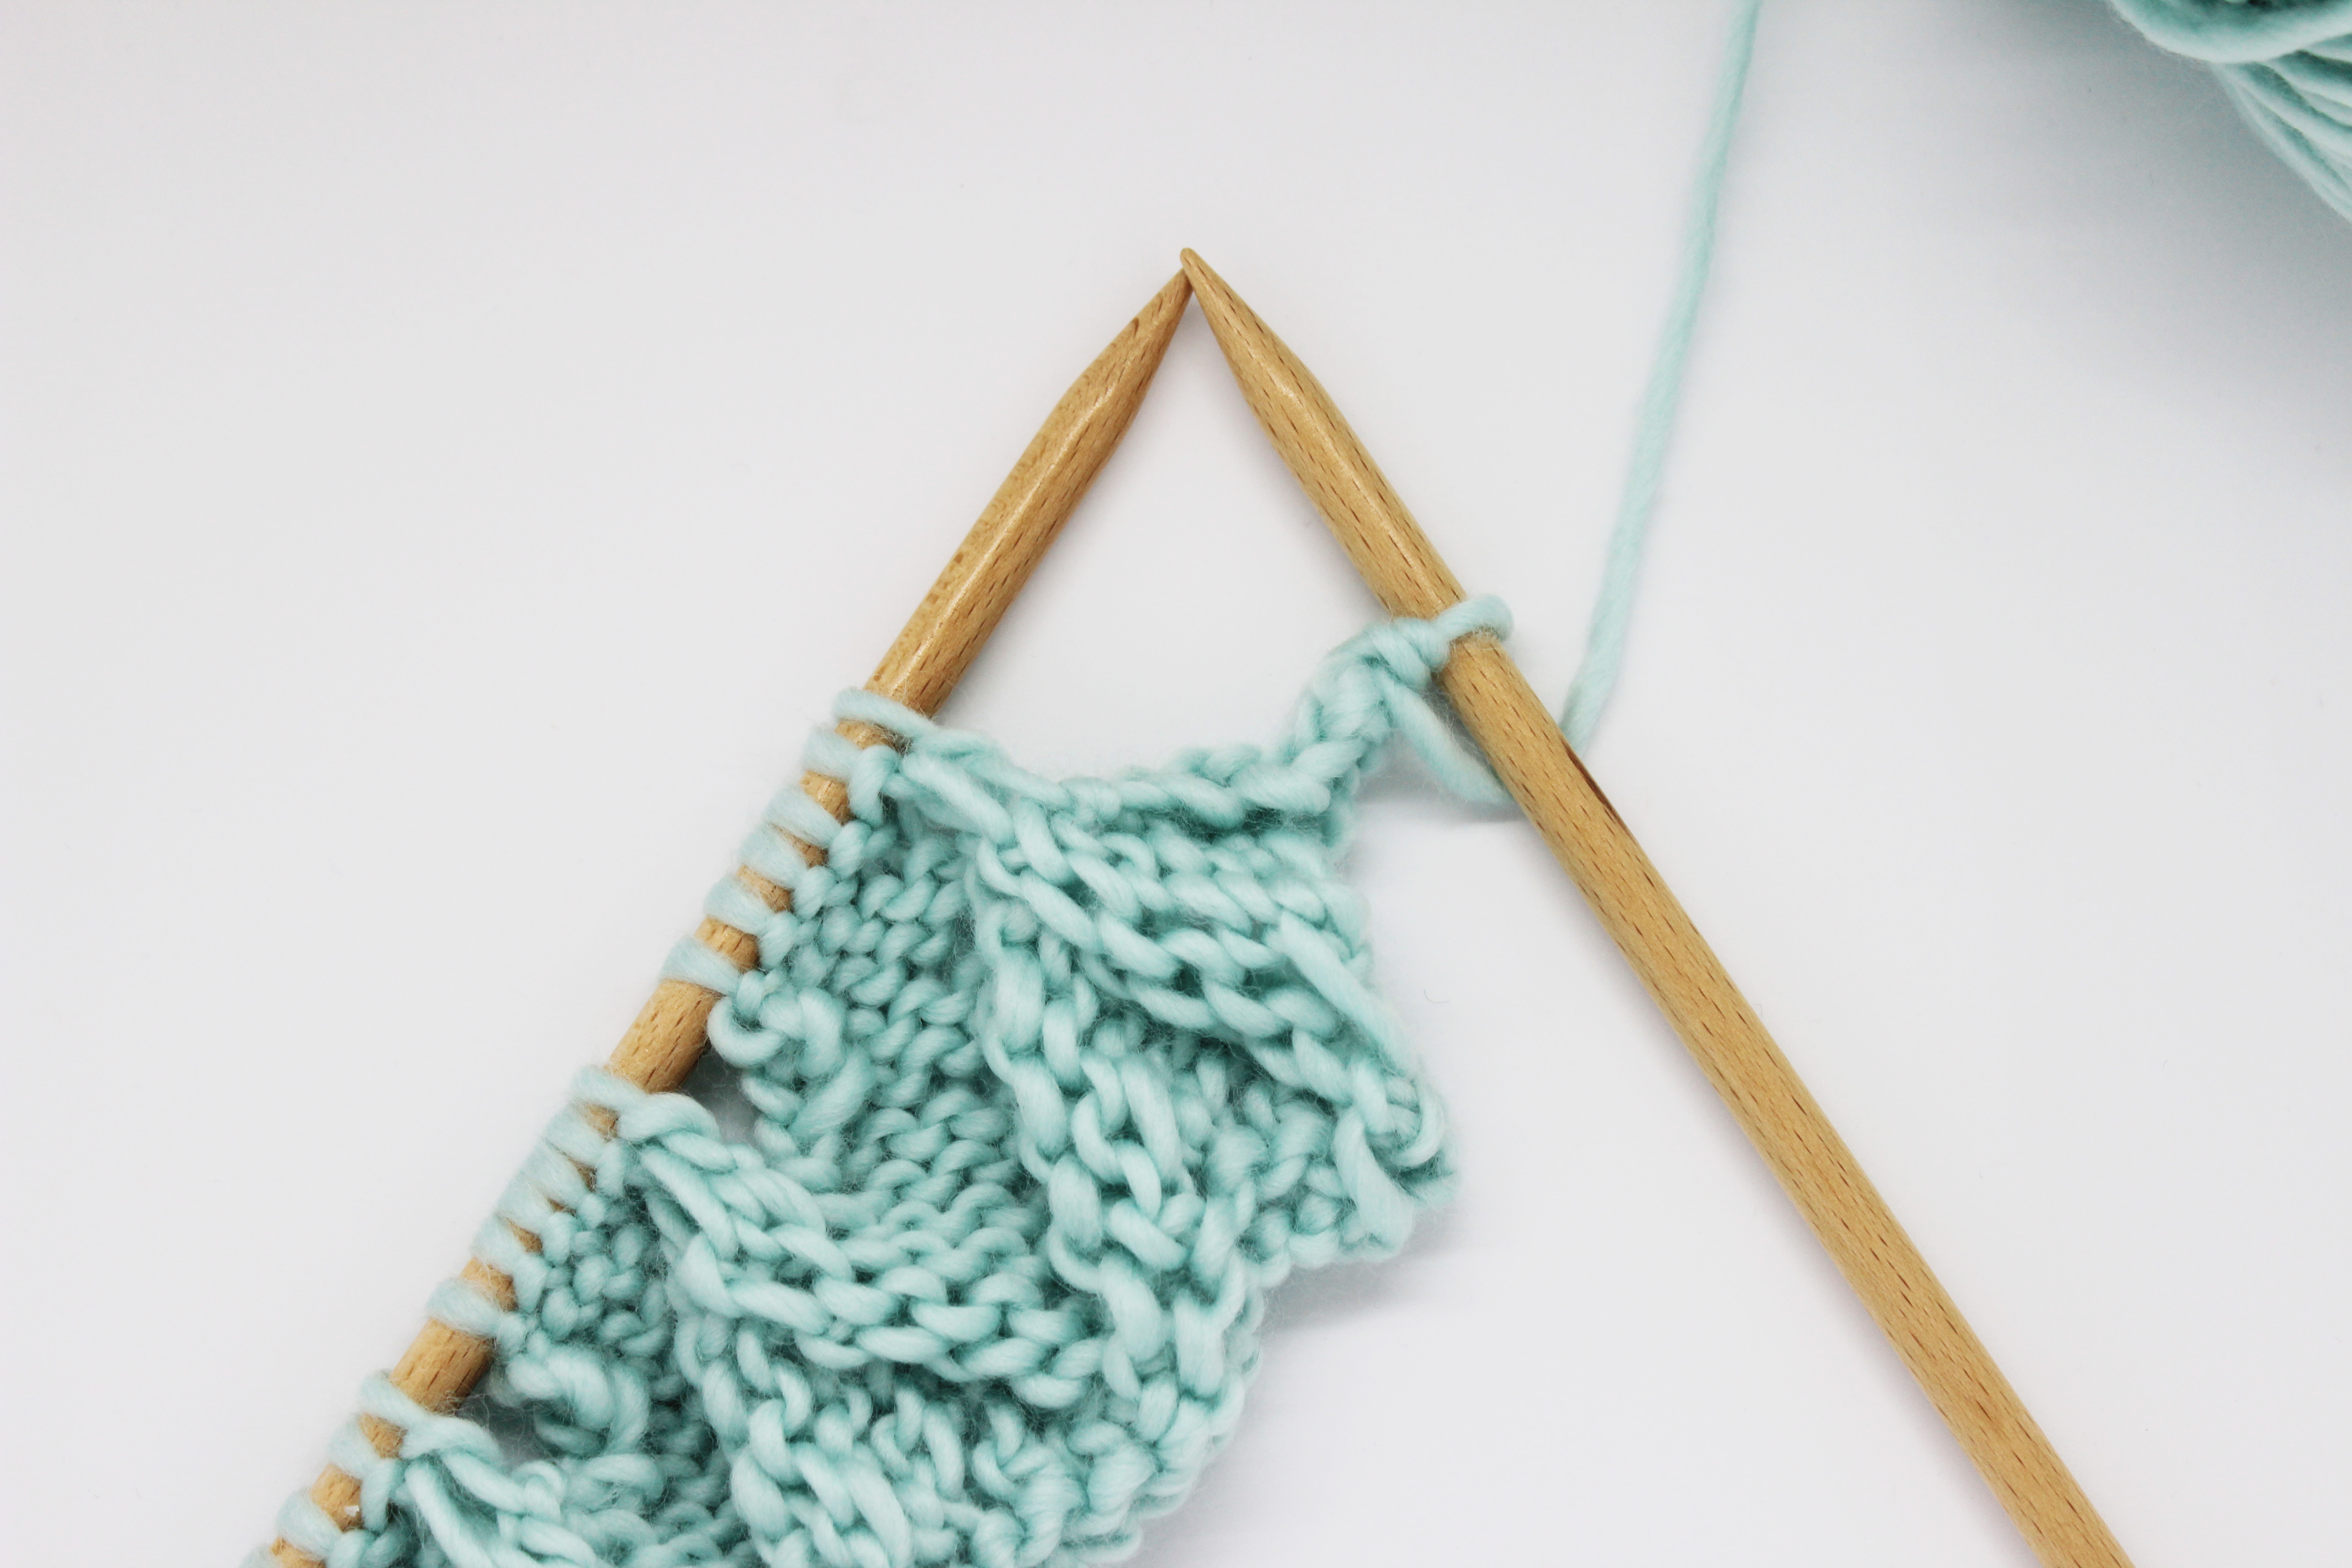
At the end of this phase (first row of squares) and starting the next one, your piece should look like the photo below: with one stitch on the right-hand needle, and the wrong side facing you 🙂
We reached the halfway mark with our Entrelac! We hope you are enjoying learning how to do Entrelac and we hope you share your progress with this technique on social networks using the hashtag #weareknitters. Until the next installment!