Working with circular needles, there are a million possibilities. If you are the type of knitter that can’t imagine life without them, surely, you’ve wondered how to use them when making smaller items that don’t have enough stitches to take up 100% of the cable. That’s where the technique we’re showing you today comes into play. Don’t worry! We’re going to see how to knit with the “Magic Loop” technique.

For this technique we’re using an 8mm circular needle and one of our skeins of The Petite Wool.
Before you begin, the only things you need to know how to do are cast on, knit, and purl using a circular needle.
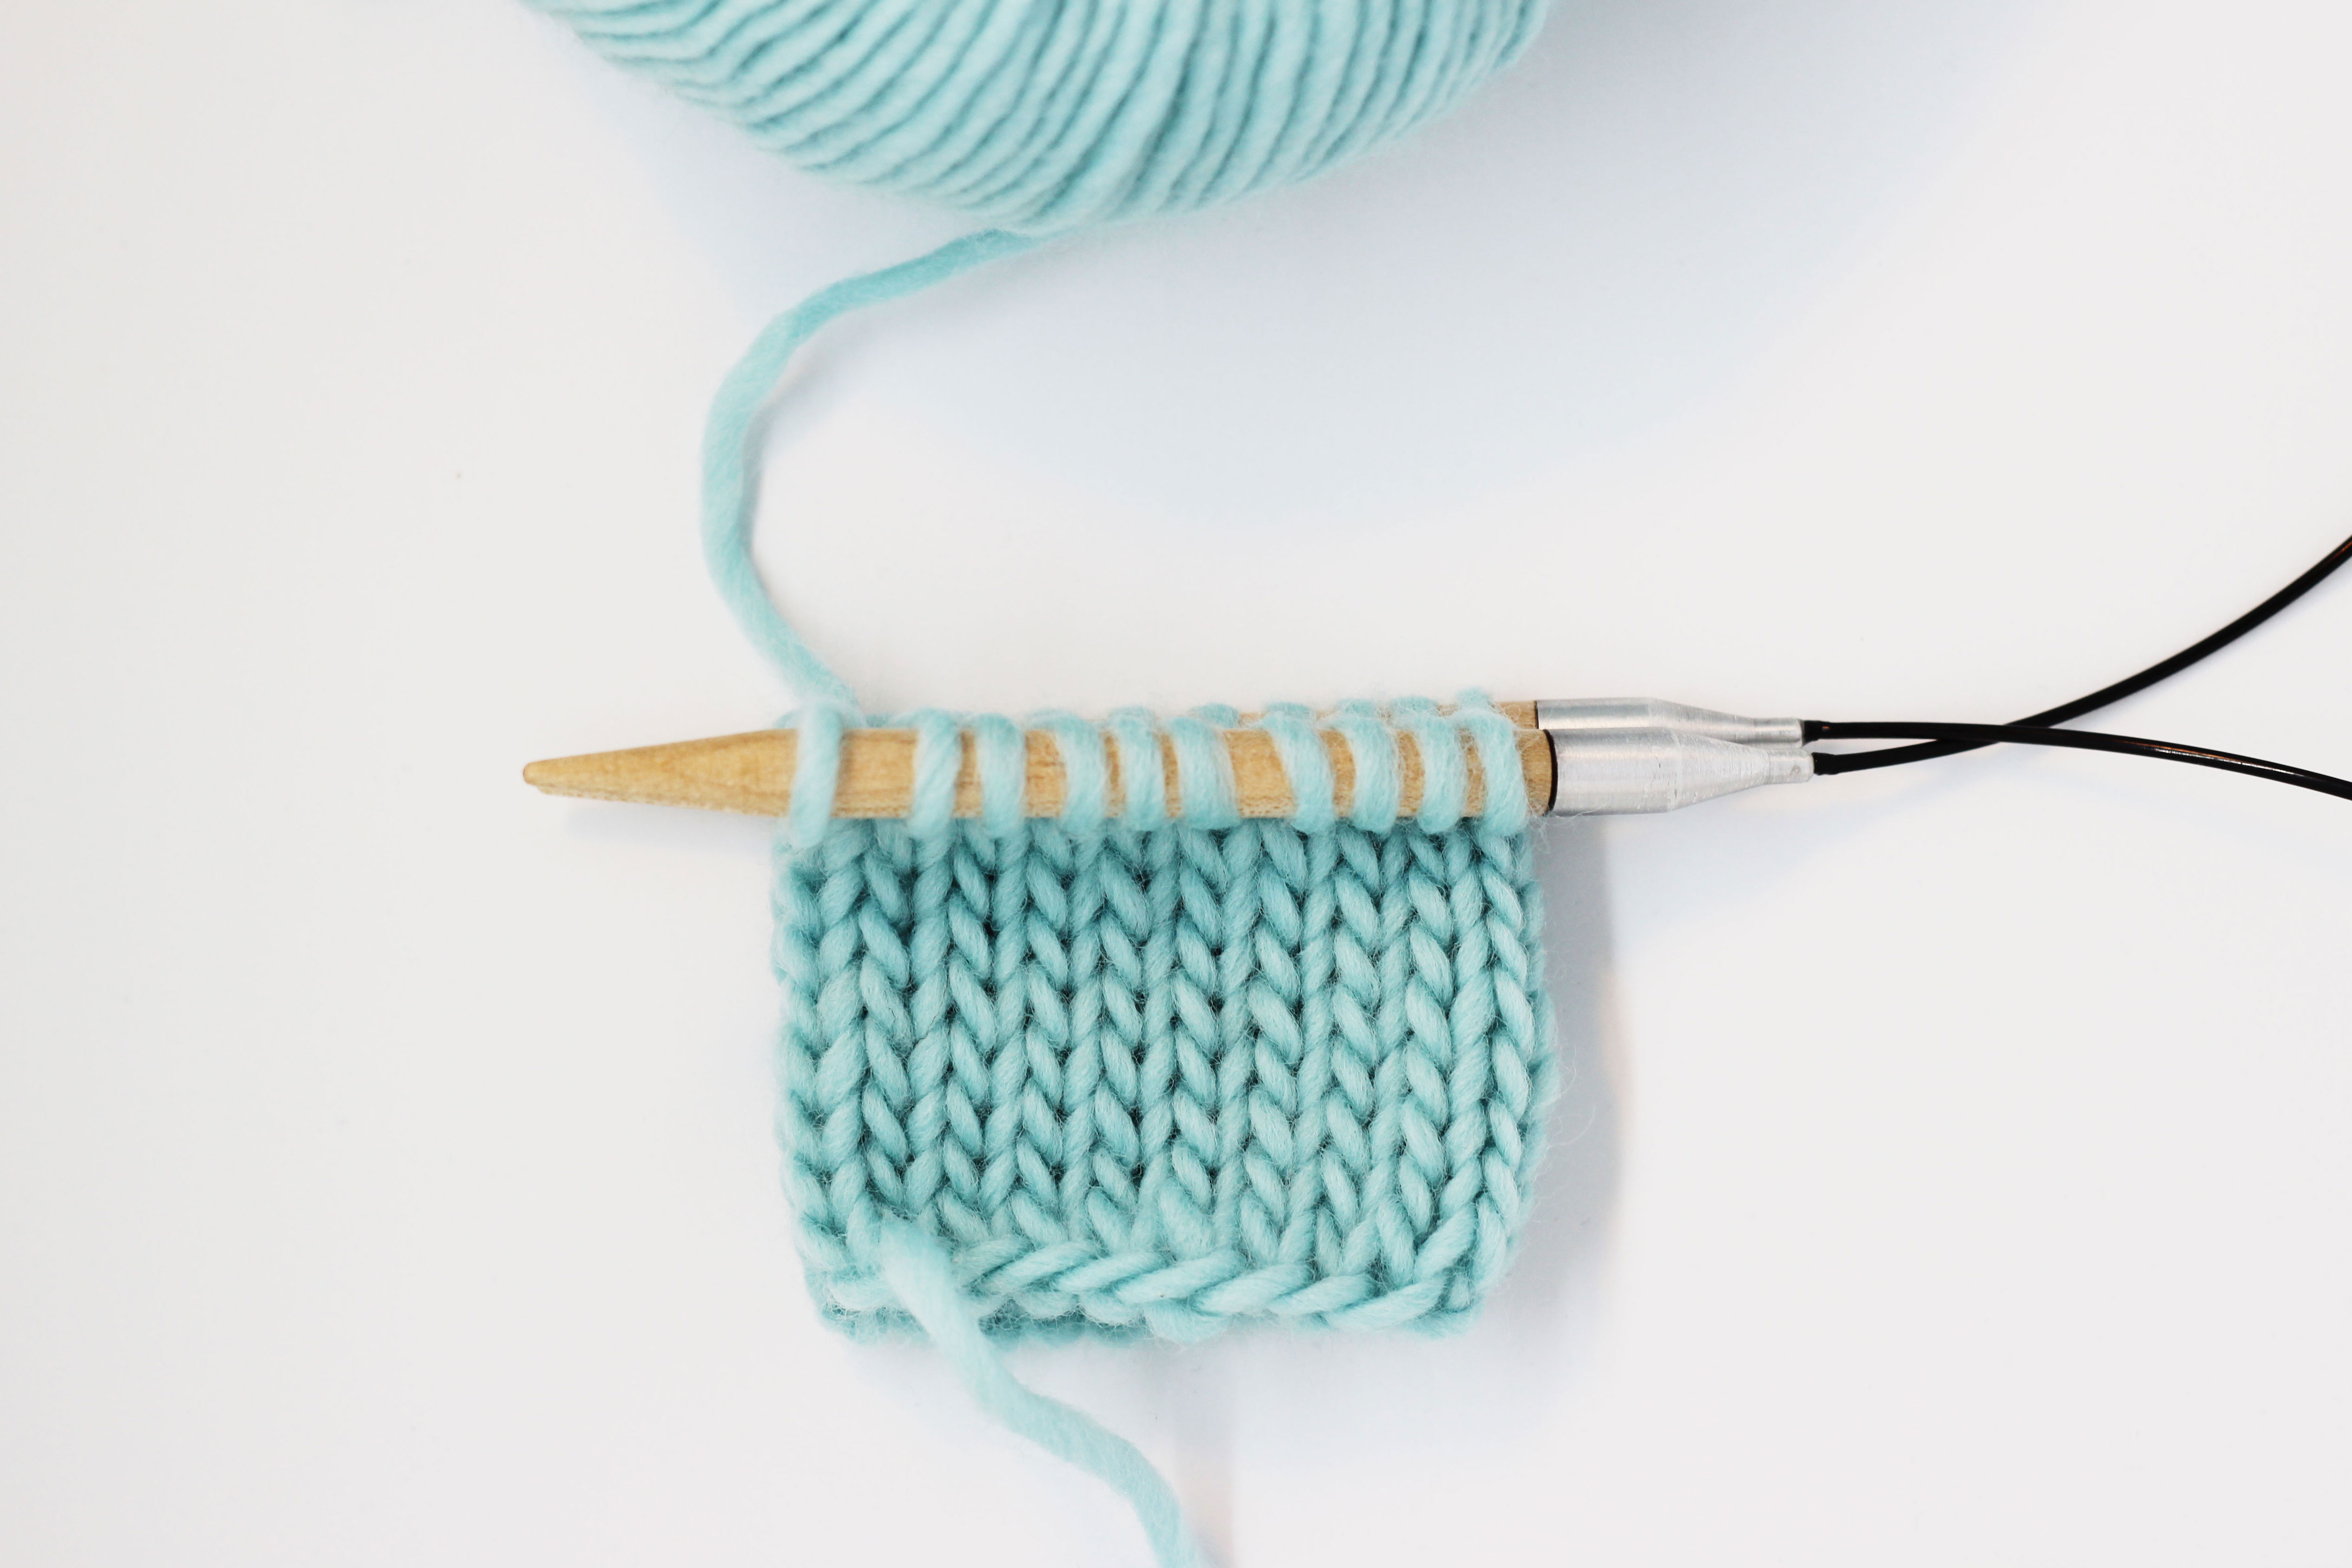
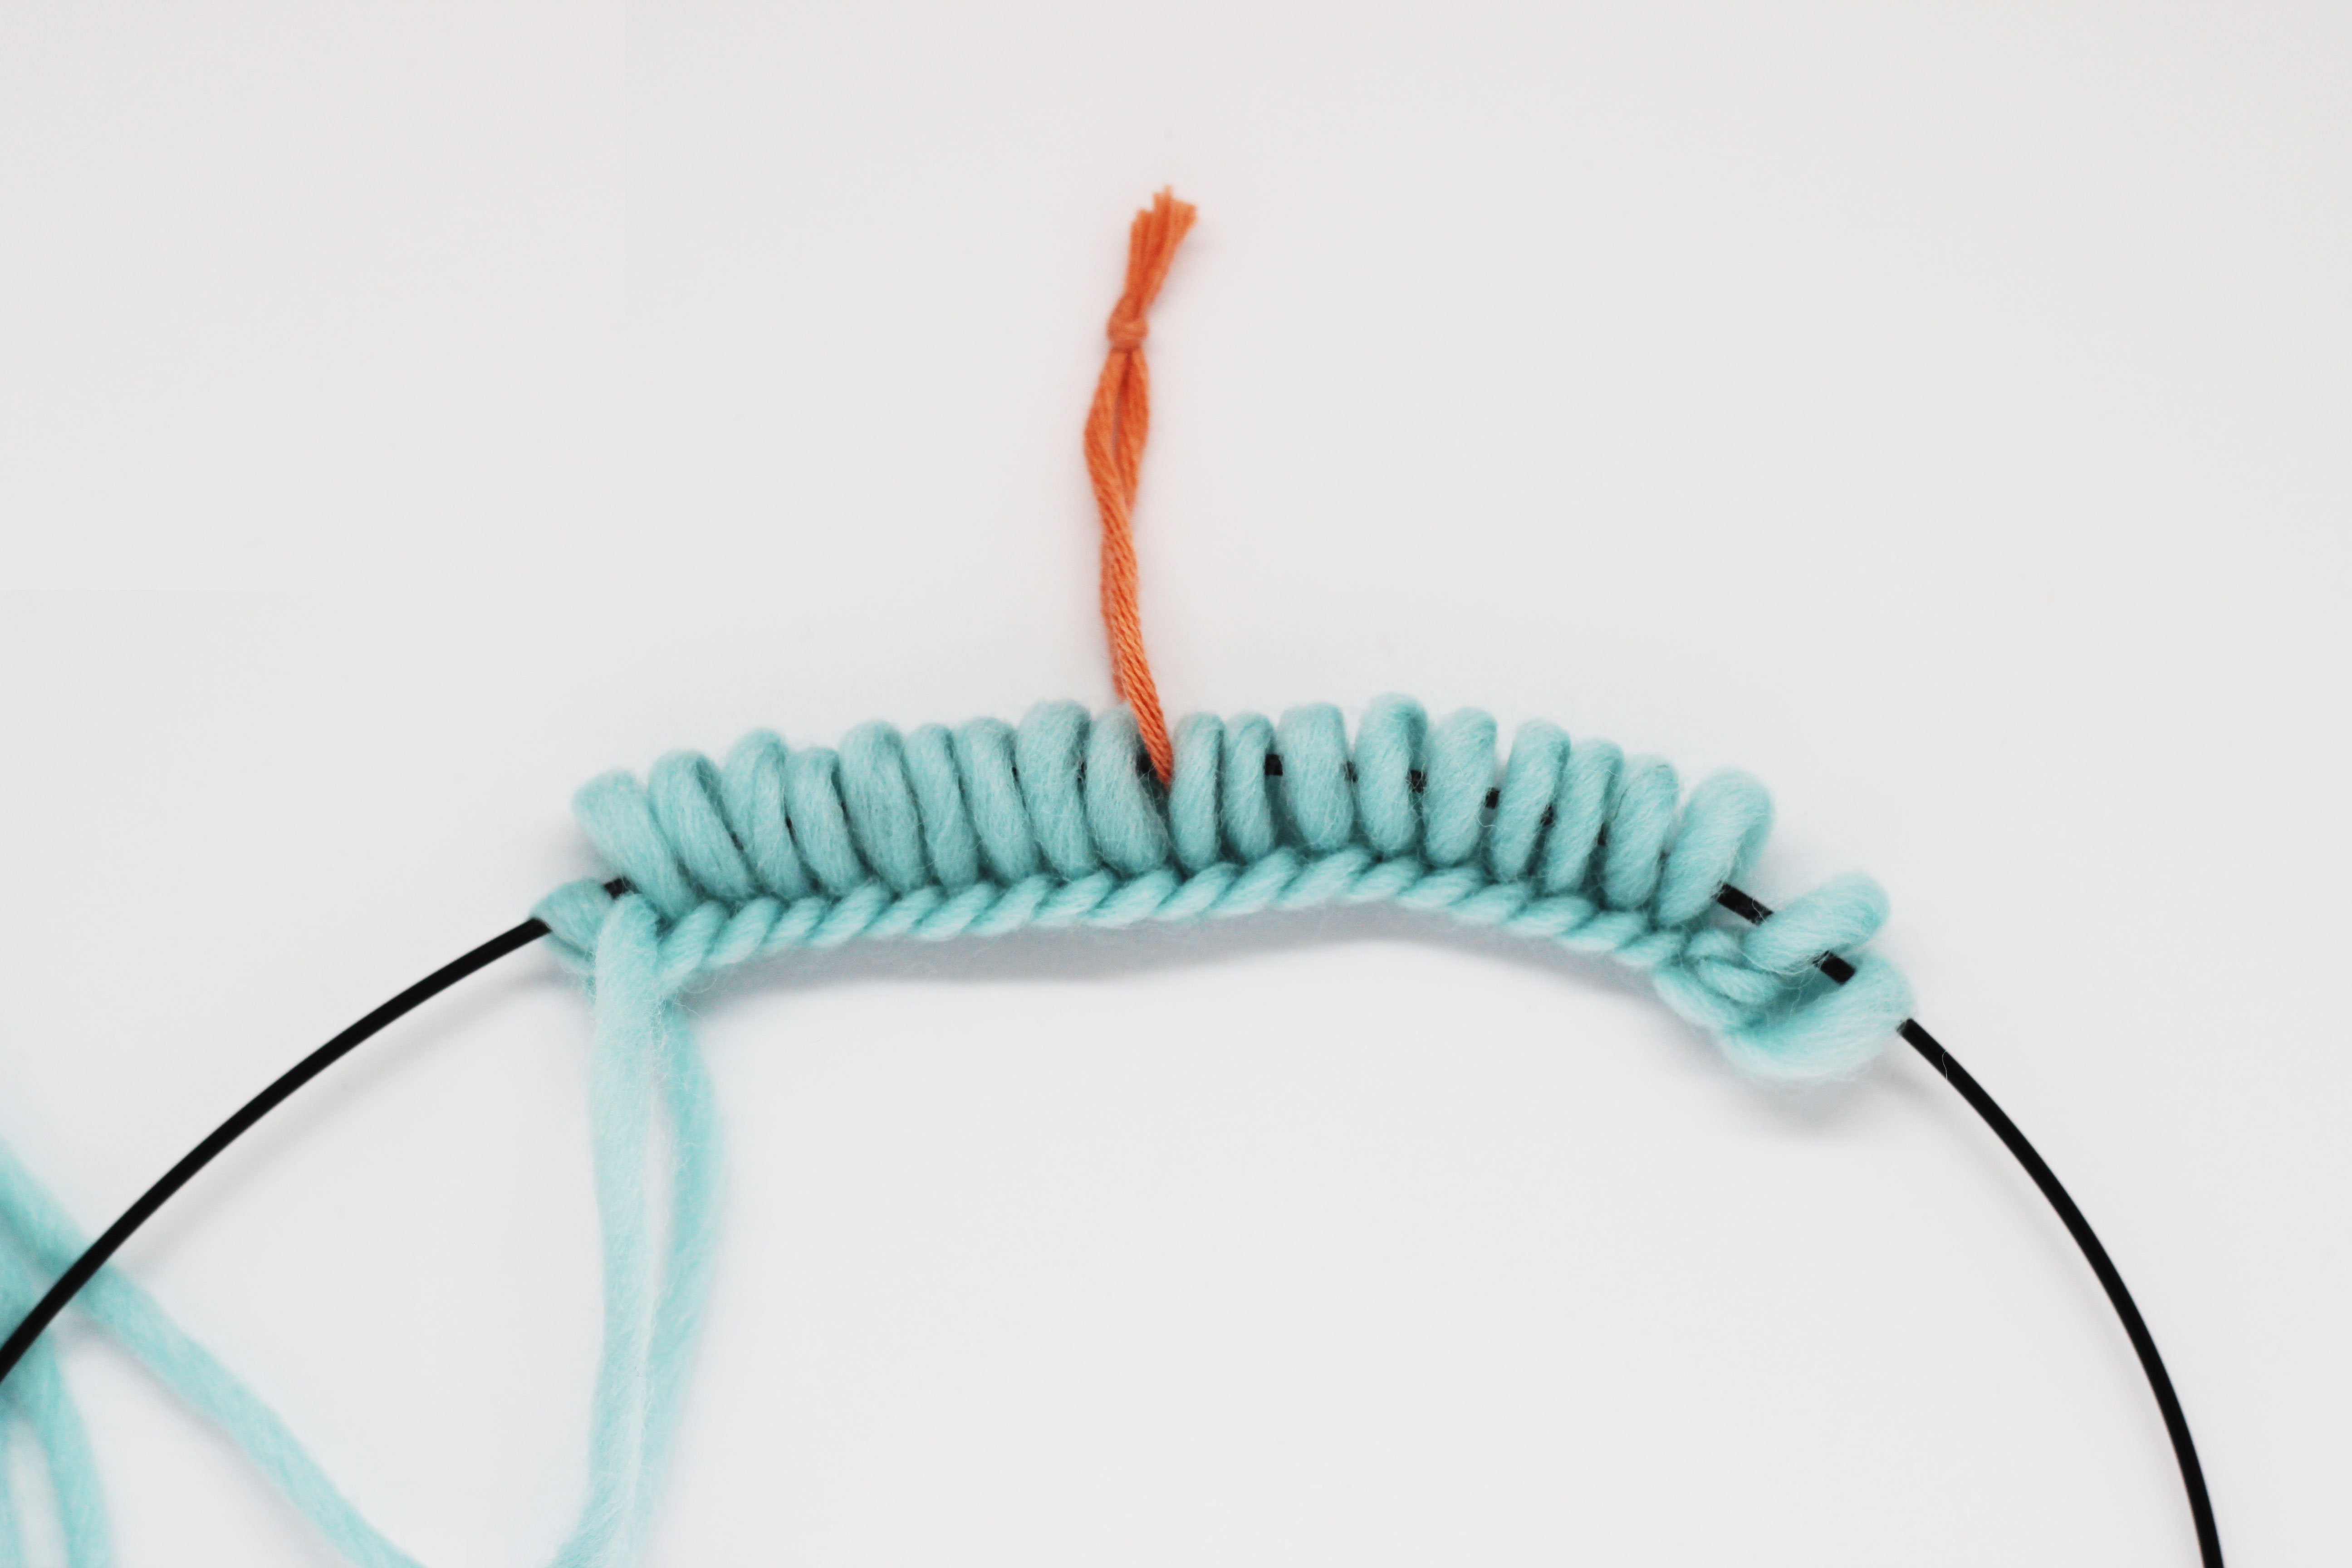
To start, you’ll have to cast on stitches onto the circular needle in the same way you usually do. We recommend that you place a stitch marker (you already know that you can make your own stitch markers using yarn scraps from other projects ;-)) halfway through the row so that it’s easier to divide the stitches between the two ends of the needle. Once you’ve done this, you can remove this marker and leave only the one that indicates the beginning of the round.
Now in the following video, we’ll explain how to knit smaller projects with the “Magic Loop” technique:
It’s normal at the beginning, especially at the beginning of a row, that the stitches appear “laddered,” or more separated, from the other half of the row, but don’t worry. This is normal, and as you work more rows, this difference will be reduced. To correct this, when you start a row, bring the stitches closer to the tip of the needle and knit them.
We hope that you’ve liked this post, and we encourage you to start practicing this technique and it will open up a ton of possibilities with your circular needle. Also, we hope that you share your progress using this technique with us on social media using the hashtag #weareknitters.