There are stitches that add at touch of originality to any garment, going from something basic to an essential in our closet and that brightens most any of our winter looks. Today we’ll teach you to knit the Indian cross stitch. Can’t you see it on the bottom of a warm cardigan for this winter?
For this step by step, we’re using one skein of the Meriwool and 5 mm knitting needles.
Let’s get started!
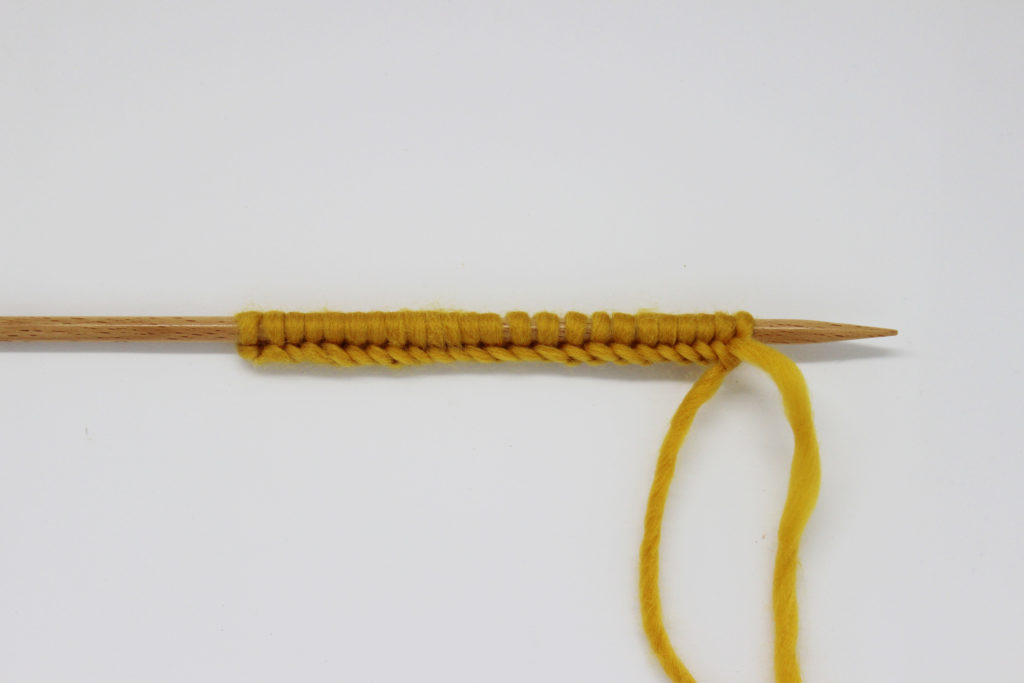
For this stitch, you’ll have to cast on a multiple of 8 stitches.
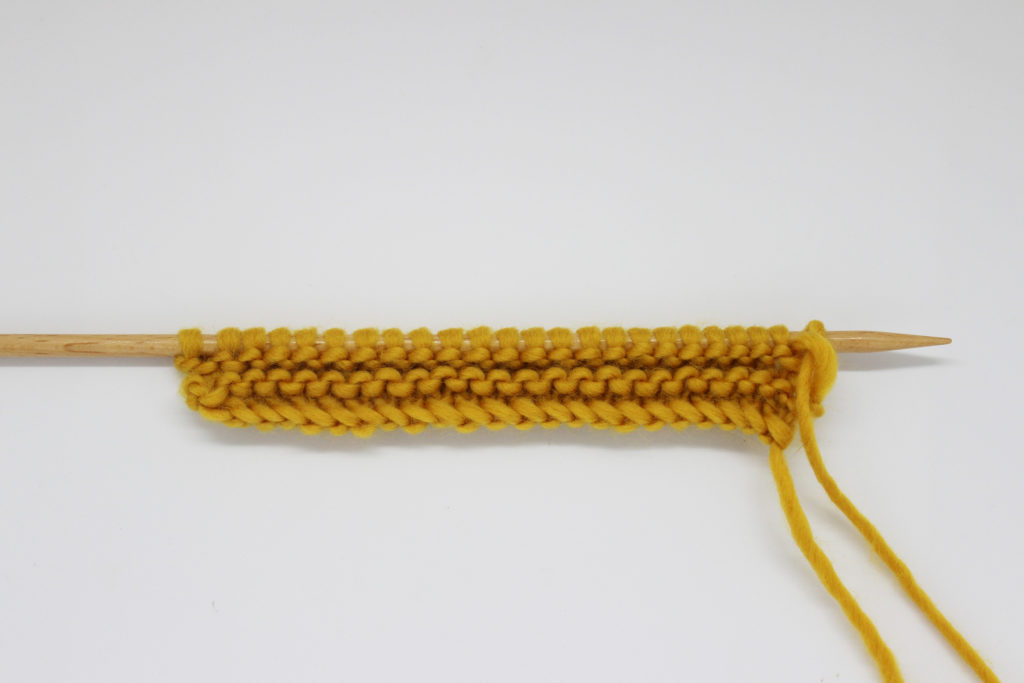
Rows 1-4: knit all stitches.
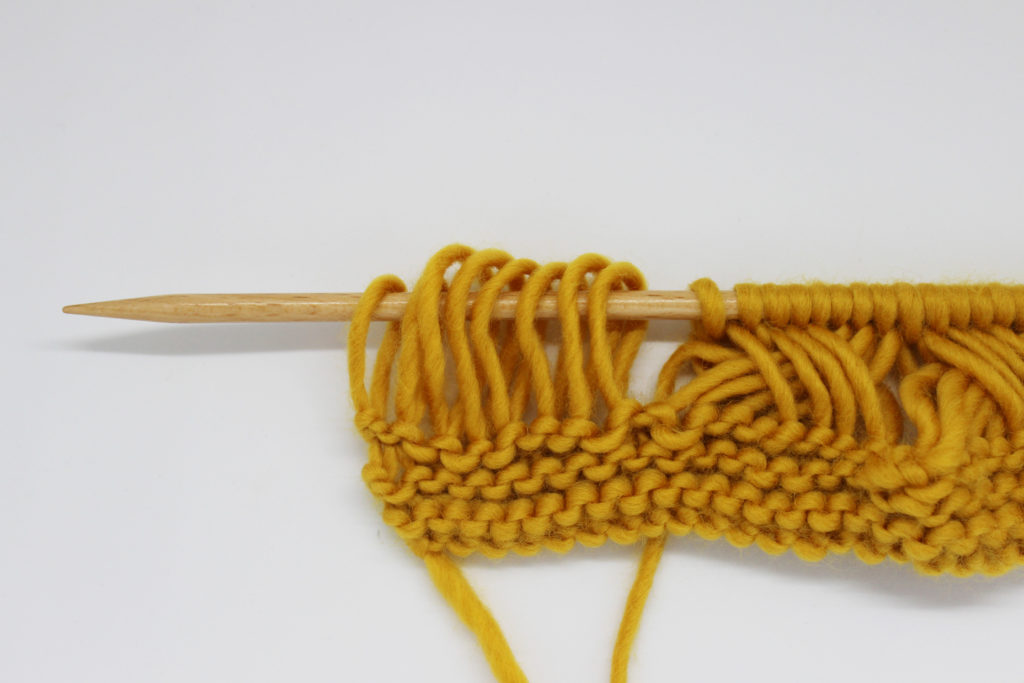
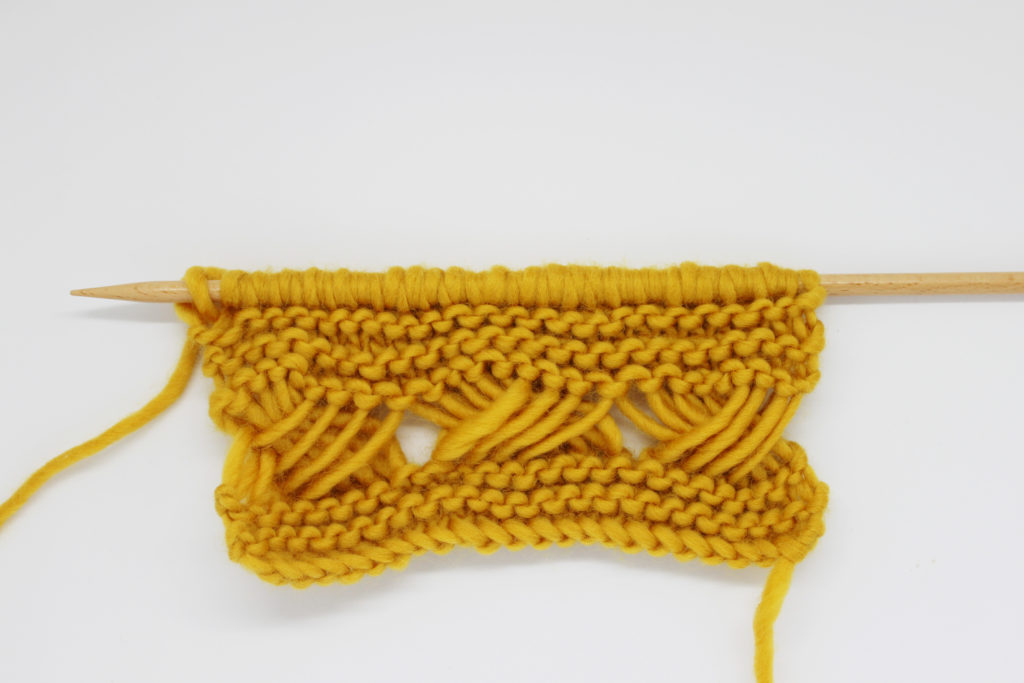
Row 5 (right side): knit 1.
*Next, knit the next stitch, wrapping the yarn around the needle 4 times. You can see this in the image above.
After completing the previous step, simply finish knitting the stitch as you normally would.*
Continue working the row, repeating from * to * until there’s 1 stitch left and knit 1.
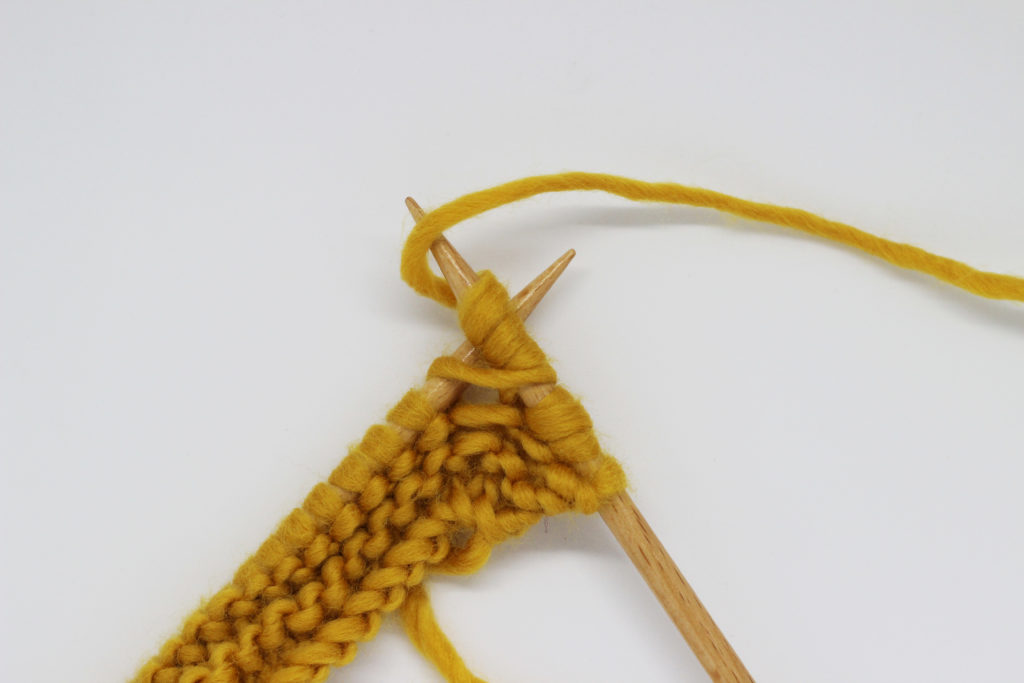
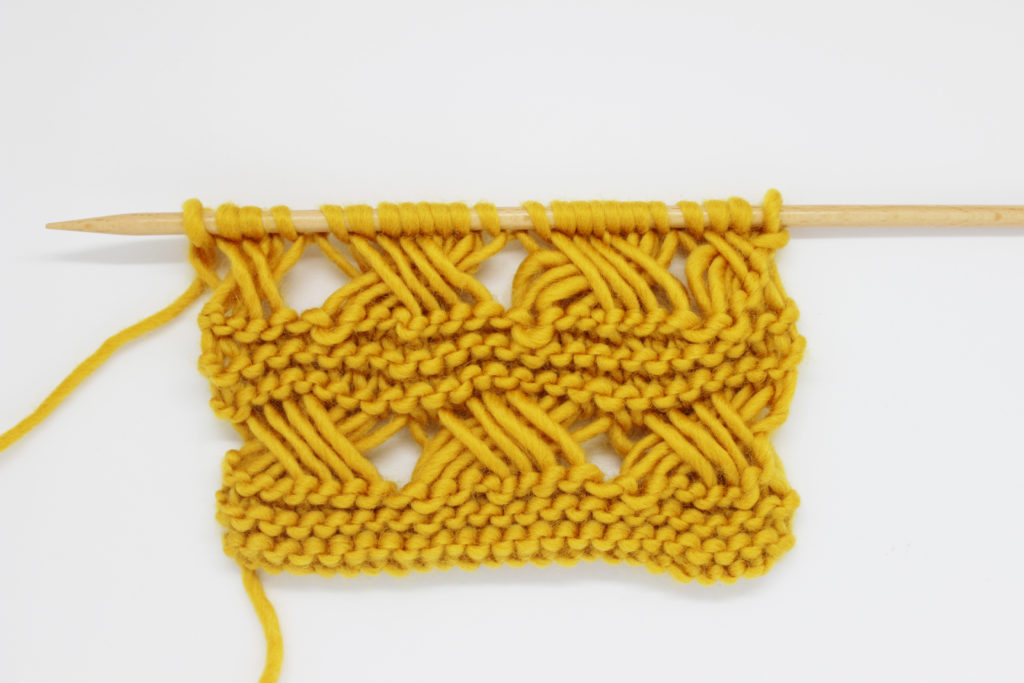
Row 6: Now we’re going to start to cross the stitches to make the center part of the stitch. We’ve made a little video so that you can clearly see how this is done.
The crosses are made quickly, but it’s possible that at the beginning they’ll take a minute to learn, especially because the strands of the stitches that we’re taking out seem to move on their own 🙂 Next we’ll remind you of the central steps and give you some tips on how to do it easily.
Once you have the last 8 stitches from the left needle on the right, once we slip off the yarnovers, stretch the fabric a little, so that they are even, and it’s easy to cross them.
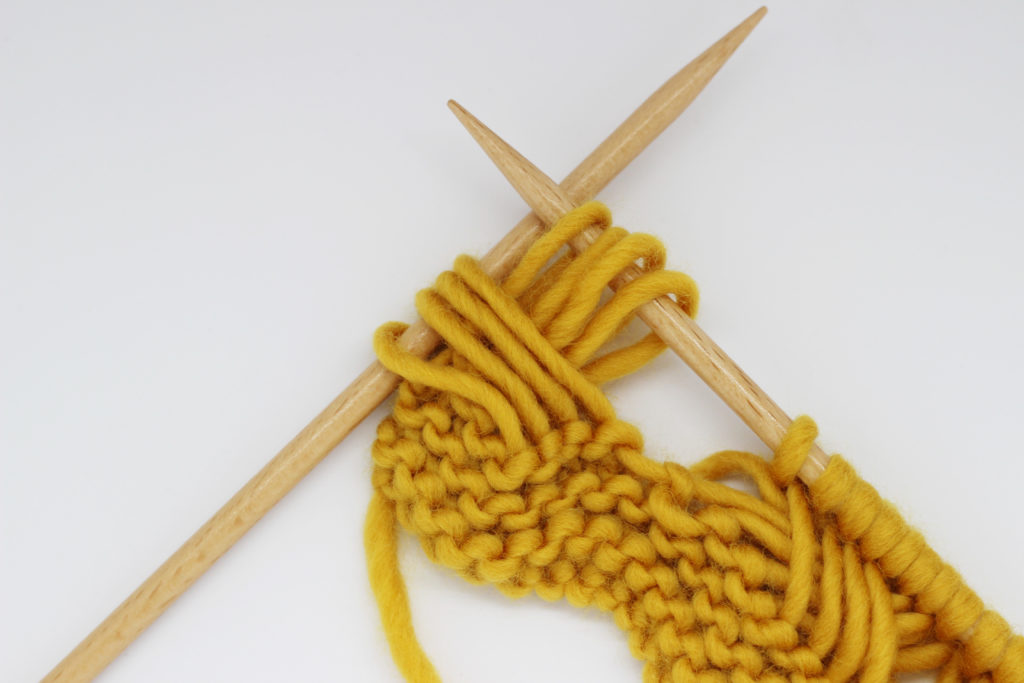
When making the cross, the most important thing is to hold it, so that the four stitches of each section don’t move much. Try to hold them well with your fingers so that some stitches do not gather over others and that the space to cross them is as wide as possible.
Once you have them all in the same needle, all you have to do is knit them.
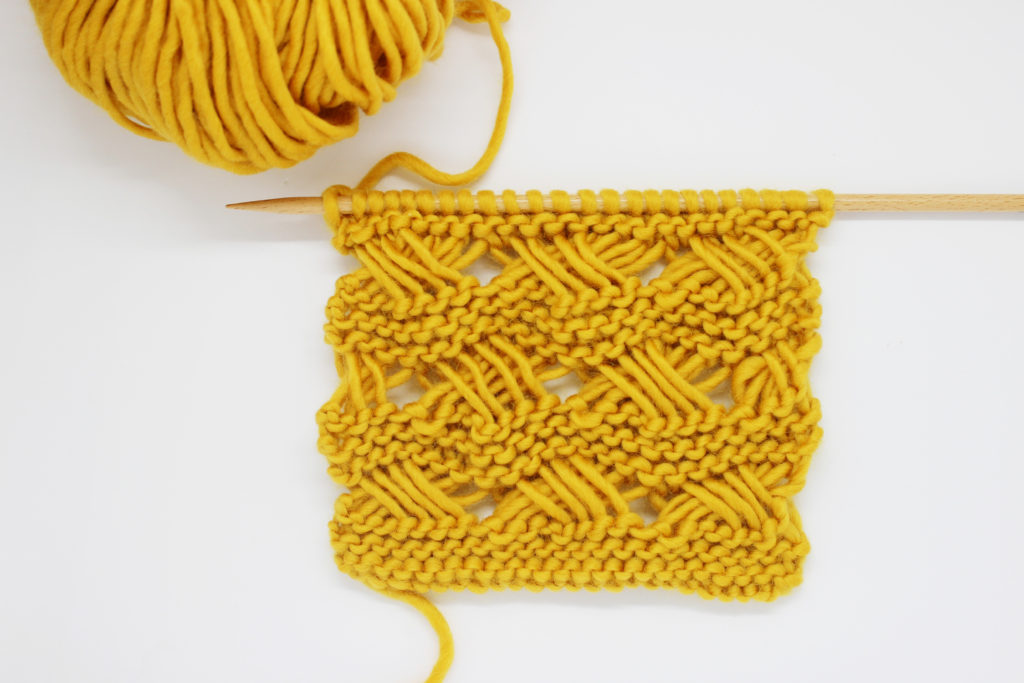
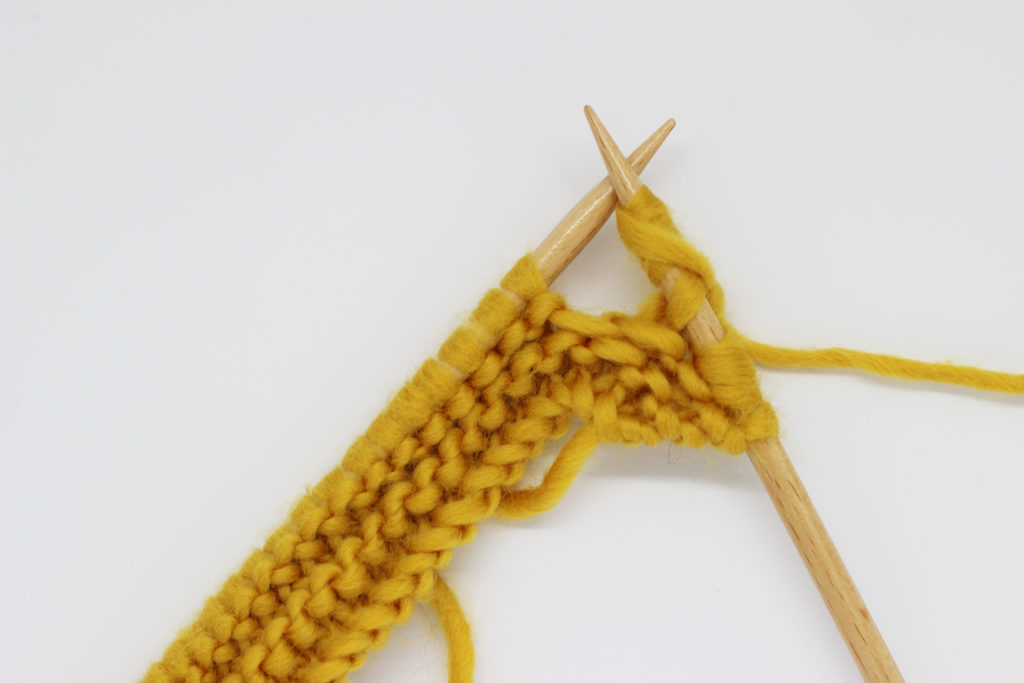
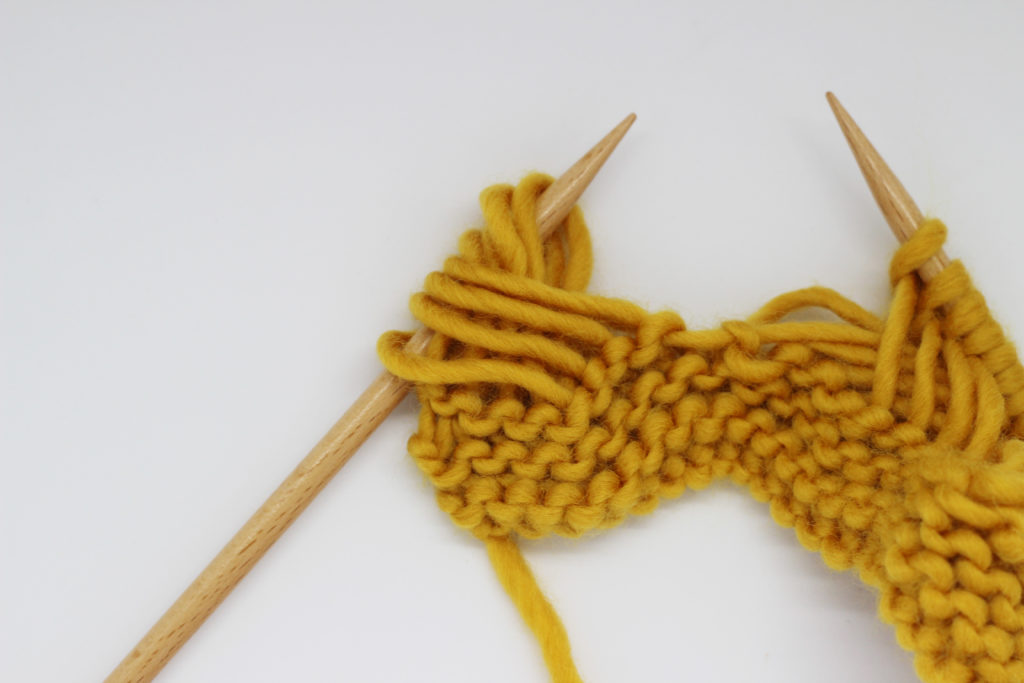
When you finish this row, your work should look like the image above.

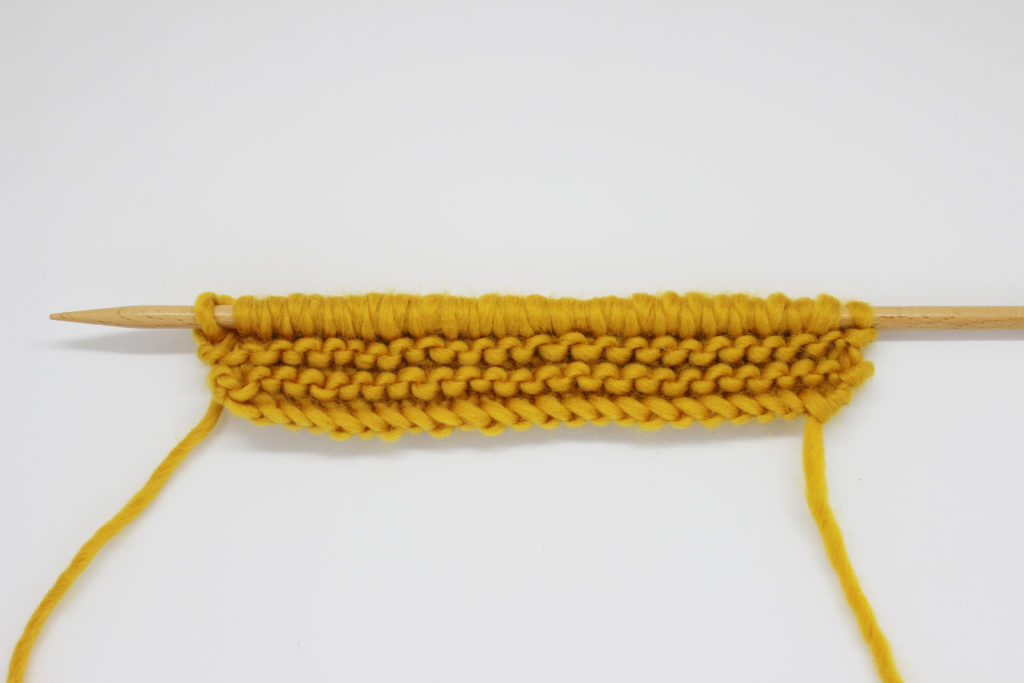
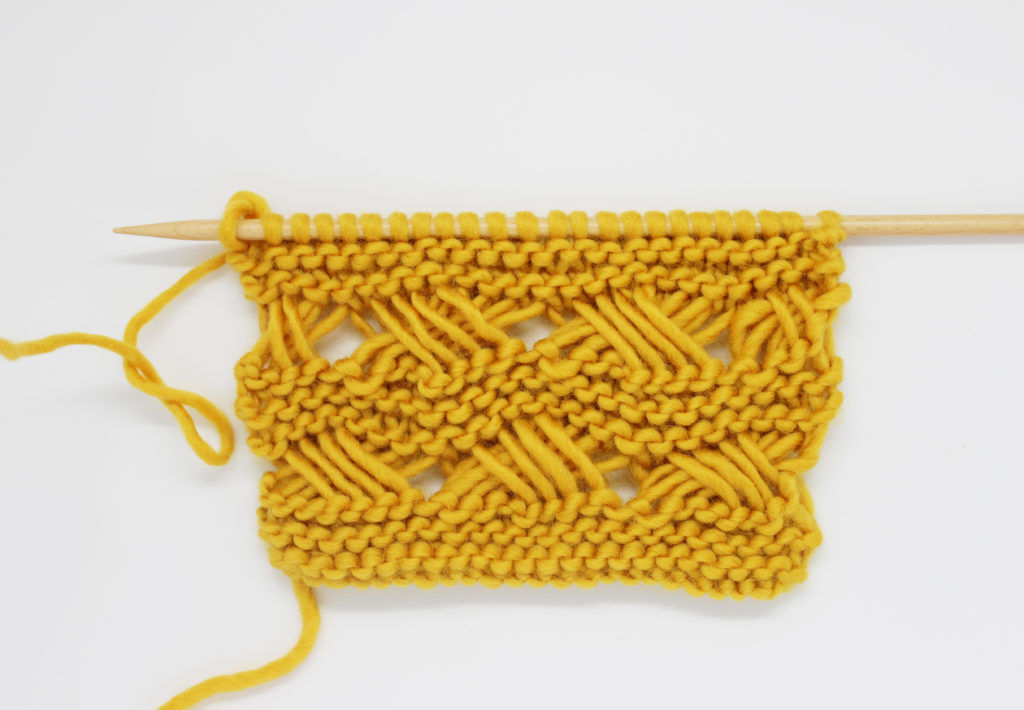
Rows 7 – 10: knit all stitches
Row 11: work as you did in row 6
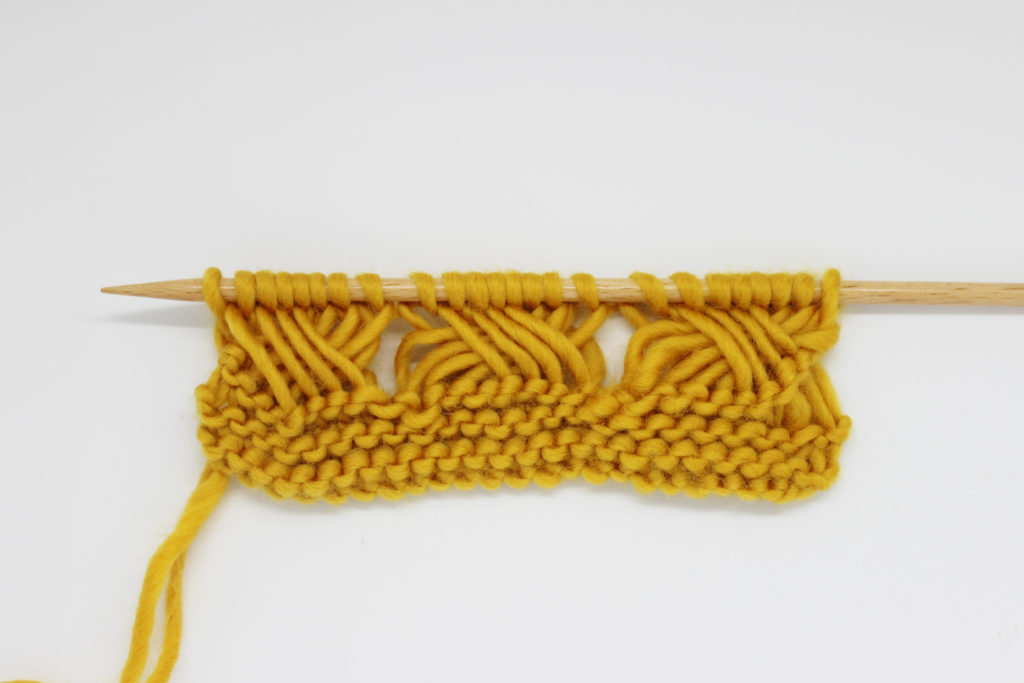
Row 12: on this row, we’re going to cross stitches again, but slightly different than before: slip the first stitch of the row, then release the next 3 stitches. With these four stitches, cross 2 and 2, knit 4 stitches. *Release the next 4 stitches, cross 4 and 4, knit 8*. Repeat from * to * until there are 4 stitches left (3 wrapped stitches and the edge stitch). We’re going to finish the row in the same way we began: release the next 3 stitches and slip the last stitch, then cross 2 and 2, knit these 4 stitches.
To continue knitting this stitch, repeat rows 1 to 12.
We hope we’ve given you some ideas for using this stitch on some of the garments that you have on your needles right now. We hope to see all your projects on social media with the hashtag #weareknitters. Until next time!