First locate the mistake, then take a piece of yarn in a different color and pull it through each stitch, always in the same spot, in other words, put the tapestry needle under the right side of each stitch.

Pull the yarn through to the end of the row.


Once you have pulled the yarn through each stitch you can remove the knitting needle, don’t be afraid, really!

And now you can rip out your stitches down to where you inserted the lifeline.

Insert your knitting needle back into each stitch so you can continue knitting your project.

You can also use this trick to mark changes, for example, sometimes you may come across a pattern that tells you to change stitches in row X. It’s a good idea to know how use a lifeline to keep track of the different stitches.

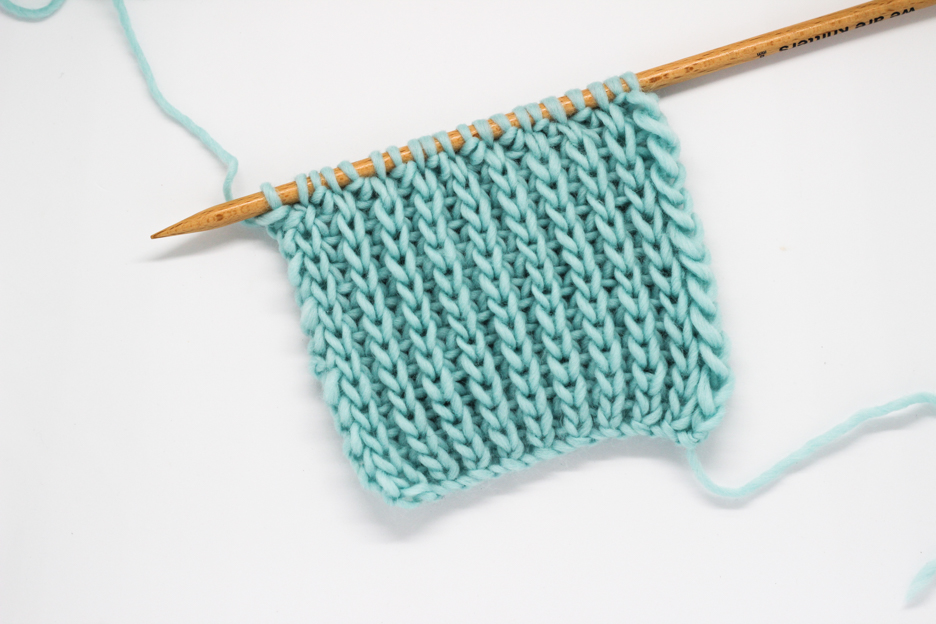
For this post we used the Wool and the size 19 needles from We Are Knitters. Remember to use the hashtag #weareknitters on all of your photos.