For sure you have casted-on stitches for the ribbing of a sweater, and it didn’t end up being 100% elastic. With knitting, there is a point when the fabric tells you “not to push any more”. Today we bring you the solution: the Italian Cast-on. This cast-on is perfect to start garments in tubular, so that the ribbing is perfect.
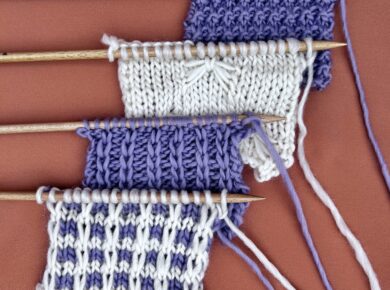
For this tutorial we used our Pima cotton skeins and size US 8 (5mm) beechwood knitting needles.
As usual, we like to make things easy, so we prepared a video so you can watch how easy this kind of cast-on is done:
Steps to follow
Make a “C” shape with your left thumb and index finger, and place the strand over them, leaving both ends of the yarn on them. The end of the skein under the thumb (leaving a tail long enough to cast on the necessary number of stitches) and the one going into the skein behind the index finger. Hold both ends of the strand with the remaining fingers to keep it tense.
To work the first stitch, take the needle with the tip pointing down and place it to the left of the strand in between the thumb and index fingers. Take the needle to the right, tensing the strand, and turn the needle upwards without stopping the tension so that the tip is up and the strand crosses in the middle creating a loop on the needle. Now you have your first stitch!
For the remaining stitches follow these steps: *pass the tip of the needle outside in under the center of the strand closer to you, then over the center of the strand further away from you and drag it with the tip to pass it under the first strand. Now pass the needle under the center of the strand further away from you outside in, then over the half strand closer to you from back to front and drag it until taking it underneath the first strand*. Repeat from * to * until you have the number of stitches needed, always an odd number.
At the end, cross both strands to stop the last stitch from unraveling.
In the first row you will have to start by knitting 1 stitch through the back loop, and the remaining knit stitches, you will also have to knit them through the back loop, so they are not twisted.
It’s fun, isn’t it? This way your ribbing will actually be elastic. We are dying to see how it turns out for you in your garments. Don’t forget to share the results in social media with the hashtag #weareknitters.