Hi knitters!
Rick rack! That’s the new technique you will learn with this post.
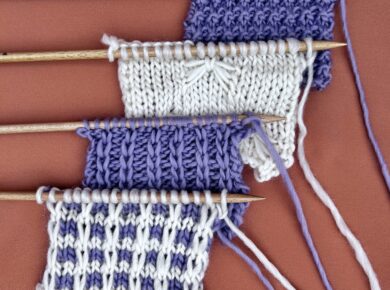
This technique is so easy and it has a very special texture, because you can create a zig-zag illusion. Your garments will look beautiful!


Cast on a number of stitches multiple of 3 + 1 stitches with your WAK wooden needle. You have to repeat these two rows to knit your WAK garment. We’ll explain how to knit them.
Row 1: purl 1 stitch, *slip one stitch in the left needle, knit one stitch while you insert the needle in the back side, now knit the stitch you slipped before, slip these two stitches together on your left needle, purl one stitch. *Repeat this scheme (*) until the end of the row.


Row 2: knit one stitch, *slip a stitch in the left needle, purl one stitch, now purl the stitch you slipped before in the left needle, slip these two stitches together in the right needle, knit one stitch. *Repeat this scheme (*) until the end of the row.


Repeat these two rows until you have the required length for your garment.
For this post we have used 15mm beechwood knitting needles and A 100% Peruvian yarn ball in red.
You can have different knits depending on the width of the yarn. We have a large catalogue with amazing wool and cotton yarn balls for your knitted garments.
Share your WAK garments with our Instagram community, using the hashtag #wearekniters on Instagram.