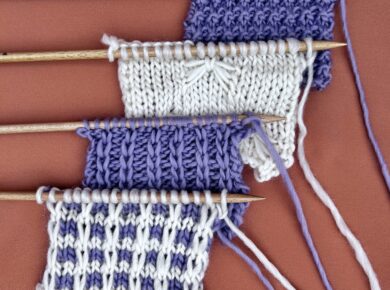
The Cable Cast On is very easy and you can use it to start your project or to add stitches to a work in progress.
Let’s see how it’s done!
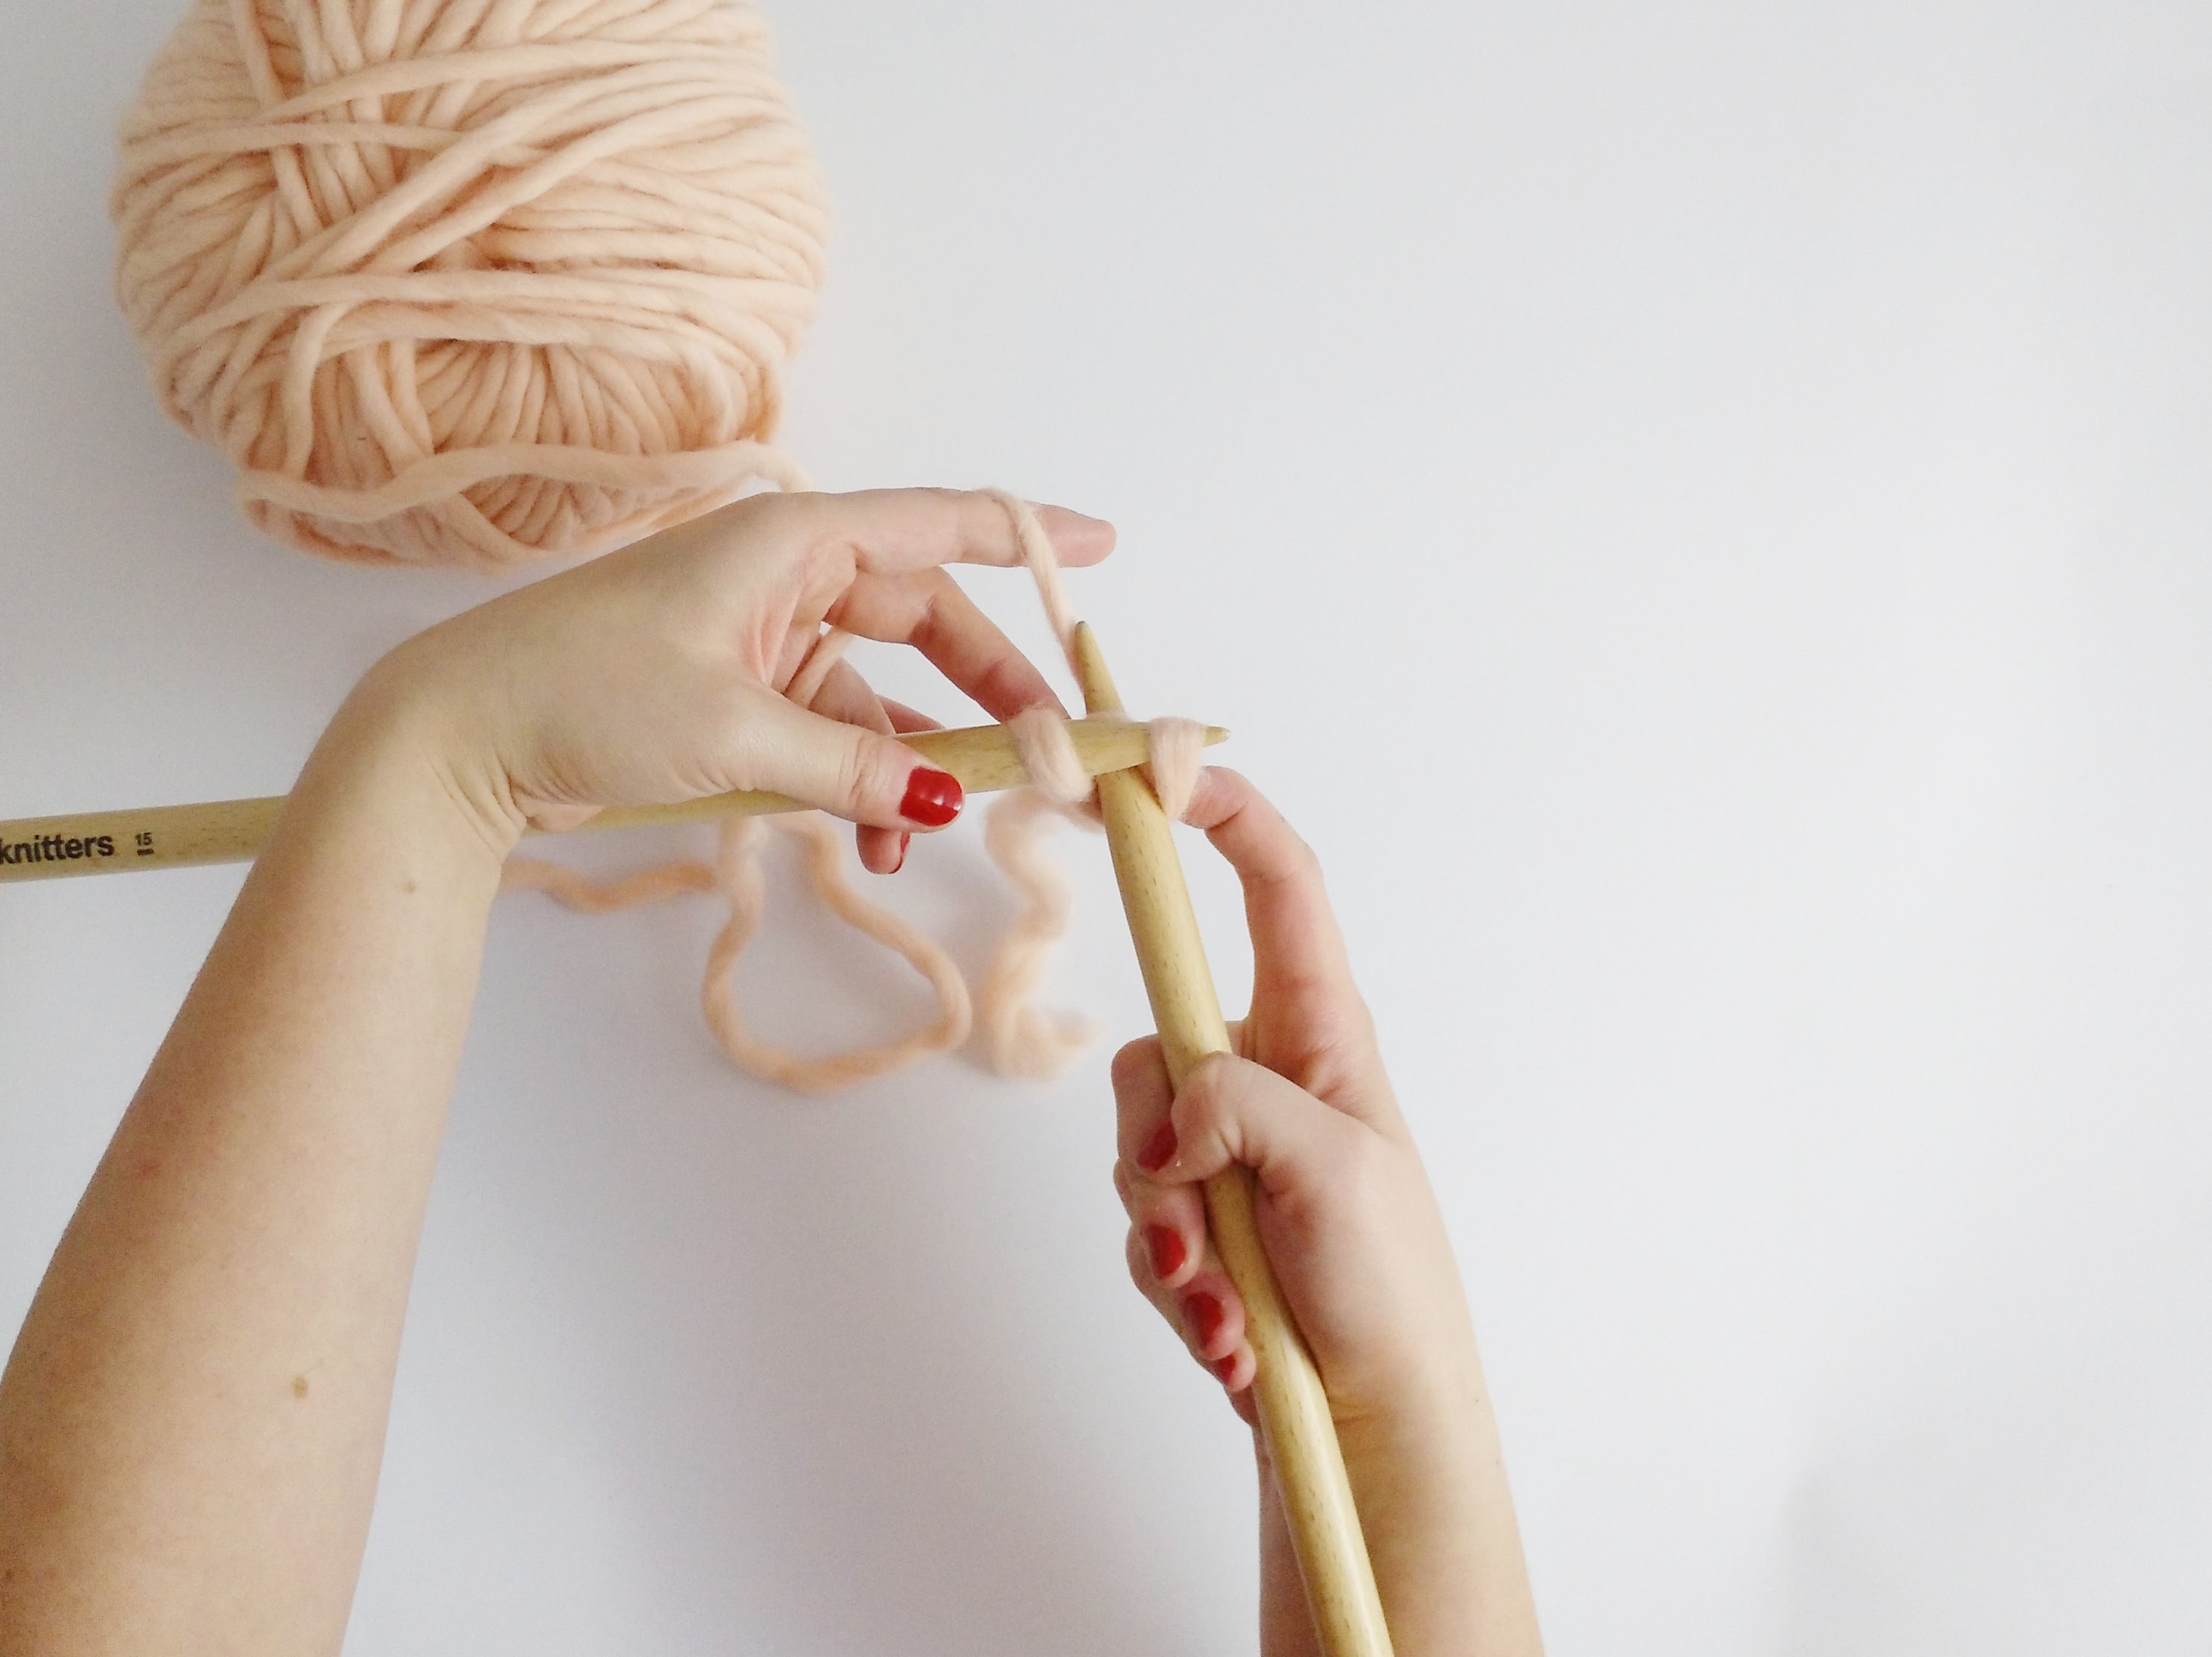
Cast on stitches using the “Cable Cast On”:
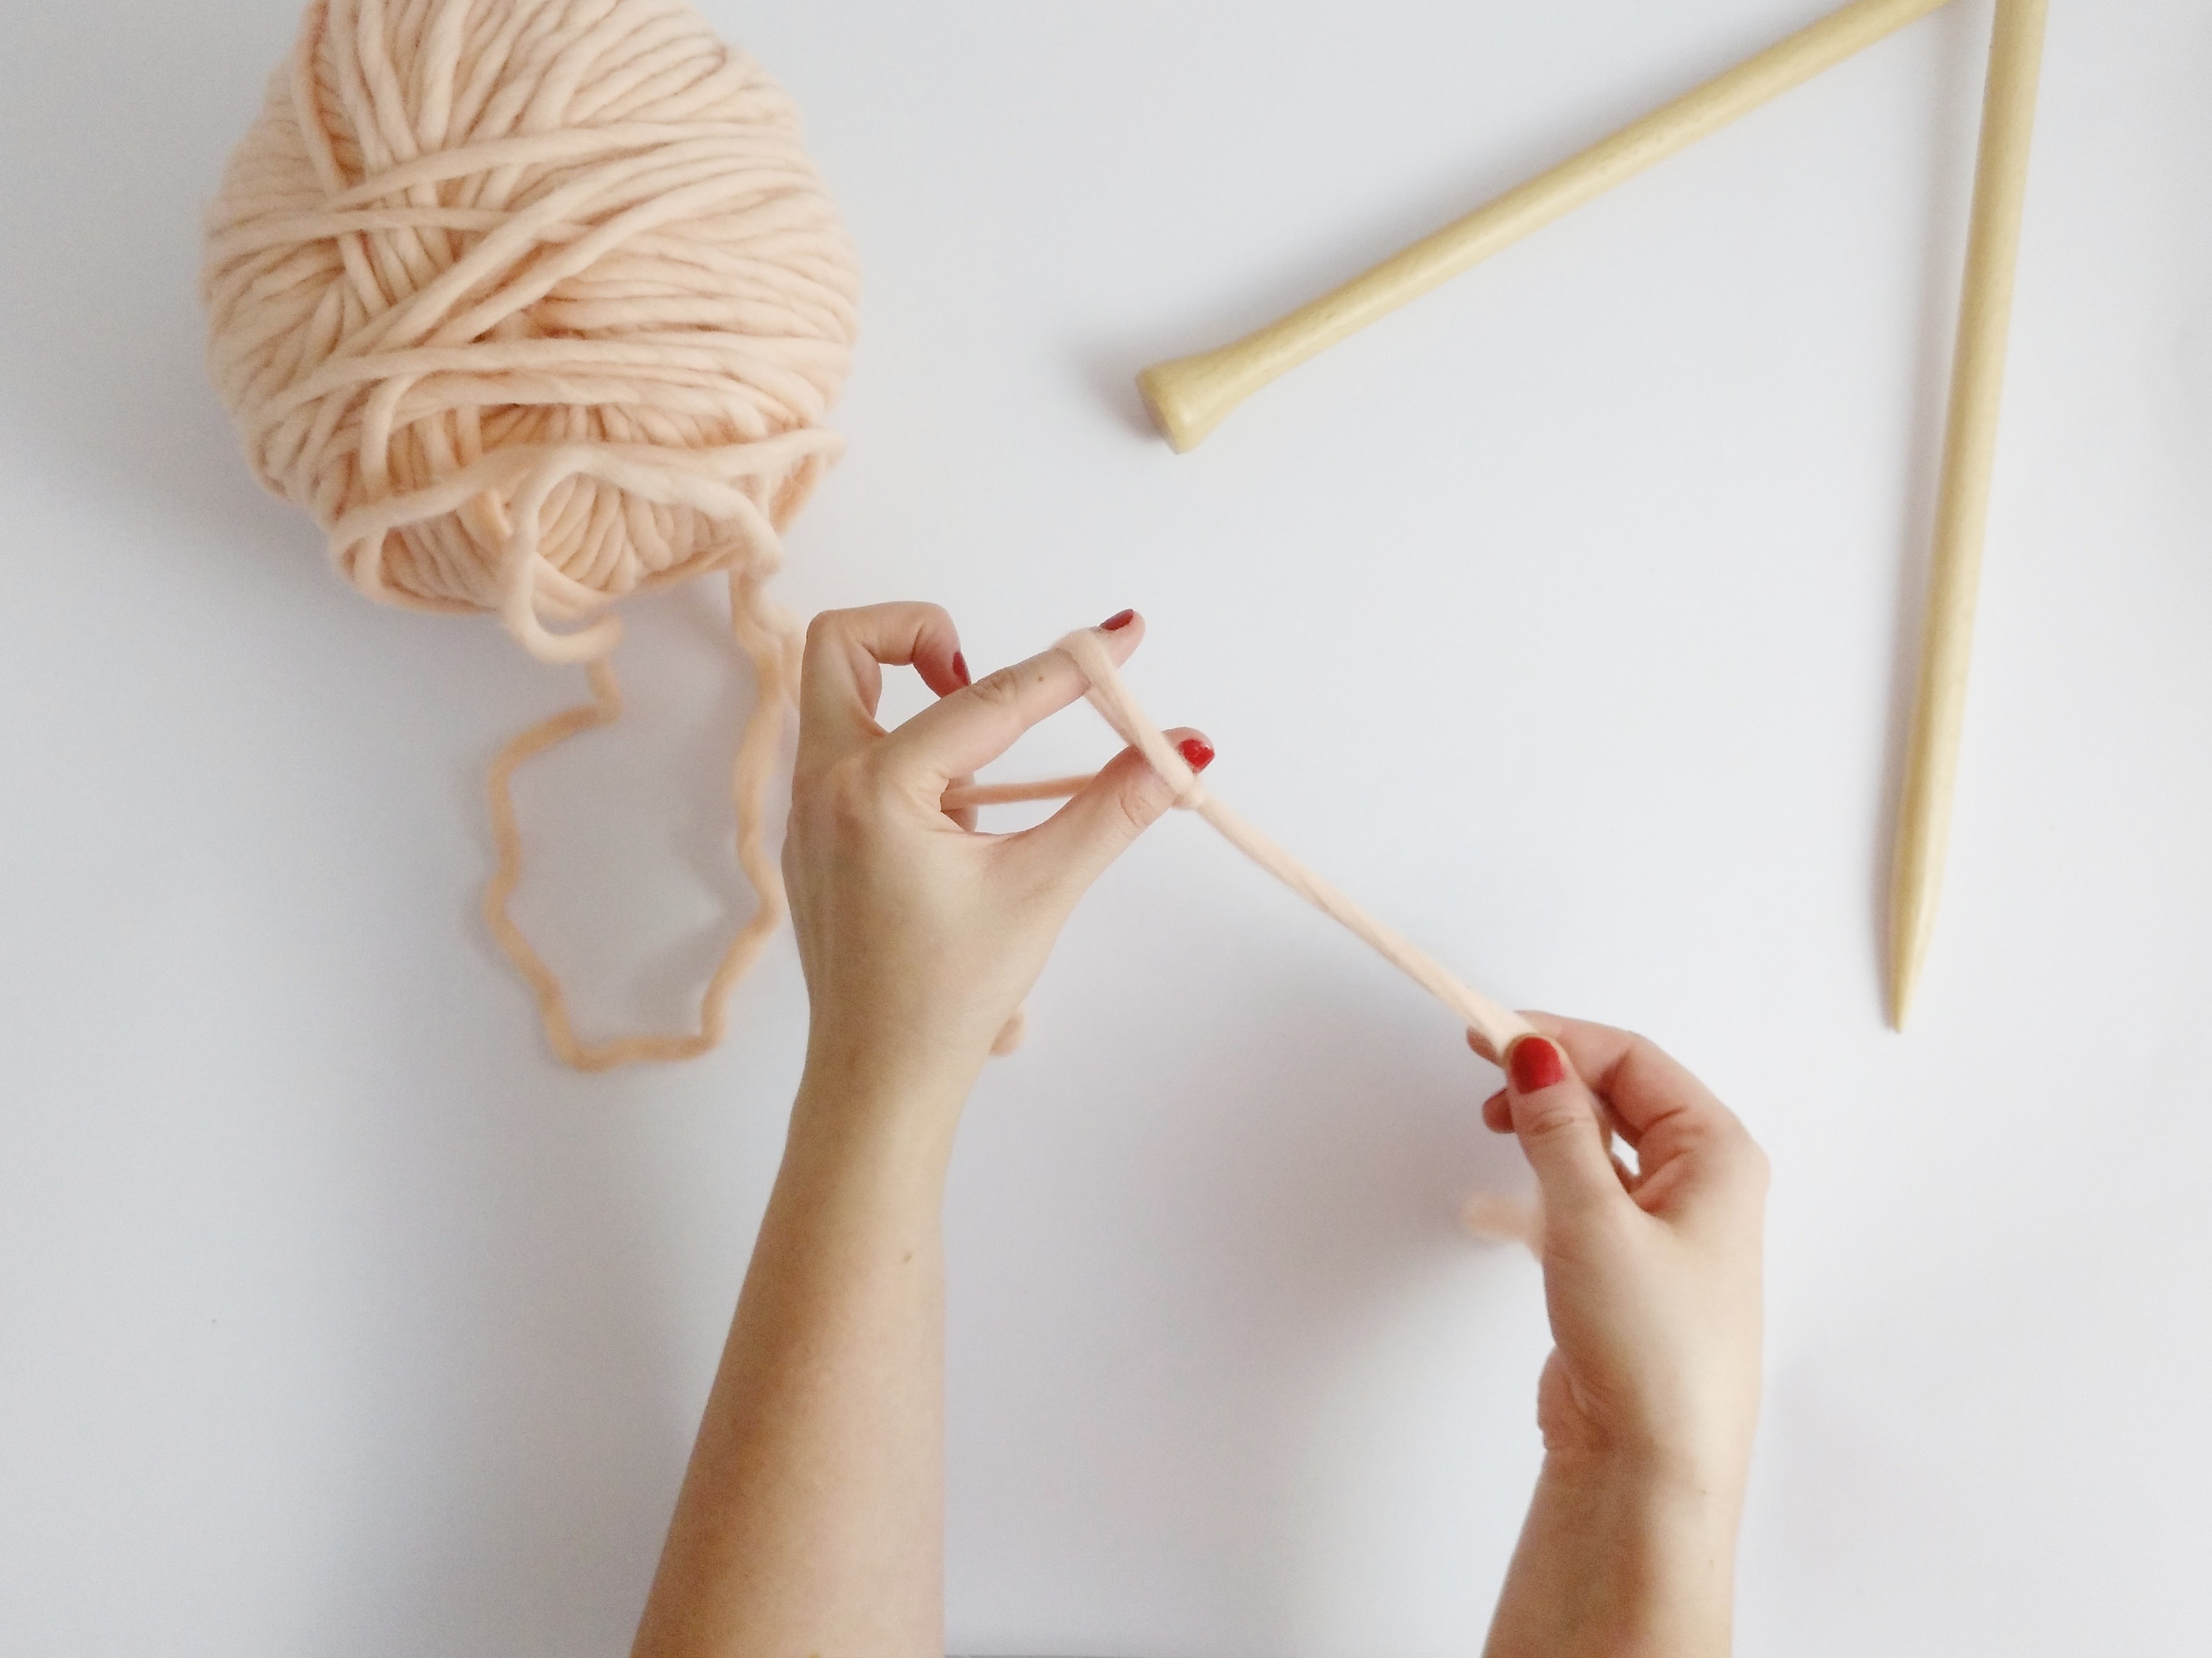
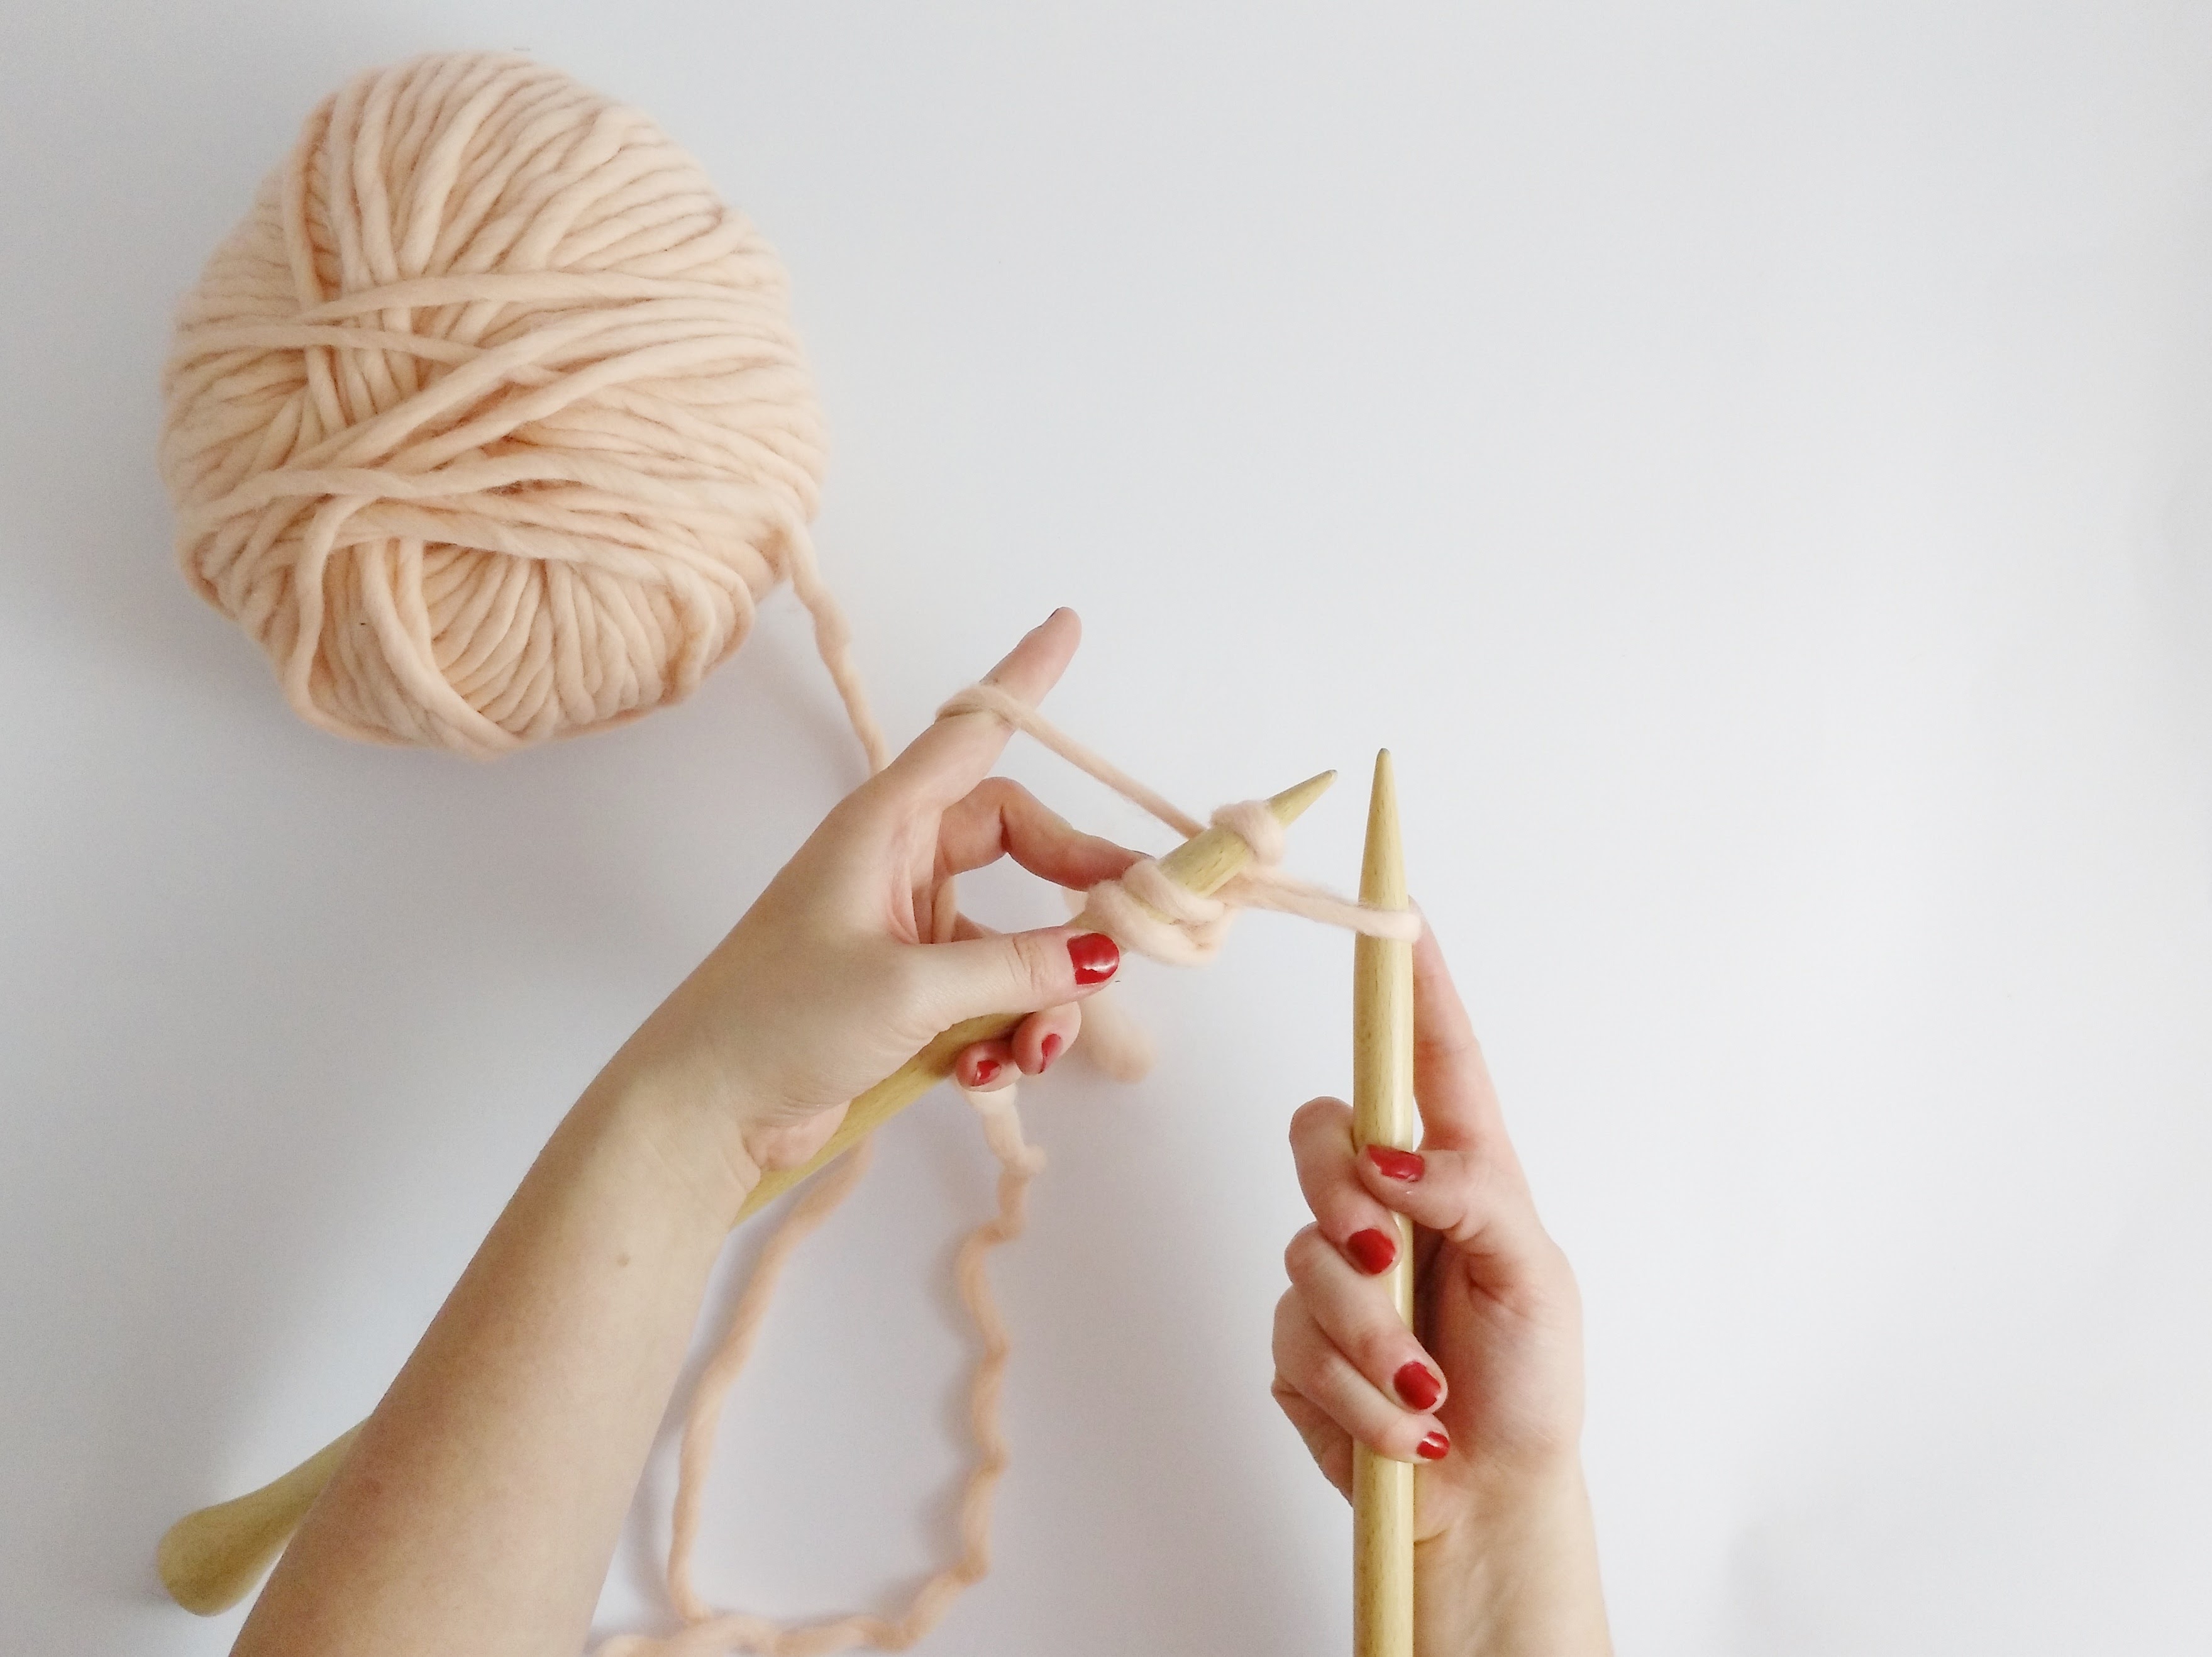
- Make a slip know with your fingers and slip it onto your main needle. This will be your first stitch. Knit this stitch, pull the new stitch through, and twisting it place in on your left-hand needle: you will have 2 stitches.
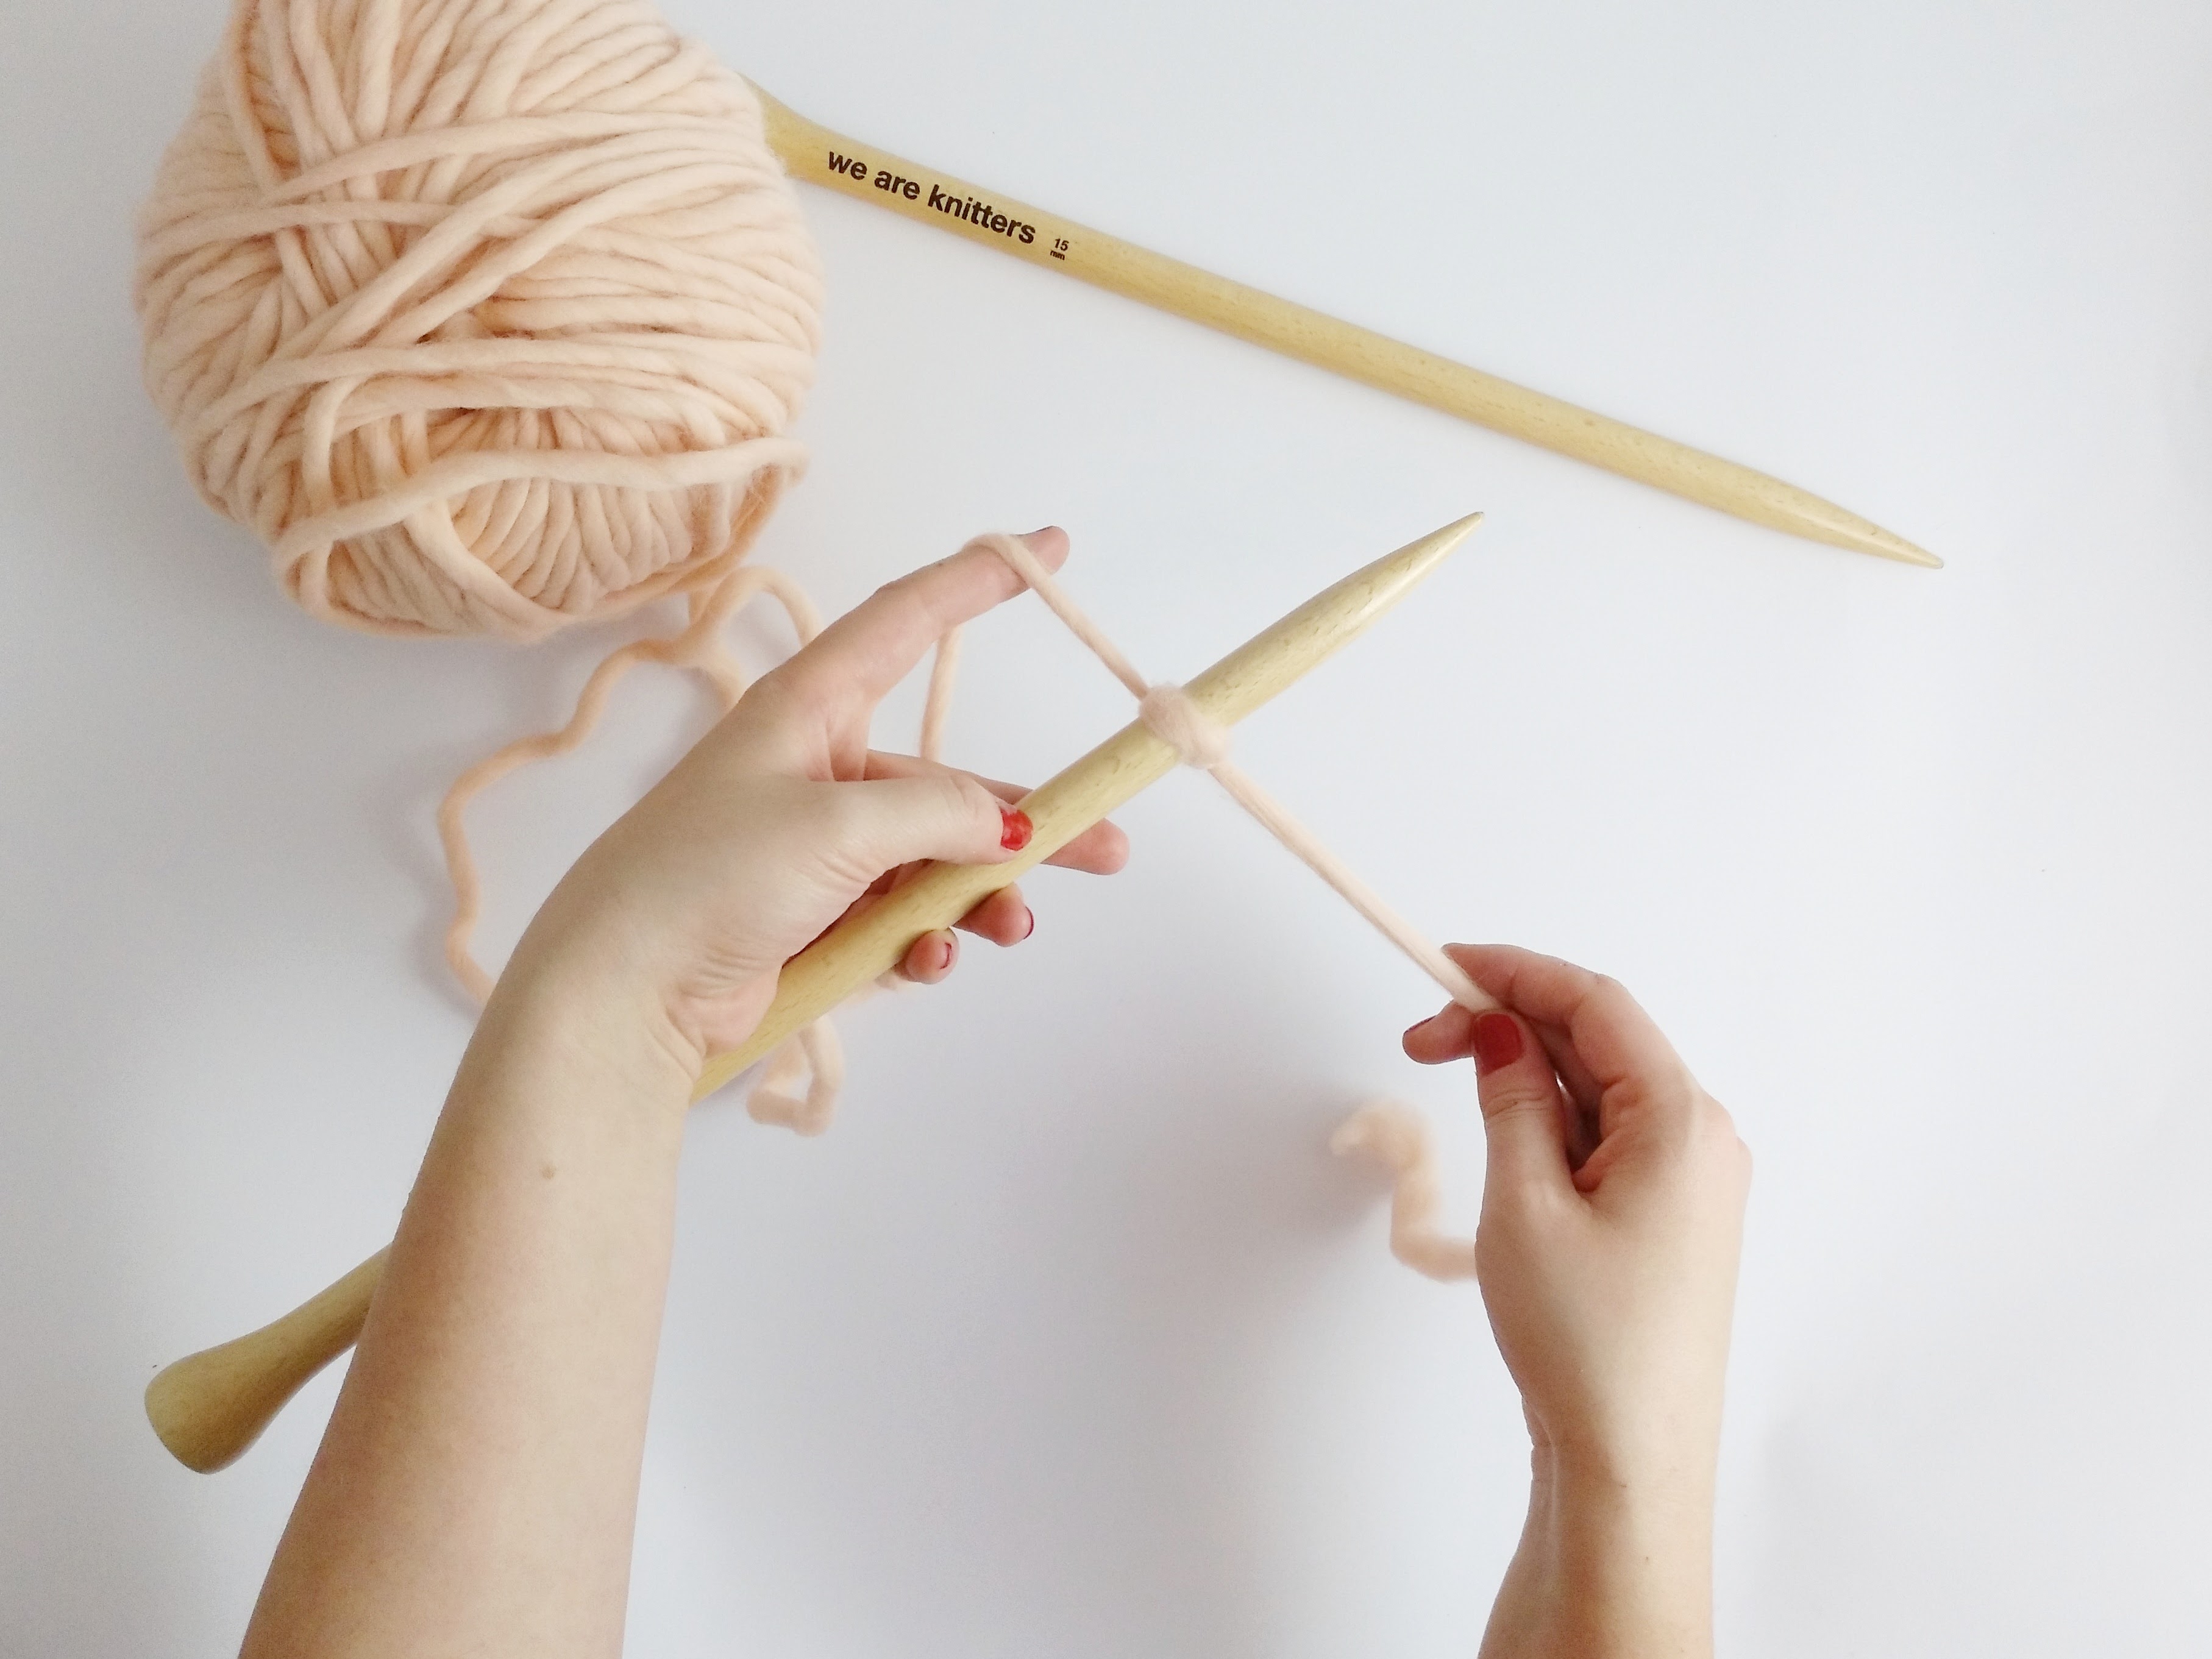


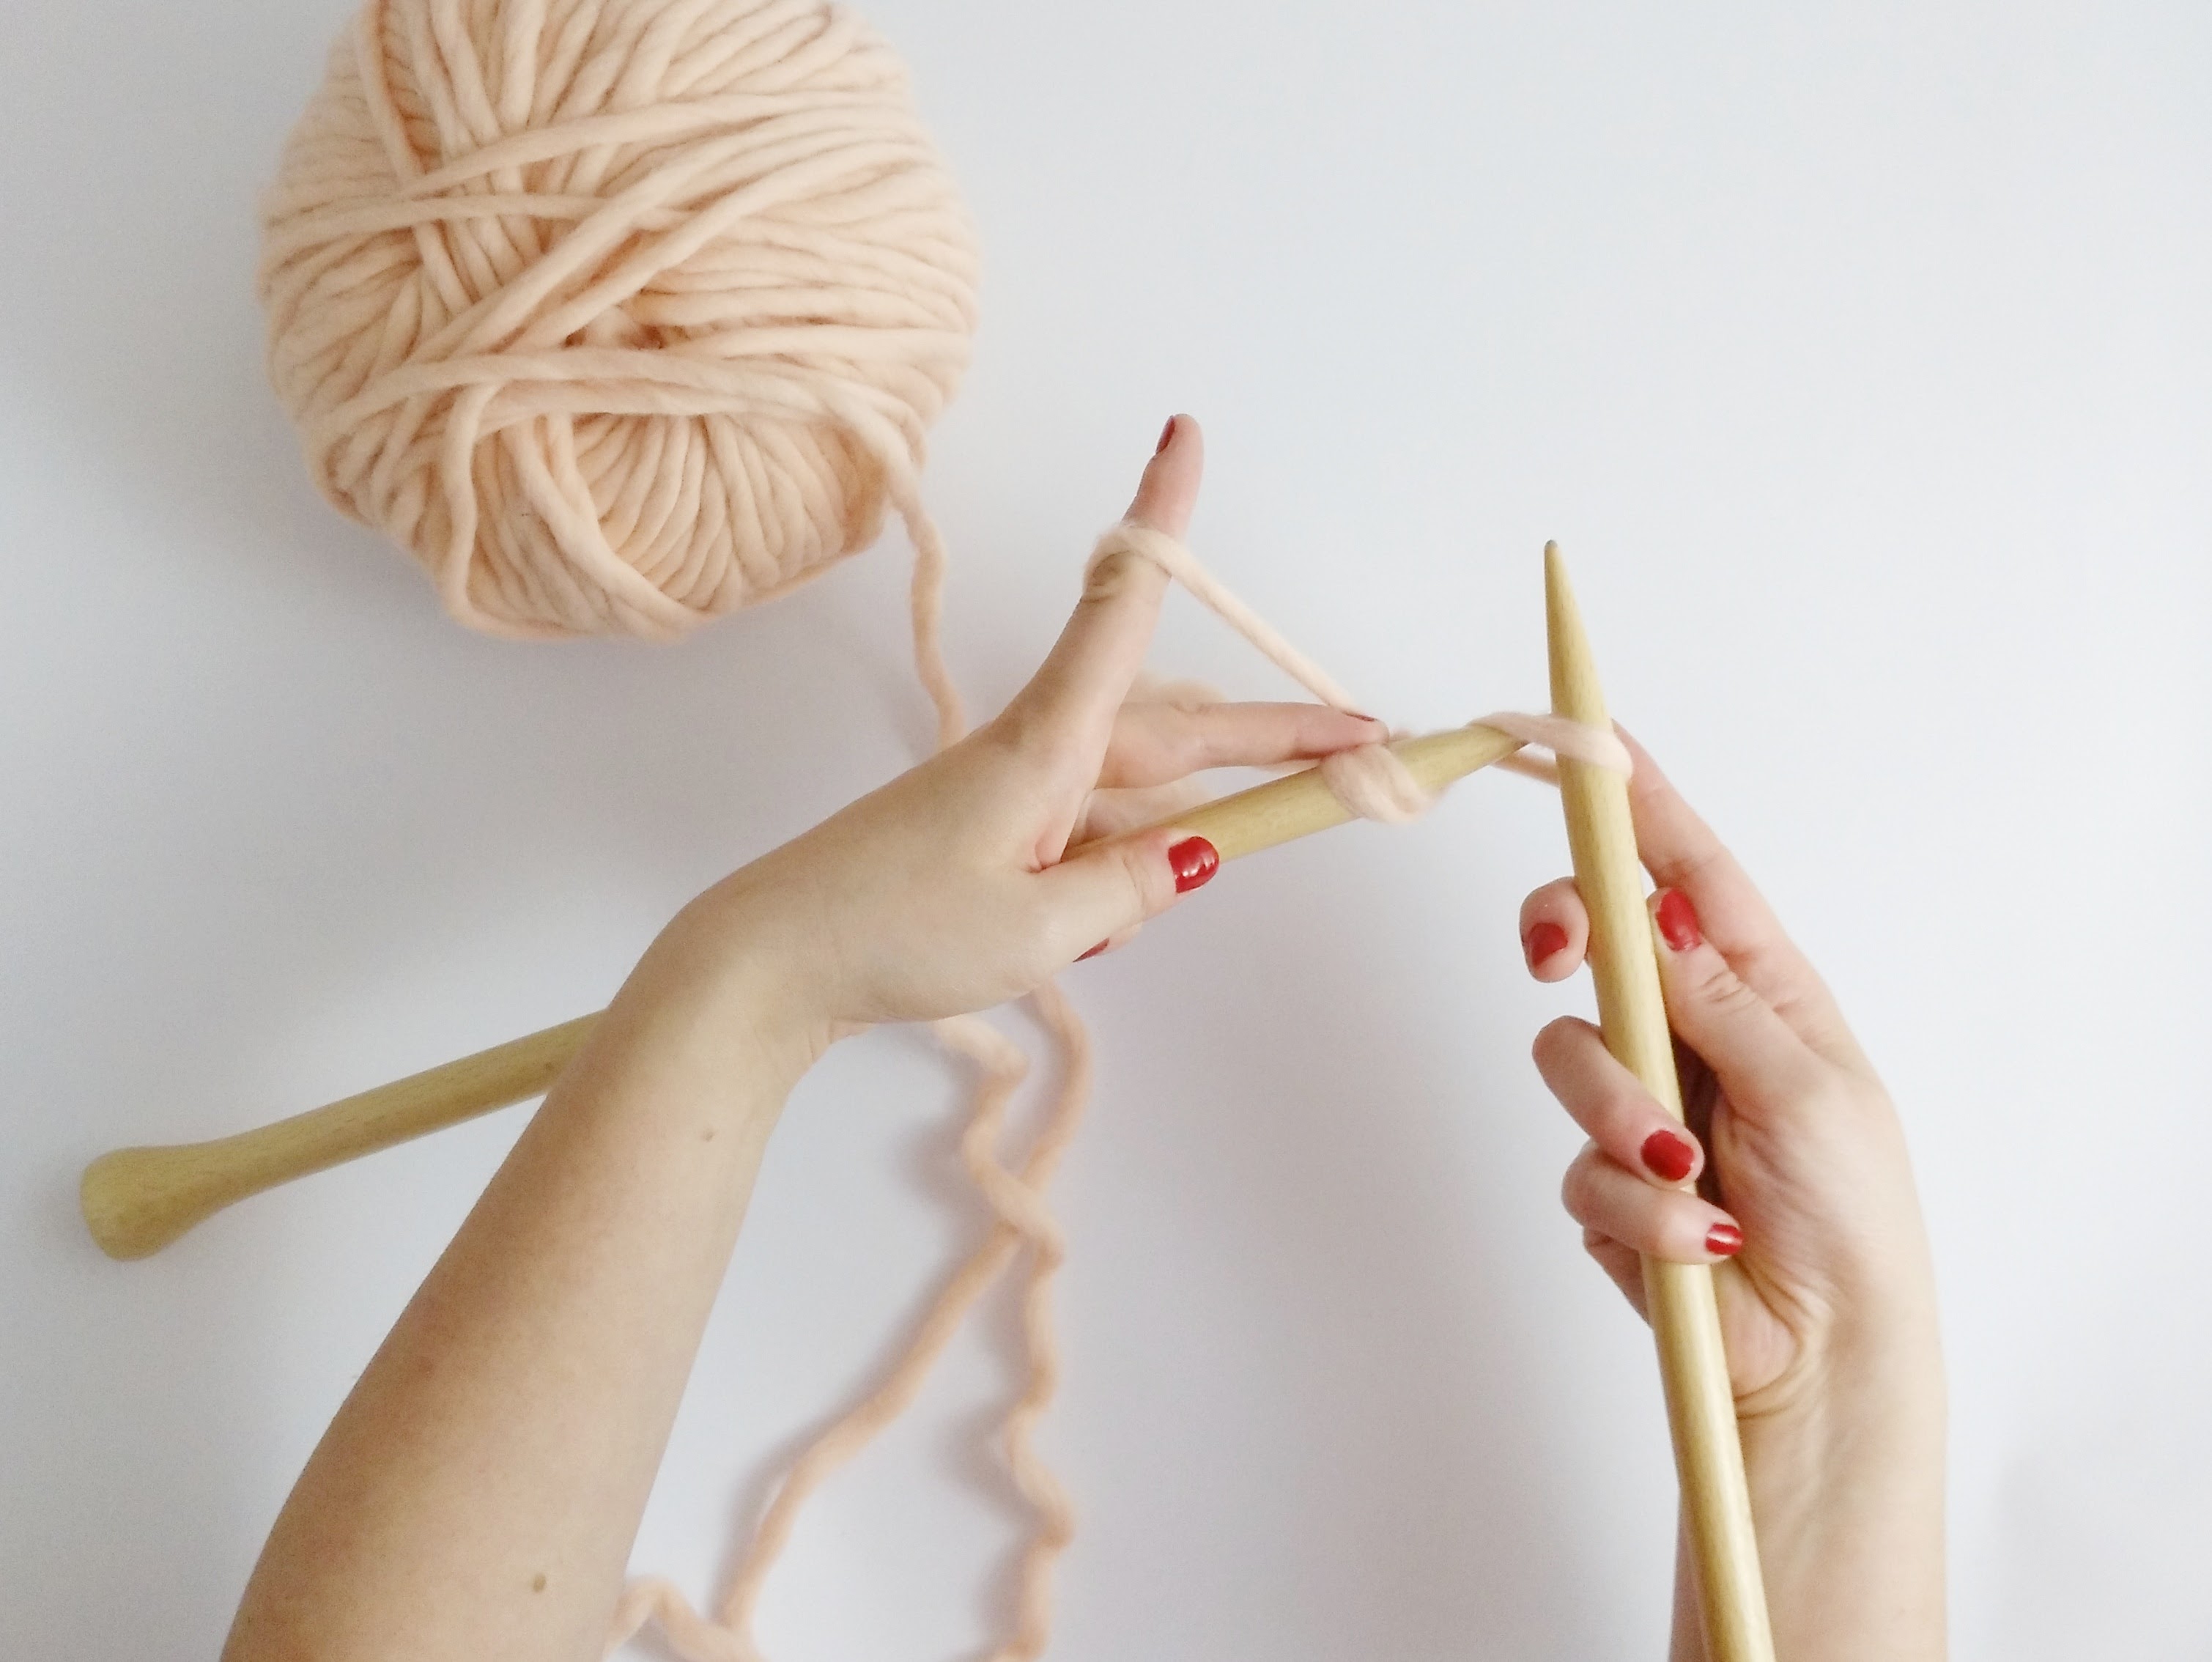
- Now insert the right-hand needle into the space left between the two stitches; with your right hand wrap your working yarn around the needle counter clockwise.
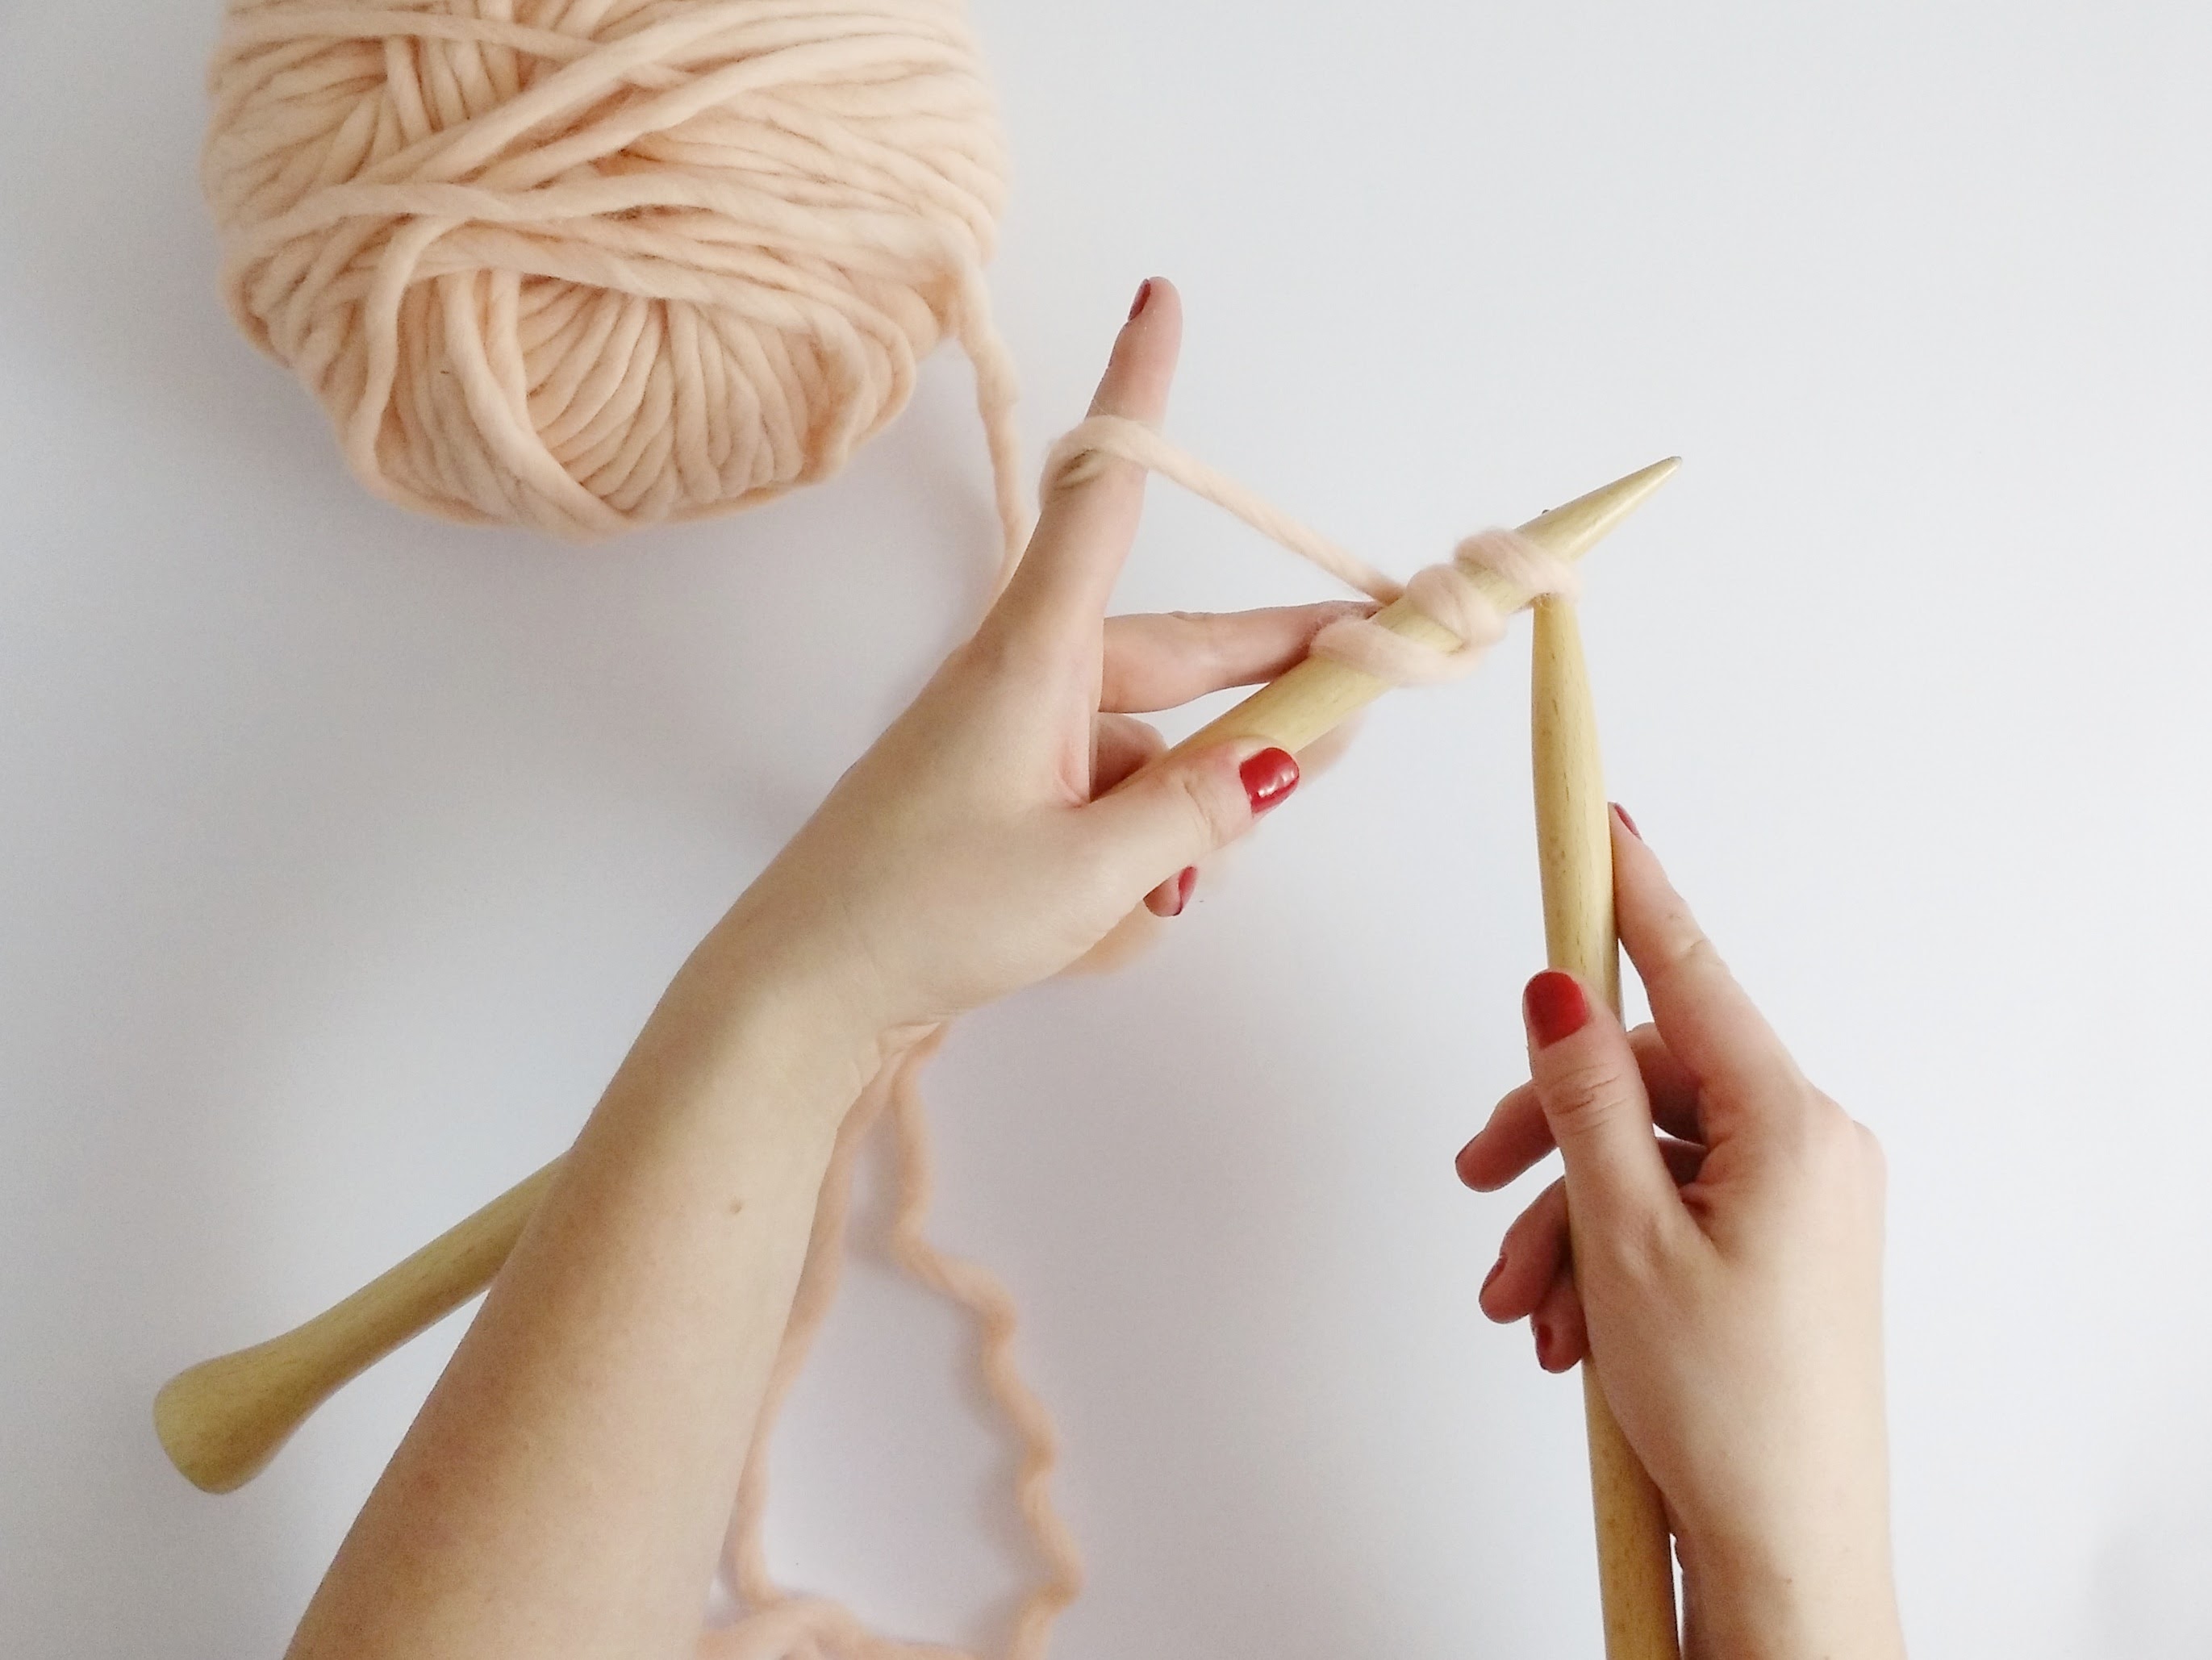
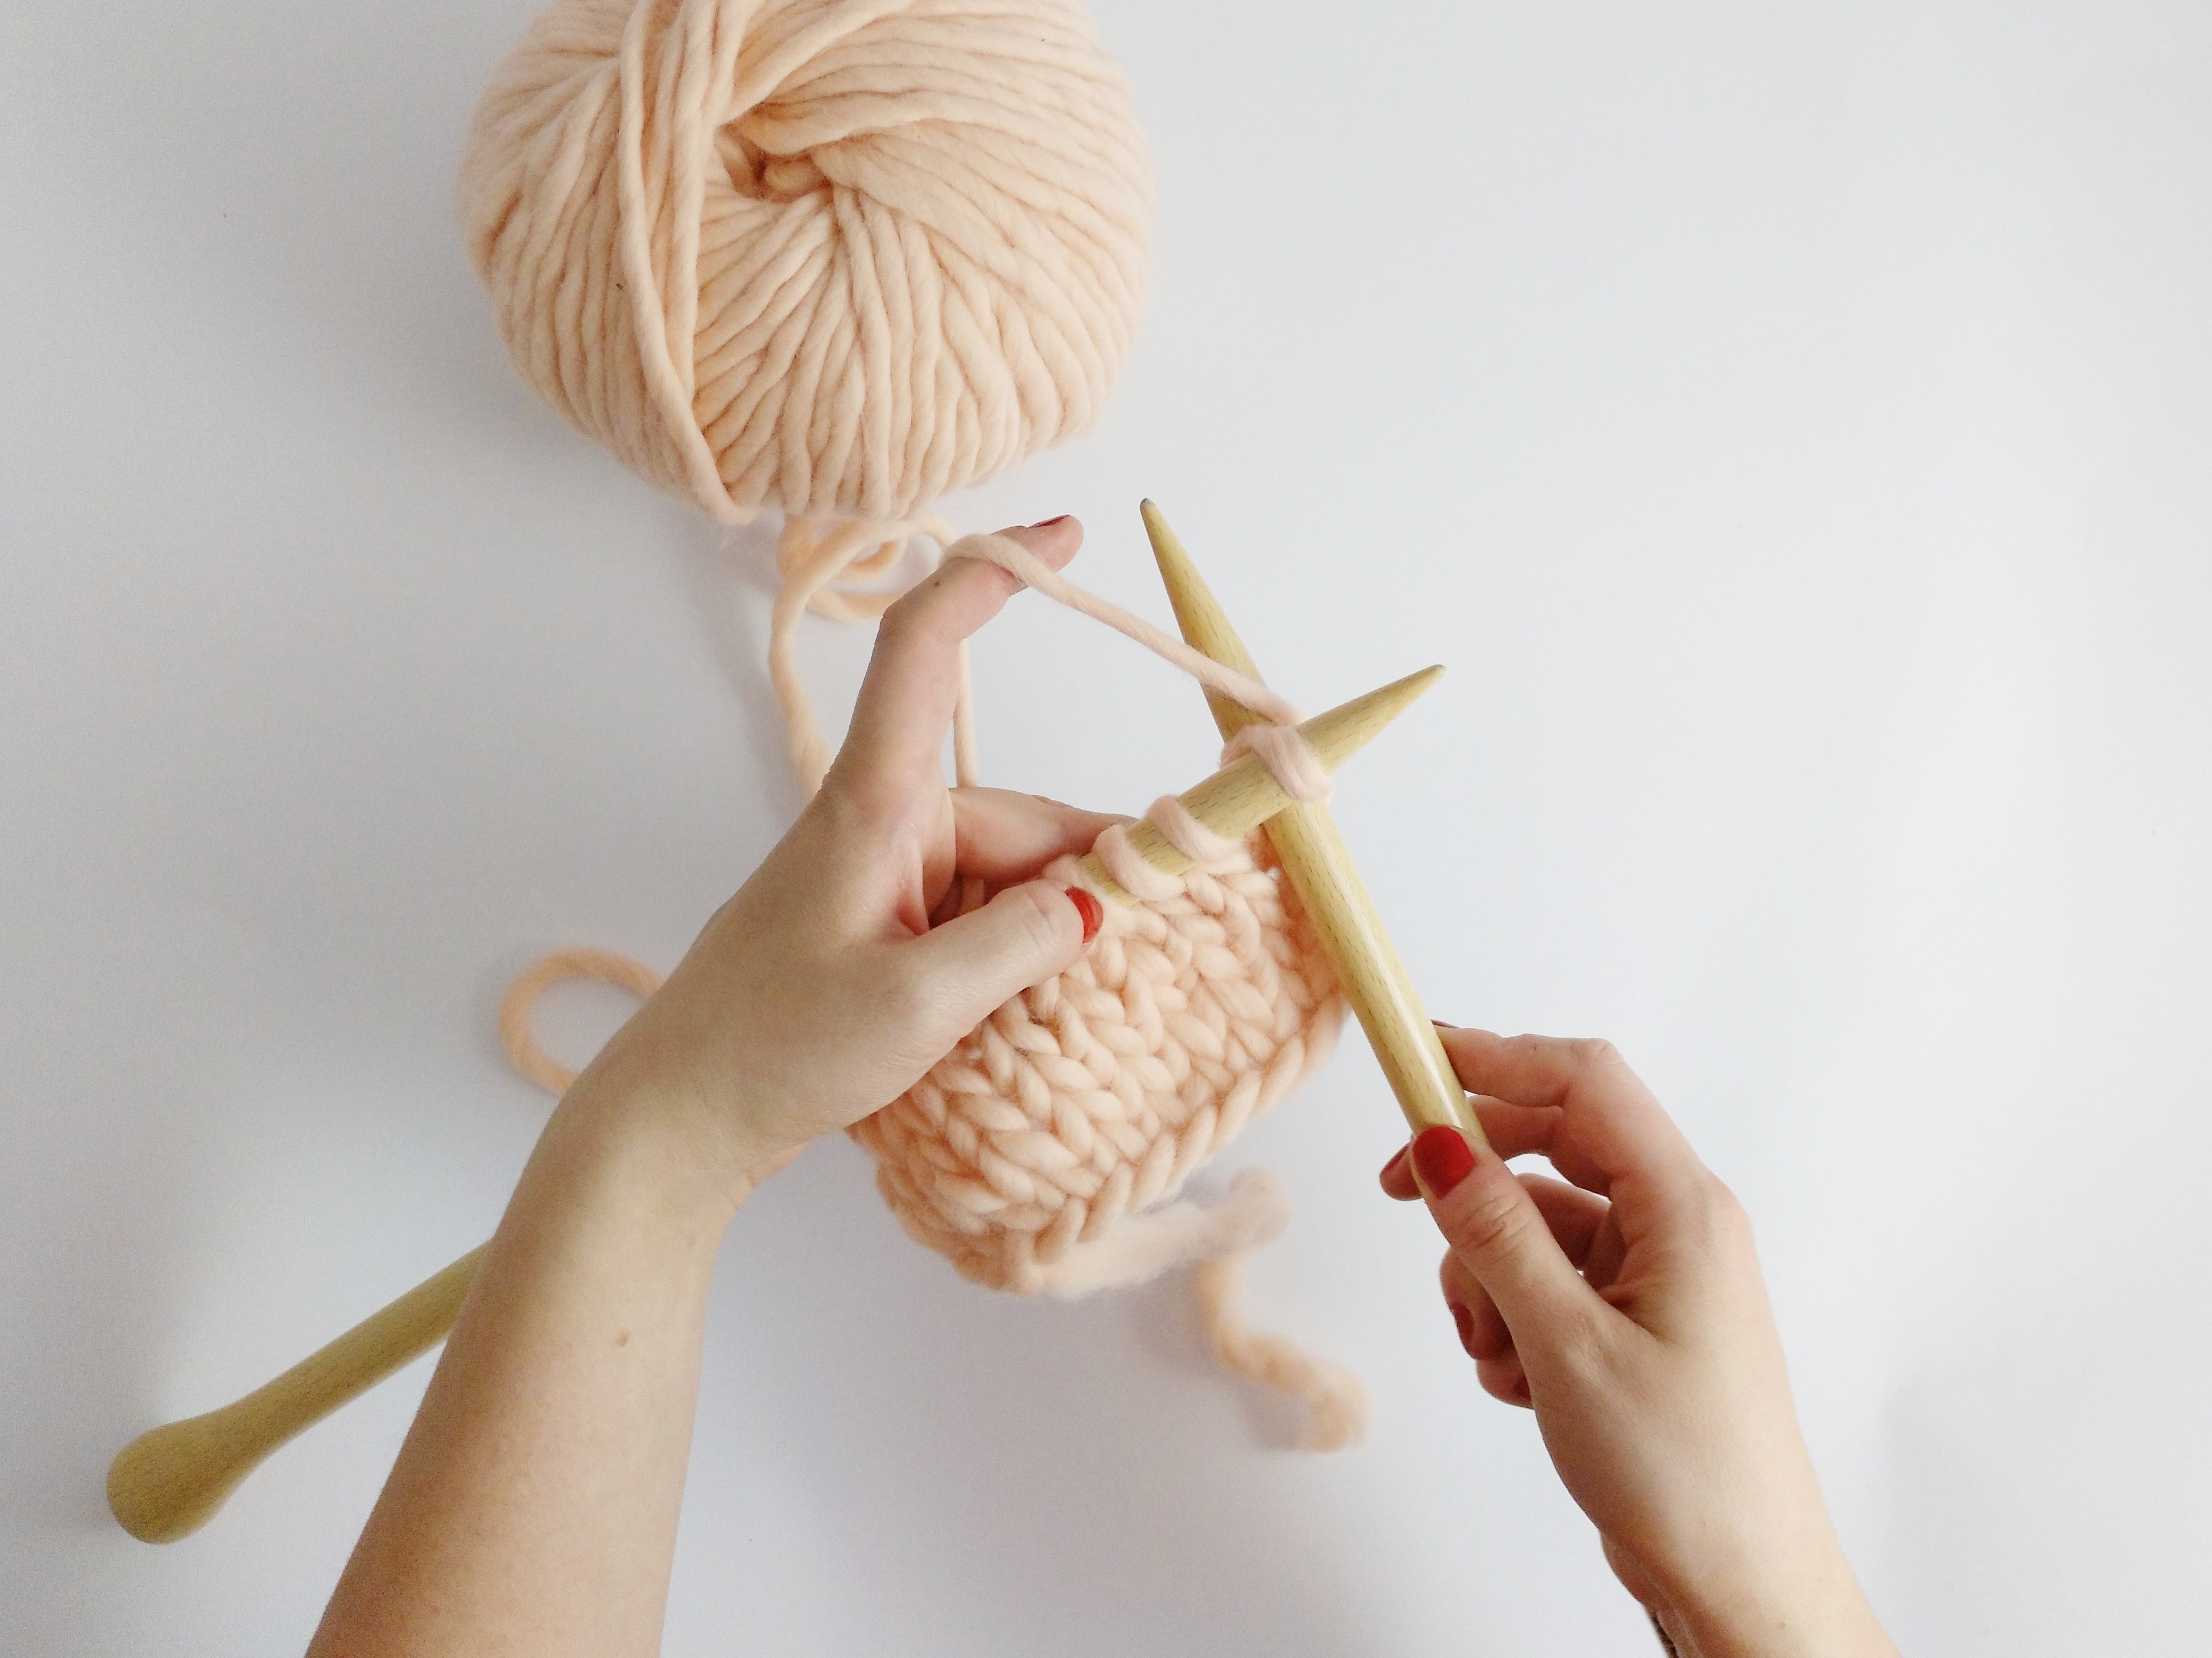
- Pull this stitch out between the first two stitches -as if you had knitted it-.
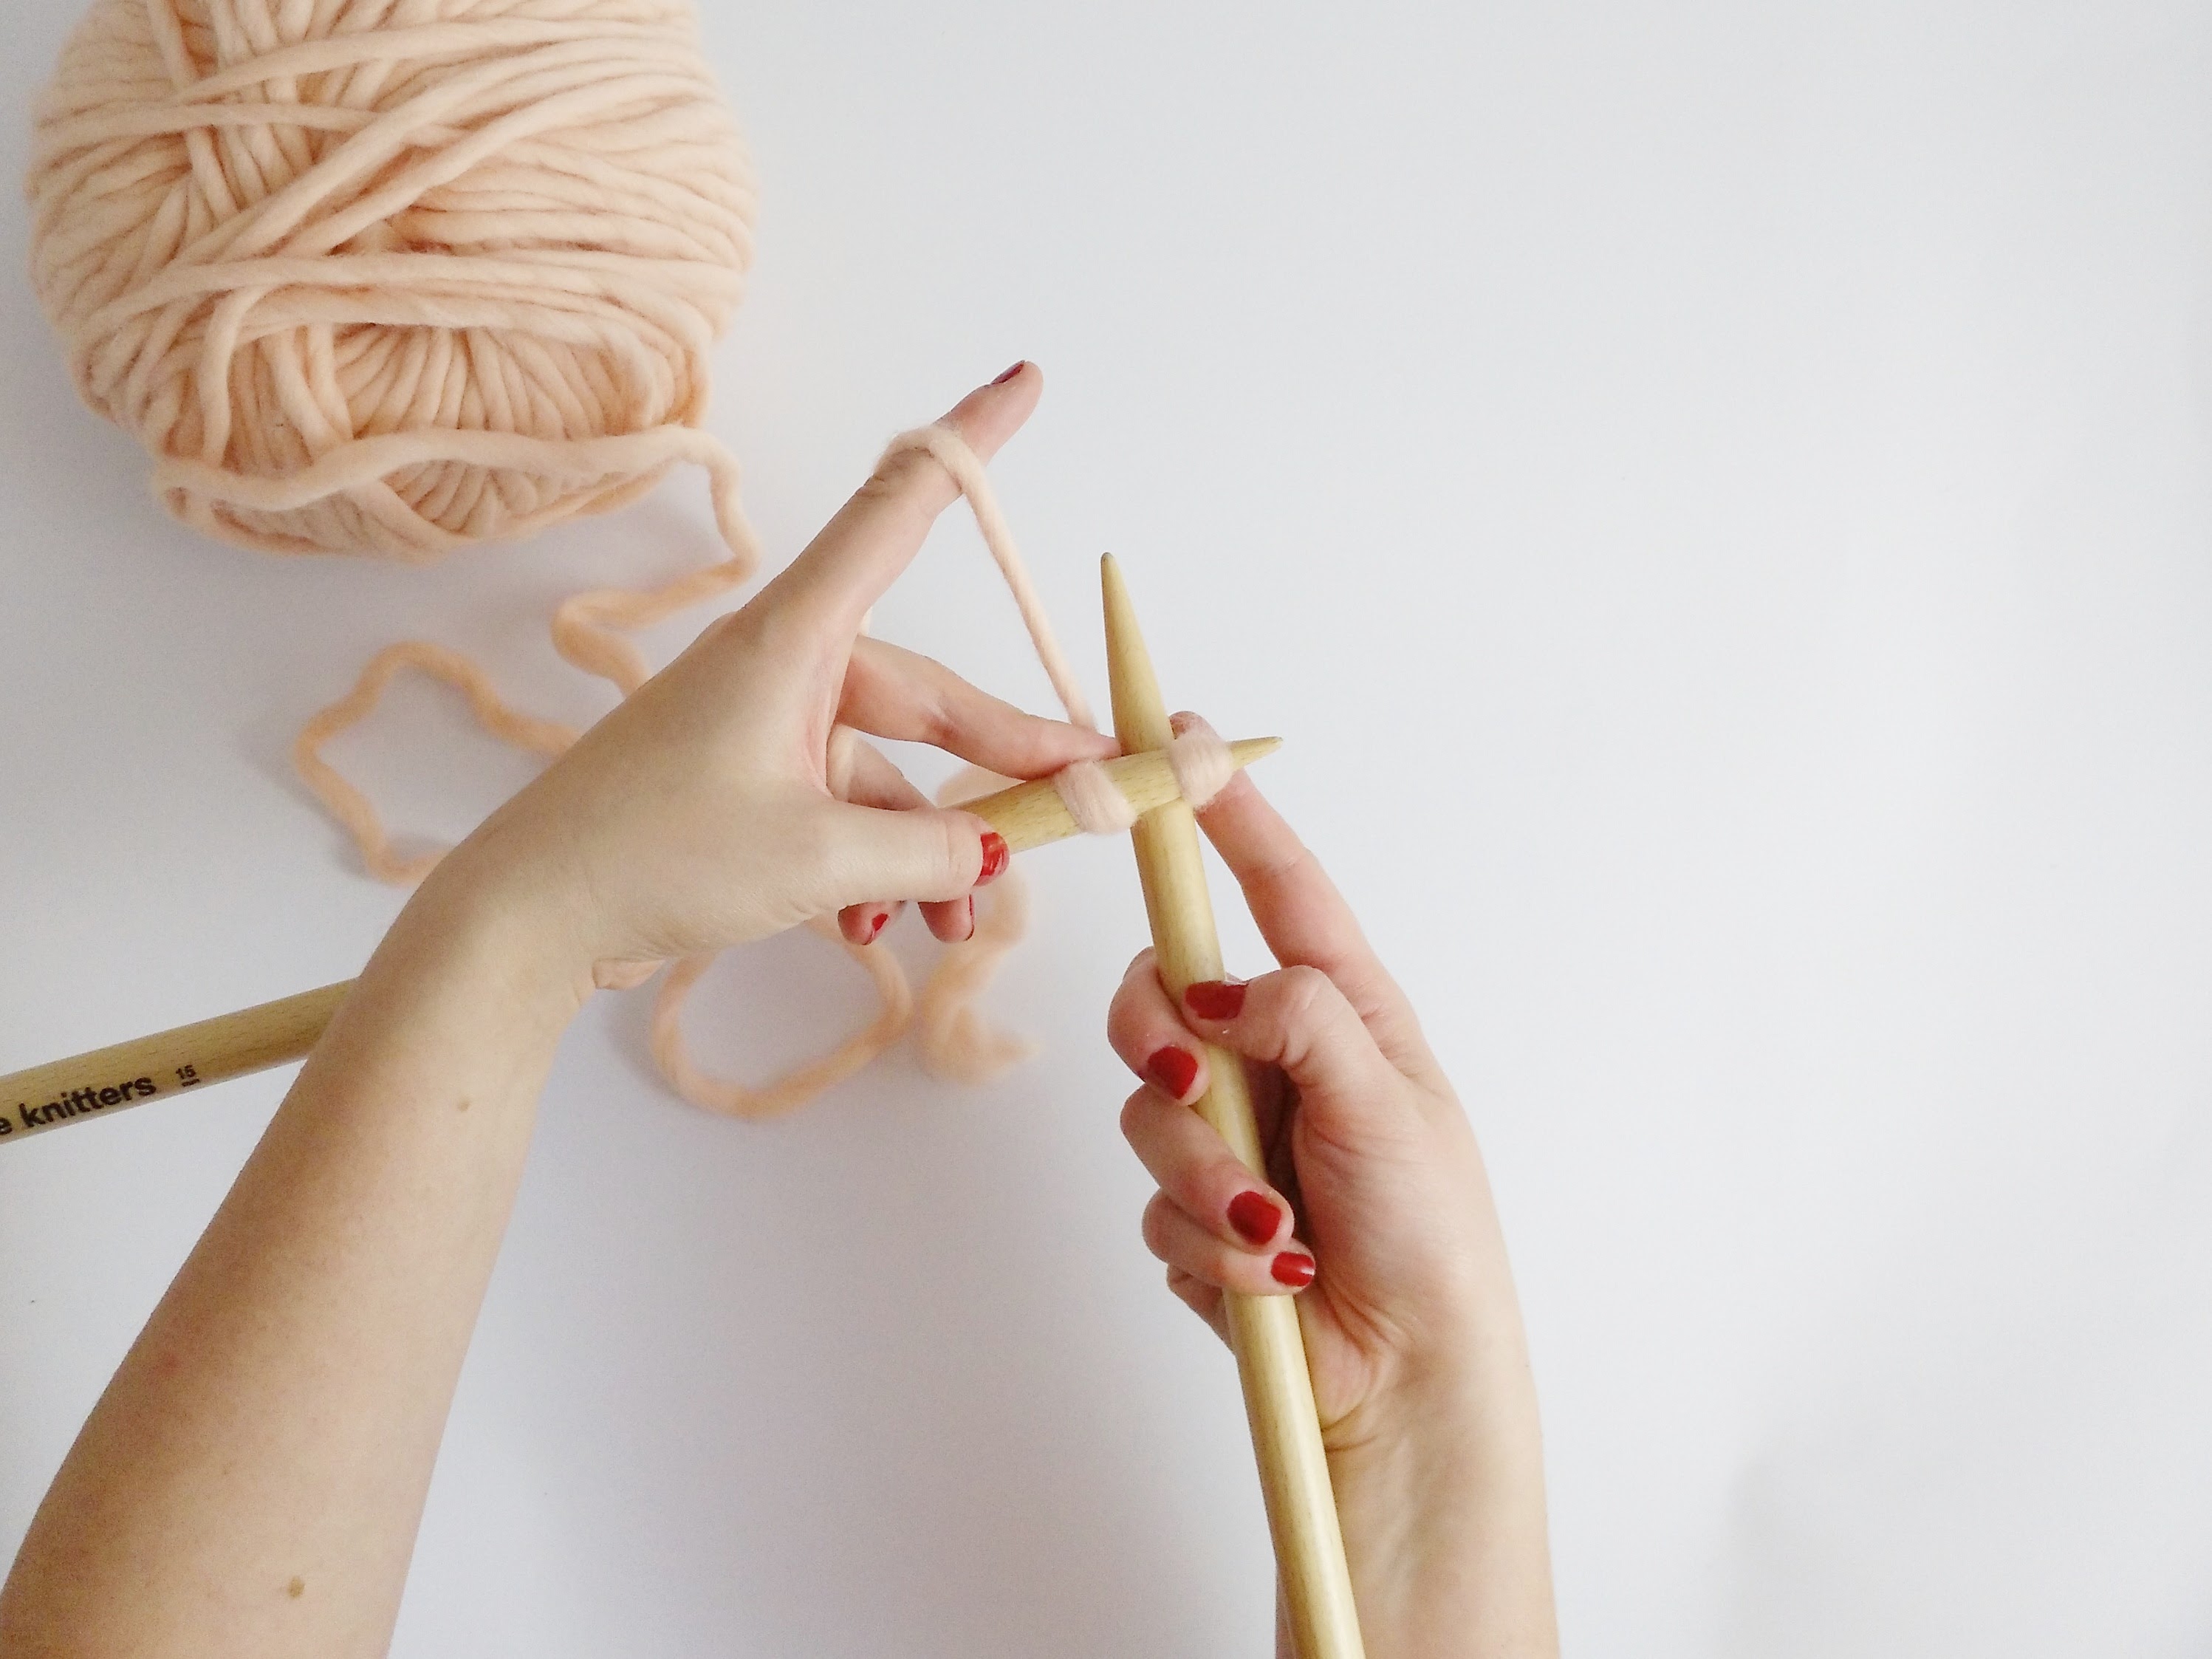
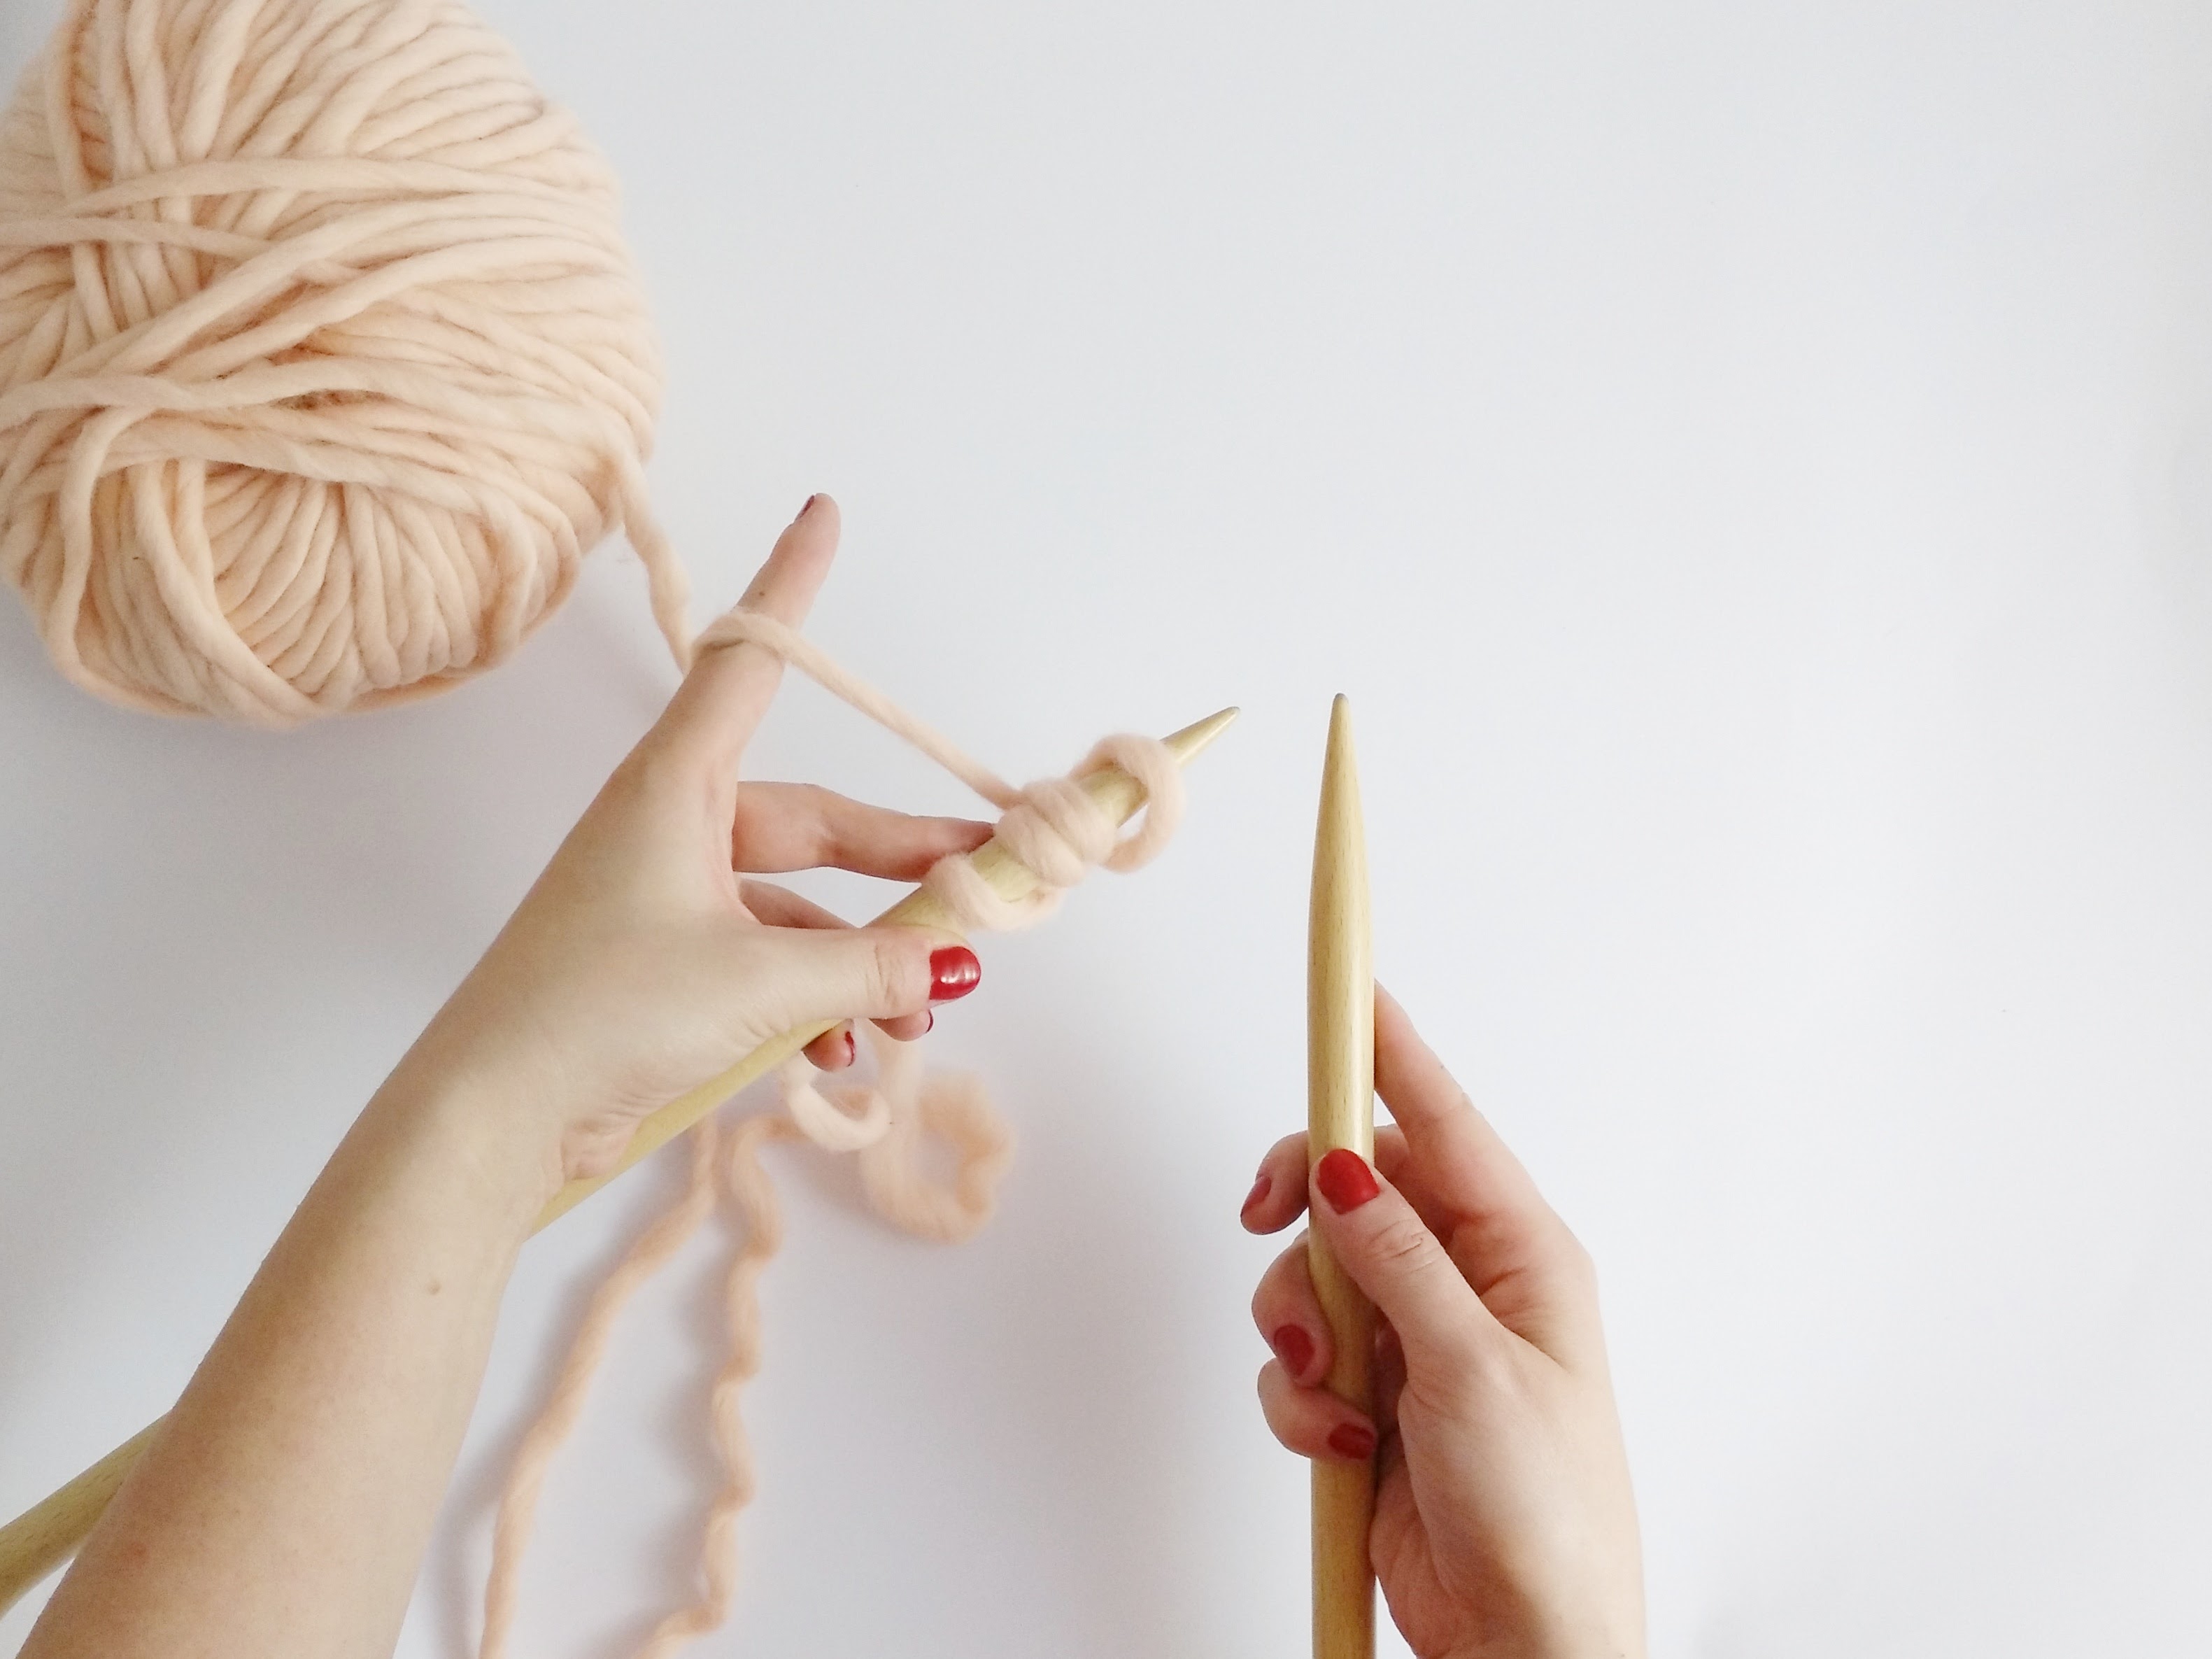
- Pull the new stitch through, and twisting it place it on your left-hand needle so that it is the first in the row.

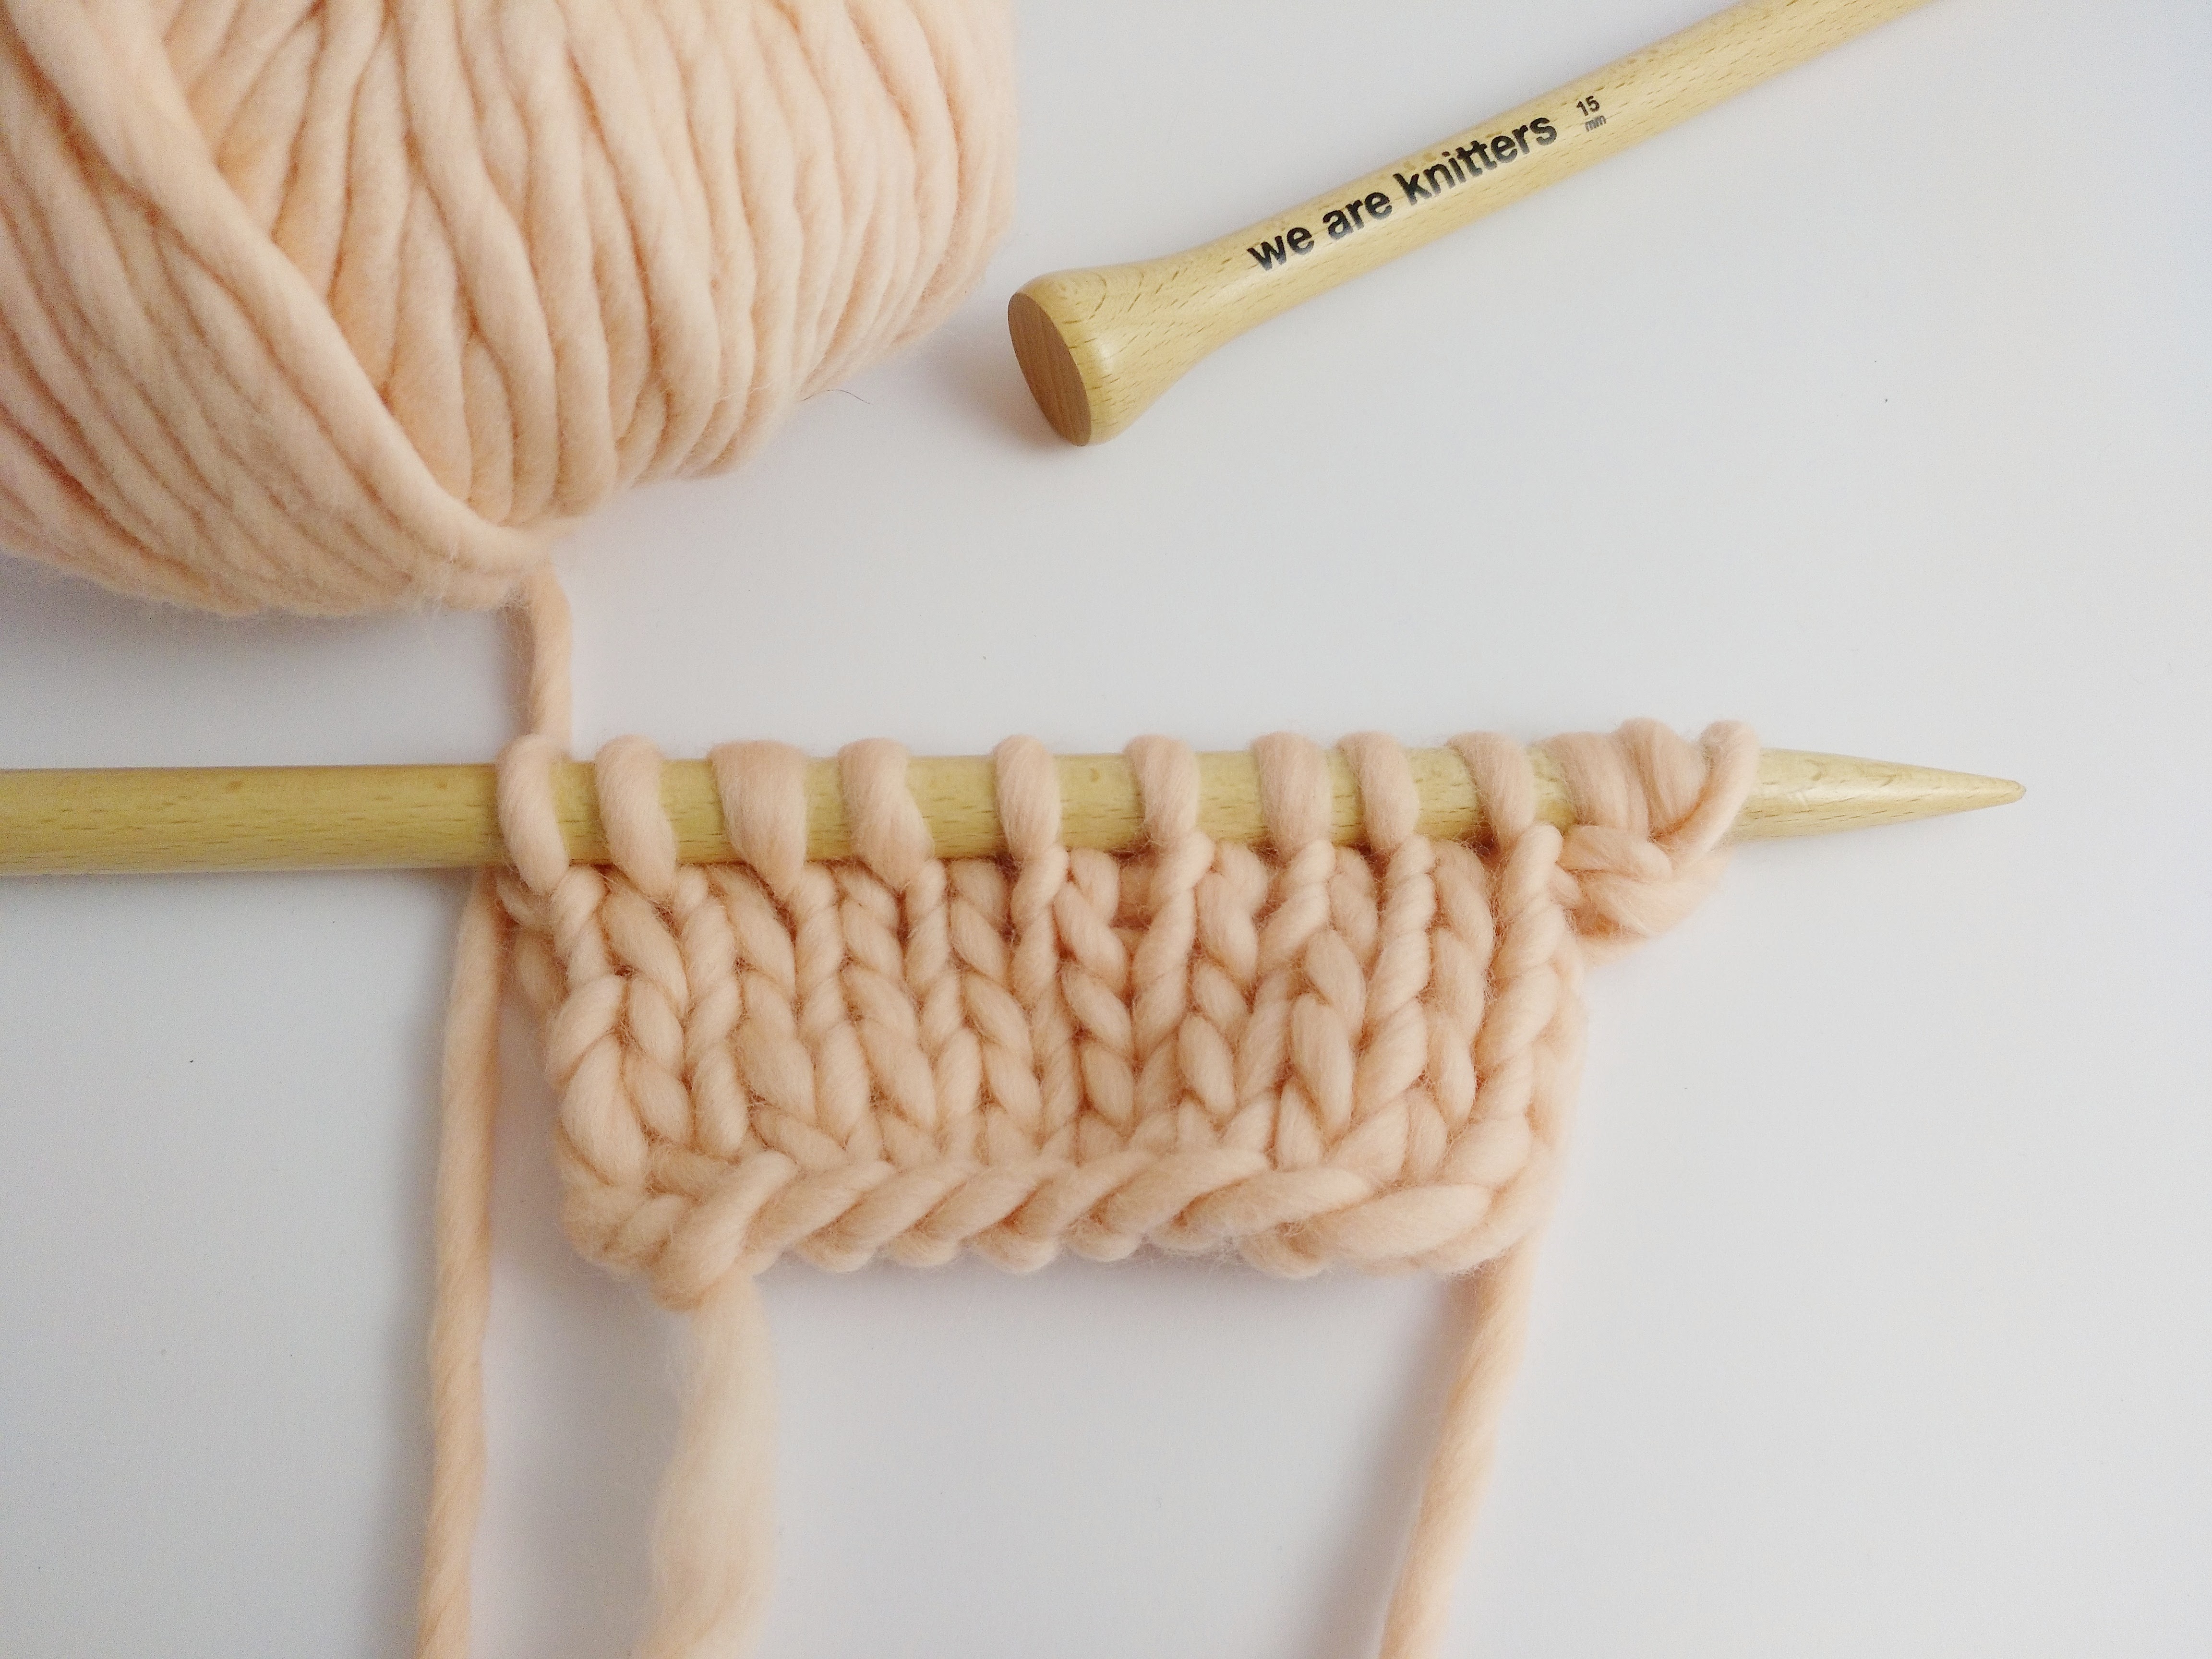
- Voilà! Now you have 3 stitches on your needle.
- Repeat steps 2, 3, and 4 until you have the desired number of stitches.
To increase stitches on a work in progress, you just have to start with step 2. In other words, without making a slip knot and without knitting the first stitch.
Keep in mind that this cast on is not very elastic so only use it when your project calls for a rigid edge. Also take note that it requires less yarn than other cast ons and you don’t have to calculate how much yarn you will need.
And now….cast on stitches for a new project!