Hi knitters!
Today we want to show you how to fix holes on your knitted WAK projects.
If you ever broke a wool project, do not worry due that the holes can be fixed. You only need to follow these steps and your designs will look nice again. 🙂
In order to start, you need to have the same or a similar thread as the one used before, your little sewing needle and the crochet needle.
1. Cut the remaining threads around the broken area (where you have the hole) but leaving the stitches that still stay fine in order to fuse them afterwards.
You can use the crochet needle to finish the stitches that have not been completed.
2. Knit a temporary seam as a model to be able to knit the final seam of the reparation. You need to knit up and down and in ‘zig-zag’.
3. In order to fix the hole, it is possible to knit 2 rows or more with your crochet needle and the original thread. Pay attention that you always need to keep 1 row for the last seam as we show you on the following picture.
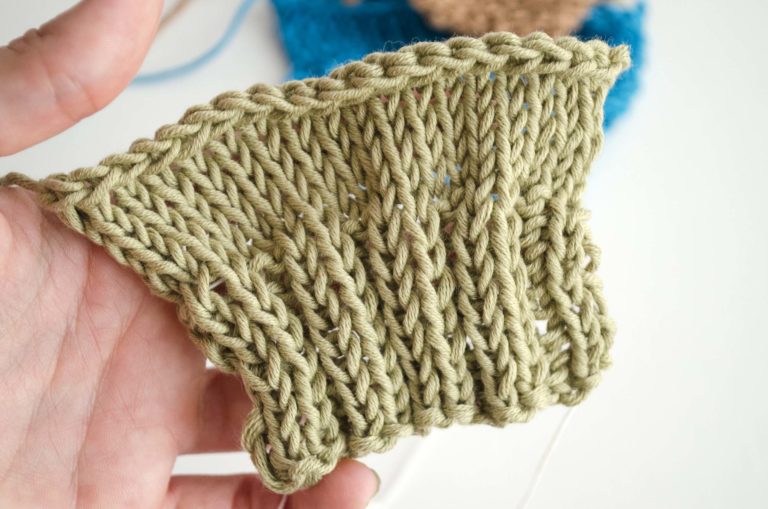
4. Once you have all rows fixed, you need to start knitting the final seam. You always have to copy the original technique of the design, from one row to the next one and up and down. Here you have an example.
In case you only need to knit one row for fixing your project, please leave out step number 3 and use your little sewing needle.
We hope to see your fixed projects on Instagram with the hashtag #weareknitters
For this post we have used THE CROCHET NEEDLE, THE LITTLE SEWING NEEDLE and 100% PERUVIAN PETITE WOOL in GREEN.


