Do you love the weaving technique but your fabrics always tend to curve inward? Don't worry, today we bring you a tutorial that will show you a few simple steps for an infallible trick so that the edges of your fabric come out perfectly straight.

For this step-by-step tutorial you will need one of our small weaving looms, that comes with a wooden comb and shuttle, a skein of our Pima cotton and another of our Petit Wool.
Before beginning we will share a video on how to prepare your loom to start weaving.

Let’s start by setting up your warp on the loom with the skein of Pima cotton.

We will also prepare the shuttle with the Petit Wool.

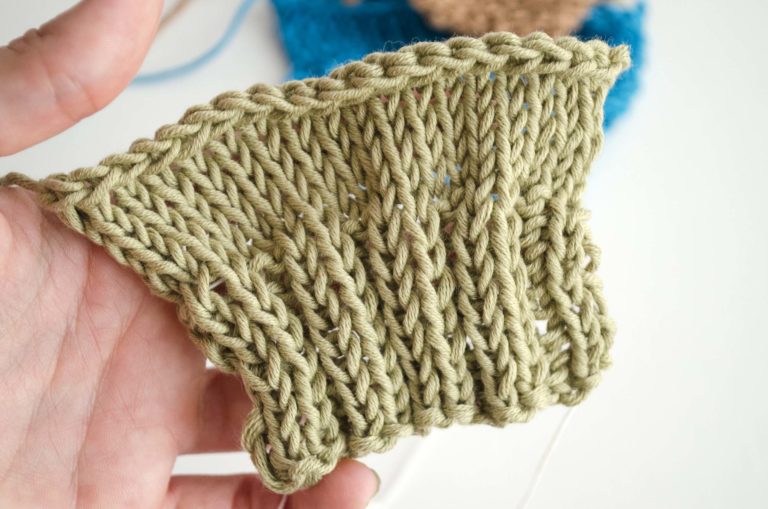
Above we show you how the sides of the fabric will look if you are weaving too tightly. As you can see, the fabric is becoming more and more narrow, making an inward curve that does not look very good.

In this image we show you how the sides of the fabric come out when woven straight. This is how they should look, and here below are three steps that will help you make your edges come out perfectly straight.

Step 1
Pass the shuttle through the warp threads.

When you get to the other side, and the shuttle has passed through completely, draw a loose arc with the yarn. Do not press down on the yarn.

Step 2
Using your finger, draw “waves” on the strand of yarn that you have in the shape of an arc.

You have to repeat the previous step from side to side, so that the entire strand forms the “waves”.

Step 3
Then comb and compact the fabric firmly at the bottom.

Repeat these three steps on each row, and you will see how your edges are straight and without a hint of curving in.
We hope you find this tutorial helpful; you already know we are looking forward to seeing your weaving projects on social networks with the hashtag #weareknitters.


Go have a look at our sister brand Fūnem Studio shop to discover more Weaving Kits, Supplies and Yarns!


