Oh pockets! Maybe we don’t give them much thought, but when we don’t have any, we miss them. So, if you are one of those people who thinks they are essential, today you are in luck because we will teach you how to knit a pocket step by step. So you can add them to your sweaters. :-)

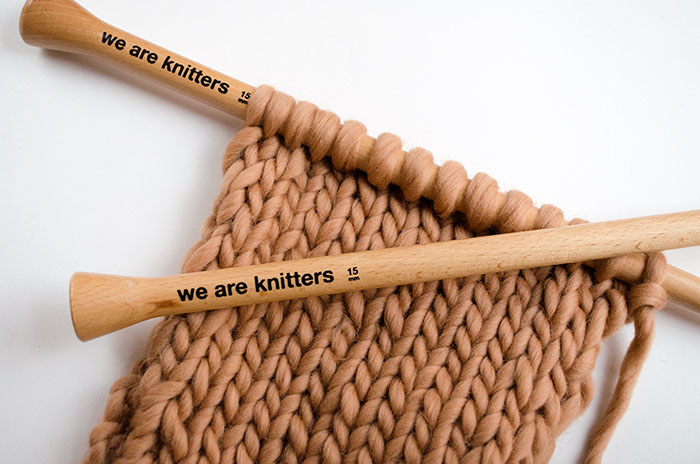
For this tutorial we used a skein of our Pima cotton and a pair of size 8 beechwood knitting needles.

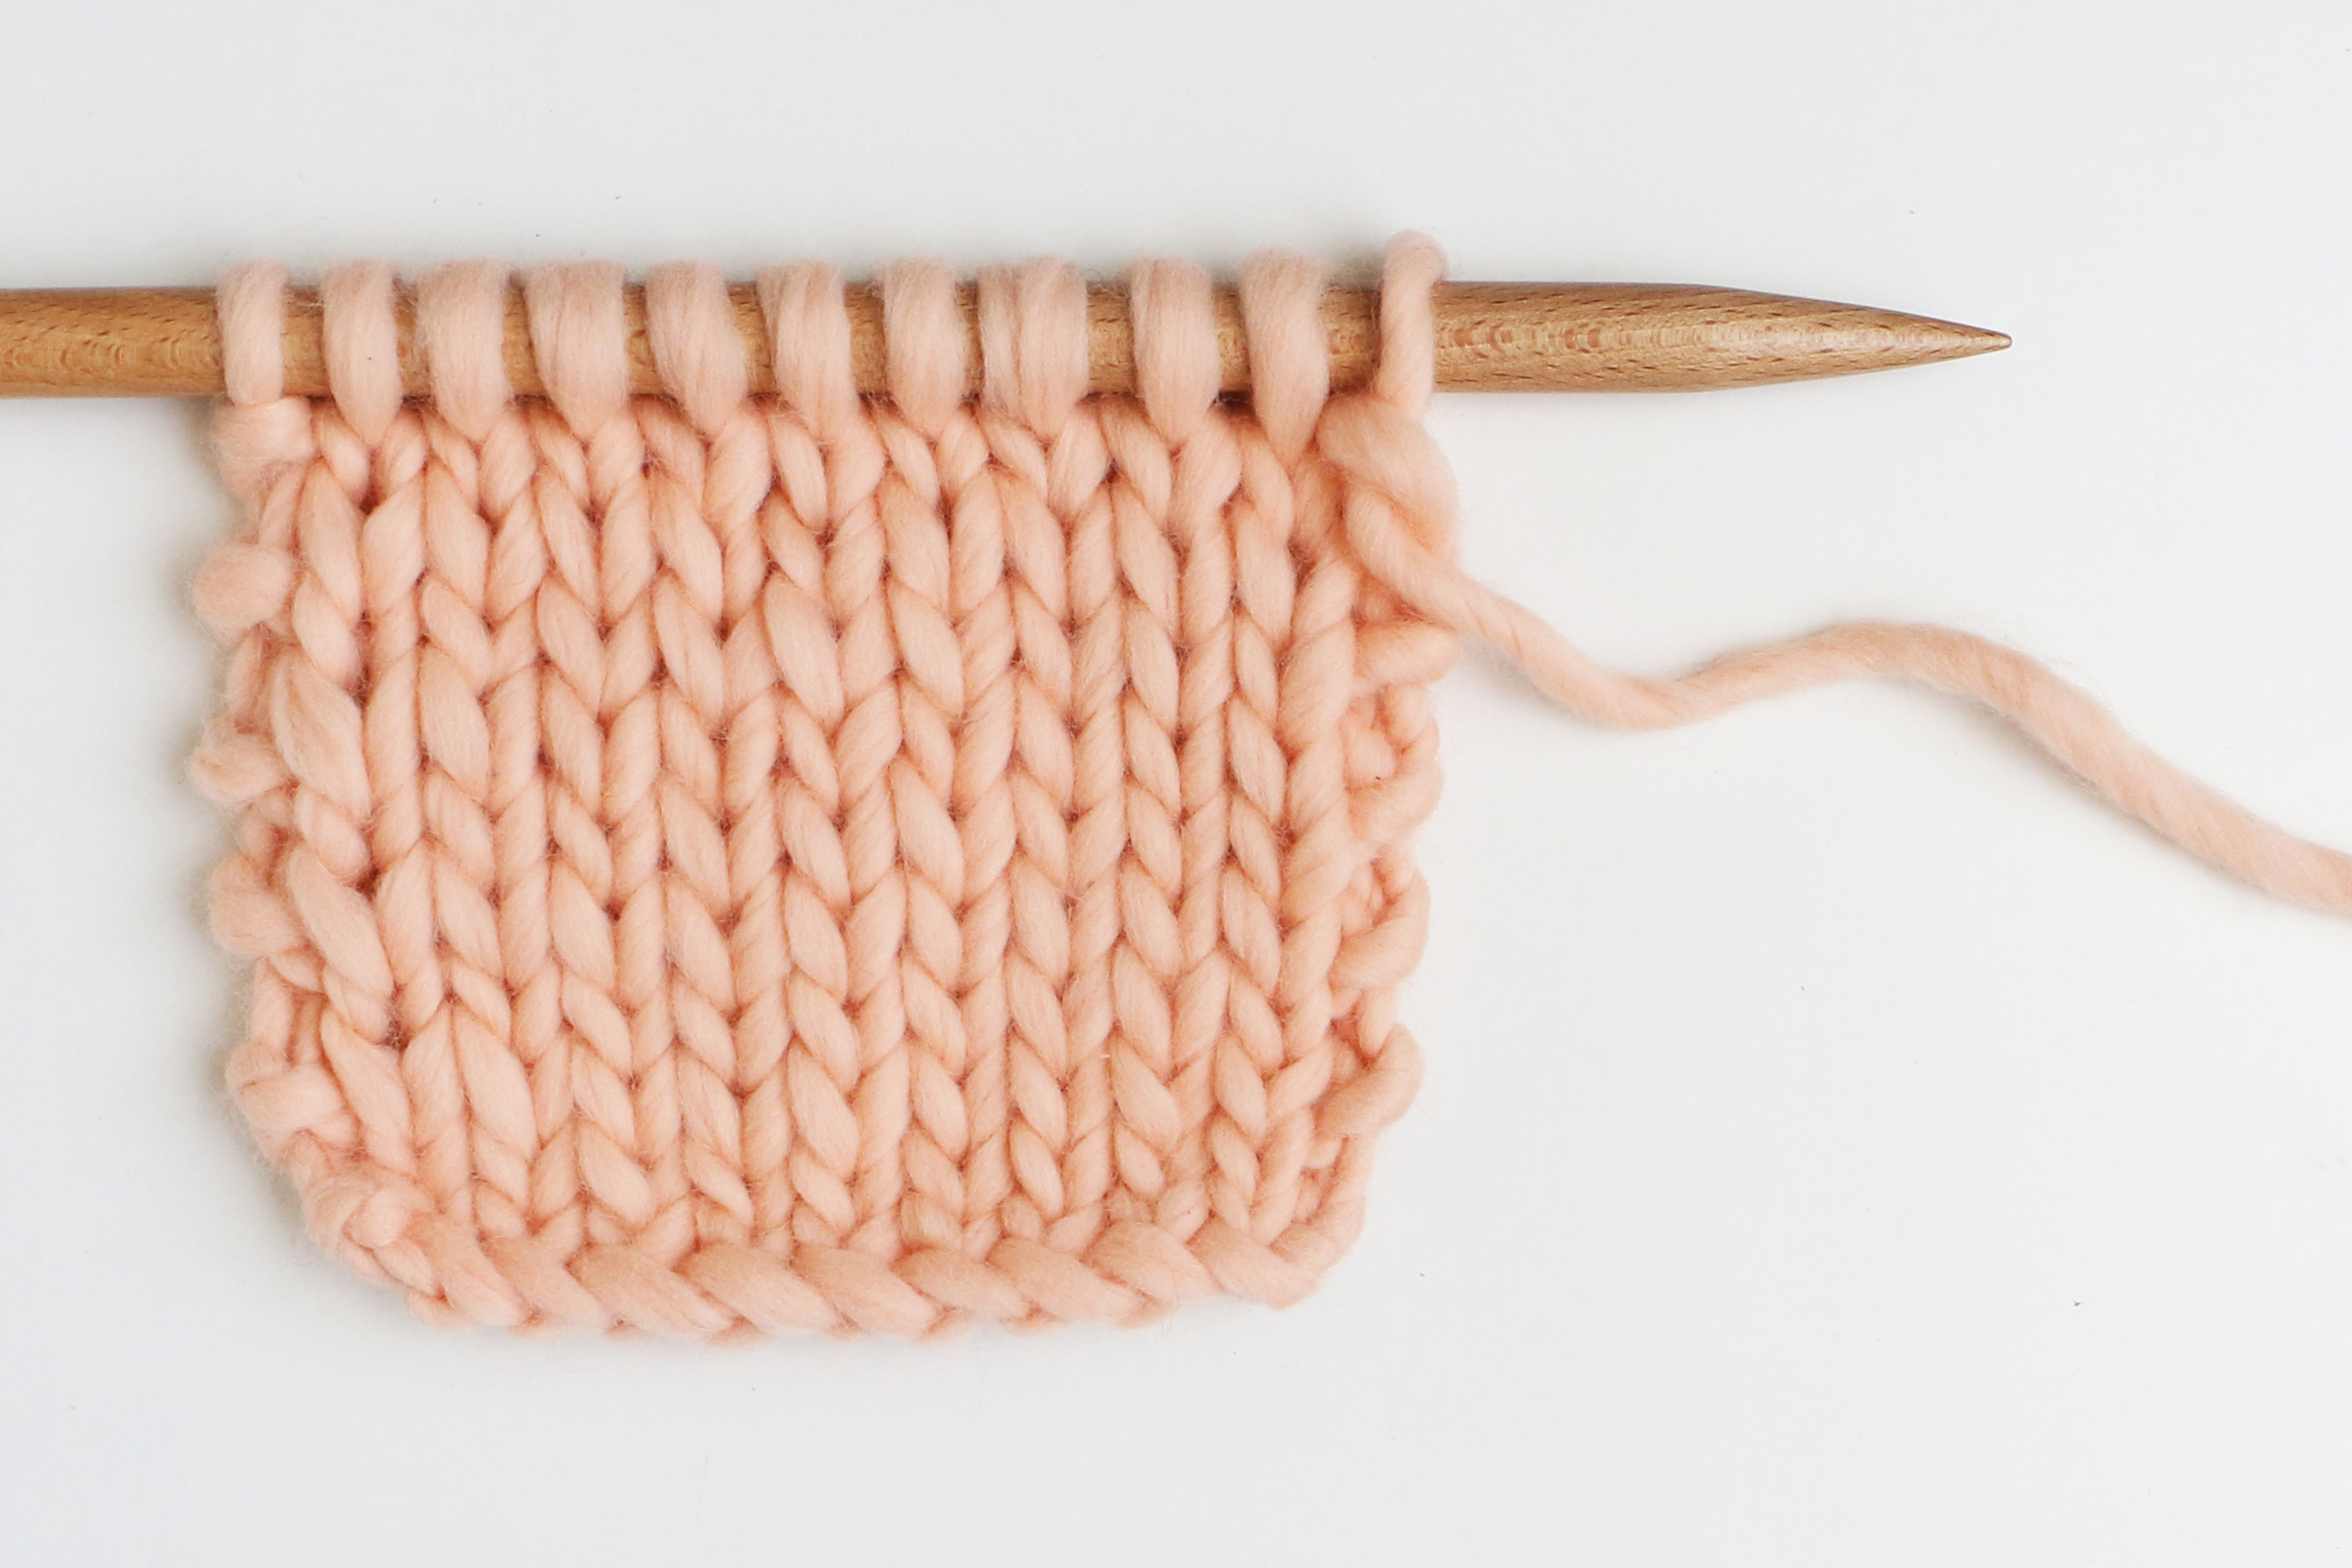
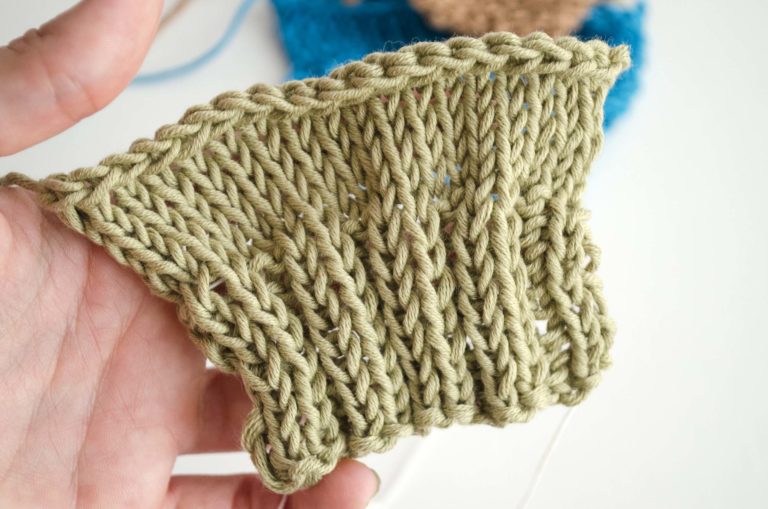
In this step-by-step tutorial we are going to use a small stocking stitch swatch that we had knitted earlier. But when you are going to knit pockets onto the garment, no matter what stitch you use, the process is the same.

To knit our pocket we will pick up as many stitches as we need from our fabric swatch. As you can see in the image above, when knitting the stockinette stitch a “spike” is formed, and of the two sides of it we are going to pick up the one on the left (the part of the stitch that is marked blue).

The stitches will be picked up starting on the right and ending on the left of the swatch. As we already indicated in the previous step: you have to pick up as many stitches as you need to knit your pocket.

Once we have all of the stitches, we start knitting them to form the pocket. We used a ball of yarn in a contrasting color so that you can see more clearly which part of our swatch belongs to the pocket.

The rows of stitches of the pocket should be knitted as usual: row by row, working all stitches.

Once your pocket reaches the desired size, bind off all stitches.

Now, using a tapestry needle sew the two sides to your base swatch. Here is a post where we explain how to sew an invisible side seam in stockinette stitch. In this way the seams will not be visible and your pocket will come out perfect.

¡Y ya tenemos nuestro bolsillo listo! Esperamos que este tutorial te sea muy útil y que aproveches para tejerte bolsillos en tus cardigans favoritos. ¡Compartenos el resultado en las redes sociales a través del hashtag #weareknitters! Nos encanta ver la comunidad tan talentosa y original que tenemos 🙂 ¡Hasta la próxima!
