Surely at some point, you have faced the dreaded “stitch diagram” or “knitting chart” and been met with despair, trying to understand which side the rows begin on or perhaps wondered what the heck does this symbol mean? We like to make things easy, so we’ve made a list with some of the stitches that we use in our diagrams, alongside videos of the stitch in question and some basic explanations that will help you understand how these are worked. So you’ll never have a hard time trying to interpret them again 🙂

How to correctly read the rows in a chart
To read the diagram, remember that the odd numbered rows are read from right to left and the even numbered rows are read from left to right.

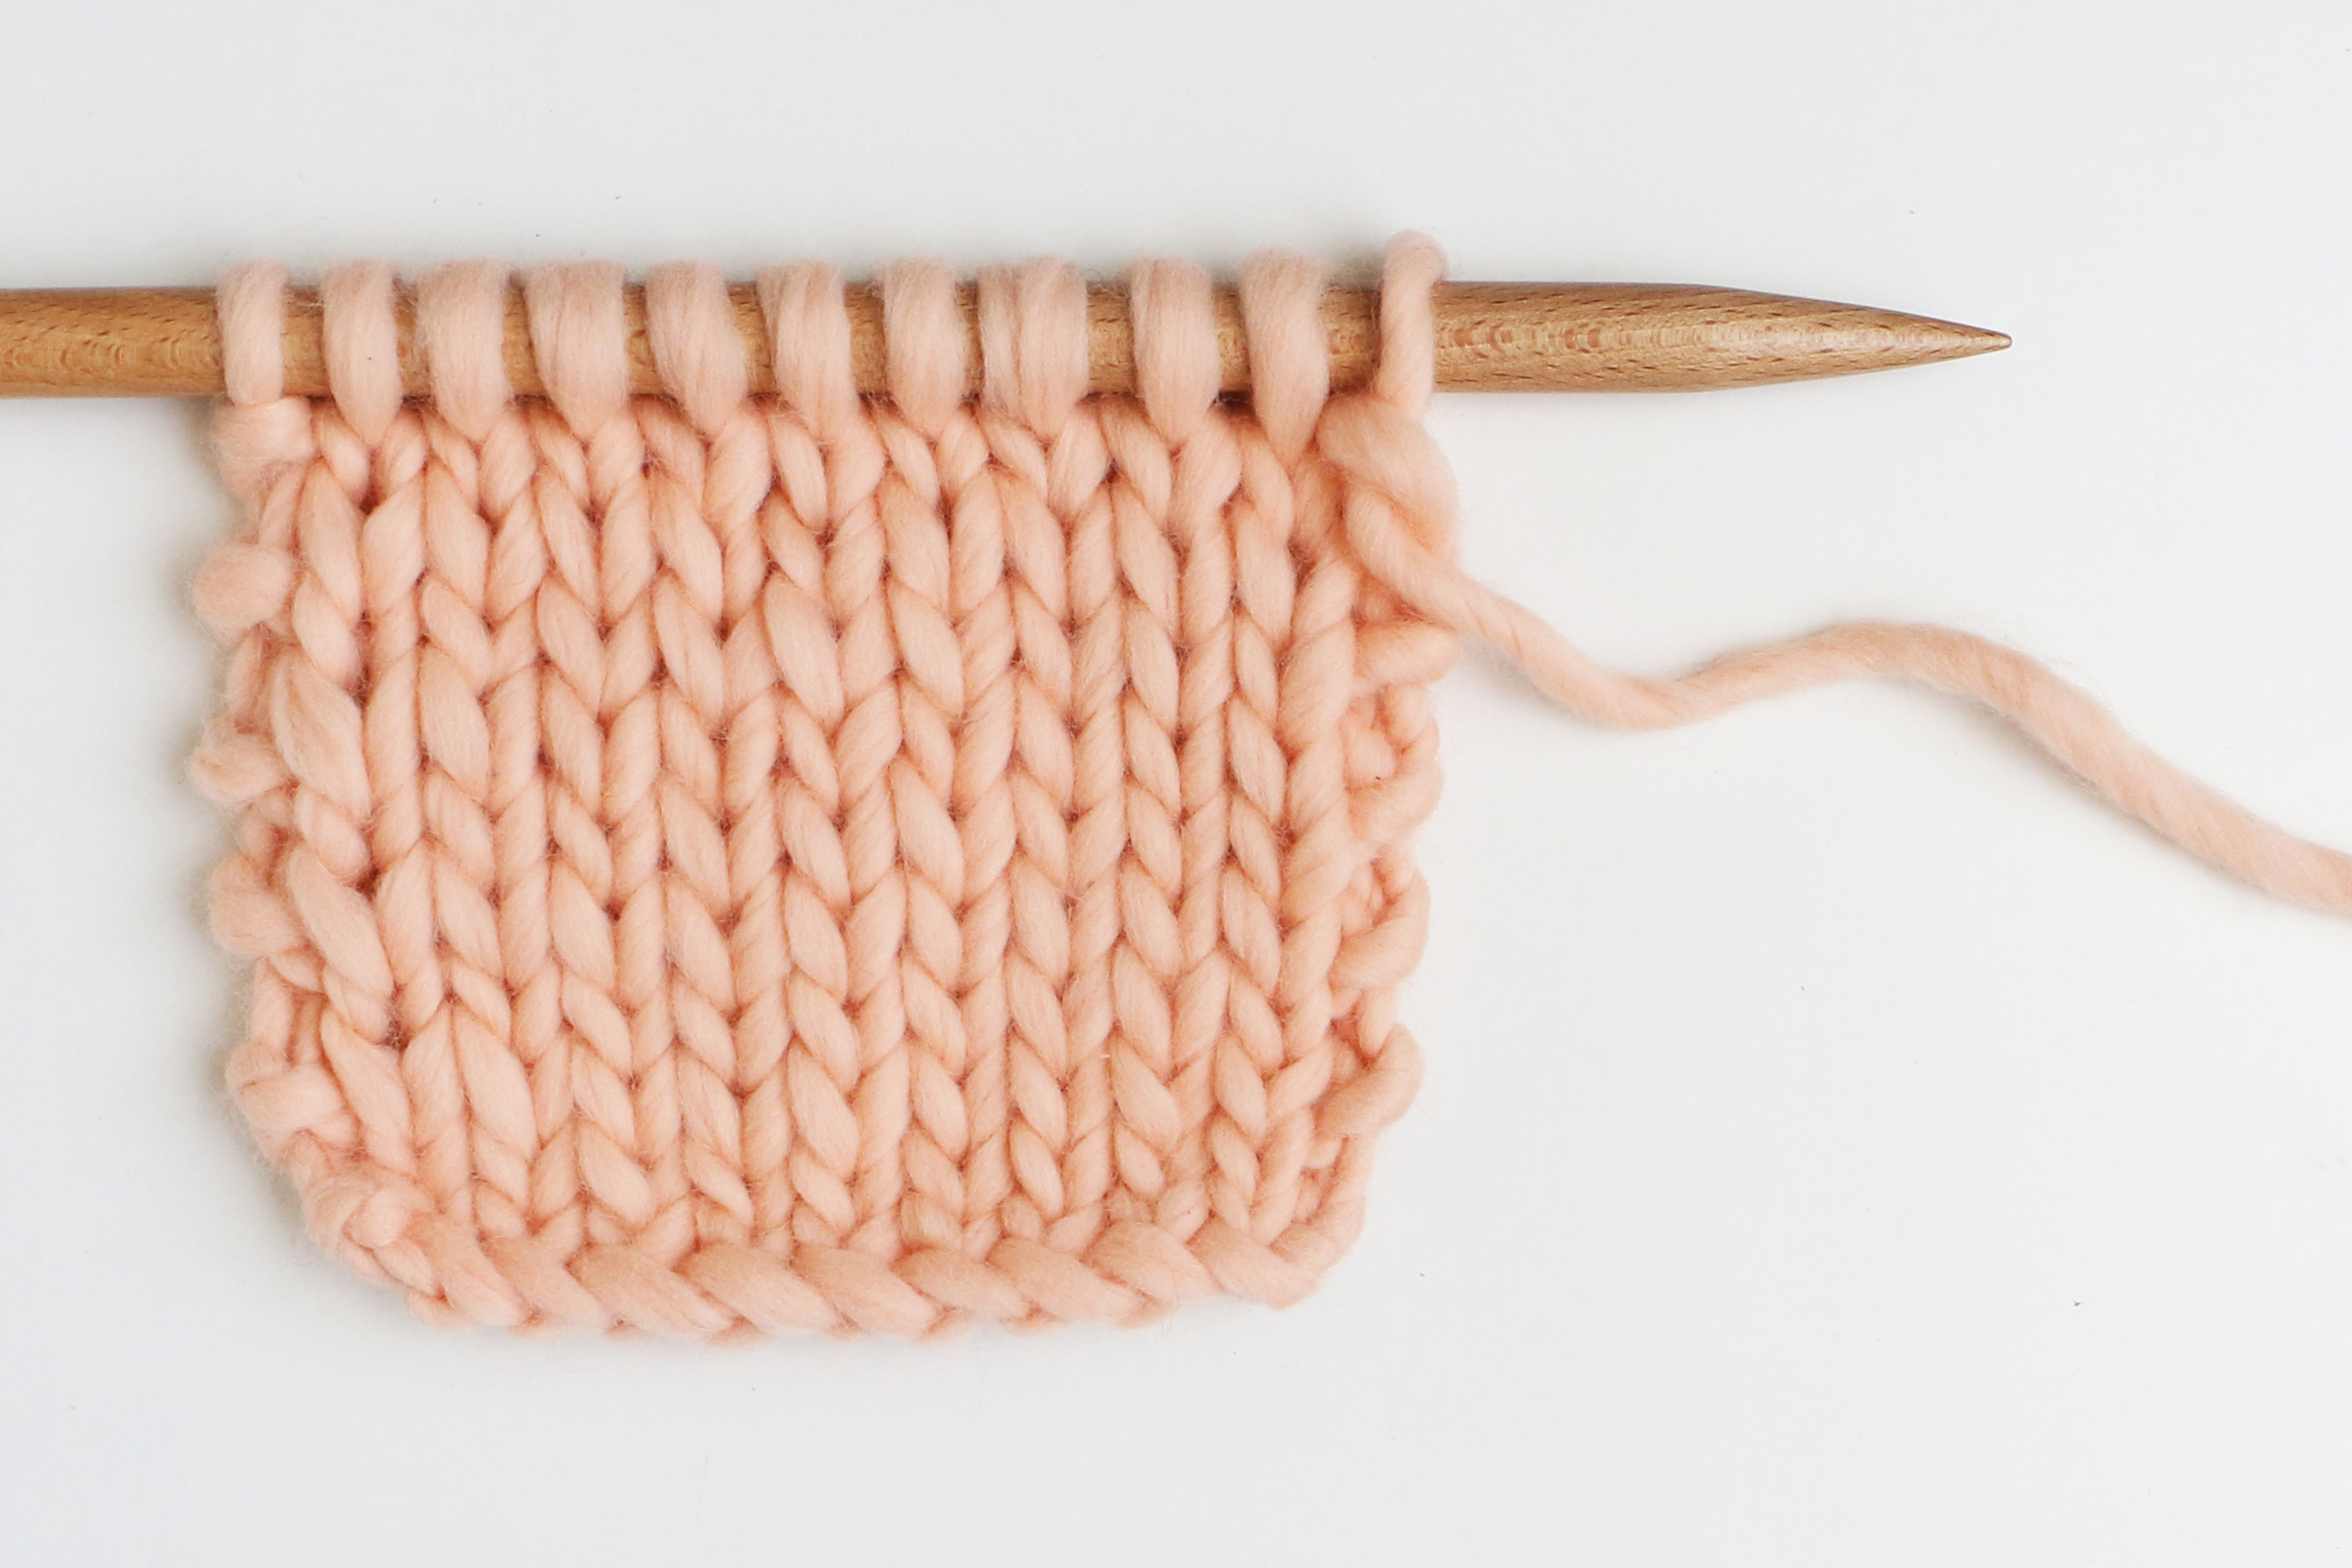
Stockinette stitch
On odd rows, knit 1. On even rows, purl 1.

Reverse stockinette stitch
On odd rows, purl 1. On even rows, knit 1.

Increase 1
When you have to increase 1, pick up the strand between two stitches and place it on the left needle, twisting the strand. Then work it as indicated in the pattern.

Bind off
To bind off 1 stitch you need to work 2 stitches. This means, when binding off 1 stitch, work 2 stitches, then pass the first stitch over the second one. To bind off another stitch, work 1 more stitch and pass the second stitch over the third one. Keep working in this way until you have bound off the desired number of stitches. Once the stitches are bound off, there will be 1 live stitch remaining on the right needle. Remember that this stitch will be the first stitch of the row in the chart, so you should work it as indicated in the chart before binding off the the previous stitch over it. Then after binding off the instructed number of stitches, you should continue on to working the second stitch of the row.

SKPO (slip, knit, pass over)
Slip 1 stitch as if you were going to knit it. Knit the next stitch. Using your left-hand needle, pass the slipped stitch over the knit stitch.

SK2TPO (Slip, knit 2 together, pass over)
Slip 1 stitch as if you were going to knit it. Knit the next 2 stitches together. Using your left-hand needle, pass the slipped stitch over the 2 stitches knitted together.

Work 2 stitches together
Work 2 stitches together as if they were 1 stitch.

Work 3 stitches together
Work 3 stitches together as if they were 1 stitch.

Yarn over
To make a yarn over, wrap your yarn around the right-hand needle from the back to the front and over the needle.
We hope you always have this post handy to look at whenever you have any questions. Here we have explained the most basic stitches, and in future posts, we’ll explain more 🙂
As always, we hope you share your experience as a maker on social media with the hashtag #weareknitters.


