Creating this wall hanging using a picture frame is a quick and simple craft to use up leftover yarn. You don’t even need a loom to make it since the picture frame serves as the base. It’s got everything to be the perfect project: quick, easy, using recycled materials, and the result is spectacular, what are you waiting for?
MATERIALS
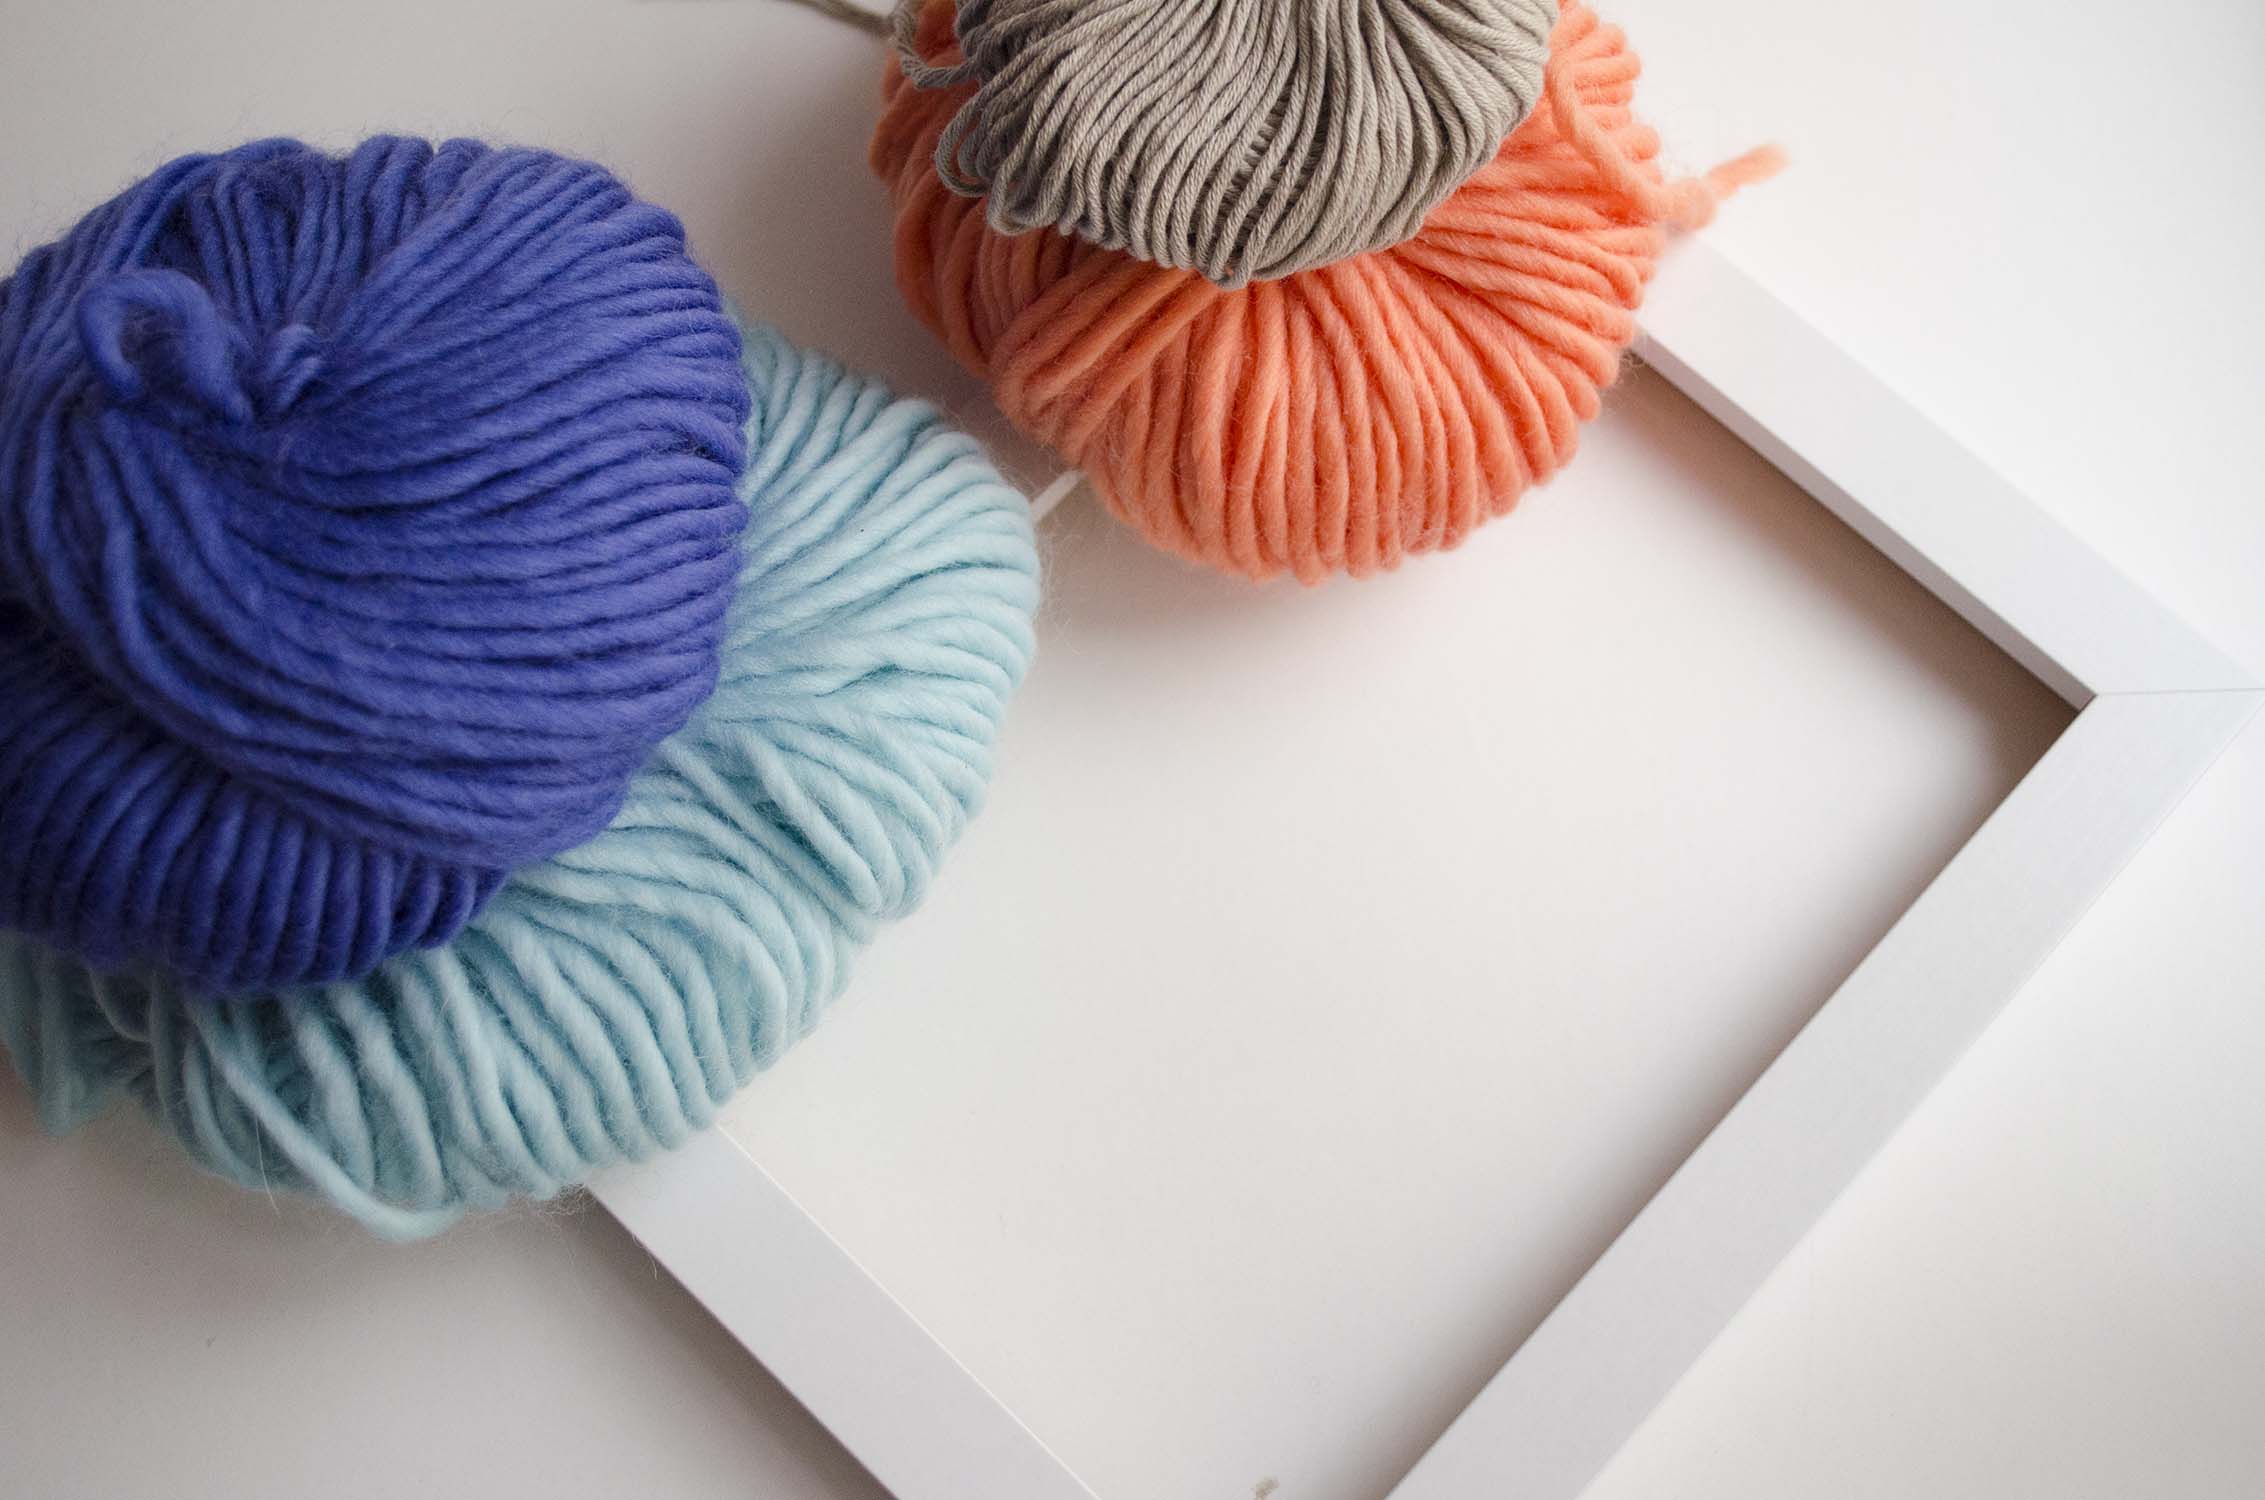
– Scraps of the Petite Wool and a few yards of the Pima Cotton leftover from other projects. Use your favorite colors!
– A picture frame with glass and back removed.
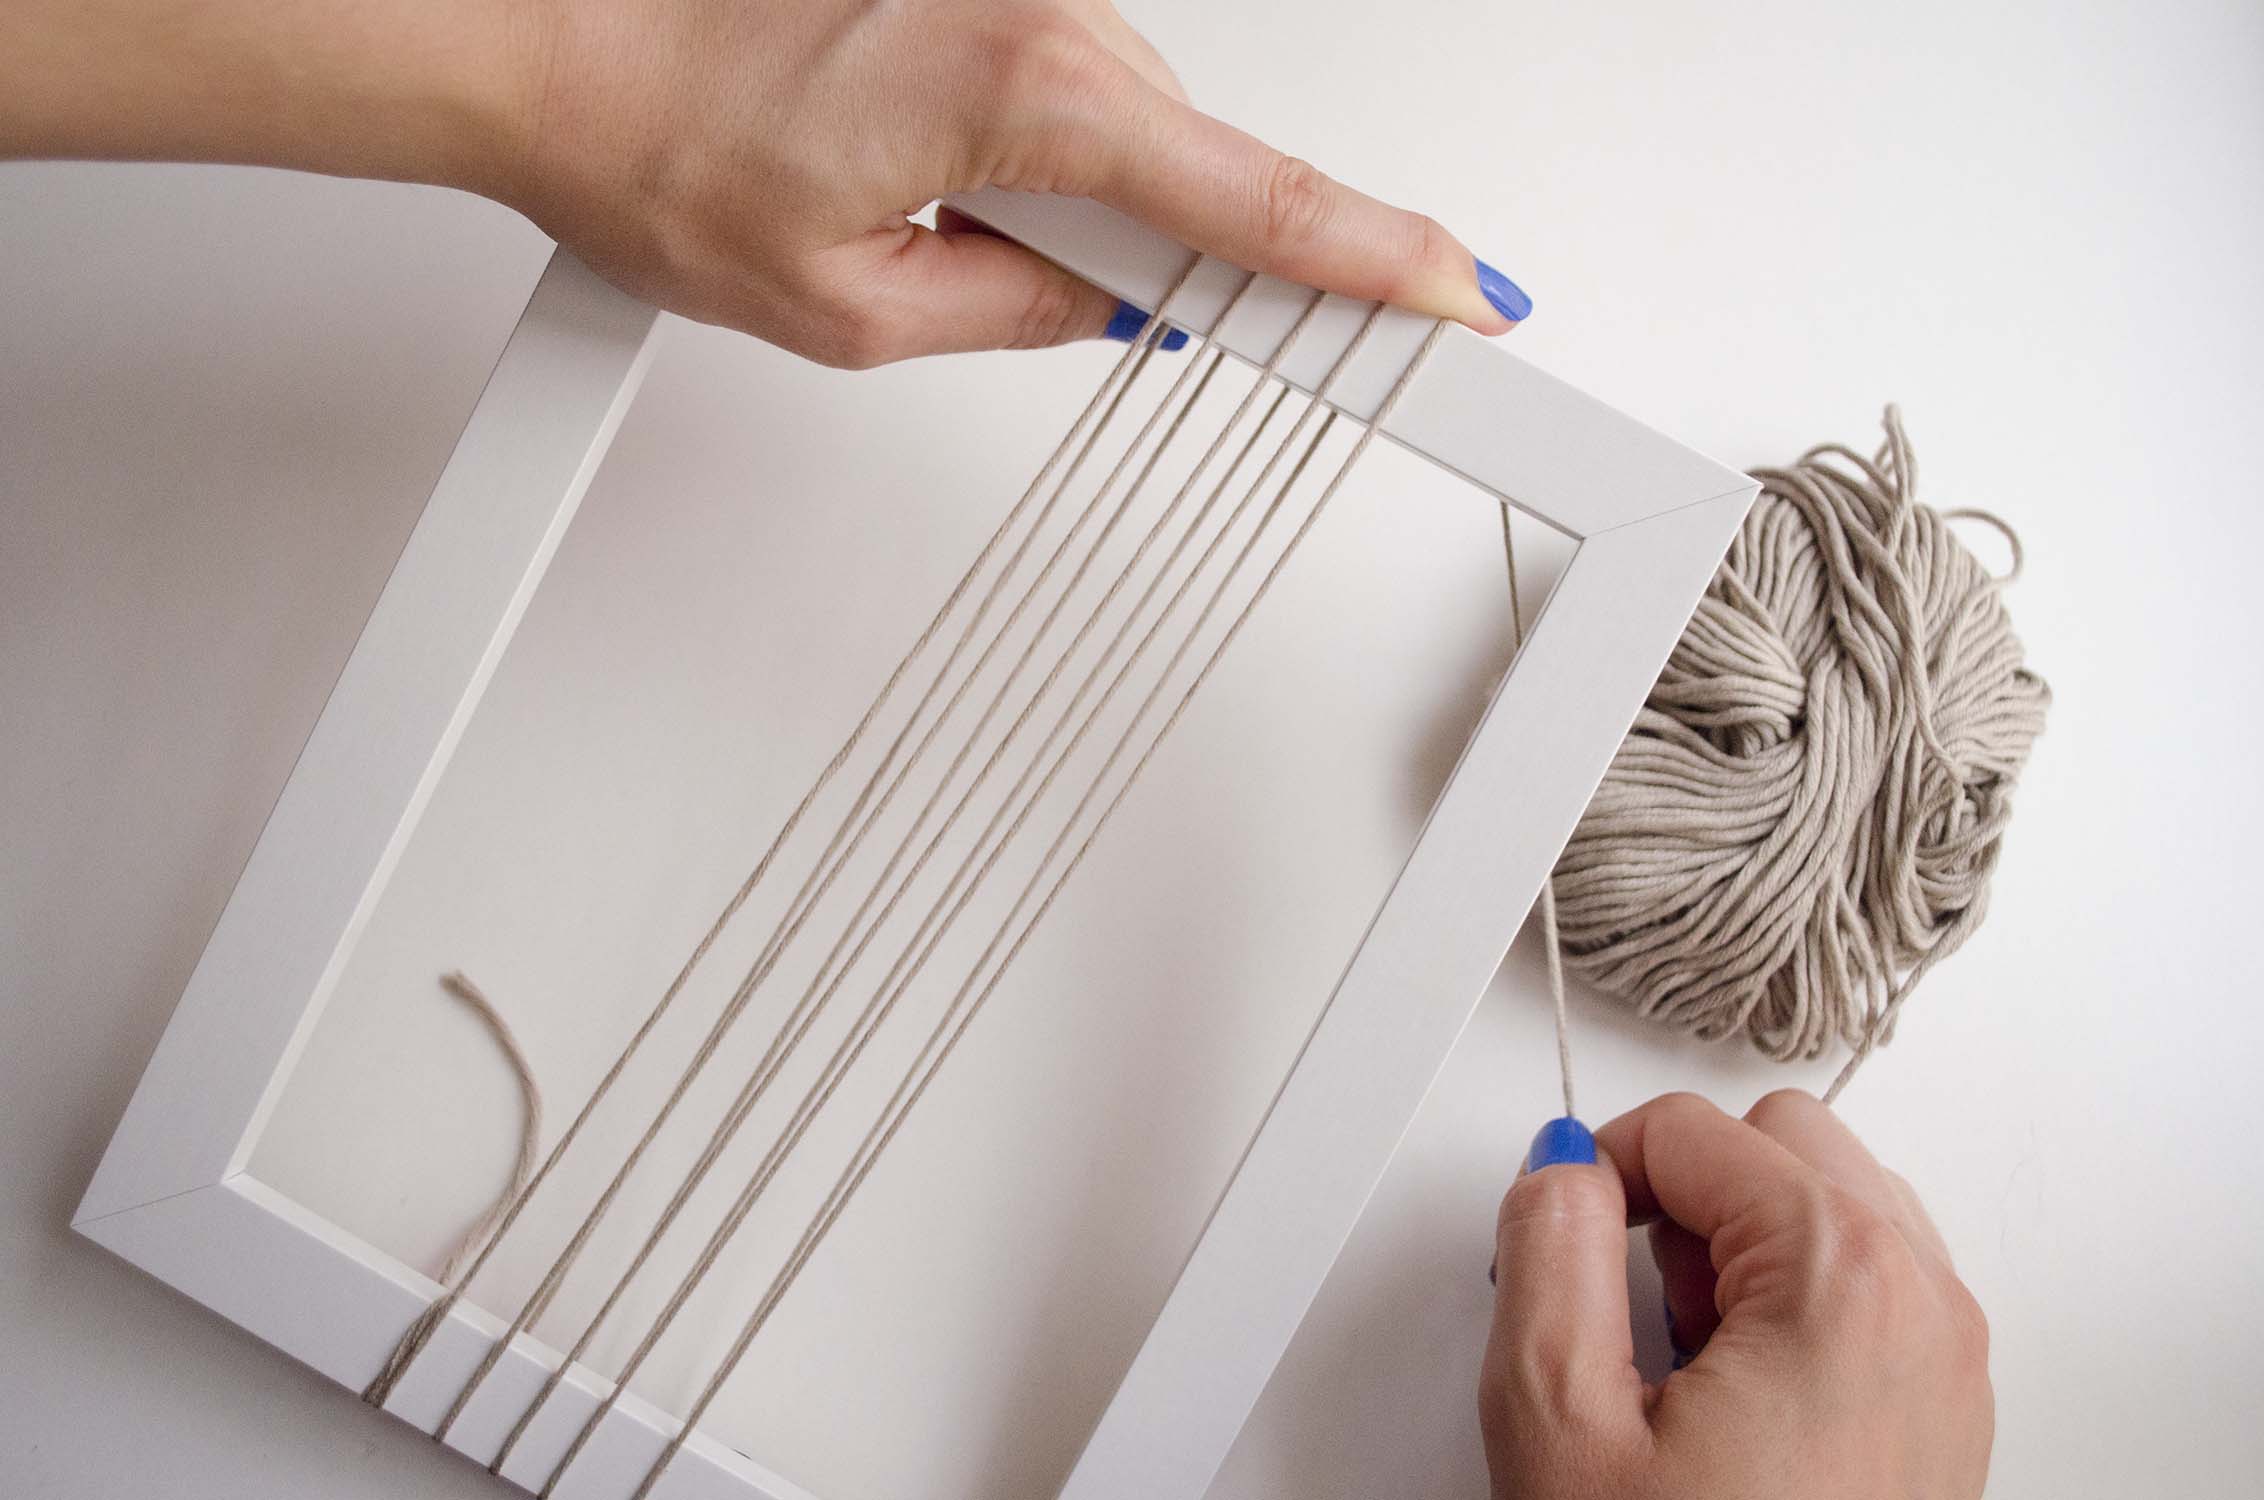
Start by making the base of the wall hanging using the cotton yarn. Tie one end of the cotton yarn onto the bottom of the frame and then wrap the yarn around the edge of the frame. We wrapped our base diagonally, to create a more modern effect, but you can also wrap it straight.
Decide how many threads will make up the width of your wall hanging. For this project we followed the less is more approach, so that the frame is not completely covered.

When you reach the opposite end of the frame tie the end of the cotton firmly so that it is tightly secured to the frame.
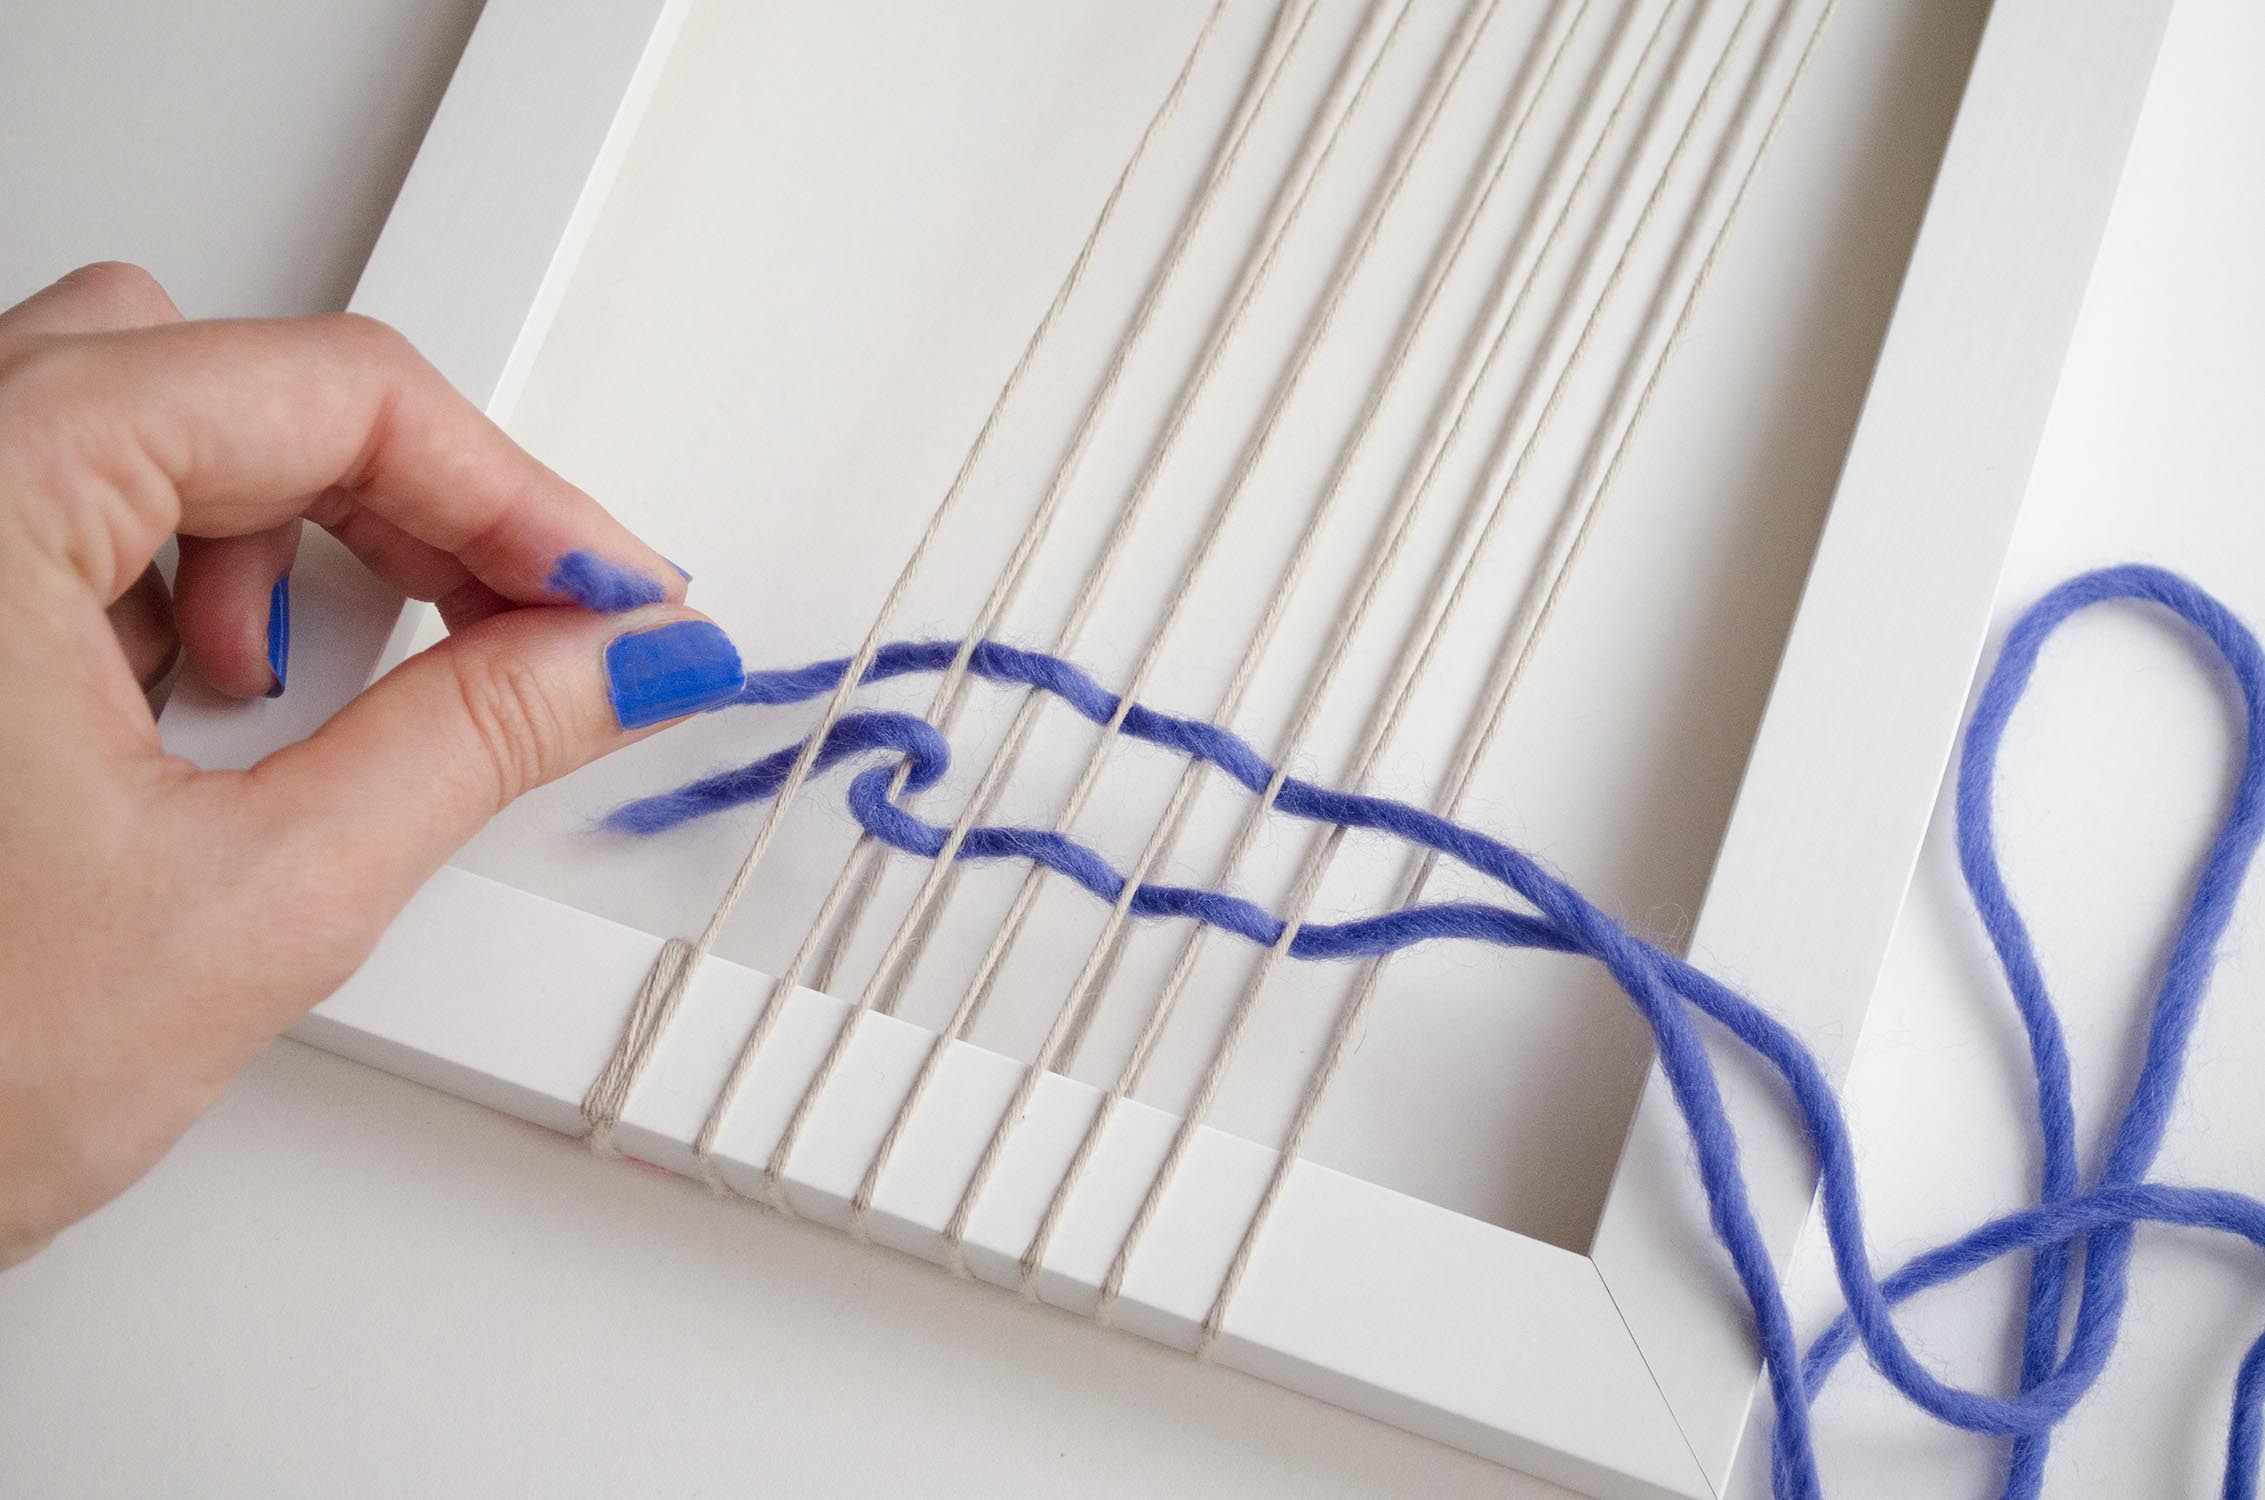
Cut a piece of wool and start sewing shapes onto your picture frame loom. Work from left to right along the bottom edge. Weave the strand of yarn over and under the cotton threads that form the base of the wall hanging.
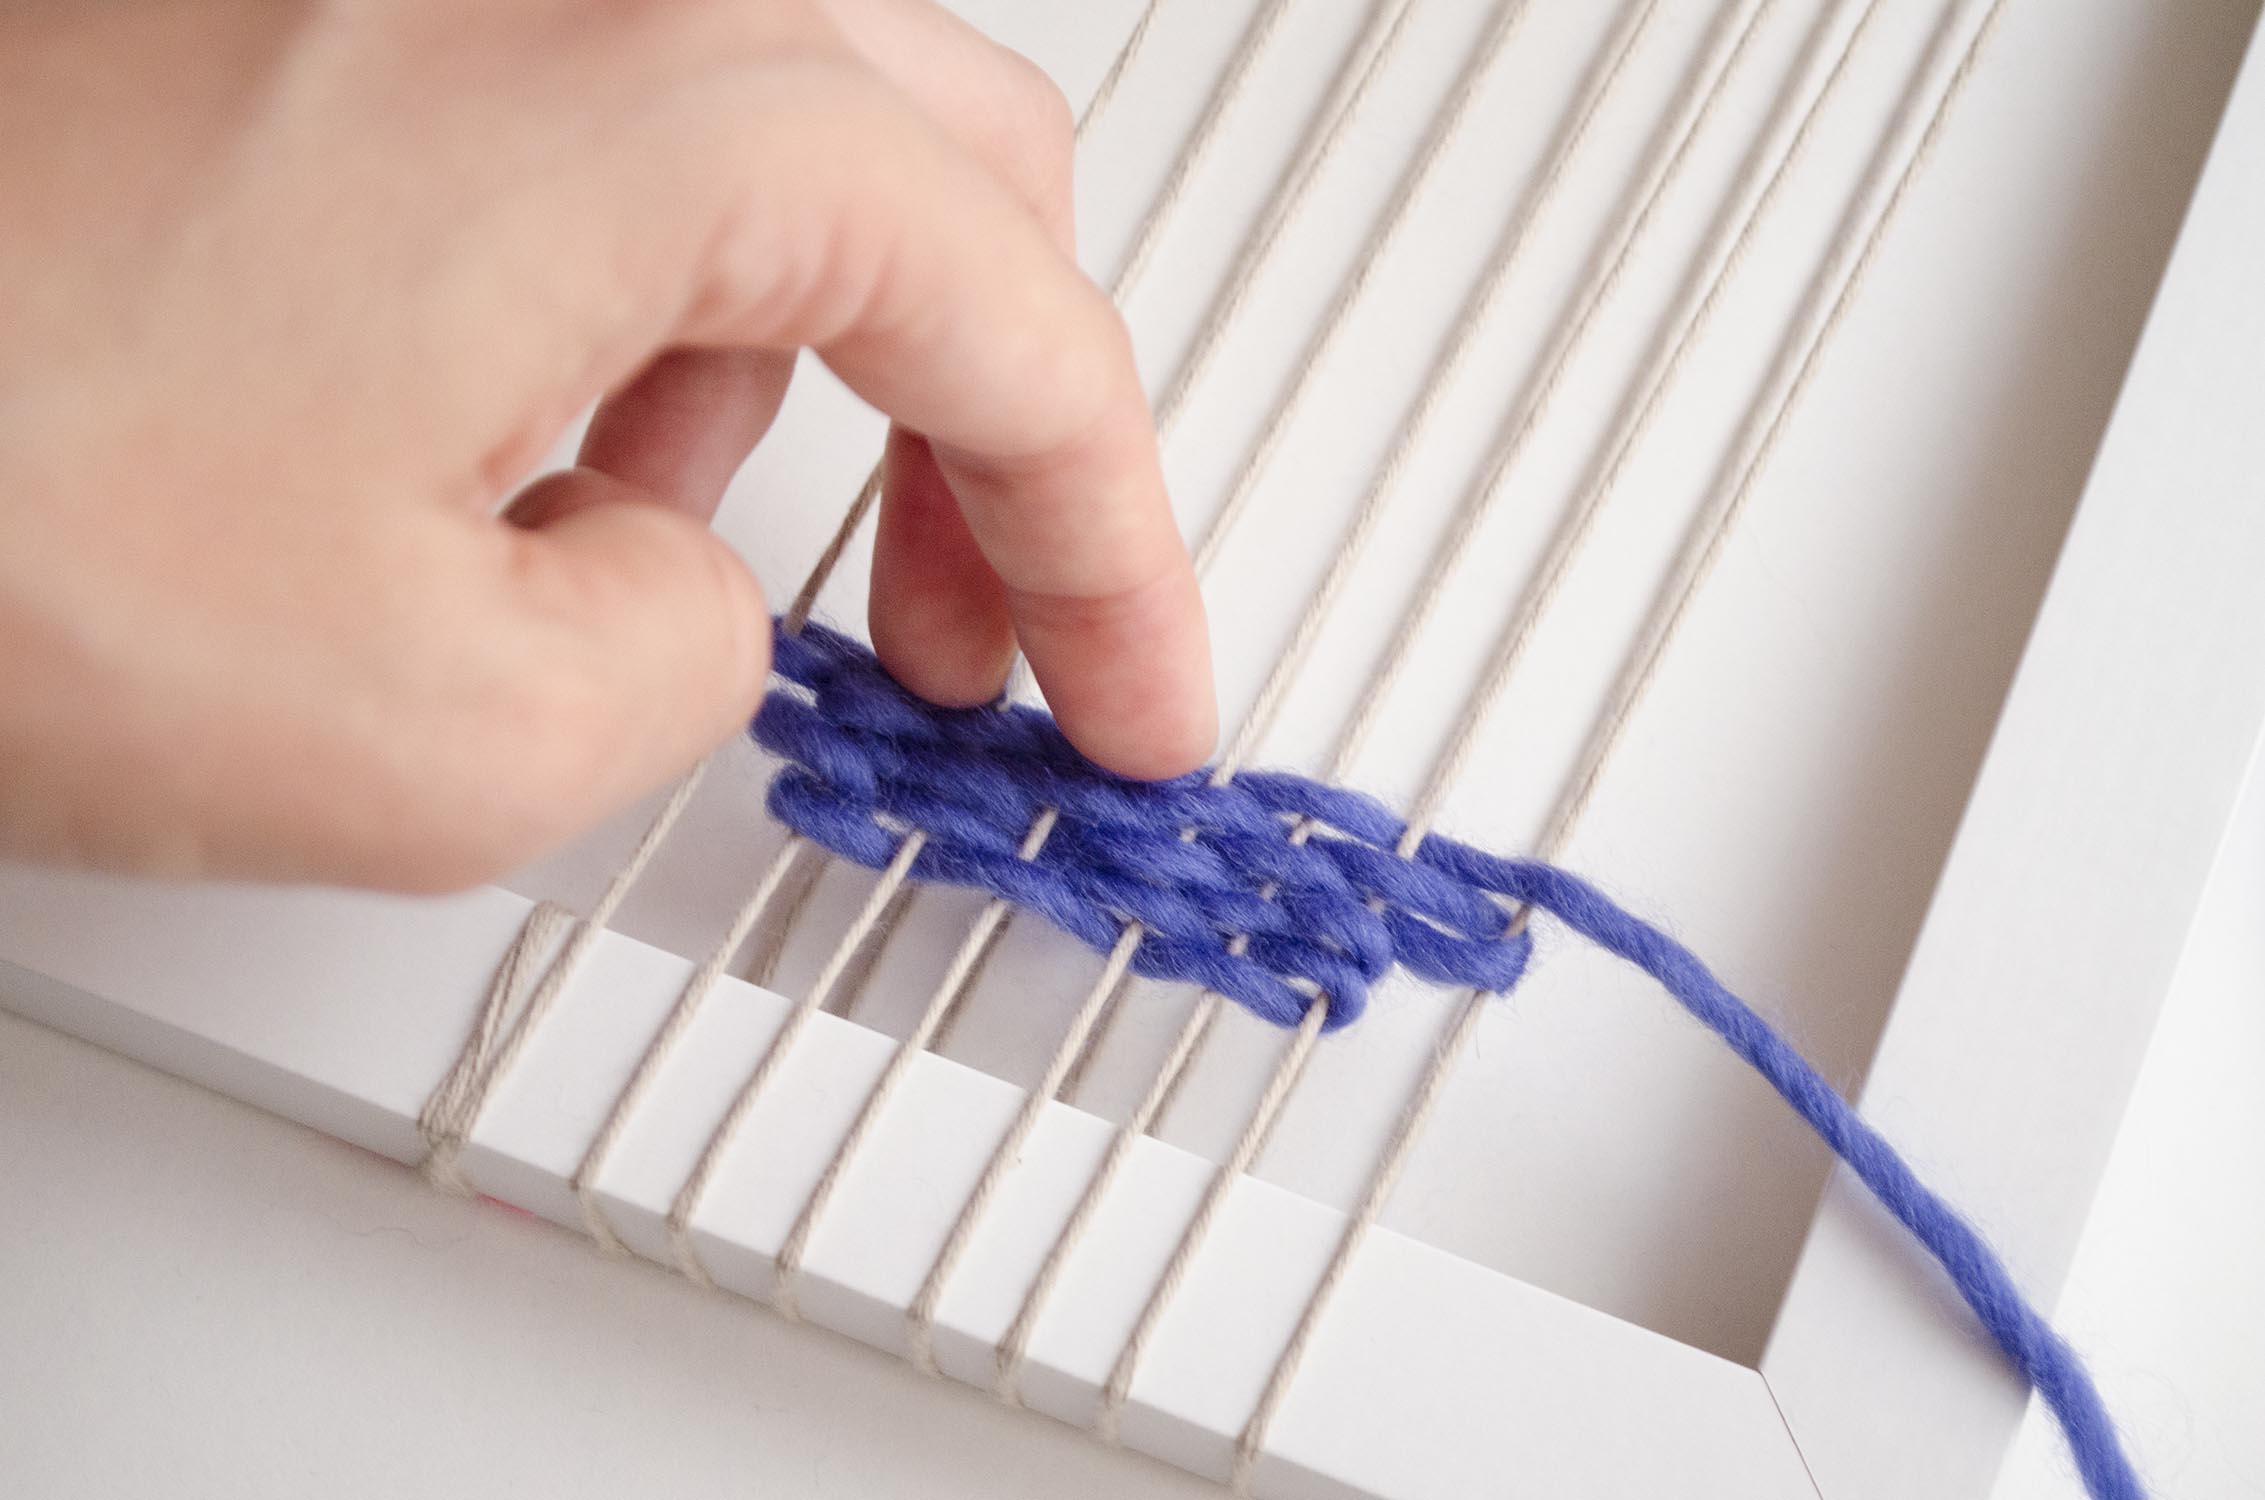
It is important to press the wool down on top of the previous row after finishing each row, this way the stitches will be tightly woven and stay in place to make a dense wall hanging.

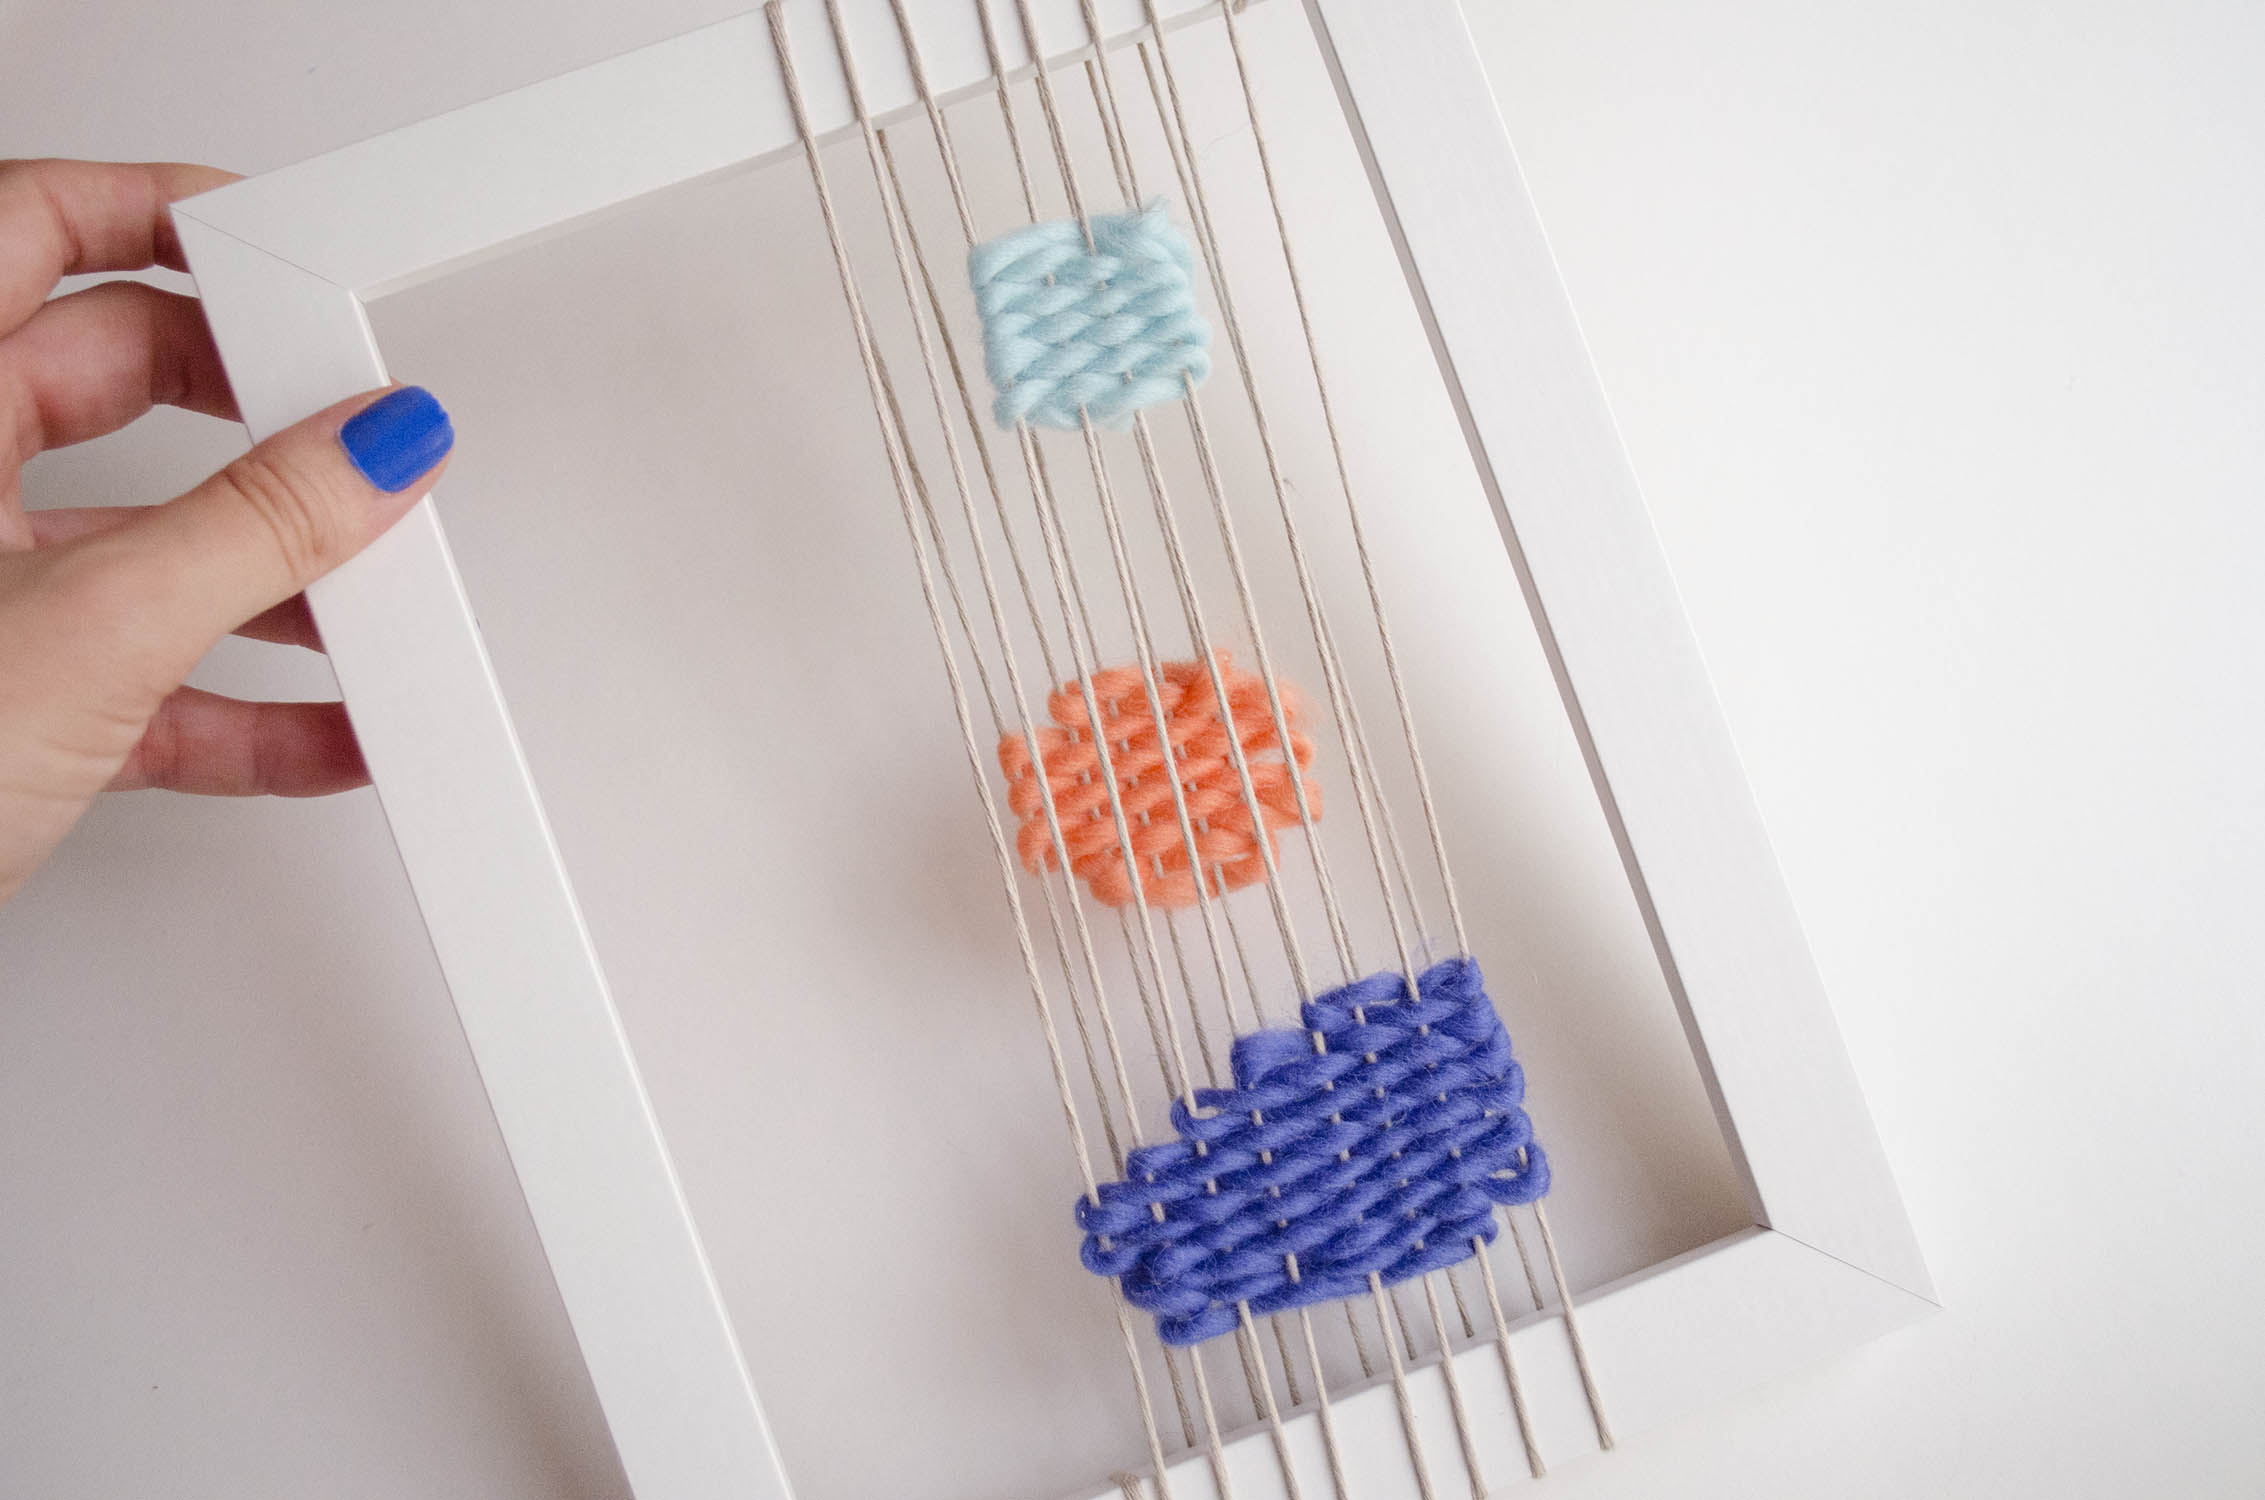
Continue working the desired shapes on each row, until you achieve the desired result. You can make circles, triangles, rectangles…or abstract shapes! Your imagination is the limit.
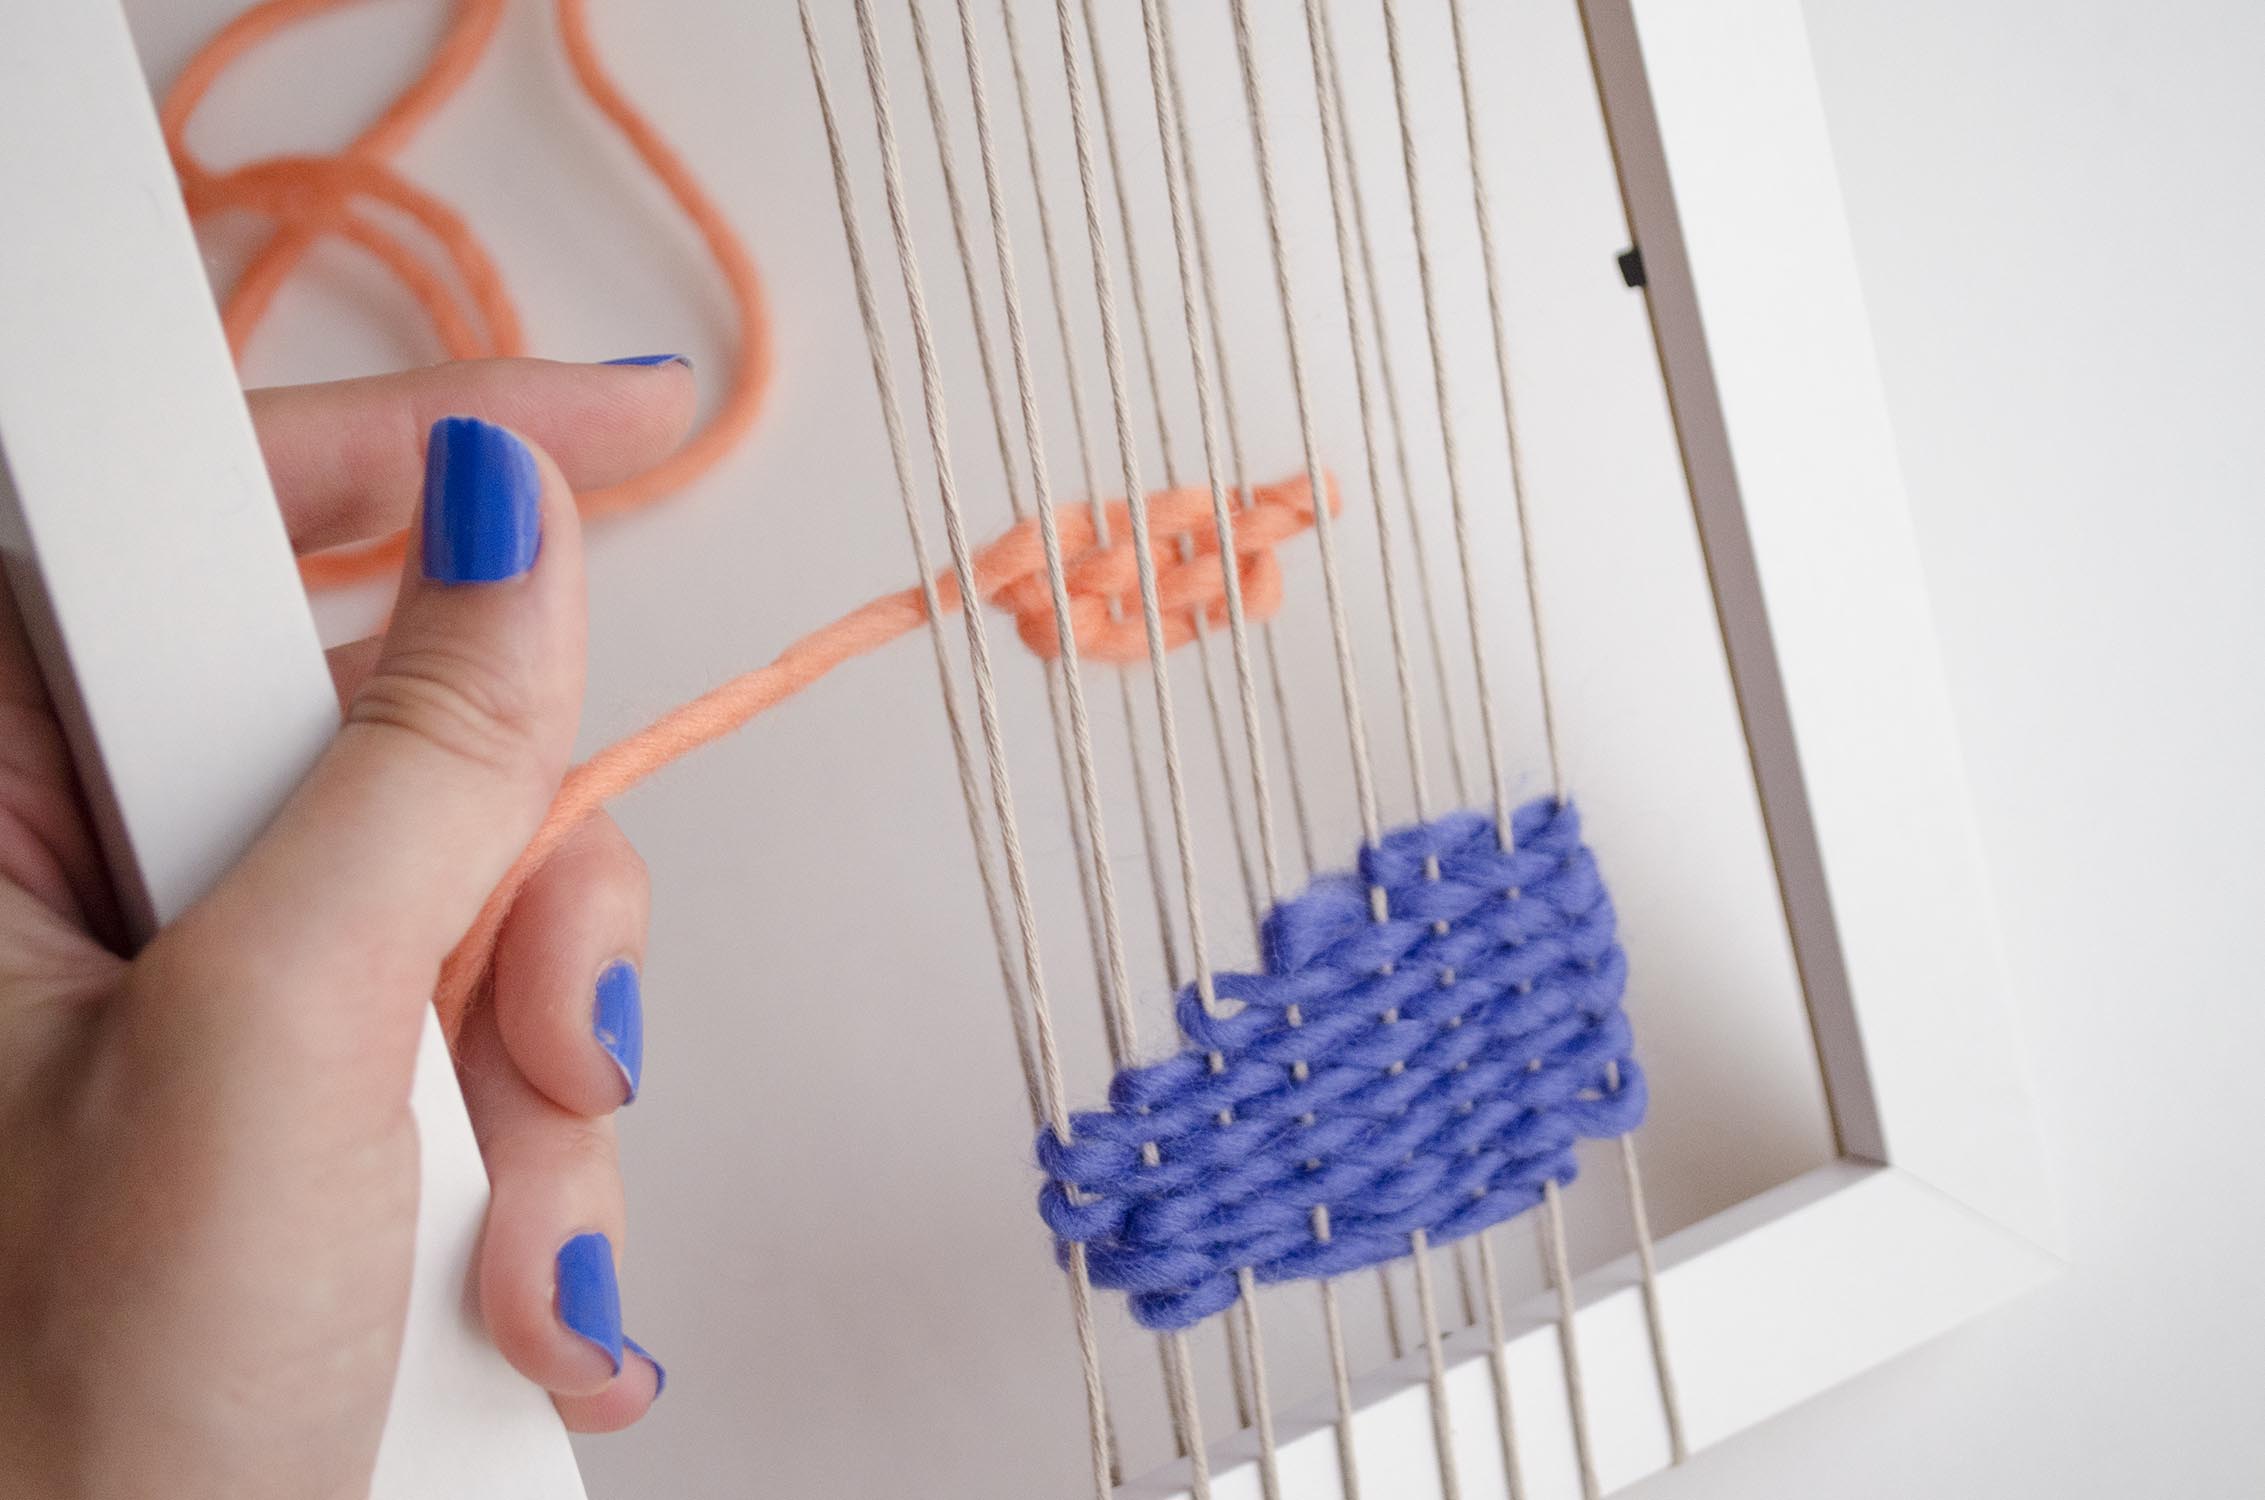
After you finish the first shape, start the next one. To add personality to the wall hanging this time we are going to weave into the strands at the back of the frame. This way it will show up subtly through the threads, but catch our eye when looking at it 😉
We made a circle that contrasts with the other shapes.
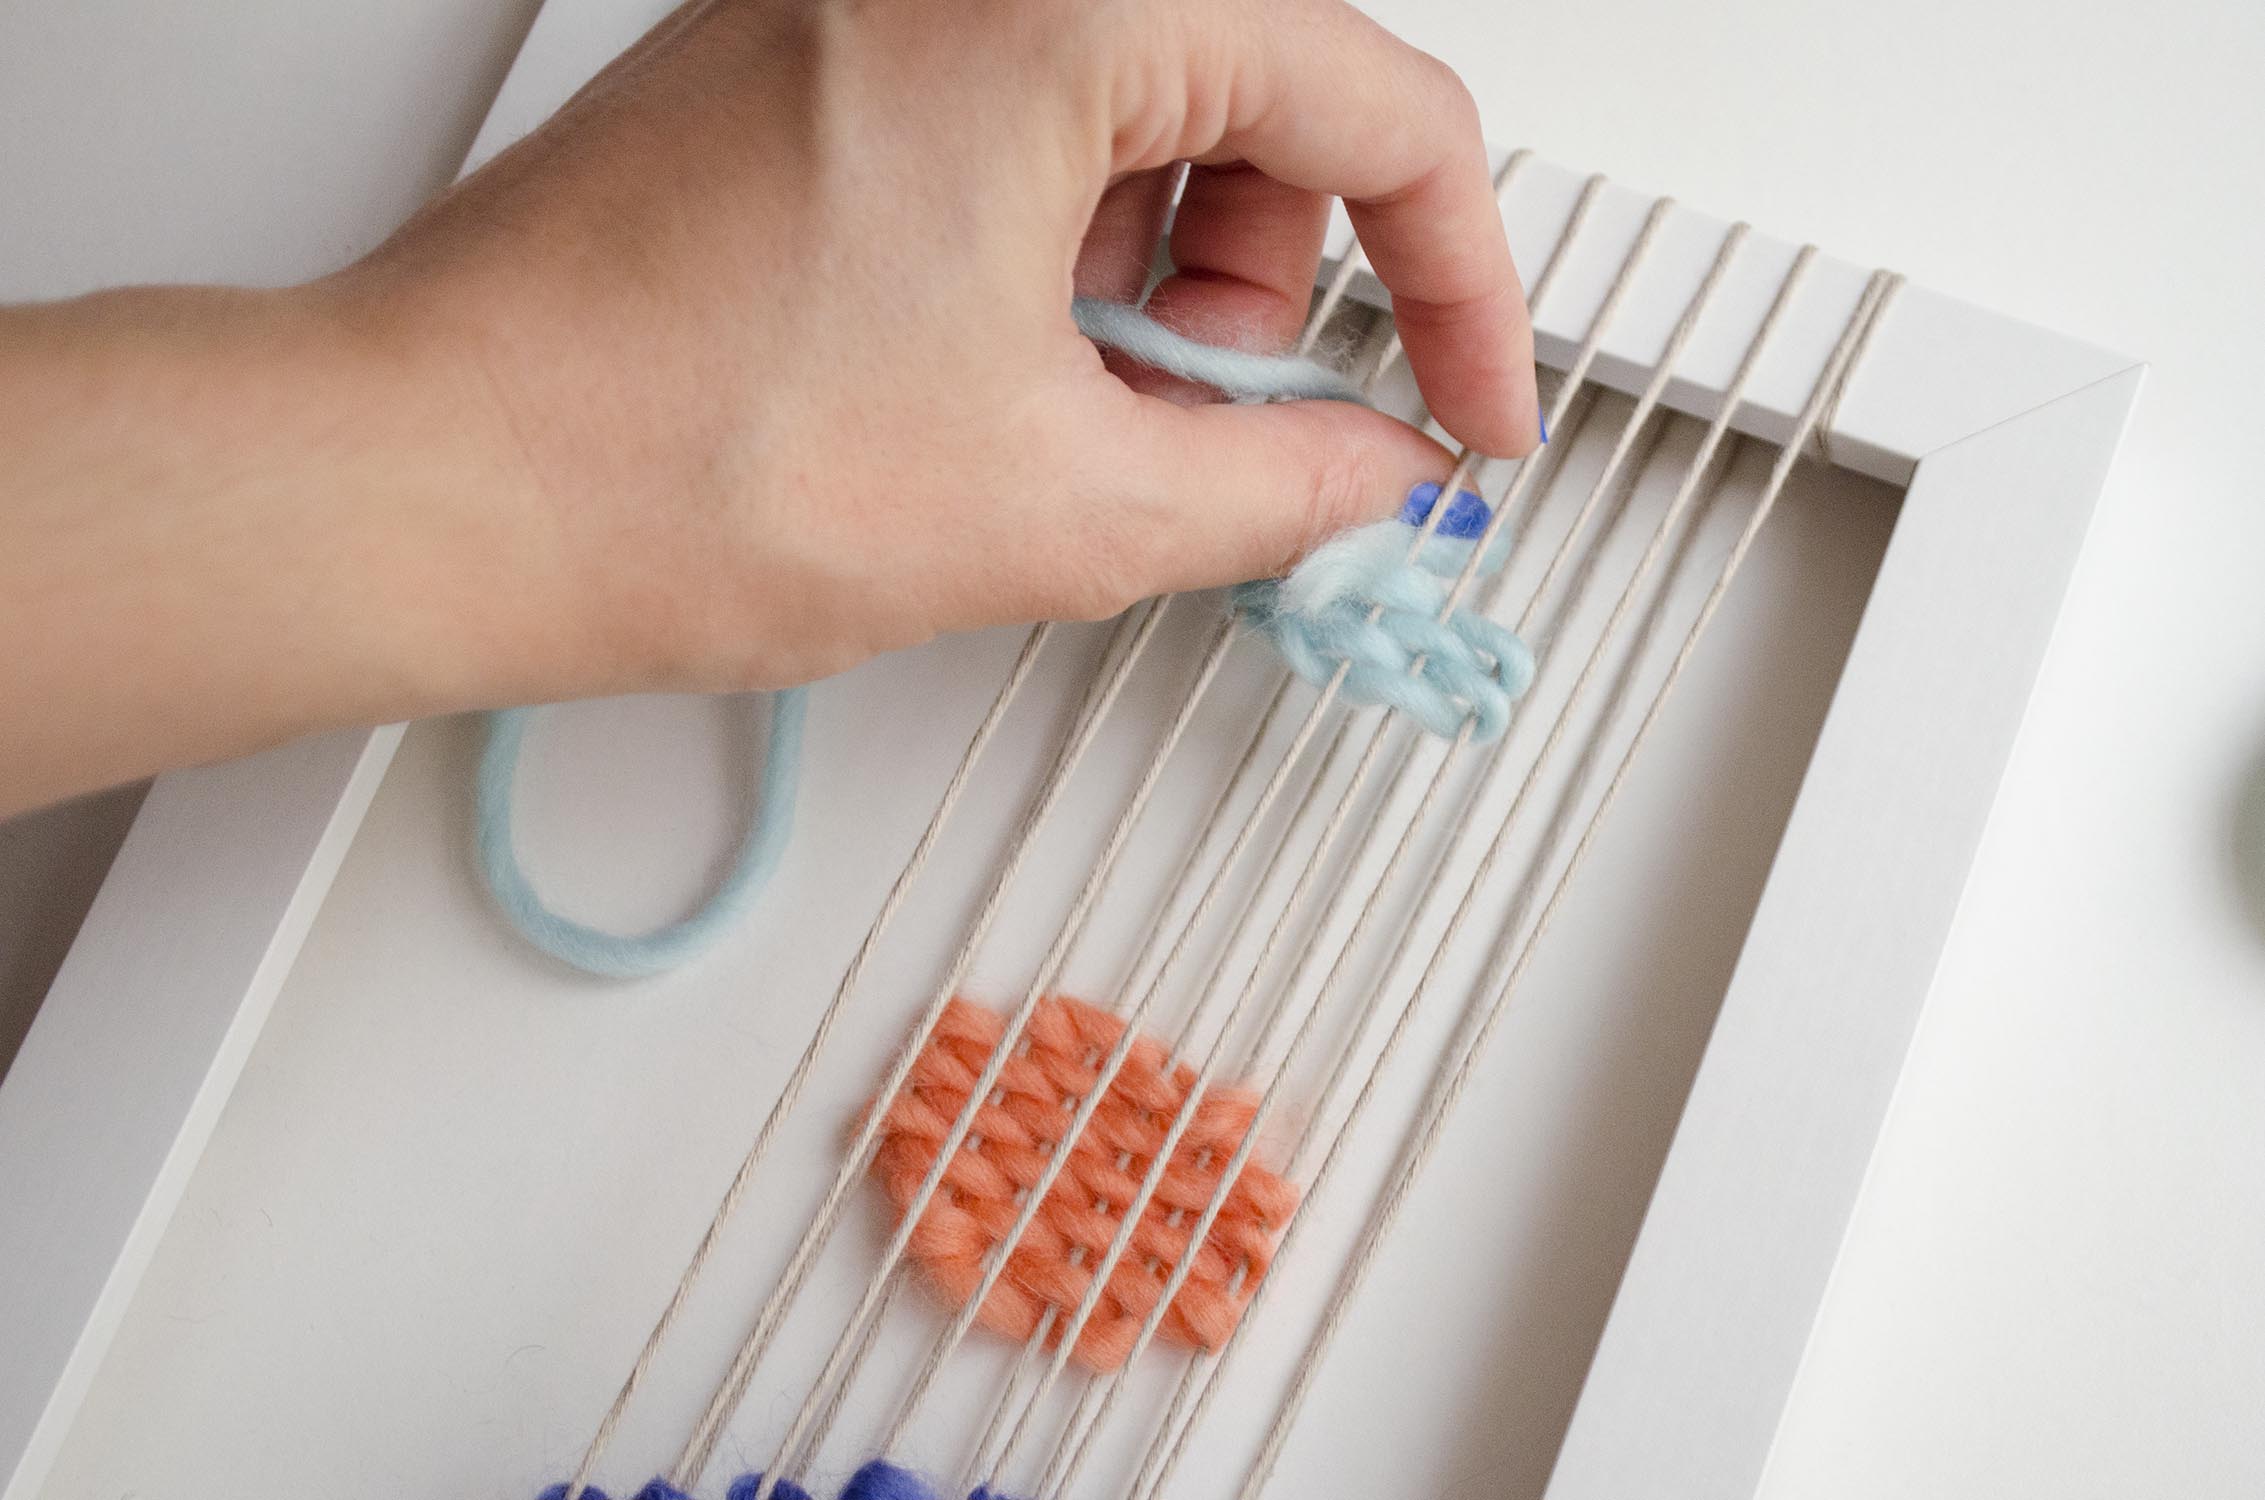
To finish, we will make a third geometric shape on the top.
This model doesn’t require much finishing work, simply turn it over and weave in any loose ends of each shape. Now just place it on a shelf or hang it on the wall! It’s a minimalist wall hanging and very different from what you usually see 😀
Go have a look at our sister brand Fūnem Studio shop to discover more Weaving Kits, Supplies and Yarns!
What about you, how would you make one? Remember to show us how your project turned out using the hash tag #weareknitters on social networks. We also have many more projects to help you use up your leftover yarn.


