The horizontal braids are also known as “Vikkel braids”, and the technique originally comes from Estonia. They are rather small braids that you knit without using an auxiliary needle and cross the knit piece horizontally. The braids are situated on top of the stitches we have already knitted forming a strap a little similar to one of chain stitches.

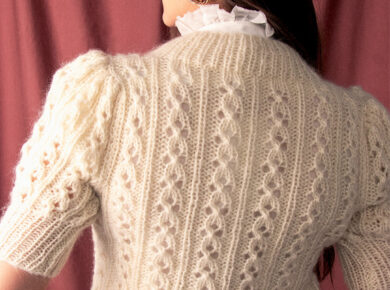
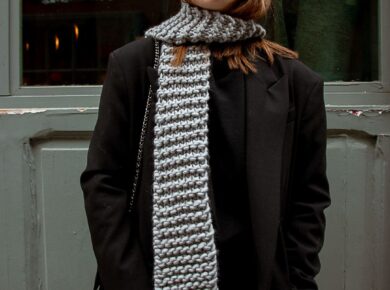
Although at first sight it might seem a little complicated to knit these braids it is very easy to add them to your projects, following a few simple steps. They look really neat on sweaters or scarfs, a little ornamentation to visibly separate different kinds of stitches…
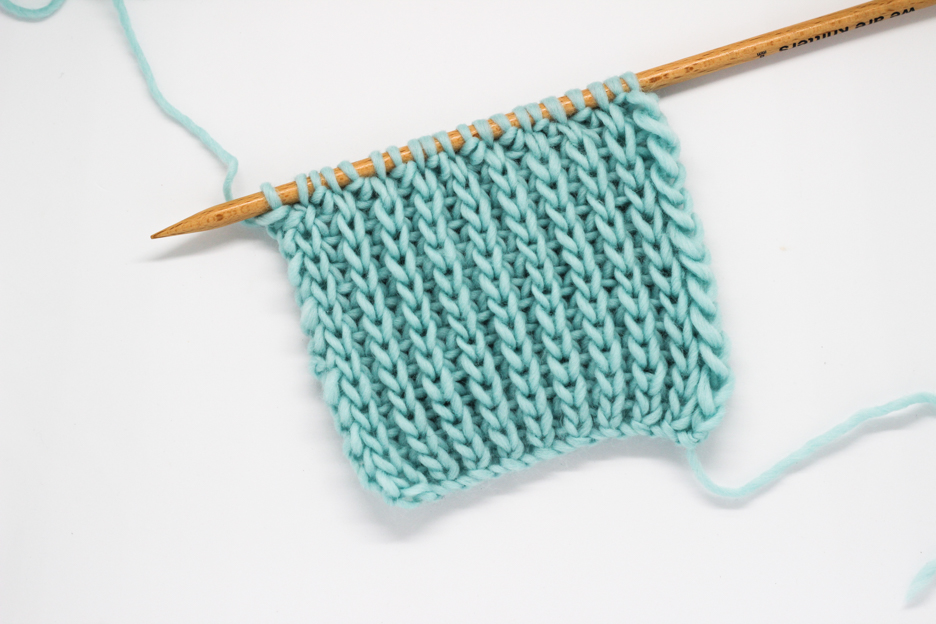
The most common way is to knit them on parts knitted in stockinette stitch (but you can just as easily knit them on top of other types of stitches). For the example we have knitted a sample making 2 rows in normal stockinette stitch, then adding a row with the braid and the fourth row with purled stitches.

1. Start by knitting the first stitch of the row two times, once purling it and the second time knitting it, so that you achieve an increase. You will have two stitches on your right-hand needle.


2. Knit the following stitch. You will have three stitches on your right-hand needle, two stitches from the first increase and the stitch you just knitted.

3. Now insert the left-hand needle in the second stitch of the right-hand needle, knitting through the front-loop.

4. Let the second stitch slide over onto the left-hand needle again carefully, so that the first stitch slips off the needle. Don’t worry, we are going to take it up again in the next stitch!

5. Take up the stitch that you let fall off the needle with the right-hand needle again. You will have something similar to what you see in this picture. If you take a close look you will notice that all we have done was to change the order of the stitches.

6. Knit the first stitch on the left-hand needle (That is the stitch that will form the horizontal braid).

7. Knit the next stitch.

You can see how the horizontal braid starts to from, it’s like a small chain on top of the stitches.
In order to continue knitting the braid, repeat the steps from 2 to 7. Meaning repeat all steps apart from the first, which served us to increase the stitch, which would later form our braid.
When you have finished working on all the stitches of the row, finish like this:

Cast the last stitches onto the left-hand needle (one of them will be the extra stitch of the braid).

Knit these stitches together. Now you have the initial number of stitches in that row again.
So, what do you think about the horizontal braids? It’s a very creative way to contrast the classic braids, are you up for trying them out?
We used the cotton in natural and 8mm wooden needles. See more colors here and choose your favorite!
Will you use this stitch in your next project? Show us the results on Instagram with the hashtag #weareknitters, we can’t wait to see them!