Sometimes we don’t want the usual finish for our knitting project, that is, we’d like to do something more original than a rib or rolled edge (which happens when working stockinette stitch to the very edge of the garment). Other times, to modify the edge may be necessary to add more structure to the garment, for example in a sleeve or the bottom of a sweater.
Anyway, today we want to show you how to create a hem, so you can use them whenever you need, it’s very easy with our video!
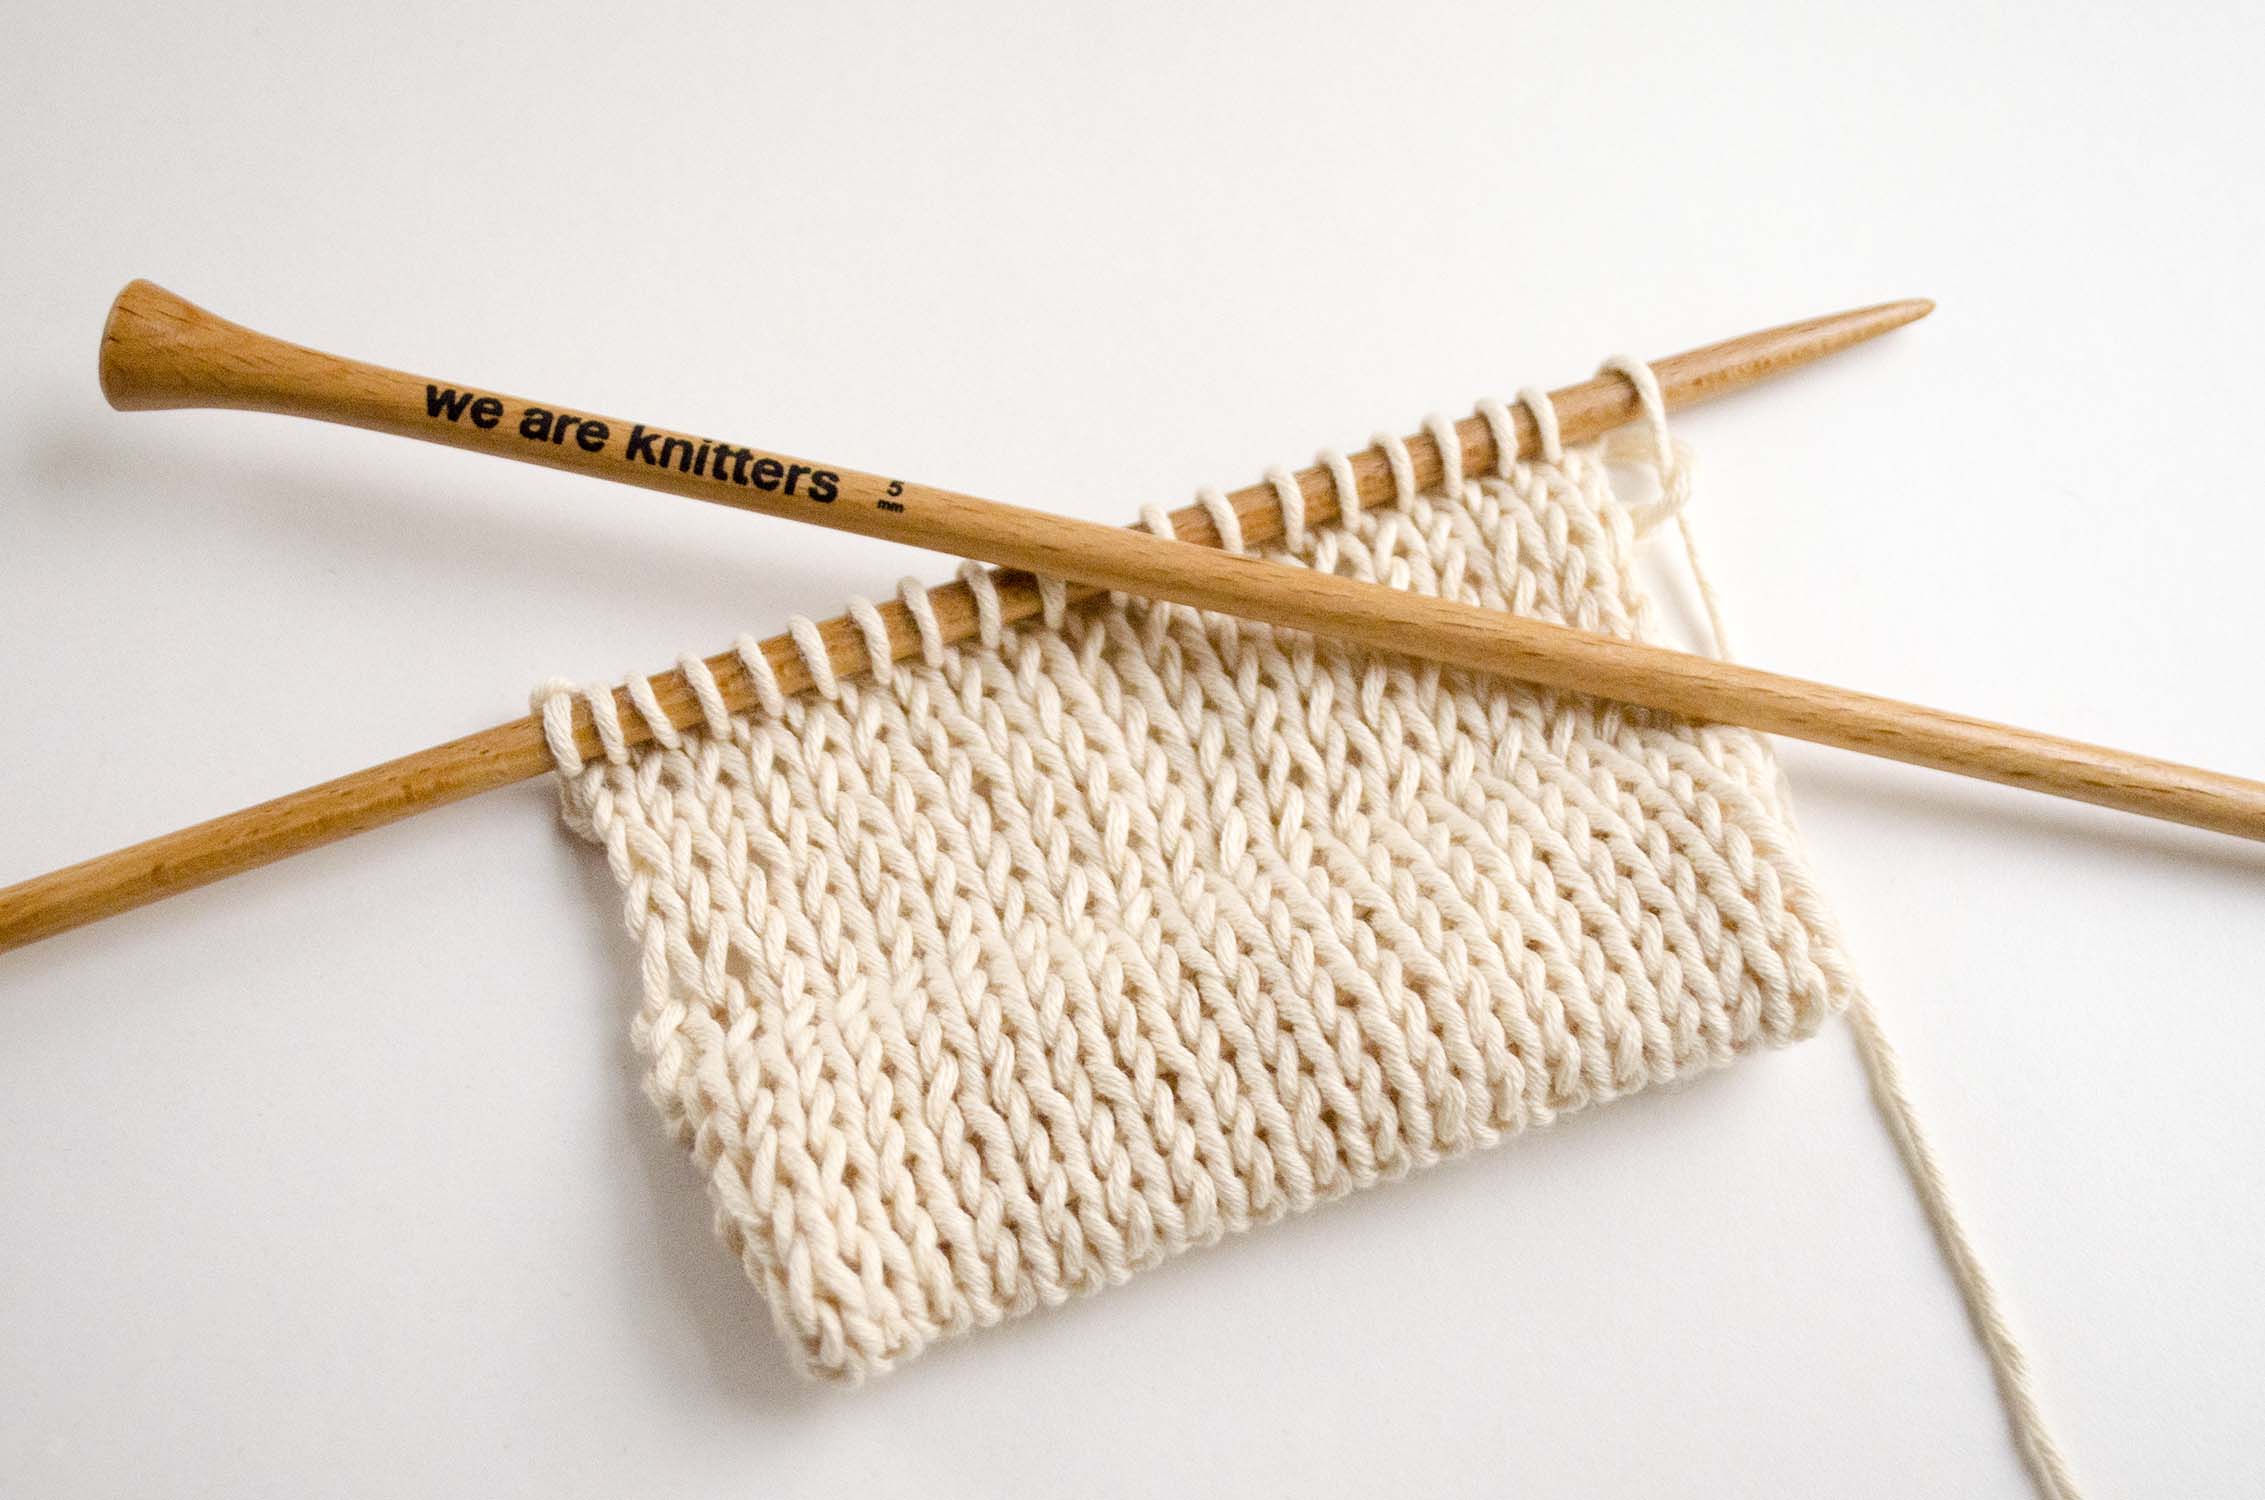
To create a hem on the edge of any garment, you’ll need an extra “needle” besides your wood needles. You can use a crochet hook, a pen, or a similar object.
Remember, for the hem to be just like you want you’ll have to work twice as long you actually want it, because when you fold it, it will be half long (check the video above).
- 1. Work the double measurement of how long you want your hem to be. For example, if you want your hem to be 2 inches (5cm) long, work for 4 inches (10cm). We worked stockinette stitch in the example, but you can use any other stitch (although the effect of the hem looks better in stockinette stitch).
- 2. With the hook, pick all the stitches at the edge of the garment, this is, pick the stitches right after the cast on row. You will need the same number of stitches you have in your needles.
- Now, using your free wood needle, knit all stitches, working a stitch from the needle and a stitch from the hook at the same time. That way, both rows are joined, and the hem is created.
- Continue like this until the end of the row, and you will have the original number of stitches. Now you only have to turn your project and purl a row, as you would usually work.
And this way you will get a simple and perfect hem for all your garments! Did you know this technique? Very soon we’ll teach you another way to hem a garment, so you dominate every single way. You can check all our knitting tricks in a dedicated section in our blog.


1 comment
A provisional cast-on might make this a bit easier, and perhaps even a “turning” row (one purl row on right side) mid way through creating the length of the hem, at the fold over point.