We know that knitting your first sweater is quite a challenge, that’s why our WAK kits are designed to make it easier for you by offering kits of different skill levels for you to choose from, not to mention tons of designs!
Once you’ve knitted all of the pieces, it’s time to seam them together, the ultimate challenge. It’s very important to do it correctly so that your project turns out with a perfect, professional look. Whether you’re making your very first sweater or you’re already an experienced knitter, today we’re showing you how to seam the sleeves to the body of a sweater, using an invisible stitch. Follow the instructions in the video:
Once you have the front and back of your sweater sewn together (you can use this type of seam so it comes out better), it’s time to sew the sleeves to each side.
Pick up one of the sleeves and lay it next to the body of the sweater, lining it up the center of the shoulder seam. We will be working through the stitches below the bound off edge of the sleeve, as well as the side of the body of the sweater, so watch the video closely. Ready? Thread your tapestry needle with a strand of the same yarn and color as your sweater and let’s get started (we used a thread of a contrasting color so that you can see where to insert your needle more easily).
1. Insert the tapestry needle into the first stitch below the bound off edge, from the back to the front.
2. Then, find the horizontal strand that separates the first stitch from the second stitch on the body, and insert the needle under that strand, from one side to the other. The thread will be behind the horizontal strand.
3. Insert the needle back into the same stitch on the sleeve where you pulled it out in step 1.
4. Pass the needle behind the next stitch in the sleeve; we’ll work along all of the horizontal stitches in the row.
Continue repeating the above steps until the entire sleeve is sewn to the body of the sweater. Don’t pull the yarn too tight, or you won’t be able to see if you are doing it correctly.
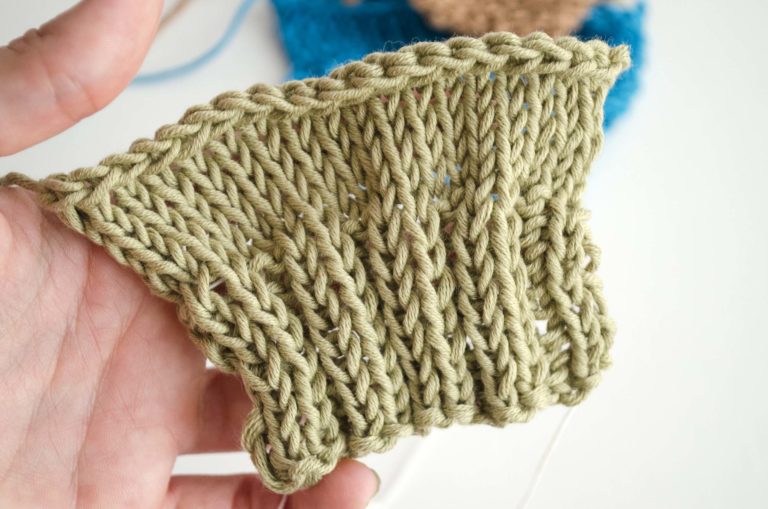
Once you’ve sewn the entire sleeve, tighten the stitches using your fingers and the tapestry needle, you’ll then see how they disappear and the seam comes out perfectly.
Now you just have to fold the sleeve in half and sew the bottom of the sleeve and the side seams!

As you can see in the video, in just a few simple steps, we’ve learned to join two knitted pieces together using an invisible stitch in two different directions.
Have you used this method before? Tell us about it in the comments!
Wanna show us your knitted WAK sweaters and other projects? Tag your photos on Instagram with @WeAreKnitters and #WeAreKnitters for your chance to be reposted on our feed!


