The technique we’re going to show you how to do today will teach you how to pick up stitches around the neck of your sweater, and help you achieve perfect results.
Once you have knitted all of the pieces for your sweater it’s time to pick up stiches from the front and back pieces to finish the neck. It doesn’t matter which pattern you choose, as the process is the same for all of the kits. Follow the instructions in the pattern and watch our video tutorials to learn how to do it correctly:
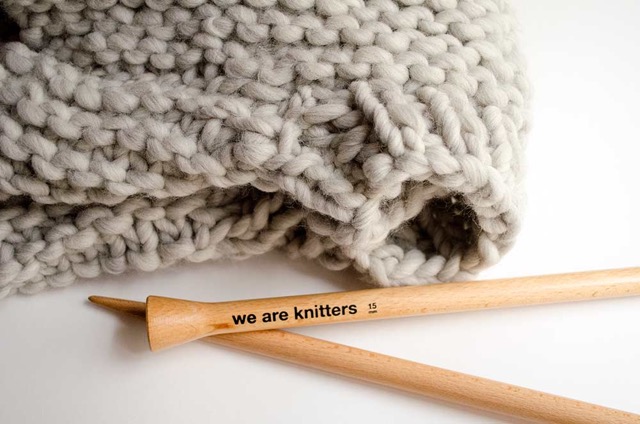
For the example we’ve chosen our dear Nolita Sweater in color grey 😉
Just see how easy it is!
- Place the front and back right side down, lining up the shoulder seams. Thread a tapestry needle and sew one of the shoulder seams. Make a knot and put down the tapestry needle for now.
- Using the wooden needles again pick up the number of stitches indicated in the pattern. Pick up stitches first from the back and then the front.
- Knit as many rows in rib stitch as indicated in the pattern.
- Cast off all stitches.
- Thread the tapestry needle and sew the open edge of the neck, and then continue sewing the other shoulder seam, just as you did for the first one.
Using this guide on how to pick up stitches around the neck of a garment you won’t have any problems finishing your WAK garments. And don’t forget to share your projects using the hashtag #weareknitters on social networks.


1 comment
Very helpful skill! Thanks for sharing the video.