A common problem for many knitters is having tons of extra cotton and wool lying around everywhere, you know how it goes, right?
You could use it to knit a striped blanket, a sweater for a baby… but you could also use it for a a lot of other things; and you don’t even need a crochet hook or needles to turn all those “leftovers” into something beautiful.
How about making easter eggs out of your left over cotton to decorate your house or to make a garland? We’re going to to show you how it’s done 😉

To make this, you’re going to need:
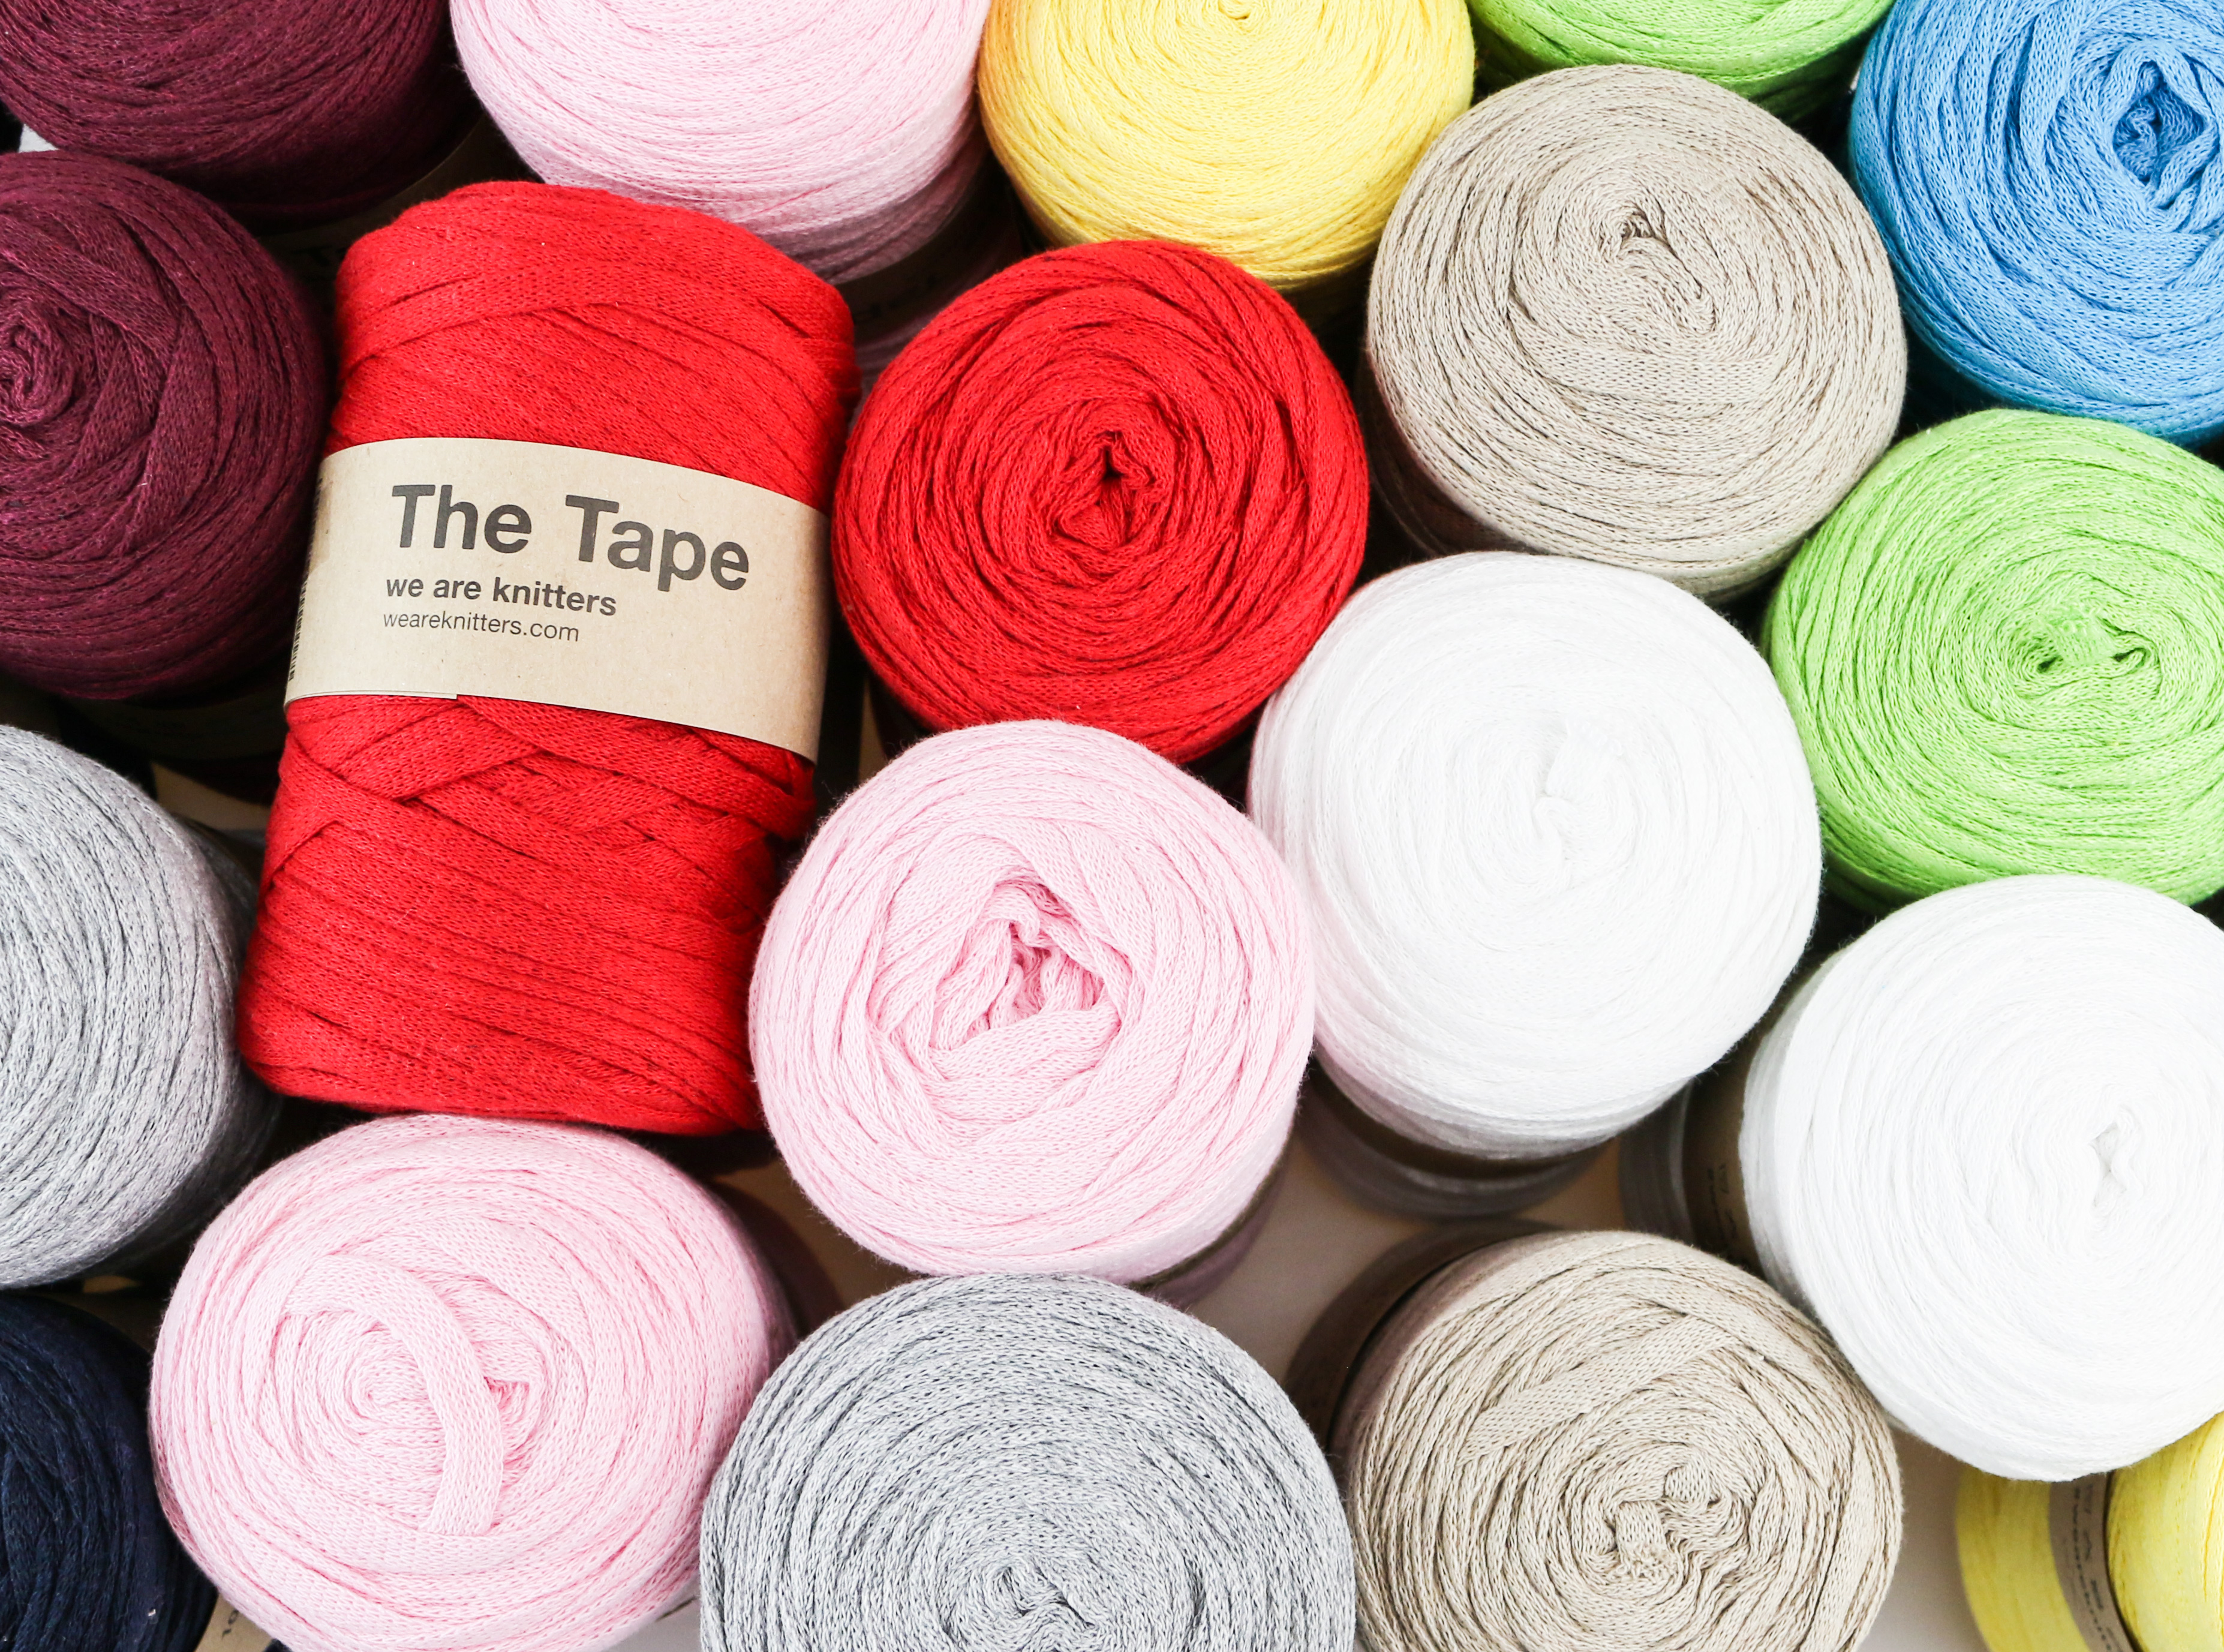
- A few feet of cotton in different colors (you can also use wool, but it looks better if you use cotton)
- Balloons filled with water
- White glue
- Pins and scissors

In addition to your supplies, you should cover all the surfaces on which you are going to work because it is likely that you’ll spill a little glue.
Easter Eggs from Leftover Cotton

The first step is to fill the balloons with water (but not too much!). The color of the balloons is not important (they aren’t part of the final product) but you should try to make them all the same size.

Mix the white glue with water on a small plate, using equal amounts of both glue and water. Afterwards, cut a few threads of cotton with a length of about three feet and place them on the plate with the mixture. Try to dip them in without tangling them up.

Dip the whole thread in with the help of your fingers or a small wooden stick. It is important to completely submerge the cotton so that it is saturated with the glue/water mixture.

Take one of the balloons and a thread (you can let the excess mixture drip off initially) and wrap the thread around the balloon.

Do it bit by bit, directing the way in which the thread crosses over itself. If the thread ends before you are done with the pattern you wanted to achieve, cut a new thread and continue in the same fashion. Once you’re finished, pay close attention to place the end of the thread on top of previous threads so that it becomes fixed in its place once the glue has dried.

It should look more or less like in the picture above. Of course you can make eggs completely covered or more open, just as you like, the only limit is your imagination. The true variable is how many or few threads you choose to use – pretty easy, huh?

Repeat the same with the rest of the balloons, always combining different colors so that they turn into real eye-catchers or make them all the same color so that they fit the place you want to decorate.

Let the balloon dry on a piece of paper. It takes about 24 hours but it’s also dependent on the temperature and the humidity where you have your balloons. You’ll know they’re done when you touch them and they are dry and hard.


Once they are dry, take the balloons from the paper and use a pin to pierce the balloon. Then carefully remove the deflated balloon from within the threads. Do the same with all the balloons. You will have hard woolen eggs. 🙂

Depending on the size of the balloon, the eggs will have a more or less oval shape, but you can always use your hands to shape them a little differently in the end.

And now for the fun part – you get to decorate anything you want with them! They look great in a crystal bowls or on a shelf, but you can also pass a thread through them and hang them up as a garland. It’s a perfect project to do with children, because they will definitely be interested to see how the eggs stay in shape, without the balloon there to support them.

In our example we have used various different colors, but you can use any color(s) you like!
It doesn’t matter whether you are already an expert in this technique or whether you have just started to use it, we are always ready to see your creations. You can share them with us on Instagram with the hashtag #weareknitters.


4 comments
Love this idea! I like how simple and fast it is! Thank you so much for sharing!
you’re welcome!!! we hope you enjoy it 😀
I am looking forward to trying this, but am wondering how do you keep the finished product from getting wet when you pierce the balloon?
you have to let the glue dry on the cotton before piercing the balloon – the dried glue mixture is what allows it to keep its shape 🙂